
How to Make a Burlap Bow
This post may contain affiliate links, please see our policy for details.
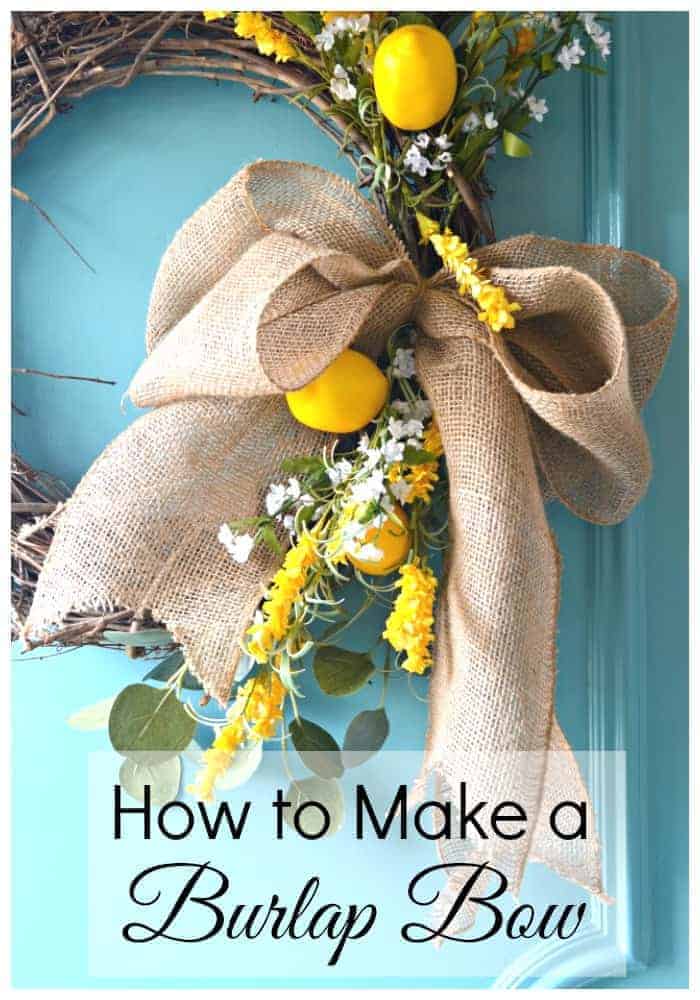
How to easily make a burlap bow for a wreath with burlap ribbon.
Instead of buying a store-bought bow for your front door wreath, grab a roll of burlap ribbon and create your own in a matter of minutes.
I love to create a different spring wreath for my front door every year but this year I recycled an older one.

When I pulled it out of storage, the burlap bow I made for it was looking a little sad so I decided to make a new one…one that had a little rustic charm to it.
This was such a quick and easy little project to do and only required a few supplies.
Supplies for making a burlap bow
How to make a bow with burlap ribbon
The first step is to lay the burlap ribbon out and fold each side over.


Then fold a second piece of burlap ribbon the same way as the first piece and lay it on top.

The first time I made mine, I folded the second piece so it was a little bit smaller than the first, but that wasn’t the kind of bow I wanted.
I really wanted a full, rustic look, not bow perfection, so both pieces were the same size.

How to tie a burlap bow
It’s so easy!
Just gather the burlap ribbon in the middle and tie it with a piece of jute twine.

I tightly wound the jute twine around the middle a couple of times and tied a knot in it. Then I snipped off any excess.
Once the bow is tied you may want to clean up the ends of the ribbon by painting on a little Mod Podge with a foam brush, which seals them so they don’t fray.
As for my bow, I wasn’t going for perfection but stringy ends drive me nuts so I used some Mod Podge on them.

After the Mod Podge was dry I used a little floral wire to attach the bow to the wreath.
Just the right amount of oomph and the perfect rustic farmhouse touch for my spring wreath, without being too perfect. 😉
So, next time you need a bow for a wreath, try making your own big burlap bow.
