How to Install a Tongue and Groove Ceiling
This post may contain affiliate links, please see our policy for details.
How to install a tongue and groove ceiling in the kitchen using primed white tongue and groove ceiling planks.
A new white tongue and groove ceiling was at the top of my wish list when we were planning our kitchen remodel. There were many discussions about it, and it took a lot of planning, but we worked out all the details and started the installation. I’m loving the way it’s turning out.
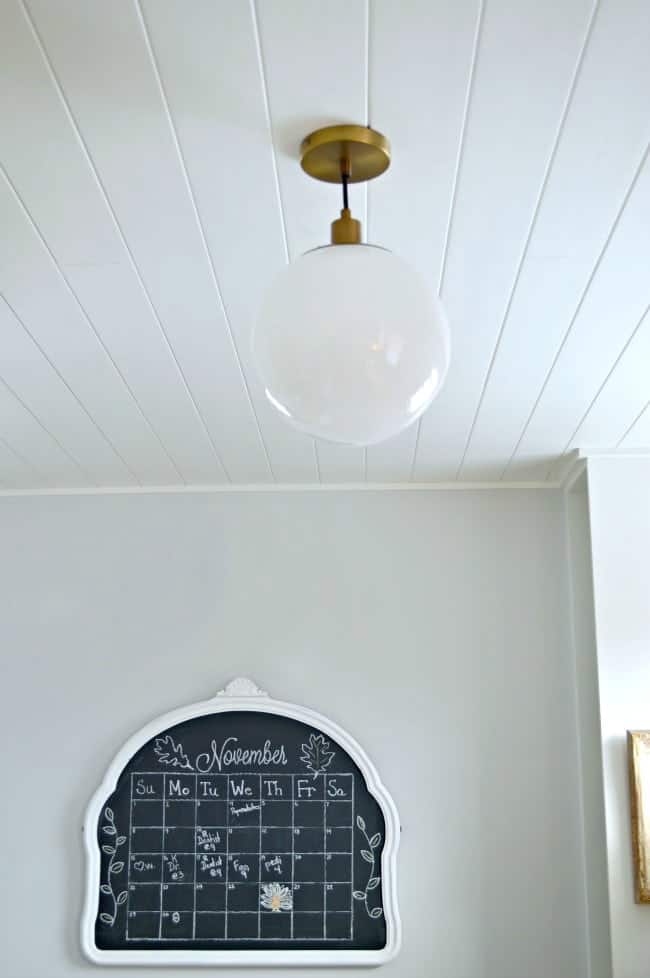
Installing a tongue and groove ceiling is one of the biggest projects in the kitchen renovation, so let’s get to the details.
Before you install a tongue and groove ceiling
As an Amazon Associate and member of other affiliate programs, I earn from qualifying purchases.
Our first job was to measure the square footage of the ceiling to see how many wood planks we needed. Then we located the studs in the ceiling so that we could attach the planks to the studs as we put the ceiling up.
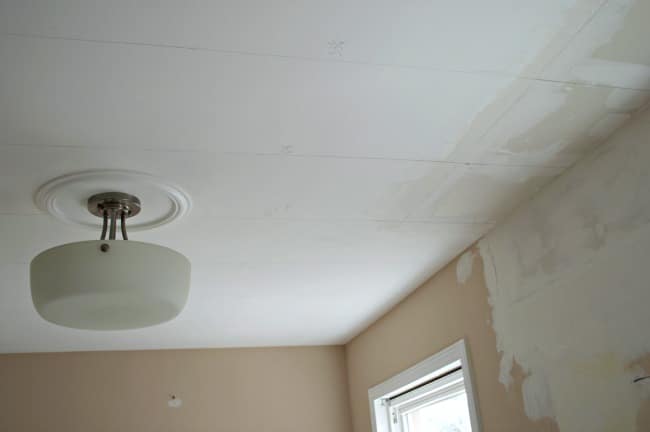
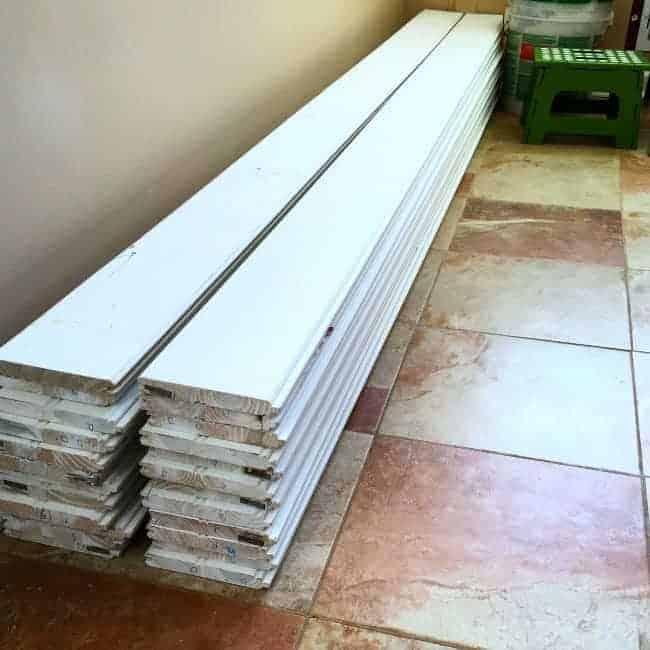
Armed with our square footage, we searched our local Home Depot store and found primed tongue and groove planks in 8 foot and 12 foot lengths.
We brought them home and left them sit in the house for about a week. This allowed them to acclimate to our indoor temps and humidity so there would be minimal expansion and shrinkage.
The tongue and groove ceiling planks that we ended up buying had two different sides to them.
One side had a groove/seam down the middle that made it look like two planks in one.
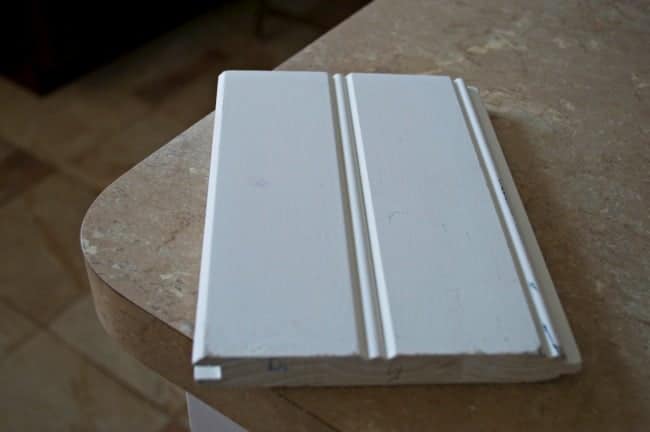
The other side was just a plain plank.
I decided to go with the plain side so that we had less seams showing.
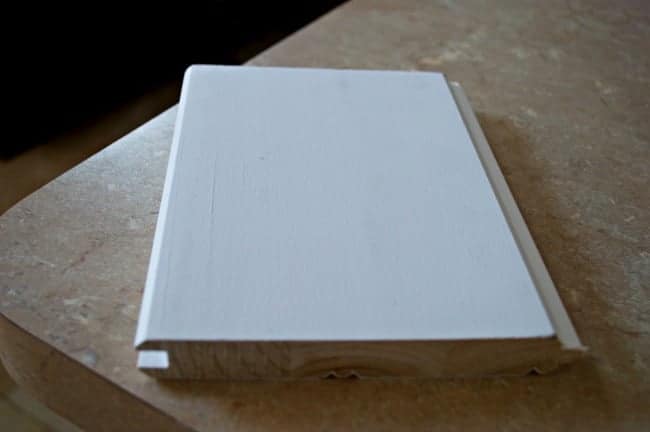
After all of the prep, we were finally able to start the installation process. I say we in most of these steps because this is definitely a 2 person job.
Installing tongue and groove ceiling planks
We started the ceiling with one of the 12 foot planks.
Before attaching it to the ceiling we applied beads of paintable silicone caulk to the back of the plank.
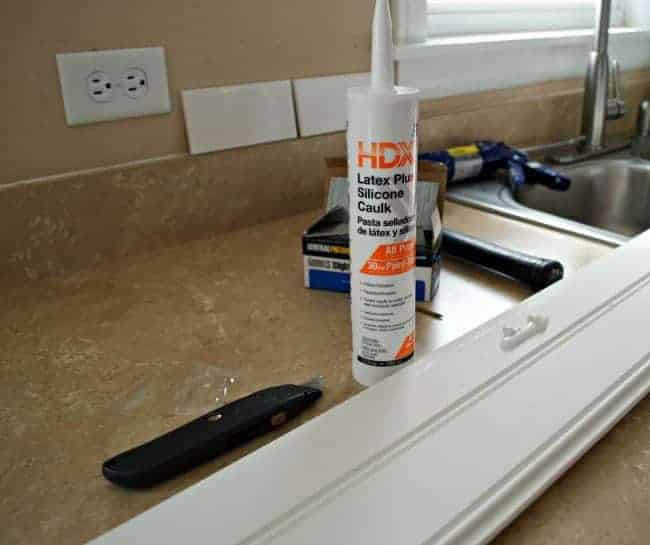
We put the plank against the ceiling leaving a 3/8 inch gap along the wall for expansion, which we did around the whole room.
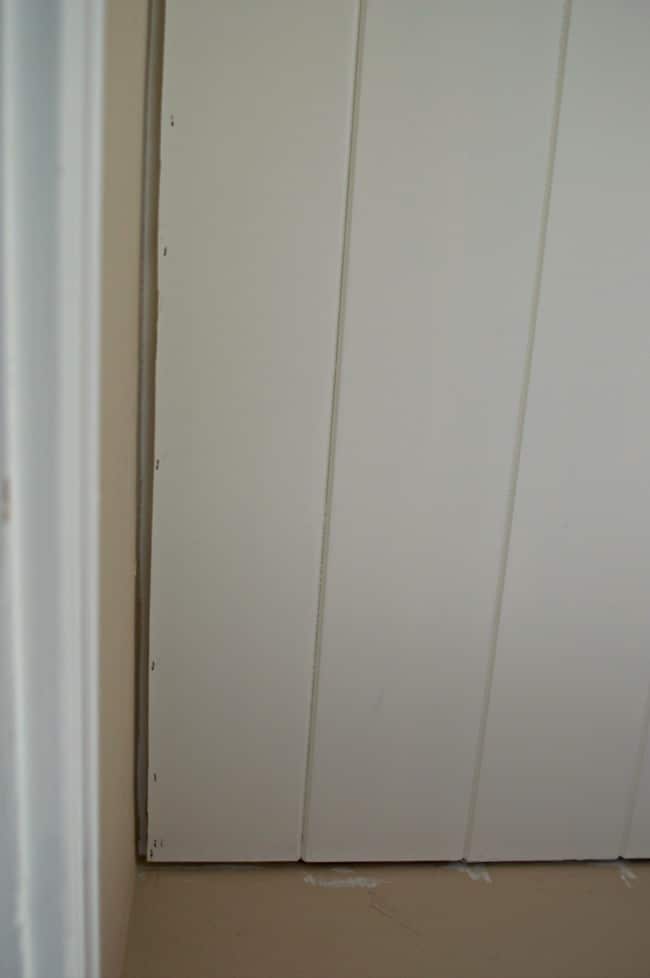
Next, we used a pneumatic nailer to put a brad at each stud marking on the ceiling to hold the plank up. We put the brads in the tongue of the planks so that you couldn’t see them when the ceiling was complete.
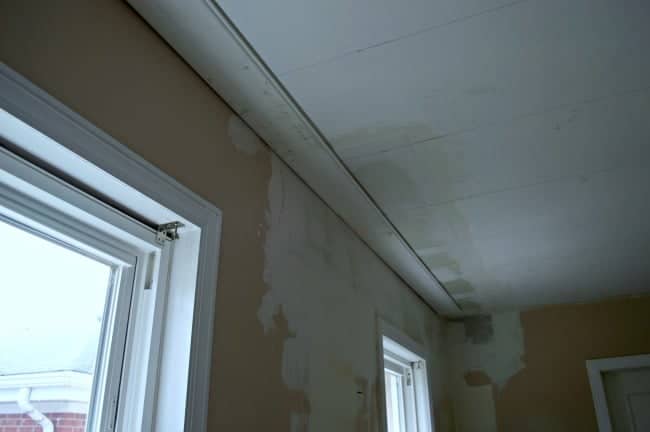
On the first board, we did use 3″ construction screws at each end to make sure that it was completely secure. The upper cabinets would hide the screws so no one will ever know they were there.
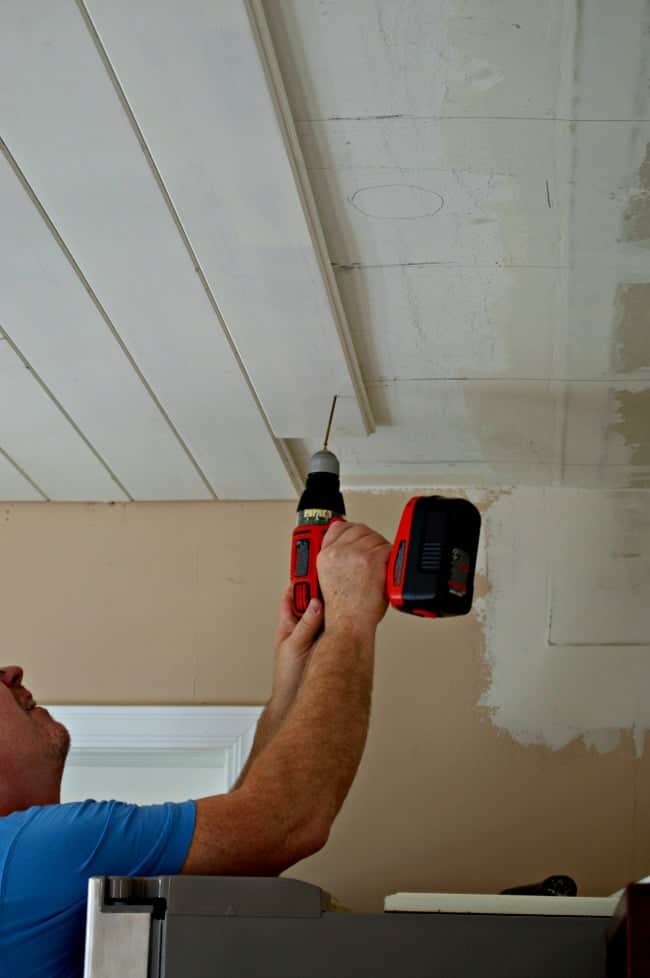
The next plank to go up was also a 12 footer.
We had to marry the tongue of plank #1 to the groove of plank #2 together so we tapped a block of wood against the tongue of plank #2 to get a tight seam.
Next, we secured plank #2 to the ceiling with a pneumatic nailer and brads.
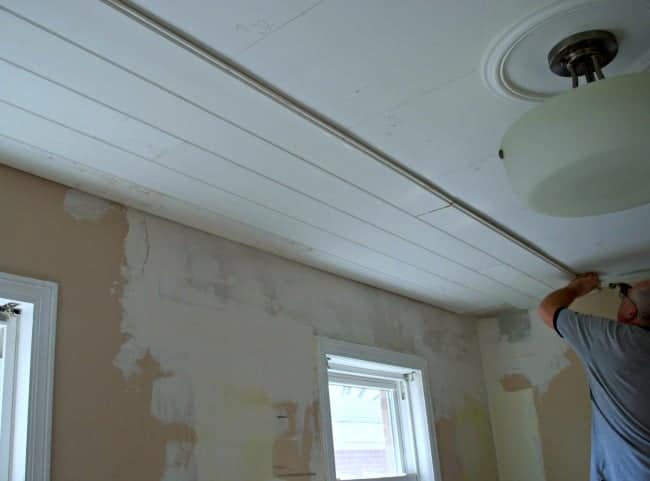
We continued this process for the rest of the ceiling.
In some areas, the 12 foot plank wasn’t long enough so we did end up with seams. To make it look intentional, we staggered them (the seams).
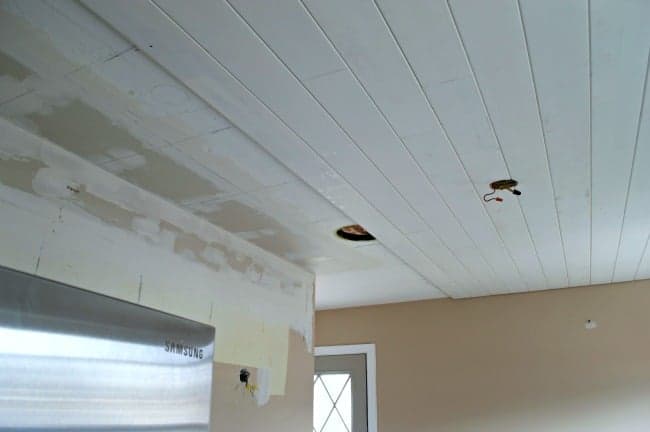
In the middle of the kitchen ceiling there is a light box that we had to work around.
We used a coping saw to cut the wood planks around the box. This will allow us to have access when it comes time to install our new ceiling light fixture.
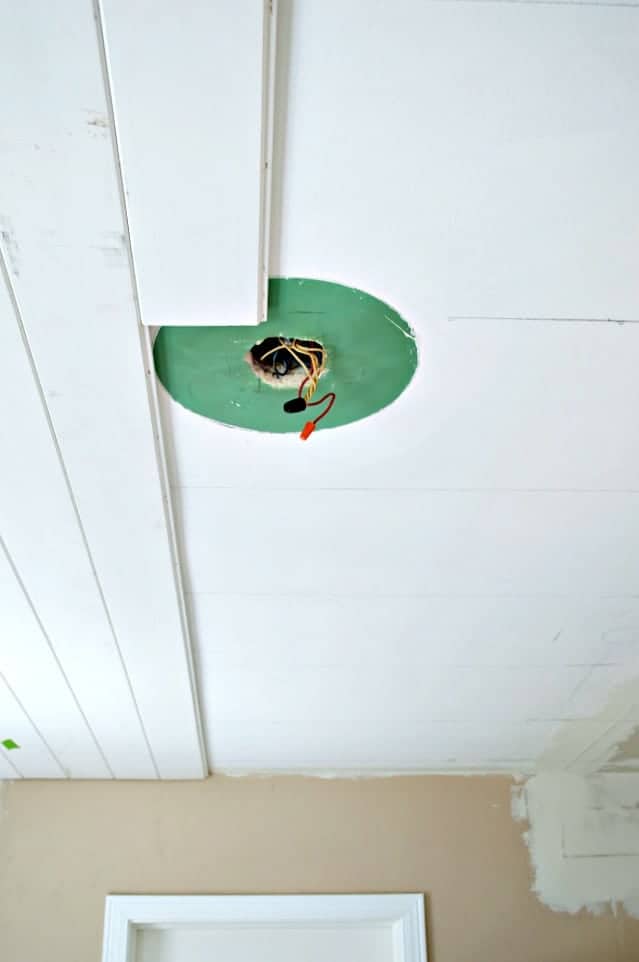
Once we reached the other side of the room, we used the table saw to cut down the width of the planks. Then we just followed the same process of attaching them to the ceiling.
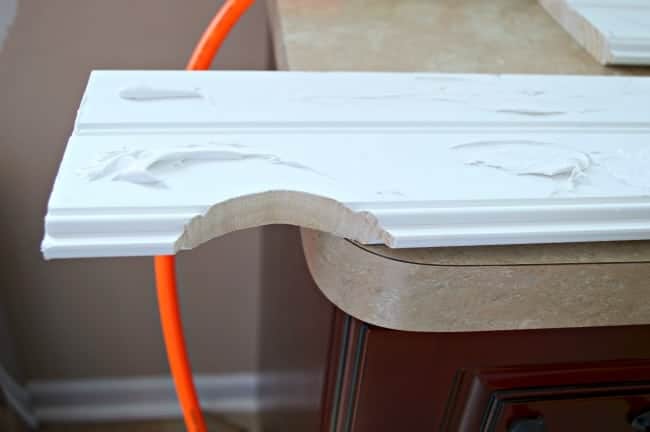
We did skip planking a few spots near the walls, which saved us some time and money. The kitchen cabinets were installed against ceiling so we didn’t think it was necessary to have planks in those areas.
After all of the planks were installed, we caulked the seams to give the ceiling more of a finished look.
The last thing we did was to paint all of the planks with Benjamin Moore White Dove, in the pearl formula.
After we painted the planks and hung the cabinets, we installed the trim. It’s the finishing touch and it will cover the 3/8 inch gap we created for expansion purposes.
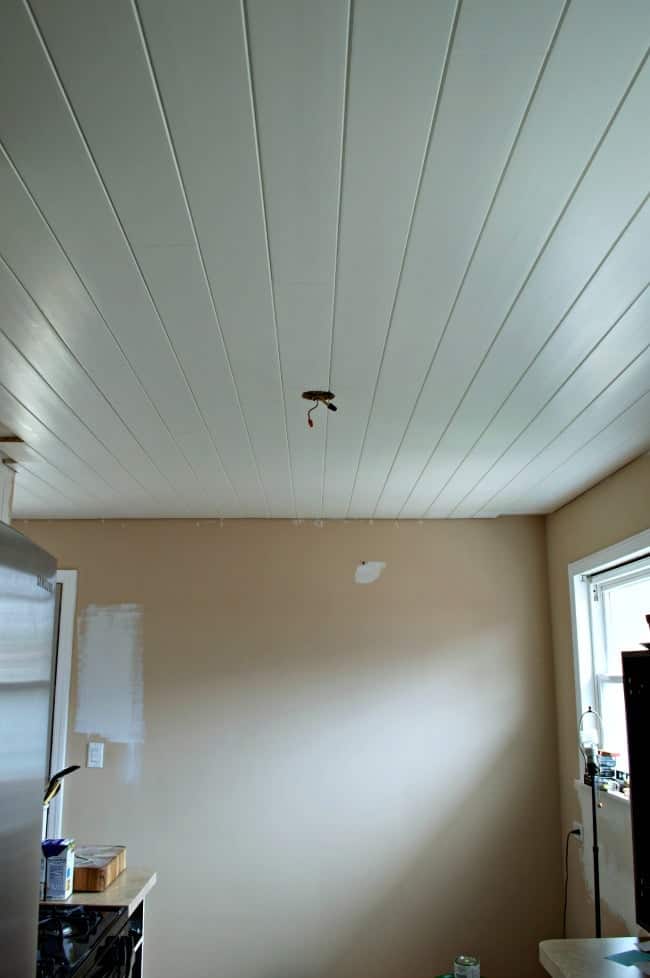
Our total cost for the new plank ceiling ended up at around $320. We already had most of the supplies, including the ceiling paint, so our money went into caulk and wood planks.
I’m loving how our new tongue and groove ceiling turned out.
Now I’m ready for the cabinets to go up.
Next up, though, is building a cabinet around the refrigerator. Wait until you see…it looks awesome.
Because we’ve gotten a ton of emails asking where we got the planks, I wrote a separate post and shared where to find primed tongue and groove ceiling planks.
We installed a tongue and groove ceiling in our tiny RV. We used the same kind of planks but installed it with the grooved side showing. Same method but a totally different look!


Love this! Thank you! My home has rounded corners and a spot where it opens to a higher ceiling. I really want to do this but I’m struggling with how to “end” the planks!! Trim piece?
Thanks Sarah! Hmmm, you could use some kind of trim. Maybe something that’s flexible? We just used a simple 1×1 so it doesn’t really matter what it is. If you can’t find something to work you could just leave it but have clean, straight cuts. Hope this helps.
Why didn’t you paint the panels before putting them up?
Hi Carol. We didn’t have the space to lay all the planks out to paint and then let them dry.
I sure loved your finished ceiling and I have a quick question..I just finished ship lapping my walls and after watching your project, I’m now inspired to do the ceiling also.. I used MDF ship lap from Home Depot 12 foot planks but do you think it’s too heavy for ceilings? Best Regards Carole
Hi Carole. Kudos to you for ship lapping your walls. I’m sure you will love it. As for the ceiling, I’m not a fan of the idea of MDF on the ceiling but that doesn’t mean you can’t use it. My worry is that it can sag or that it will be tough to put it up (because it is heavier than pine). Of course, this is all my opinion. I’d love to hear what you decide to do. Thanks so much for visiting. Kristi
Looks Good!
About to take on the same task with about 400 sq. ft. of kitchen and dining room. My project is on my new home and I only have one issue I haven’t been able to figure out yet. I see you have a couple can lights. How did you make the trims work with the added thickness of the planks? My lights say they are only adjustable for 1″ thick ceilings and with the 5/8″ drywall and these boards, it will be over 1-1/2″.
Hi Casey. We had the very same problem when we installed our can lights. We ended up manipulating (bending) the clips so they would fit securely and we also notched out the planks and sheetrock in the hole where the can light fit so it would go in all the way. We barely made it but it all worked out.
Hope this makes sense. If you have any other questions, please feel free to ask. Good luck with your project.
The kitchen reno looks amazing and the ceiling add the perfect touch! Thanks for sharing at Welcome Home Wednesdays!
Thank you, Crystal. I think the ceiling made a big difference in the look of the kitchen. Definitely my favorite addition to the room.
This looks really great! I would love to do this in our house! Thank you for sharing at Dream. Create. Inspire. Link! Pinning!
Thanks Cat! It was one of my favorite things in our new kitchen. 🙂
Wow!!! Your ceiling looks beautiful! Thanks for sharing with Merry Monday this week – I’m sharing your tutorial on Pinterest.
Thanks so much, Emily. I appreciate the sweet comment and the Pinterest share.
Hi Kristi,
I know this is a long shot but I have tried endlessly, well months to find primed affordable planks like this. I’ve search Home Depot – Lowes – online and only found the very expensive Armstrong brand -pre-finished planks. Please please (I’m begging 🙂 share the link or brand/model of the planks you used. I know you said they were from Home Depot but I can’t find these same ones I have tried… I will make my Home Depot order them if I can figure out who the mfg is. Thank you so much for sharing this – I can only imagine how hard it was to leave this kitchen you worked on for so long. I’m in the exact same boat!!!
Hi Amy. Thanks for your question. I’m going to email you with some details and a pic. Hope it helps!
Hi Kristi,
I was wondering the same. Your ceiling looks great and I’ve been looking for a great tutorial on this project. Can you email the same link for the boards?
Hi, Kristen. I sent you an email with the link for the planks. Let me know if you have any other questions.
Could you also send me the link please? I, too, have been looking for a while. I was interested to see that you only used brads ( and caulk) to hold up the planks. I was thinking I would have to use regular nail gun.
Hi Marie. I just wrote a post today with the info if you want to check it out. The brads we used were 2 inches long so they were plenty long enough and they were only used to hold the planks up until the glue/caulk dried. That’s what’s doing all the work now, that and the screws we used at each end where the cabinets would cover them. Let me know if you have any other questions. 🙂
Thank you Kristi for your answer. Going to my local Home Depot to see if they have these planks.
Another question though…is there a reason you used caulk instead of liquid nails or another construction adhesive?
You’re very welcome Marie. We used the caulk because Liquid Nails dries hard and caulk stays soft and flexible when it dries, exactly what we wanted for the expansion or contraction of the planks. Hope that makes sense.
Hi I can’t find the link for the wood planks could you resend Thanks
Hi Hope. I got so many questions about this that I wrote a post on it. You can check it out here. https://www.chatfieldcourt.com/find-pre-primed-tongue-groove-planks/
Thanks. Hope that helps. 🙂
I had to stop to see your kitchen ceiling! It looks fantastic. You guys were so smart to buy the primed boards, it took us forever to paint ours:). I also love the light you added and your whole kitchen:). Everything looks great. Have a great weekend and take care, Tara
Thanks Tara! Like yours, it was a lot of work but I’m really happy with the results. I’m so glad that we did spend a little extra for the primed because painting was tough, and we have another coat to do after our recessed lighting goes up (not looking forward to that project). Thanks for dropping in and I hope you have a great weekend!
Such a beautiful job!!! It’s just like my kitchen in Newport only I had to pay a lot more. LOVE it. Thanks for being a part of Best Of the Nest!
Thanks so much Mary Ann!
Awesome job on the ceiling! I admire your spunk as that is one hard job!
Thanks so much Peggy. It was tougher job than I thought it would be, we were so glad (for once) that the kitchen wasn’t bigger. Appreciate you stopping by today.
K.
Wow, I just love your new ceiling! You are a much more talented DIY-er than I am!
Awww, thanks Julie. It really helps that my husband is handy and helps me out if I ask him. 🙂
OMG! It looks amazing! Your so lucky to have such a beautiful ceiling now!!!!
Thanks Vel. We’re really loving the result. I’m so glad that we went ahead and did it.
Beautiful!! I’m thinking I need to steal this idea! Now I just have to decide which room in my house will get this cute ceiling… 🙂
Thanks so much Meghan! I’m loving my ceiling and I’m so glad that we did it. Steal away…;)
Wow, I’d probably be too scared to ever try this for fear of messing it up lol! It looks amazing though!
Thanks Kate. I think you could do it too, it’s really not a difficult project. 🙂
This is the second kitchen I’ve seen this done…..oh my! Wish I had known about this idea 12 years ago when we redid the kitchen…..I love it .
The “window box” looks like a part to a big water wheel or something like that….very cute. But, won’t the rust get on the building? It’s cute there….gonna plant it??
Oh your kitchen is going to be wonderful!
Nancy
wildoakdesigns.blogspot.com
Thanks Nancy, I’m loving the results too. Good guess on the window box but it’s actually part of an old corn crib conveyor system that carried grain in the cups and was chain driven. I have large rubber bumpers behind it to protect the garage wall. I’m hoping to share a post on how I turned it into a planter once I have flowers in it. Still too cold here to plant, we usually wait until Mother’s Day.
Thanks so much for visiting.
K.
Hi – first time visiting your blog and was wondering if you could provide me with the square footage of your ceiling? We are just trying to figure out if we can afford to do this in one area of a home we’re building – job well done, it looks great!
Hi Deborah and welcome! The square footage of our kitchen ceiling is 120. We spent right around $300 on the planks alone, with only a few pieces left. I hope this helps. Best of luck with building your new house.
K.
Wow!! This looks awesome. Love those planks. I couldn’t figure out what the window box is.
Thanks so much Trish. The box is an old corn crib conveyor system that carried grain in the cups and was chain driven. I’m hoping it will make a good flower box.
Looks awesome so far! I am trying to talk Mr. Front Porch into doing the same in our kitchen.
Thanks so much! I’m loving the finished ceiling and I’m so glad that we did it. Good luck trying to convince Mr. Front Porch.
I just found your blog! Love it! I was wondering where you bought your planks? I really want to do this to our kitchen! How hard would you rate this project on a scale of 1-10? Thanks for the info! Off to read more of your blog!
Thanks so much Lynne! You just made my day, truly.
We got our planks at Home Depot and I’m really glad that we spent a little extra on the primed boards. Hmmm, I would say that this isn’t a hard project but it does take a fair amount of time (maybe a 4 or 5 out of 10). The hardest part was fitting the tongue in the groove. We really had to hammer several planks to get them to fit.
Thanks for dropping in Lynne and I hope you come back to check our progress.
K.
love love love!!!
Thanks Martina!
No guesses on the box but I am experiencing a sympathic ‘crick” in the neck for you guys in regards to that ceiling work!! : ) So much hard work!
It was a little back breaking to do this project, especially when you already have a bad back. For once, I was glad we had a small kitchen. 😉 Oh and that box was an old corn crib conveyor system that carried grain in the cups and was chain driven. Thanks for stopping in Deb.
The ceiling is looking spectacular!….Your hubby is doing such a great job!!
Thanks Shirley. I couldn’t do all of this without my hubs! 😉
I love the planking! My neck would be killing me doing that job! I figured the window box was some sort of bucket because of the shape and and chains on the sides. Thanks to Kathie for the correct usage.
Looking forward to more from your kitchen redo! Enjoy the week, my friend!
Thanks MJ. I’m loving it too. I was a little nervous that it wouldn’t work in this small room but I think it’s ok. On to the next project!
Have a great week!
K.
your window box is part of an old corn crib conveyor system that carried grain in the cups and was chain driven. i am an old air force brat turned farm girl and i recognized it right away. very clever use of it!! i am following your kitchen reno as we are getting ready in about a year to redo our old 60’s kitchen and we want to do as much as we can by ourselves. yours is coming along very nicely!!
Haha, you’re right Kathie! I grew up in the country surrounded by corn fields so I knew what it was too. I saw it at the flea market and it was the perfect size for the window. Good luck on your kitchen reno. It’s tough when you do everything yourself but we are both enjoying the process (it’s the mess that I could do without).
K.
What a job. I’m enjoying taking the journey of your redo. The room is coming together. fondly ~lynne~
Thanks so much Lynne! I appreciate you stopping by to see our progress.
K.
Love the ceiling. You and hubby must have sore necks after that job. I think your new window box is a trough for drywall mud or stucco. Debbie
Thanks Debbie. It was tough on my back but we both had to do it. For once, I’m just glad that the room wasn’t bigger. 😉 Good guess on my window box but Kathie Klute knew exactly what it was…part of an old corn crib conveyor.
K.