DIY Kitchen Open Shelving for Under $50
This post may contain affiliate links, please see our policy for details.
Installing DIY kitchen open shelving for under $50.
I am one of those people that would crinkle my nose and shake my head whenever I saw open shelves in a kitchen. After all, I’m a neat freak and minimalist when it comes to kitchen decor. I knew that I would never, ever have open shelving in my kitchen. How do the dishes stay clean? Who wants to see all that stuff?
It doesn’t happen often, but I can honestly say that I was so wrong about them.
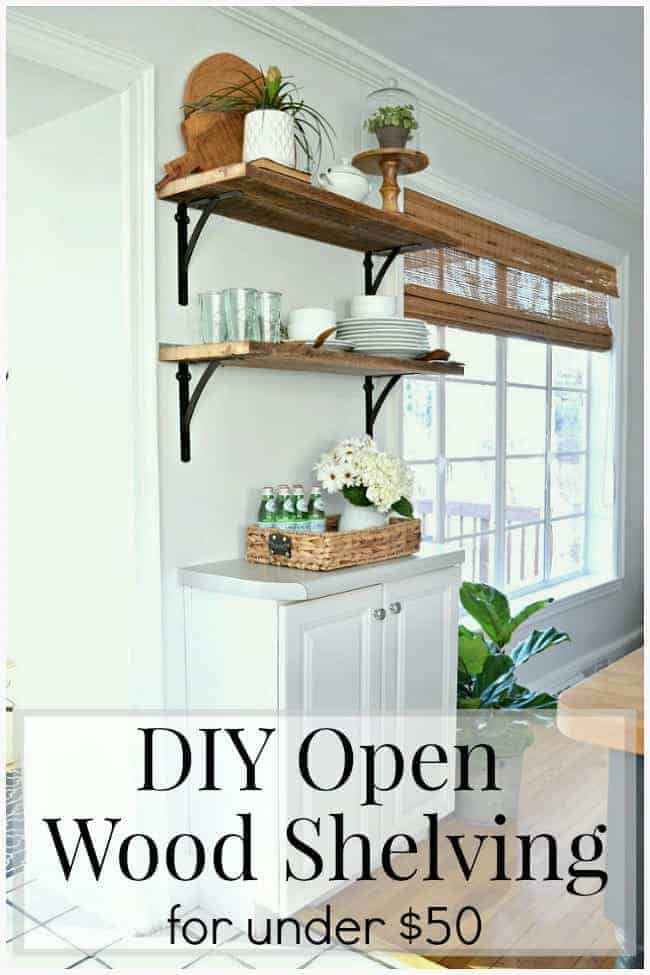
I loved my shelf in our Illinois kitchen and knew when we moved in that I would have them in this house.
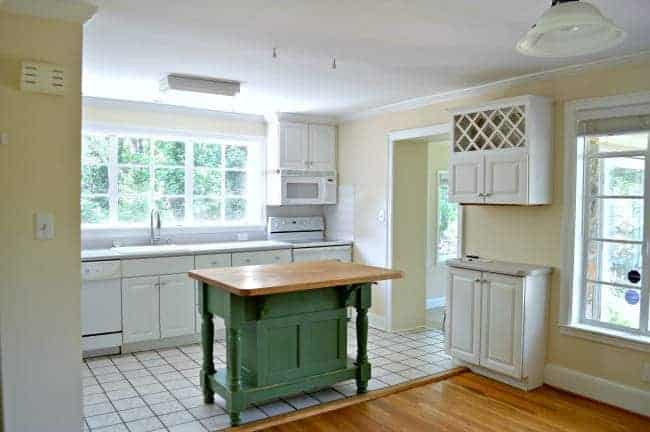
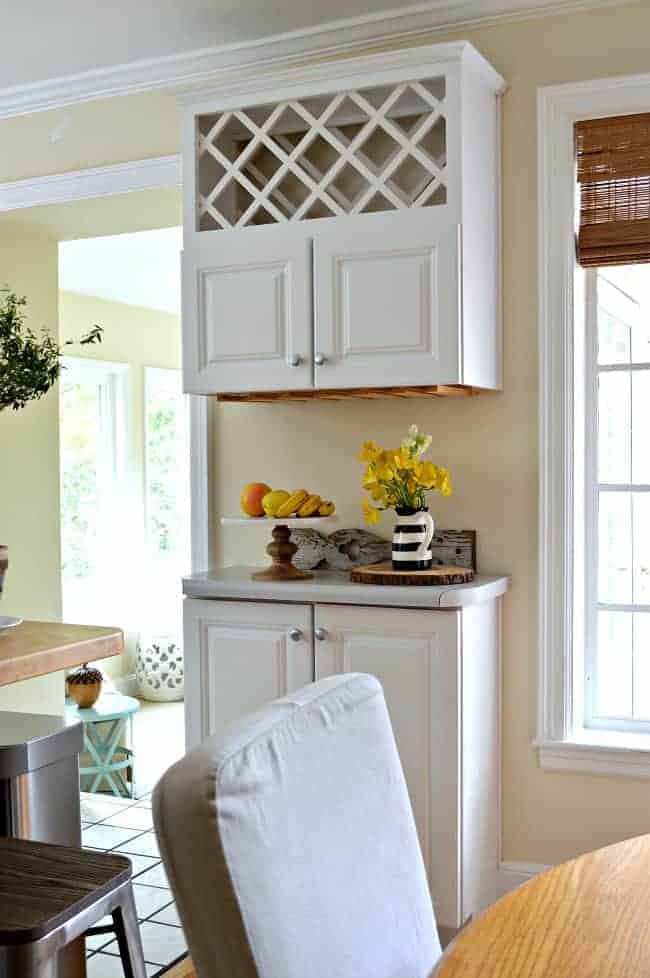
There was a wine storage cabinet on one of the walls in the kitchen that would never get utilized (talk about a dust catcher), so I decided pretty quickly that it would have to go and wood shelves would take its place.
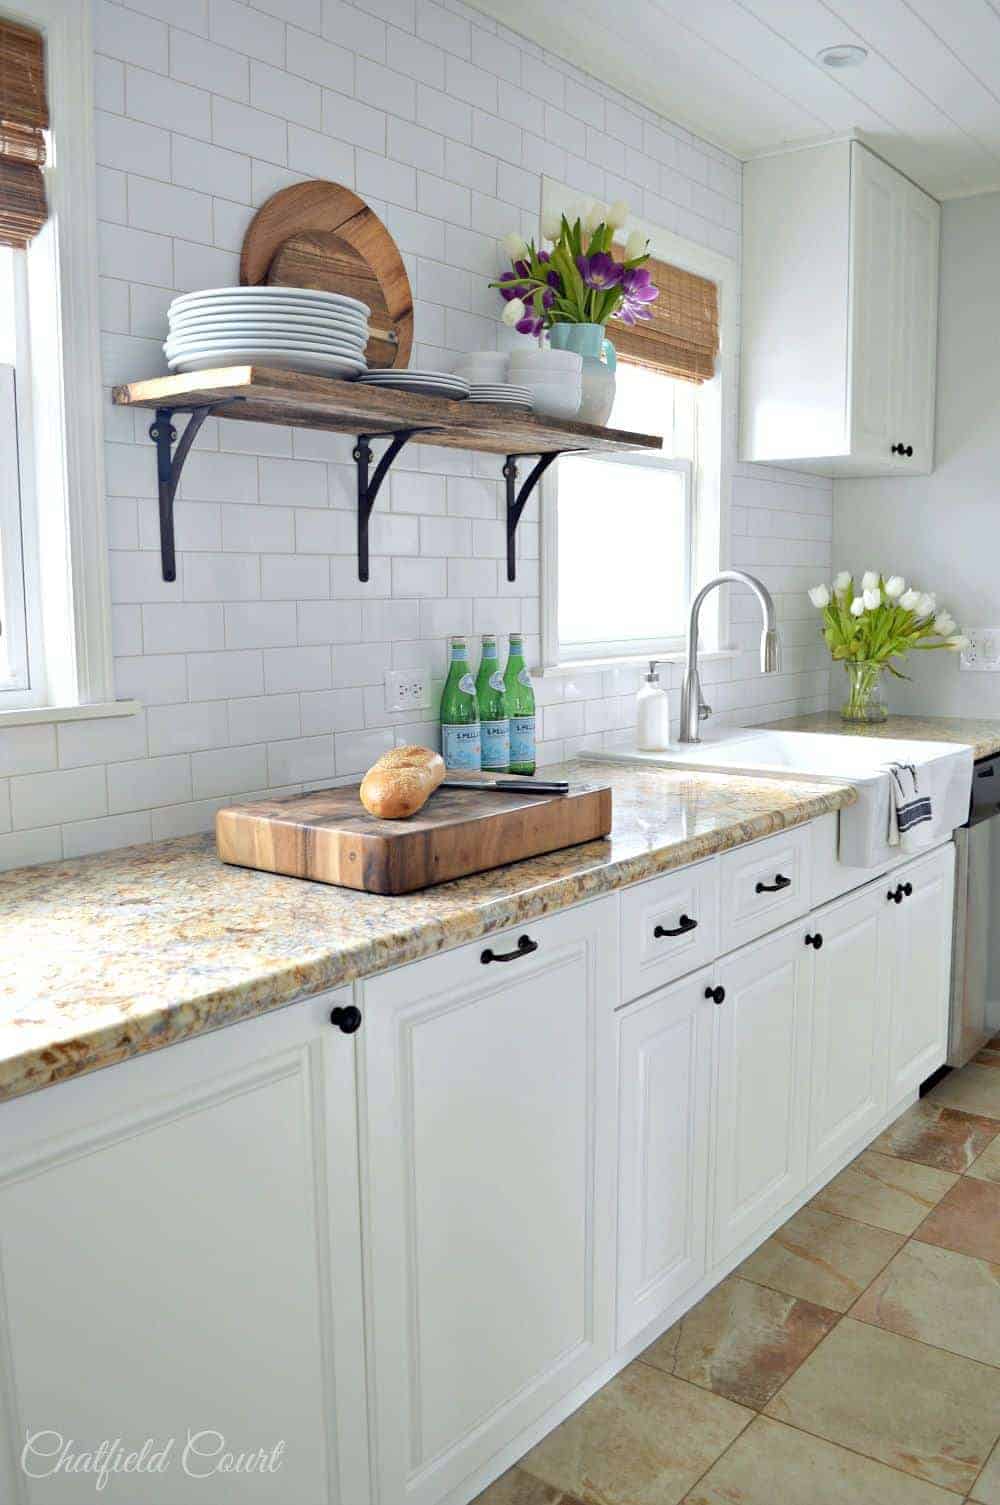
I had a barn wood shelf in our Illinois house, that we installed during our kitchen remodel. I loved how useful it was, so it wasn’t a difficult decision to do them again. This time though, we would do 2 and try to keep the budget under $50.
I love this kind of project because it’s relatively inexpensive and it’s super easy to do. The hardest part was trying to figure out how to hang the shelves so that I could put my dishes on them without everything crashing to the floor.
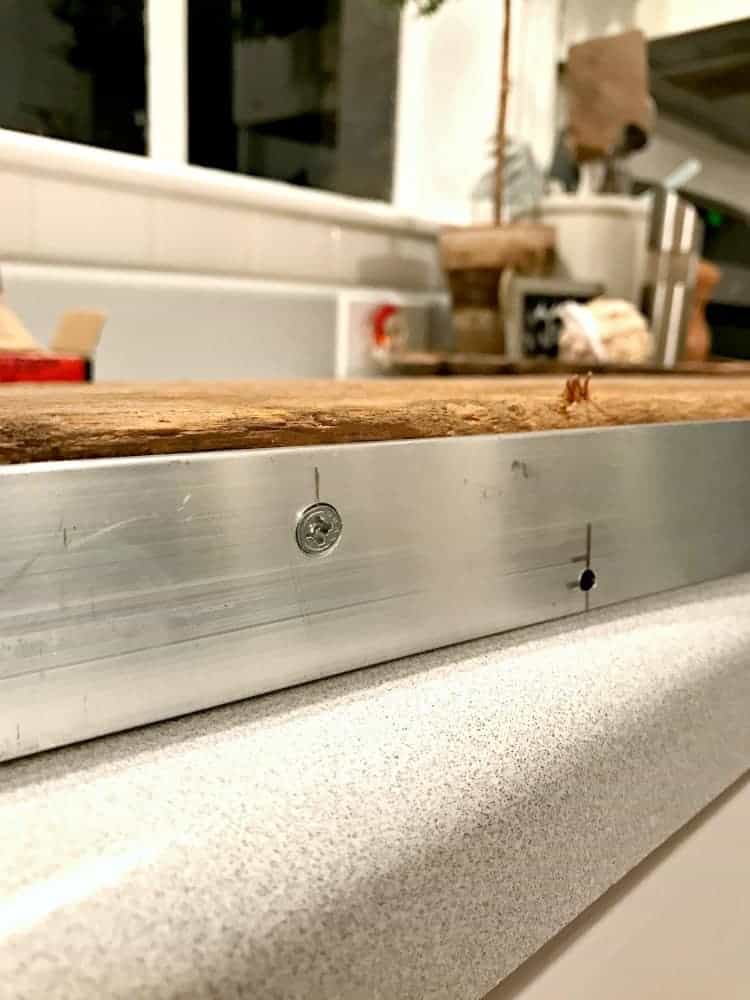
The studs didn’t line up on the wall so that we could use shelf brackets the way they are supposed to be used, so we had to improvise. There was a lot of discussion back and forth with the hubs and I, and we finally decided to hang these shelves the same way that we hung the bathroom shelves, with a metal strap on the back of the shelf.
That way we could screw it into the studs so that they were secure.
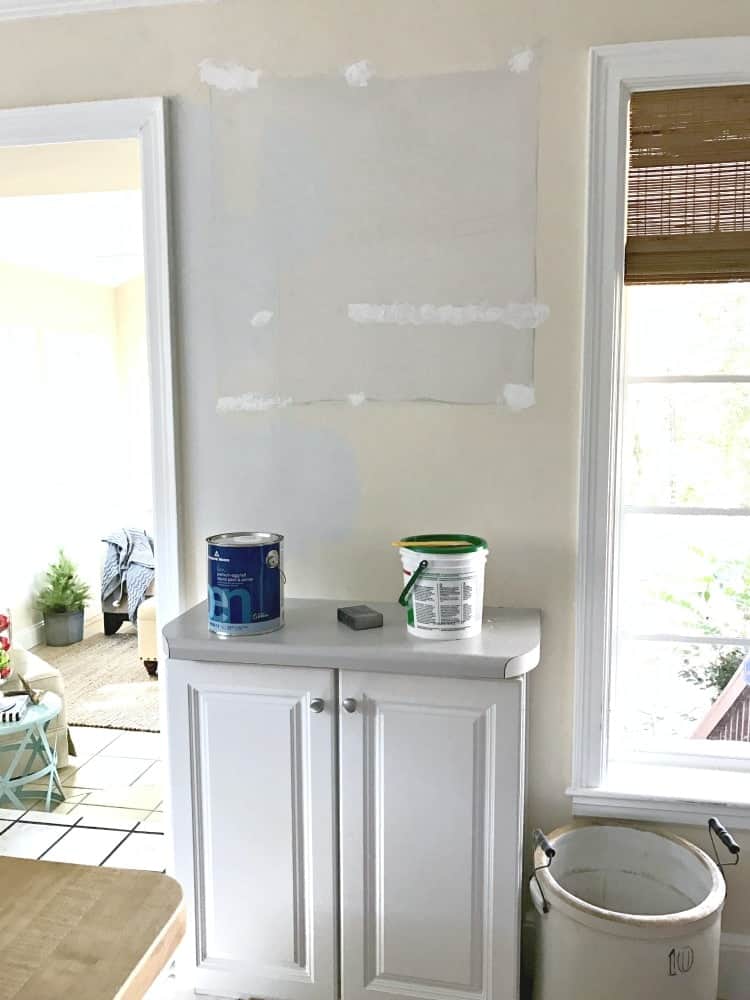
Before we hung the shelves though, I had a bit of work to do fixing the holes and painting the wall.
I went with Benjamin Moore Paper White, which is a very pale gray, and I love how it came out. So much better than the pale yellow that was on all of the walls when we moved in. We’ll talk more about the paint color when I share the whole room reveal.
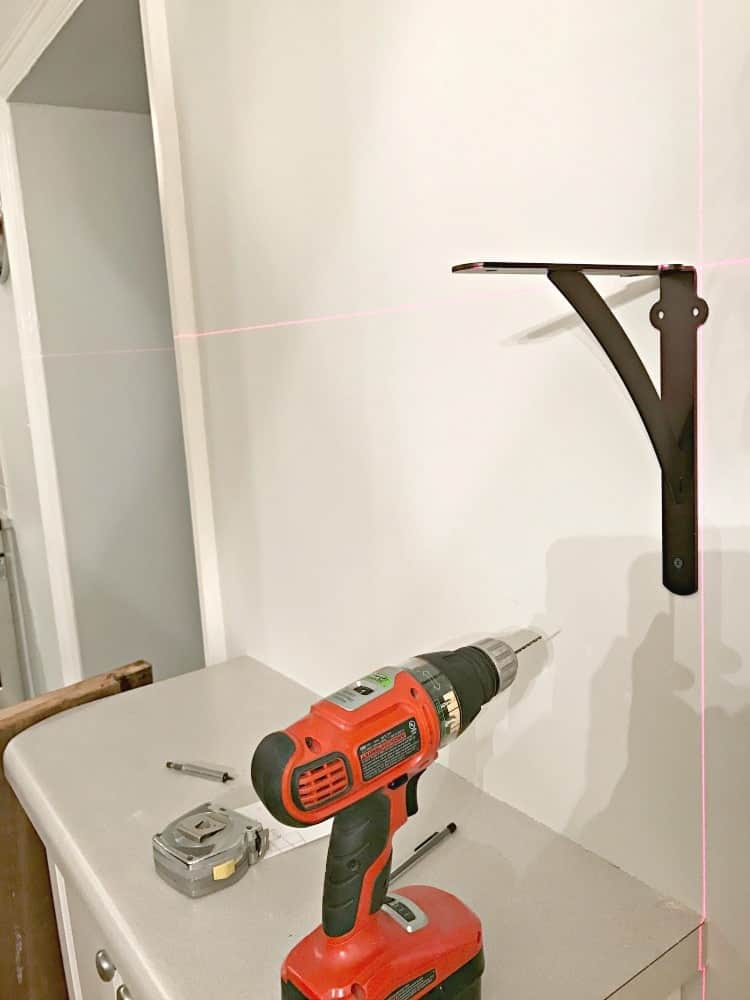
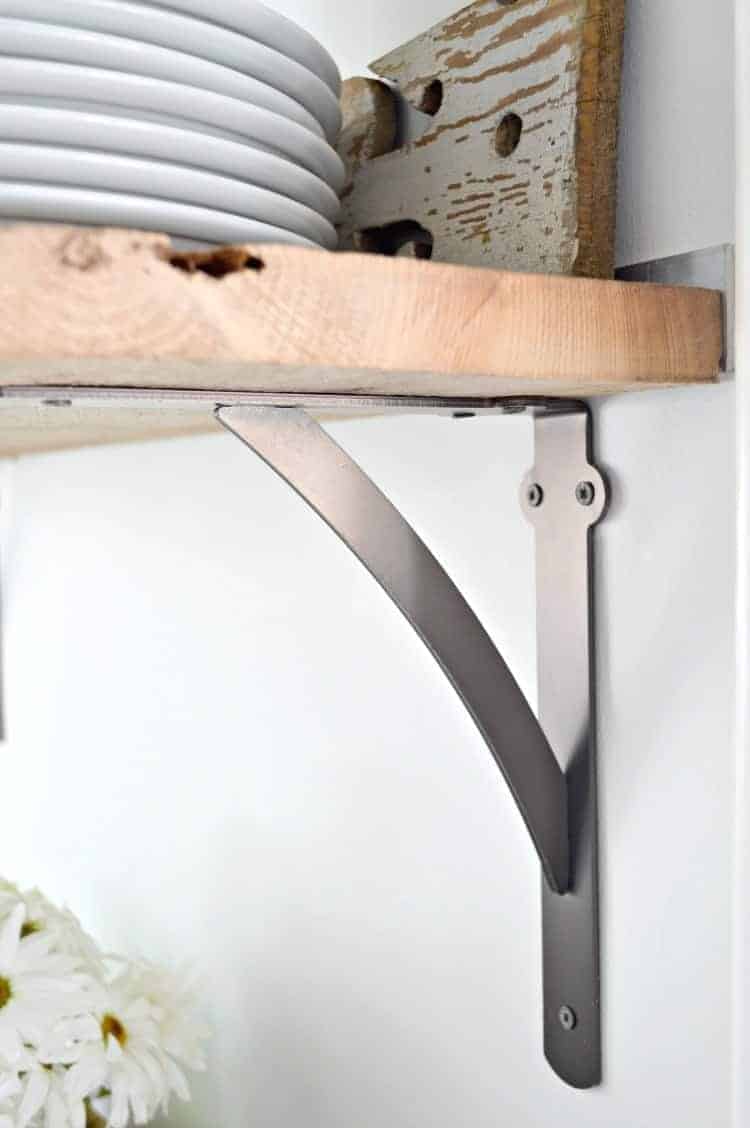
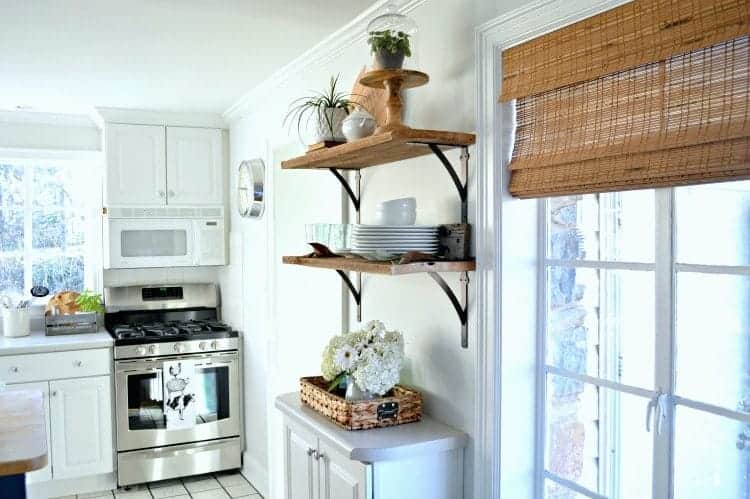
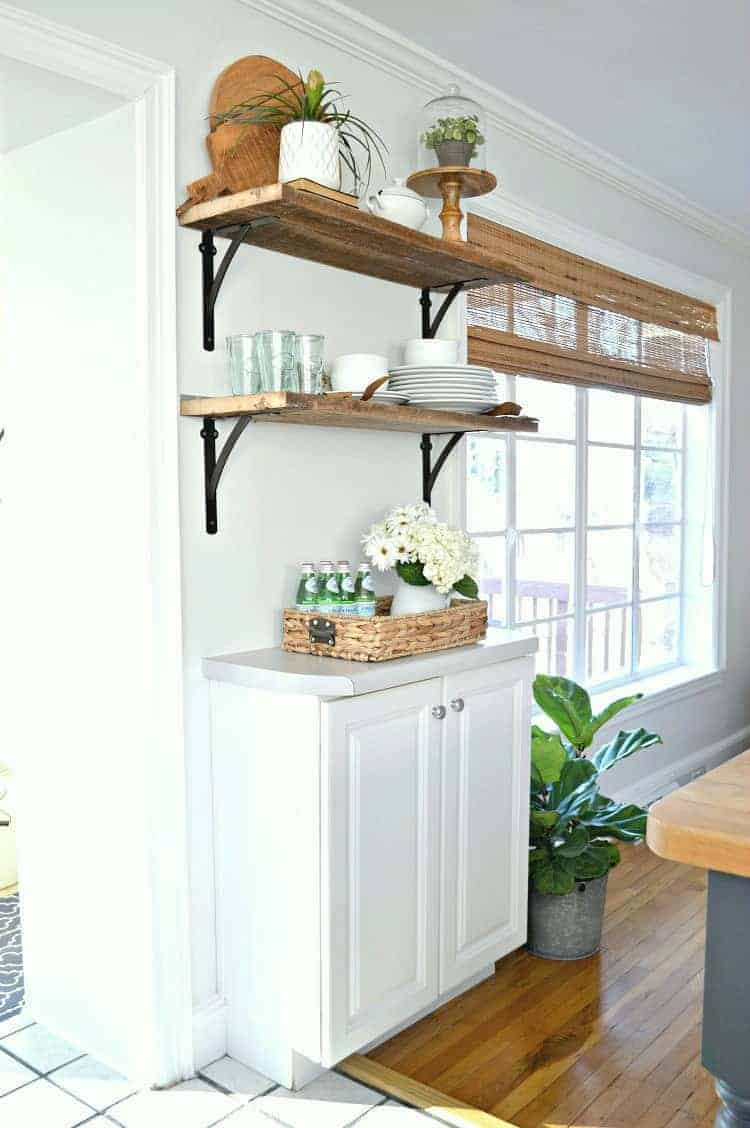
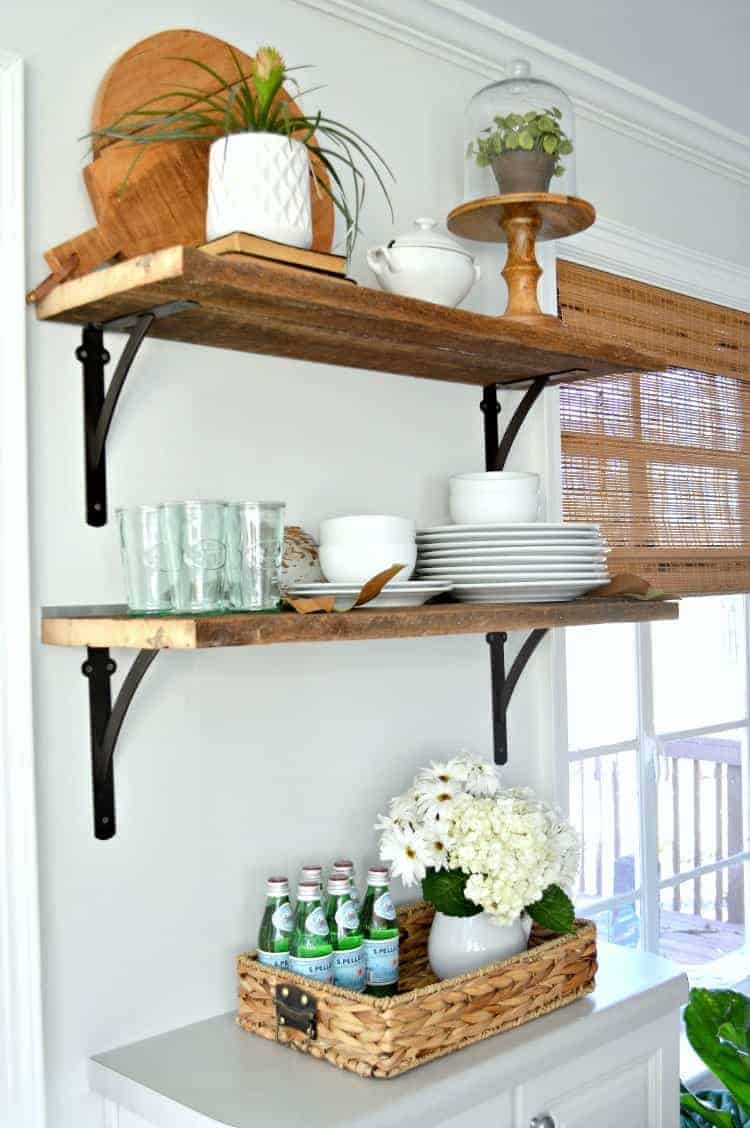
The kitchen shelves were going to hang a little different from the bathroom shelves, so we used shelf brackets to add a farmhouse touch. Since the metal straps are doing all the work, the brackets are mostly for looks.
The metal strap is barely visible behind the wood and, from across the room you can’t see it at all. .
Just like the shelf in our Illinois kitchen, these hold our everyday dishes and glasses and a few plants. I didn’t want to be dusting a lot of stuff so 2 small shelves were the right choice for me.
*Affiliate link used. Please see my Privacy Policy for more info.
The barn wood moved with us from Illinois so our only expenses were the metal strap for $10 and 4 shelf brackets, which were $7.95 each. That’s a total of $42 for just the shelves. Both the metal strap and brackets were purchased from The Home Depot.
This is a super easy DIY that you can do in your own home. If you don’t have barn wood, you could easily use a piece of pine and stain or paint it.
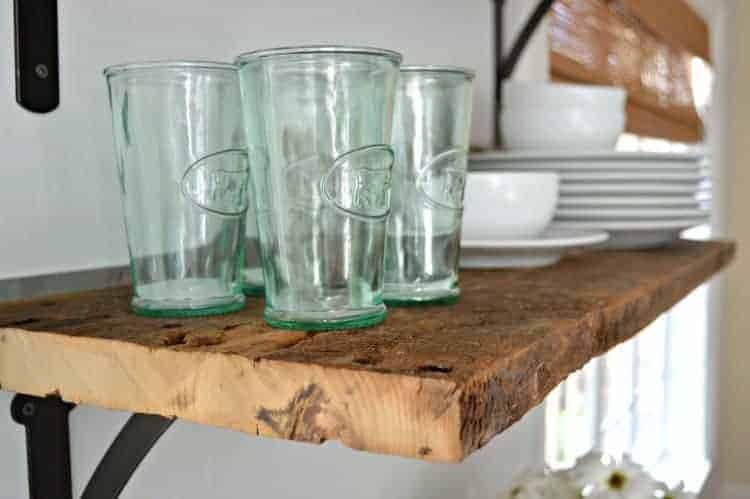
So this is it for me. I’ve almost used up my whole supply of barn wood so I won’t be building anymore shelves.
I’m almost positive. 😉
Now I have to finish painting the rest of the kitchen and dining room walls. Once all the painting is done, I’ll be ready to give you a proper tour of the space.
Thanks so much for stopping by!!!
Other projects you can check out…
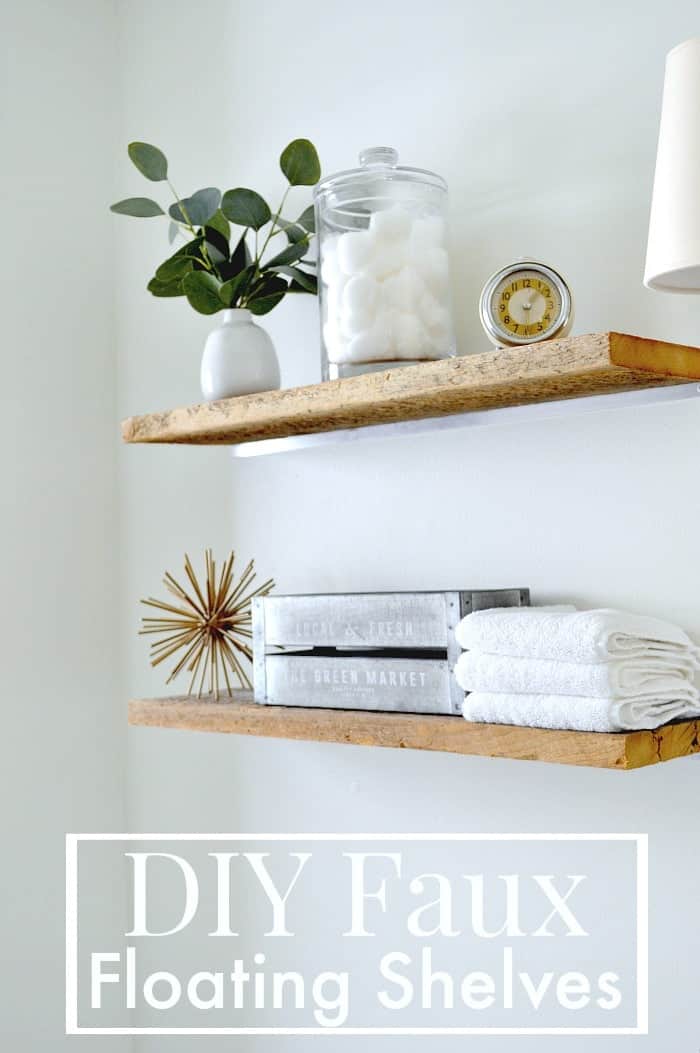
DIY Faux Floating Shelves in the Bathroom
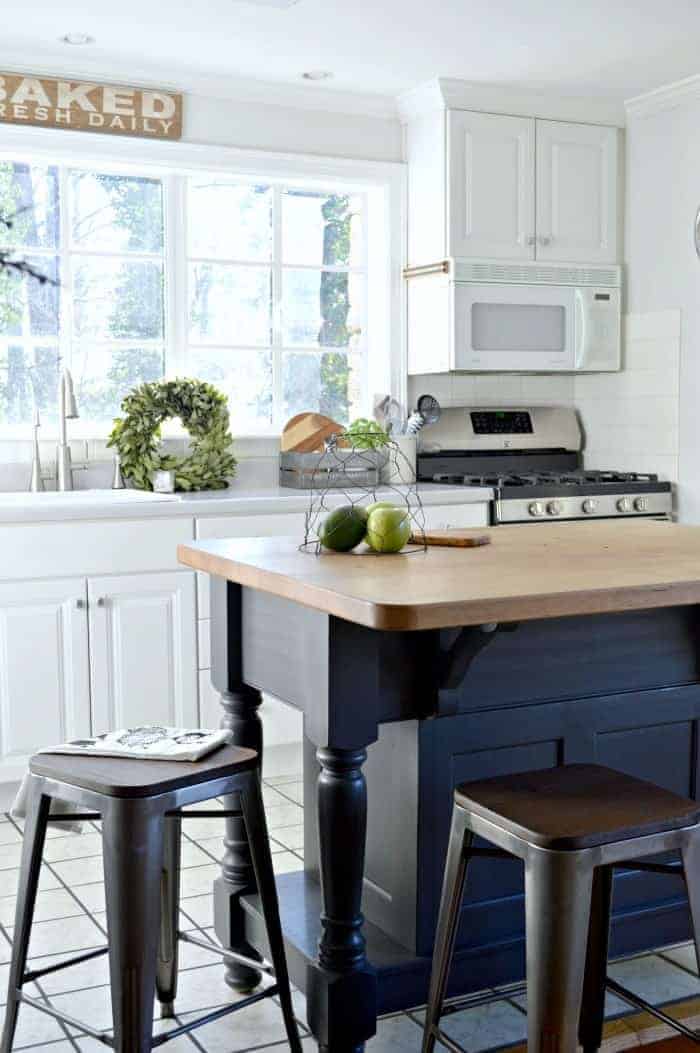

I’m loving how the woven blinds tie in together with shelves. Where are your blinds from?
Thanks Jackie! The blinds are from Blinds.com.
How far apart are the shelves?
Hi Shannon! The shelves are 14 inches apart. Hope that helps. 🙂
Love these! Can you share how long they are?
Hi Kelli! The shelves are both 36″ long and they’re extra wide so I can fit my dinner plates on them. Hope that helps. 🙂
What is the distance (in height) younplaced the shelves apart? They look wonderful
Thanks so much Linda! I still love those shelves. We placed them 14 inches apart. Hope that helps!
Great job! Your house looks amazing! Do you happen to remember what wood stain you used on your open shelving?
Thanks Melanie! No stain or paint. They are old barn wood so I kept the old rustic patina. All it got was a thorough cleaning. Hope that helps.
Love it! Having this done in our kitchen remodel very soon! Wondering what the thickness of your boards are? Sorry if I missed this info in your post 😉
No worries Kim. The boards are 1 inch thick. Hope that helps. 🙂
Thanks so much for stopping in. 🙂
Love the shelves! How far apart did you hang them?
Thanks so much Cheyenne! The kitchen shelves are 14 inches apart. Hope that helps. 🙂
I love your shelves! So gorgeous. I am hoping to put up some shelves like this in our basement kitchenette this weekend. Do you remember the name of the shelf brackets that you bought at Home Depot? And also what is the measurement of the wood? Thanks so much for sharing your beautiful home with us!
Thanks so much Amy! I really love my kitchen shelves. So glad we replaced the wine cabinet with them. The brackets we used were these…http://www.homedepot.com/p/Everbilt-10-in-x-8-in-Oil-Rubbed-Bronze-Heavy-Duty-Shelf-Bracket-14856/202824729 (in the oil rubbed bronze).
Also, the width of the board is 12″. I used my large dinner plates as a guide so that they would fit on there. Good luck with your project. Would love to hear how it comes out.
Oh, I love those shelves….and old barn wood at that.
They are lovely!
We have a place in Capistrano that sells old wood…we went to see…because I was thinking about having large shelves in the kitchen…but the wood was prohibitive! (and we have plaster walls that crack if you don’t do things like that just right….) so we never did it.
Still dream about shelves like yours.
Nancy
wildoakdesigns.blogspot.com
Thanks Nancy. I guess you could say that I’m slightly addicted to reclaimed wood shelves. I love the way they look and they’re great for extra storage. I was afraid we wouldn’t be able to put them in this house because we too have plaster walls. It took a bit of planning to make sure they would be sturdy and not damage the wall, but we did it.
Thanks so much for stopping in. I hope that someday you’ll have shelves to call your own. 😉
So pretty! I am a huge fan of open shelving!
Thanks so much, Courtney. I love open shelving too.
Your kitchen is so lovely! I makes me want mine finished even more. It’s been a WIP for too long. Great ideas. Pinned & shared. Thanks for joining the Inspiration Spotlight party @DearCreatives
My kitchen always seems like it’s a WIP. 😉 Thanks for visiting Theresa and for pinning and sharing.
I love the look of your open shelves. Thanks for sharing at Snickerdoodle. I’ll be featuring this at today’s party. Hope to see you there!
Thanks so much for the feature, Beverly!
Your rustic shelves really stand out against your white walls and cabinetry. I like the way you’ve styled the shelves, too. They make a nice addition to your kitchen.
Thanks so much! I really love the way they turned out and I’m so glad to be rid of that wine storage cabinet. 🙂
These look great! I also worry about clutter, yours are so perfect!
Thanks so much, Heather! I really love them. 🙂 Happy weekend!
Beautiful! Love that bright, airy feeling of your farmhouse style kitchen. Very welcoming. Thanks for sharing it with us at our Encouraging Hearts & Home blog hop today 🙂
Thanks so much, Linda, I appreciate it! 🙂
Kristi,
your shelves look beautiful! I am a big fan of open shelves. We also partially removed kitchen cabinets and installed DIY open shelves. We didn’t have such a pretty barn wood like yours, so we had to make new wood look old 🙂
Thanks so much, Nadia. I love having open shelves and I’m sure yours looks awesome, barn wood or not. There’s so many great products out there now to help you make new wood look old. Enjoy your shelves! 🙂
Thanks for sharing your lovely shelving DIY idea with us at #OvertheMoon. I’ve pinned and shared.
Thanks so much, Sue, I appreciate it.
Fabulous job! Can you please come to our house and help me create a beautiful kitchen like yours?
Thanks so much Ivory.
I’d love to help you with your kitchen…anytime. 😉
I appreciate you stopping in.
Looks great and much nicer than the cabinet. I have a wall by the kitchen window I might use this on. Now to find barn wood. :}
I agree Debbie, much nicer than that cabinet. I didn’t like that thing from the first time we stepped in the house so I’m glad to be rid of it. 🙂
Hope you give this project a try. I’m sure you’d love them.
You did it again! Looks so much better with the open shelves dear! Perfect!
Thanks so much Vel, I appreciate it. I’m loving the way they turned out.
Your shelves made such a difference – I love them. And the barnwood adds such a welcome bit of color and texture to the walls and cabinets. I know when you are finished (if we’re ever finished) with your re-do, it will be a wonderfully cozy and welcoming home. I’ve told you many times how much I love your little cottage, and the more you do to it, the more I love it. I would be so happy with a little home just like this.
Thanks so much for your sweet comment, Pat. Reading your comments always brings a smile to my face.
I’m loving the shelves and the rustic feeling of the barn wood. I think I need to show some restraint though and not add anymore. You know what they say? Too much of a good thing… 🙂
Thanks for stopping in and I hope you have a great weekend.
I love everything you do. I am still working on doing my ceilings, like you did in your last house. I just don’t have enough time and money to get it done just yet but it will get done. Thank you again for sharing.
Awwww, you are too sweet, thanks Tracy! Love that you are doing your ceilings. I’d love to see when it’s done. 🙂
I just took down the same type cabinet. We don’t even drink wine so it was a total waste. We do however drink coffee so….. I am replacing with white floating shelves & making it a coffee bar.
A coffee bar sounds like a great idea, Sherry! I’m sure your floating shelves will look awesome.
Brenda, Florida
The shelves look so neat and clean. What a nice change.
It is a very nice change. Thanks so much, Brenda!
Love the shelves. I am going with a similar look in my kitchen, but got the black shelves from Ikea. My color scheme is black, white and grey.
Thanks Laura, I love them too. Black, white and gray sounds like a great color scheme. I’m sure they will look awesome!
Those look so much better than the cabinet!
I know, right? 😉 I was so happy to take that cabinet down.
This is jaw-dropping gorgeous! I have a place in my family room for such shelves and do actually have the barnwood….hmmmm
Awww, thanks Melanie. I hope you’re able to give this project a try. I’ve love having mine and they really are super easy to do.
Your shelves look amazing, Kristi. I love the rustic touch of the barn wood. You and hubby did a great job!
Thanks so much, JoAnne. I’m so glad that we finally have this wall done. 🙂