
How to Make a DIY Wireless Wall Sconce
This post may contain affiliate links, please see our policy for details.
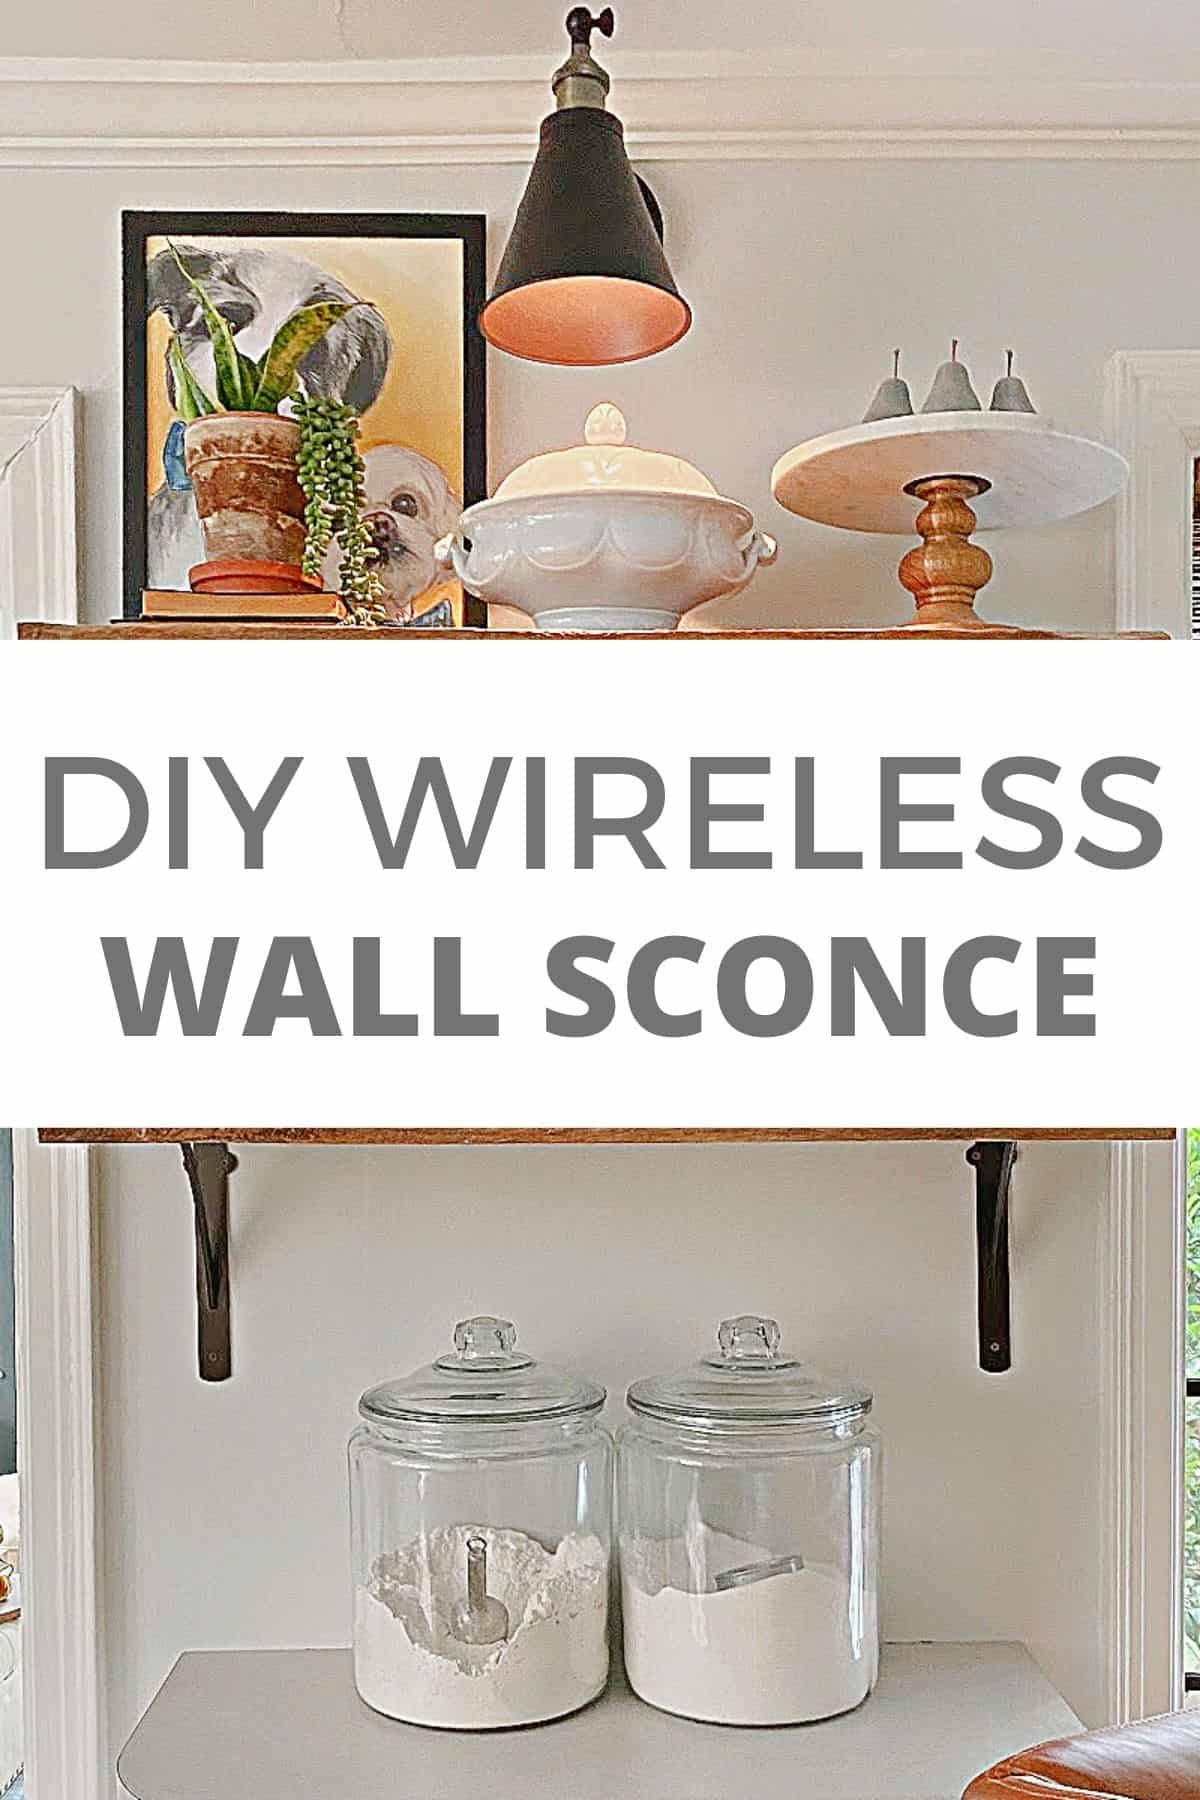
How to make a DIY wireless wall sconce with a battery operated puck light when you can’t or don’t want to run electric.
Sometimes when you live in on old house with plaster and stone walls, you have to think outside the box when you’re decorating.
That’s what we did when we built our powder room out of a closet, and what we had to do with the wall sconce that I wanted to hang in the kitchen.
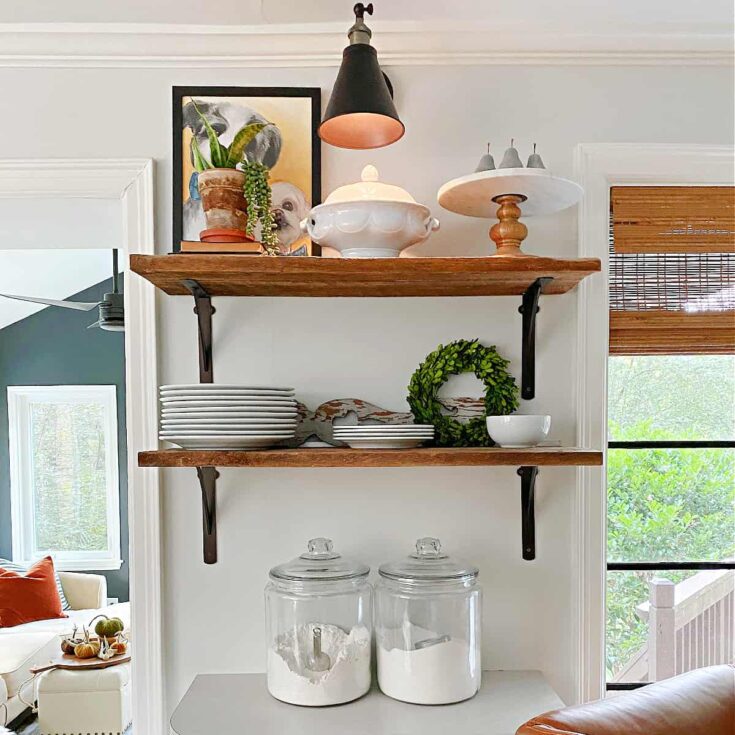
It’s not easy to hang a picture, let alone adding new wiring for a light fixture, so when I wanted the look of a sconce over my DIY kitchen open shelving, I had to get creative.

I knew that I would have to give up something if I wanted to add a wall sconce and that something was a real, working electrical light.
If you’ve been around here for a while then you know that I don’t usually take no for an answer.
I had to figure out a way to have a light without running new electrical wires.
We actually had to deal with this issue in all of our closets when we first moved into the cottage so it didn’t take me long to come up with a solution.
Can you really make a wall sconce cordless?
You can if you use LED battery operated puck lights.

They were the perfect solution.
So, with the lighting aspect worked out, I started my search for a nice wall sconce (that wasn’t over-the-top expensive).
Once I had my wall sconce I had to figure out how I was going to make it work with my LED puck lights.
Easy enough…
Supplies
Making a DIY Wall Sconce
This little $4 gem was just what I needed.

It’s a light socket adapter that you can find at any hardware store. All I had to do was “glue” a puck light to it with a little bit of caulk.
I let it sit overnight to dry.

Once the caulk was dry I screwed the adapter into the light fixture, just like you would a light bulb.

Hanging the wall sconce
Once the light was put together I hung the sconce on the wall.

I just attached the metal fixture bracket to the wall with 2 screws. It’s best to find studs when hanging the bracket so the light is really secure.
After the bracket was up I attached the sconce. I did keep all of the wires intact just in case I ever want to hook the light up to electricity.

That’s it!
An easy DIY lighting hack when you can’t run wires for electricity.

A couple important notes about puck lights
- Since the light is out of reach, I went with a puck light that came with a remote. That way I could turn it on and off without standing on a barstool (and giving my husband a heart attack).
- My puck light was a bit big for the tapered shade on my sconce. When I glued it to the adapter it wouldn’t screw into the outlet so I had to improvise. I just added a shim, by way of a wood round cut from a stick. Easy fix. The batteries for the puck light are still easily accessible.
- When you’re looking for battery operated lights you need to look for the highest number of lumens. The higher the lumens, the brighter the light.
- Remember, these are battery operated, which means they don’t last all that long. My wireless sconce is more for looks than function so it’s not something I use every day. It’s the perfect solution for my space.

With this hack you can put a light almost anywhere you want.
We have a window seat in our guest room that’s calling for stylish wireless sconces just like this.
Check out our web story and more wireless lighting ideas…
- DIY Wall Sconce web story
How to Make a DIY Wireless Wall Sconce
How to make this easy DIY wireless wall sconce with a battery operated light puck in minutes. No electrical wires to run or
Materials
- light socket adapter
- wall sconce
- battery operated puck light
- caulk or hot glue
- 2 wood screws
Tools
- screwdriver
Instructions
- Use caulk or hot glue to attach light socket adapter to the back of a puck light
- Let dry
- Once dry, screw light socket adapter into the light fixture, just like you would a light bulb
- Mount light fixture bracket to wall with 2 wood screws
- Hang light fixture (keep wires attached in case you ever want to use light with electricity)
Notes
- Since the light is out of reach, I went with a puck light that came with a remote. That way I could turn it on and off without standing on a barstool (and giving my husband a heart attack).
- My puck light was a bit big for the tapered shade on my sconce. When I glued it to the adapter it wouldn’t screw into the outlet so I had to improvise. I just added a shim, by way of a wood round cut from a stick. Easy fix. The batteries for the puck light are still easily accessible.
- When you’re looking for battery operated lights you need to look for the highest number of lumens. The higher the lumens, the brighter the light.
- Remember, these are battery operated, which means they don’t last all that long. My light is more for looks than function so it’s not turned on every day. It’s the perfect solution for my space.
