No Sew Pillow Tutorial
This post may contain affiliate links, please see our policy for details.
Happy Monday and welcome to our second Dose of DIY blog hop. Last month we tackled summer front doors and porches and this month’s theme is pillows. I have to tell you, I was more than a little nervous when the group chose this theme. I’m not someone who is able to or even likes to sew…I mean, I can sew a button, but only if I have to, and I’ve certainly never made a pillow before. I’ve never even used a sewing machine so I knew that whatever I made was going to have to be simple and no sew.
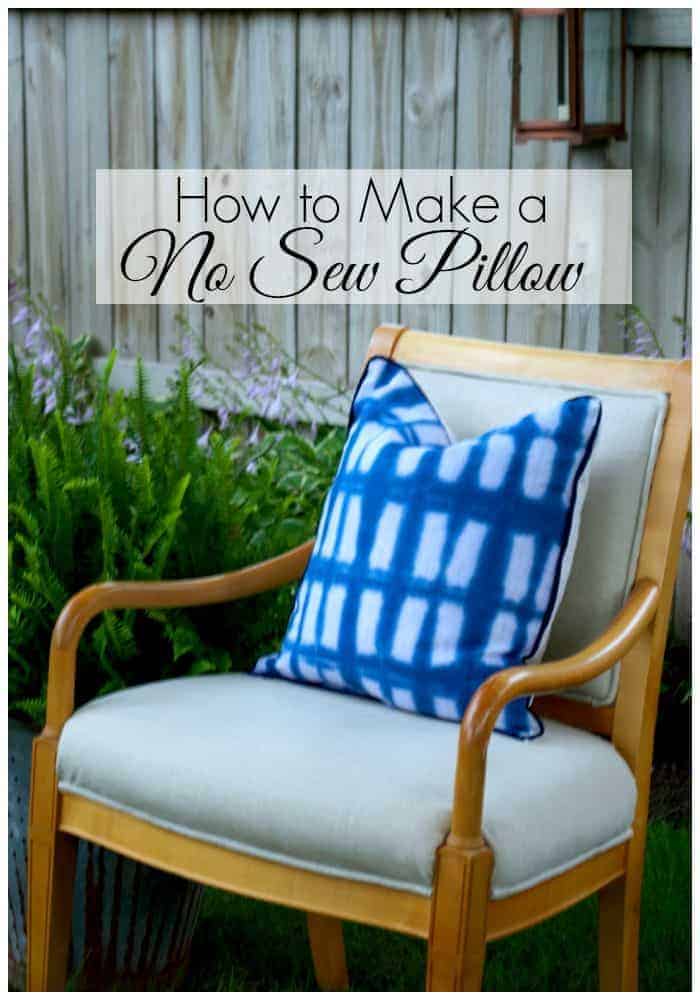
There’s no shortage of tutorials online for no sew pillows, so that’s where I started (this is a good one and one this one was very helpful).
I decided to try fusible tape to “sew” my pillow and after walking around the fabric store trying to get ideas for the style of pillow that I wanted to make, I came across some tie dye and knew I found the direction for my first no sew pillow.
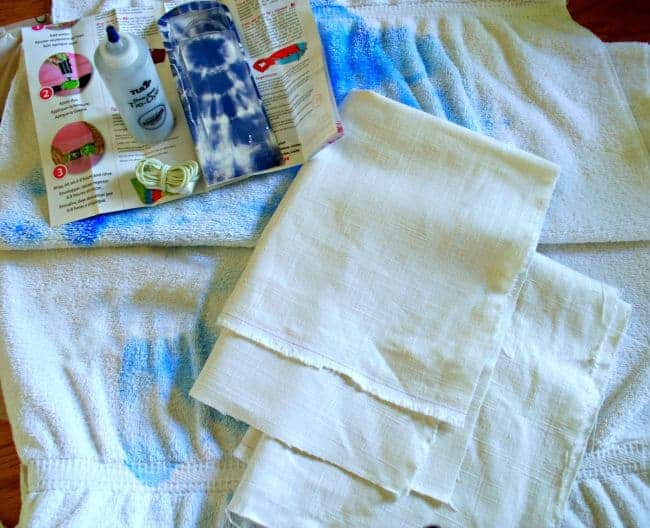
The materials I used for my pillow are:
- cotton fabric
- fusible tape
- no sew glue
- rope cording
- tie dye kit
- iron
The first thing I did was to wash my fabric in the washing machine and dried it until it was still damp (make sure you don’t use fabric softener or dryer sheets). Next I cut my fabric to size. I was making a 20×20 inch pillow so I used a pre-made cover in that size as my template and added 1 inch to 3 sides and 2 inches the 4th side. I only wanted to tie dye one side of the pillow, so that was my next step.
After my fabric was dyed and done (I will be posting a tutorial on how I did it), it was time to make my pillow. Instead of just doing a regular pillow, I thought I’d add some rope cording to it. Because I added this extra step, the way I joined my fabric together was a little more involved.
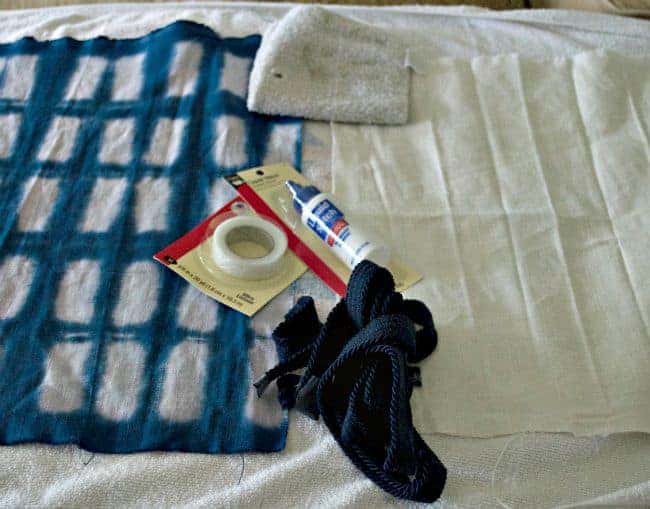
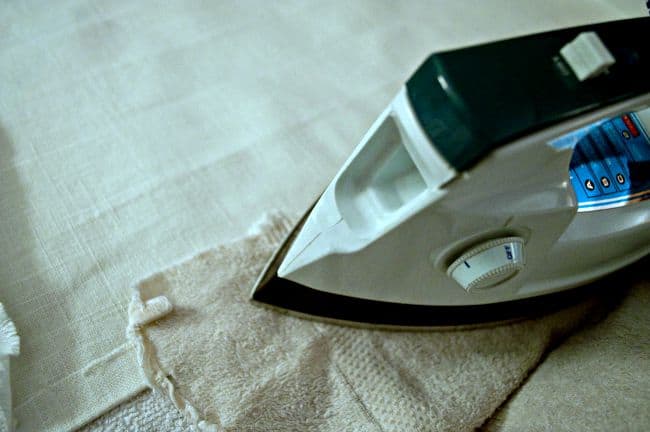
To start, I ironed both pieces of fabric to get all the wrinkles out. Next I folded my fabric up an inch on each side and ironed it flat on all 8 sides (cutting a diagonal on each corner of the folds).
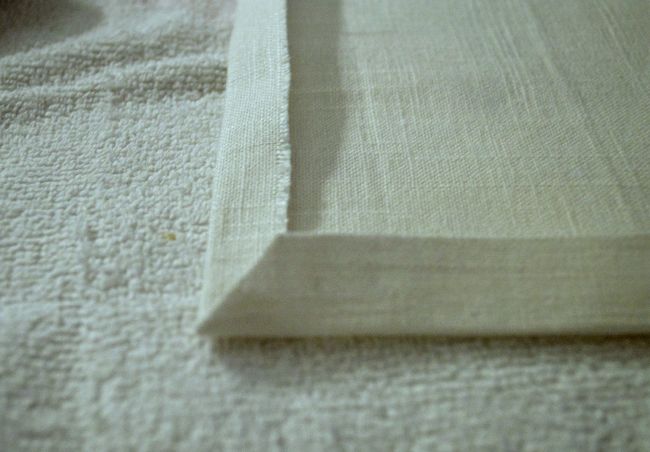
Then I used the fusible tape to glue down the one side, that we added the extra inch to, on both pieces of fabric (make sure you follow the directions on the fusible tape package). The other 3 sides on both pieces of fabric do not get glued down yet.
Once that’s done, it’s time to add the cording with the fabric glue. I started about an inch from the corner and put a bead of glue and the flat part of the cording on the glue. Make sure that the cording sticks out over the edge of the fabric.
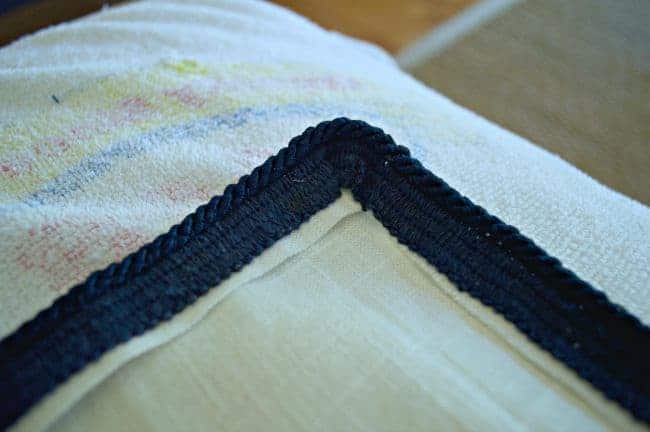
When you get to a corner, simply cut a few slits in the flat part of the cording and work your way around the corner.
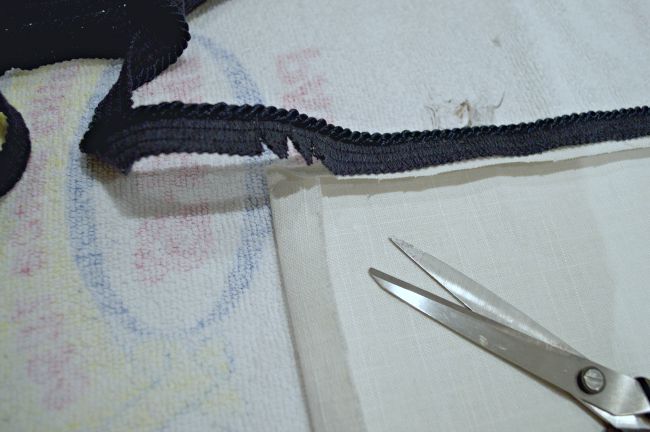
When you have gone all the way around, use a little extra glue and overlap the cording just a bit. Let your glue dry as per the instructions.
Once the glue is dry, it’s time to add the velcro to the side that we used the fusible tape on earlier. Make sure your pieces of velcro line up with each other and glue them onto your fabric. Use something heavy to weigh down the velcro until it dries.
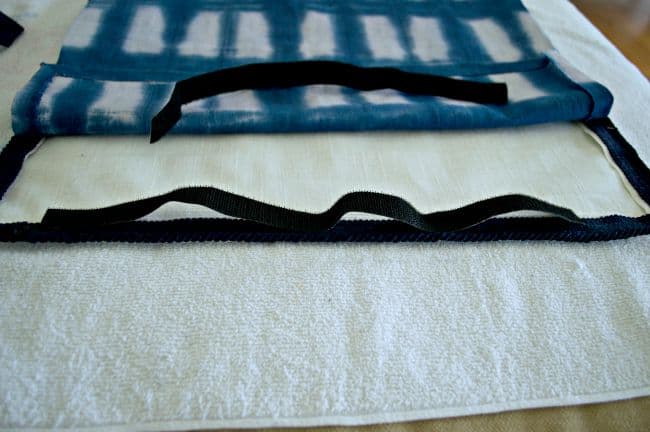
When that’s dry, we’re ready to join both pieces with the fusible tape. I placed the tie dyed piece on top of the back piece with the cording, laid the fusible tape in between and ironed the edges.
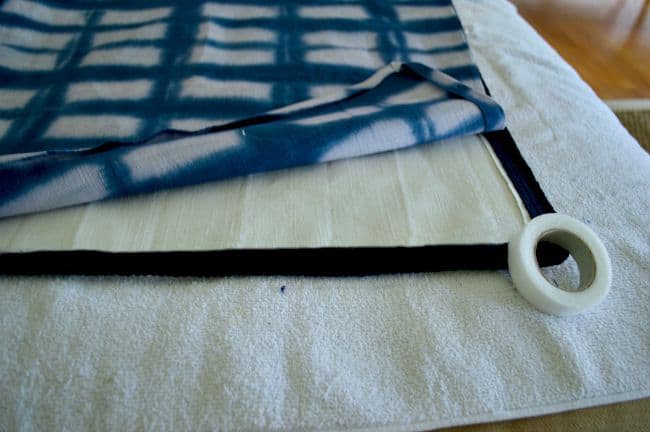
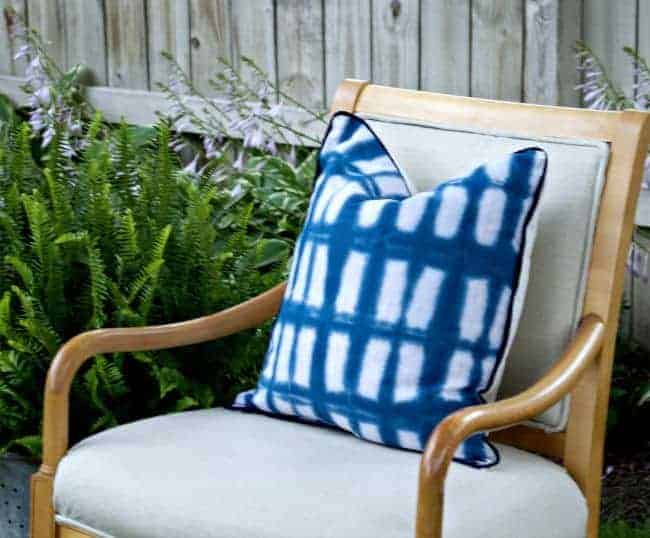
I was really nervous adding my pillow form. All I could see in my mind was my pillow cover exploding falling apart completely, but it held strong. This was an easy and inexpensive project to do and I ended up spending less than $20 on all of my supplies. There was a bit of a learning curve for me because I’ve never used these materials before but if I ever make another no sew pillow, I’ll have a better idea of what I need to do and not do.
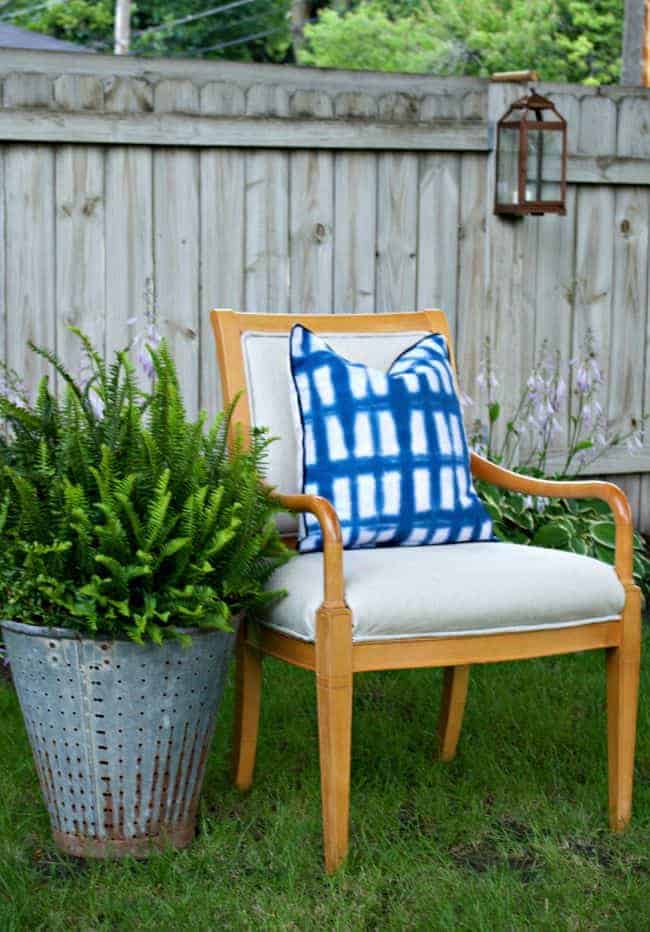
Ok, after checking out everyone’s awesome summer front door/porch projects last month, I know that we’re in for some killer pillow projects today. Make sure you visit these 5 talented ladies and see their take on our pillow theme for this month’s Dose of DIY…Kim from Exquisitely Unremarkable, Jill from Sew a Fine Seam, Tammy from One More Time and Sarah from Creative Ramblings.
I hope you have a great week. I’ll be back later in the week to share how I tie dyed my pillow cover.

