
How to Make a DIY Pleated Lampshade from a Pillow Cover

If you’ve ever looked at a designer pleated lampshade and immediately checked the price—only to close the tab just as fast—you’re not alone. The good news? You can recreate that same high-end look using something as simple as a pillow cover.
This DIY pleated lampshade project is an easy, budget-friendly way to elevate your lighting and add custom texture to your space. Whether you’re updating a thrifted lamp or finishing off a room makeover, this is one of those small changes that makes a surprisingly big impact.
Why I Chose to Do This DIY Lighting Hack
I installed a pair of cordless sconces on the wall behind our living room sofa mainly to cover a big hole where a thermostat used to be. Once I got them up though, I didn’t like how the lampshades blended into the wall color.
I went online to search for pretty lampshades but found them to be pretty pricey, and I couldn’t find anything that fit my specific sconce. Not finding what I wanted, I went on the search for fabric I liked so I could make my own shades.
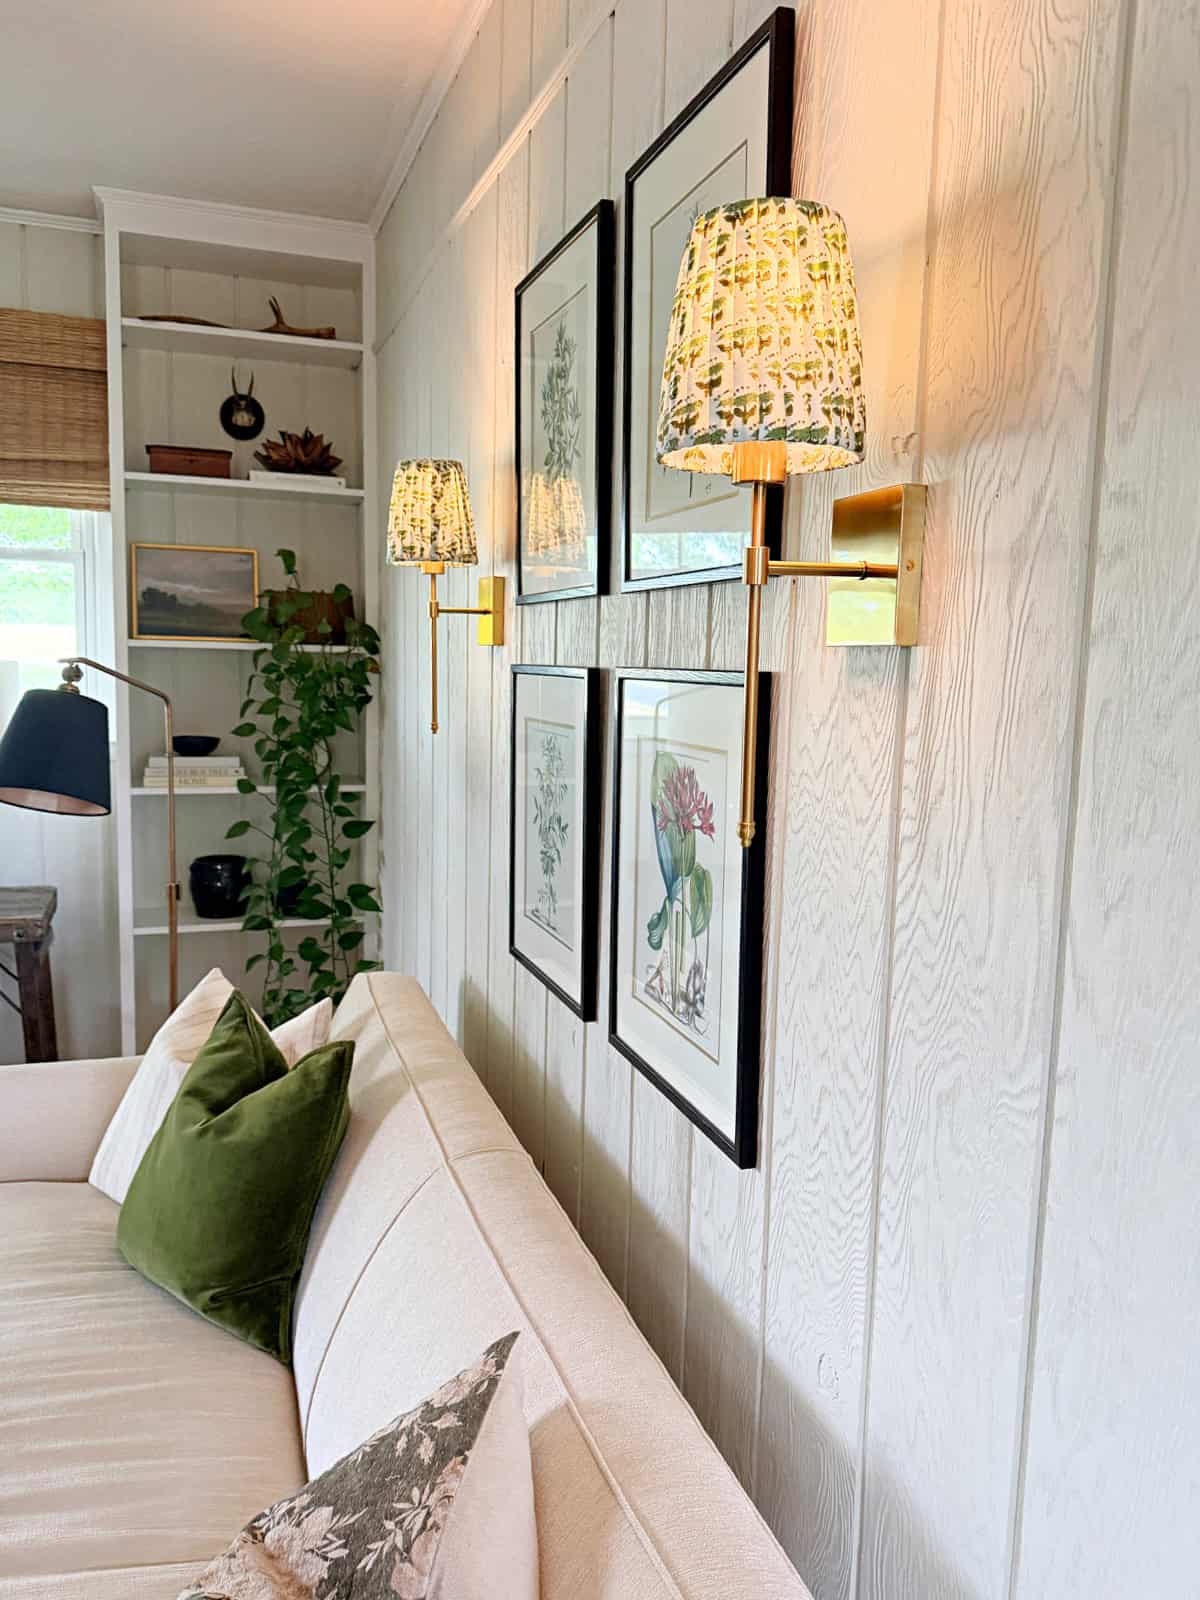
I had no luck there either and then an idea struck…pillow covers. A couple of weeks beforehand I found these pillow covers that had the colors I was looking for, and they were pretty inexpensive, so I ordered them.
I figured that if I got them and they didn’t work, I would only be out $10. In the end it worked better than I had hoped.
Materials I Used
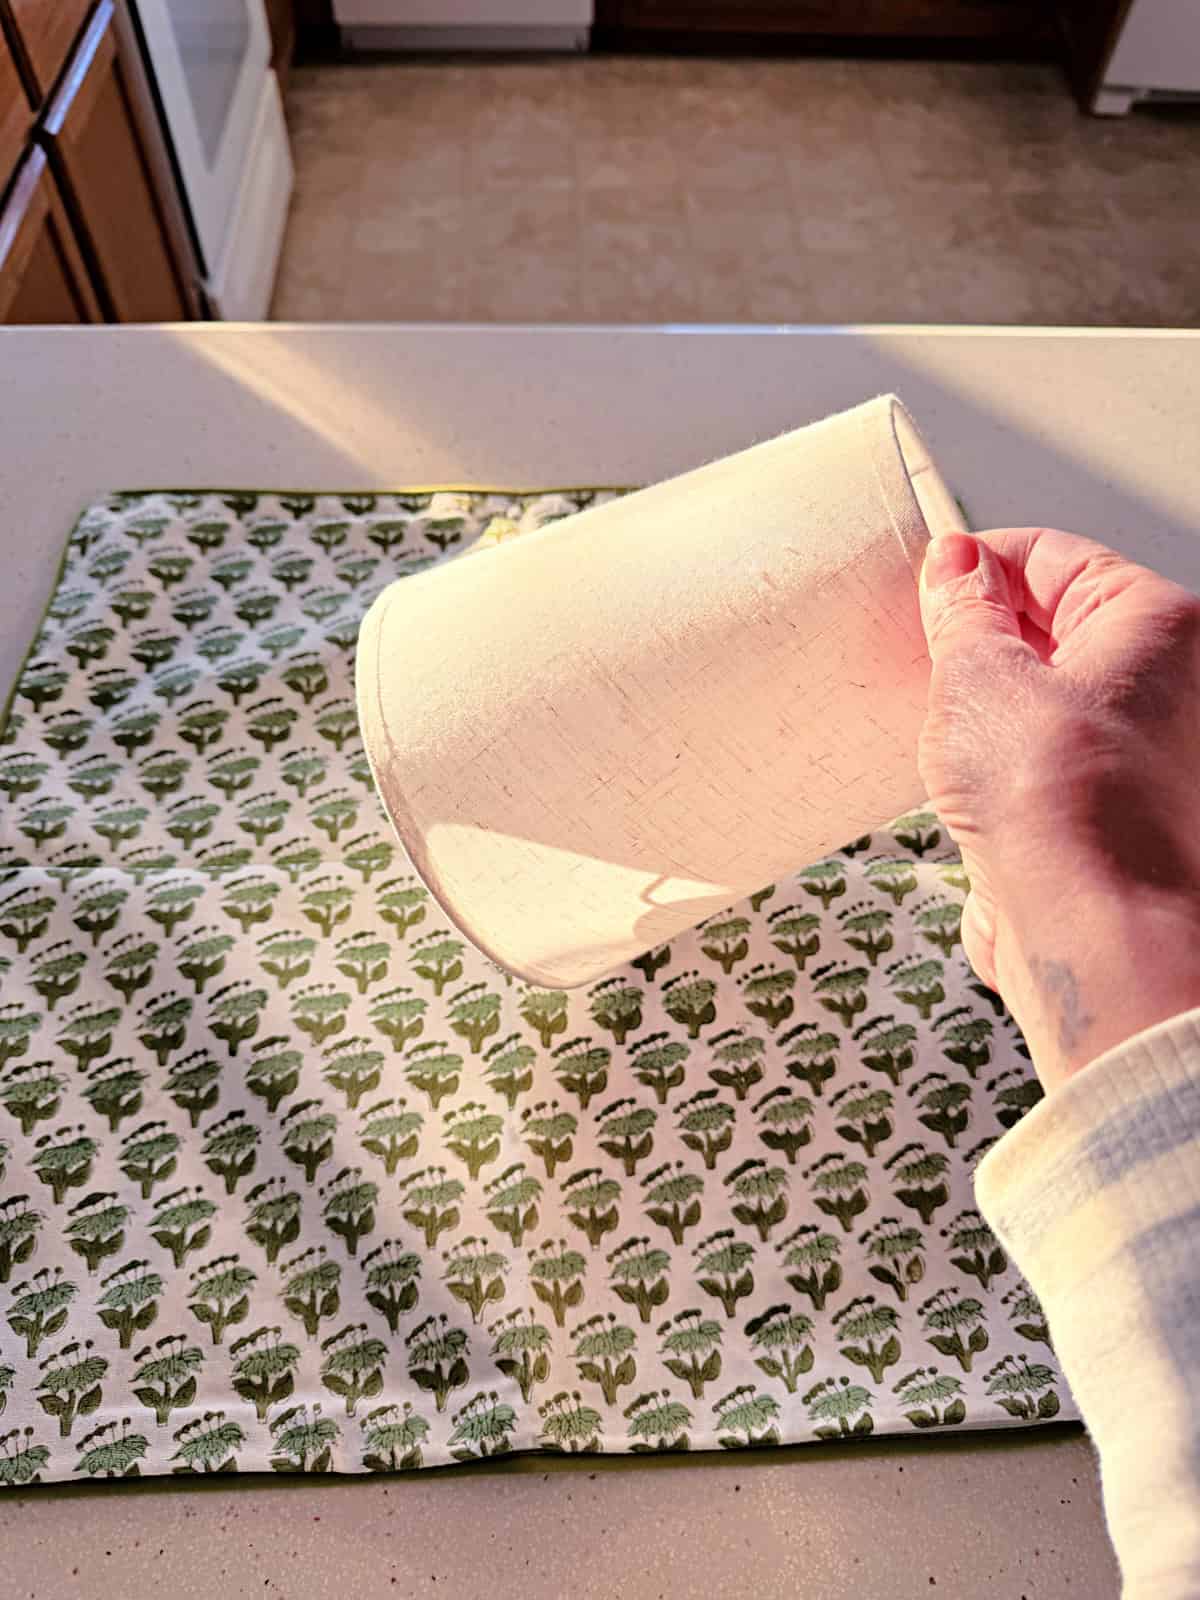
- 18×18 pillow cover (I used two)
- seam ripper
- sconce lampshades
- hot glue gun
- hot glue sticks
- scissors
Step-by-Step: DIY Pleated Lampshade Tutorial
Step 1: Prep Your Pillow Covers
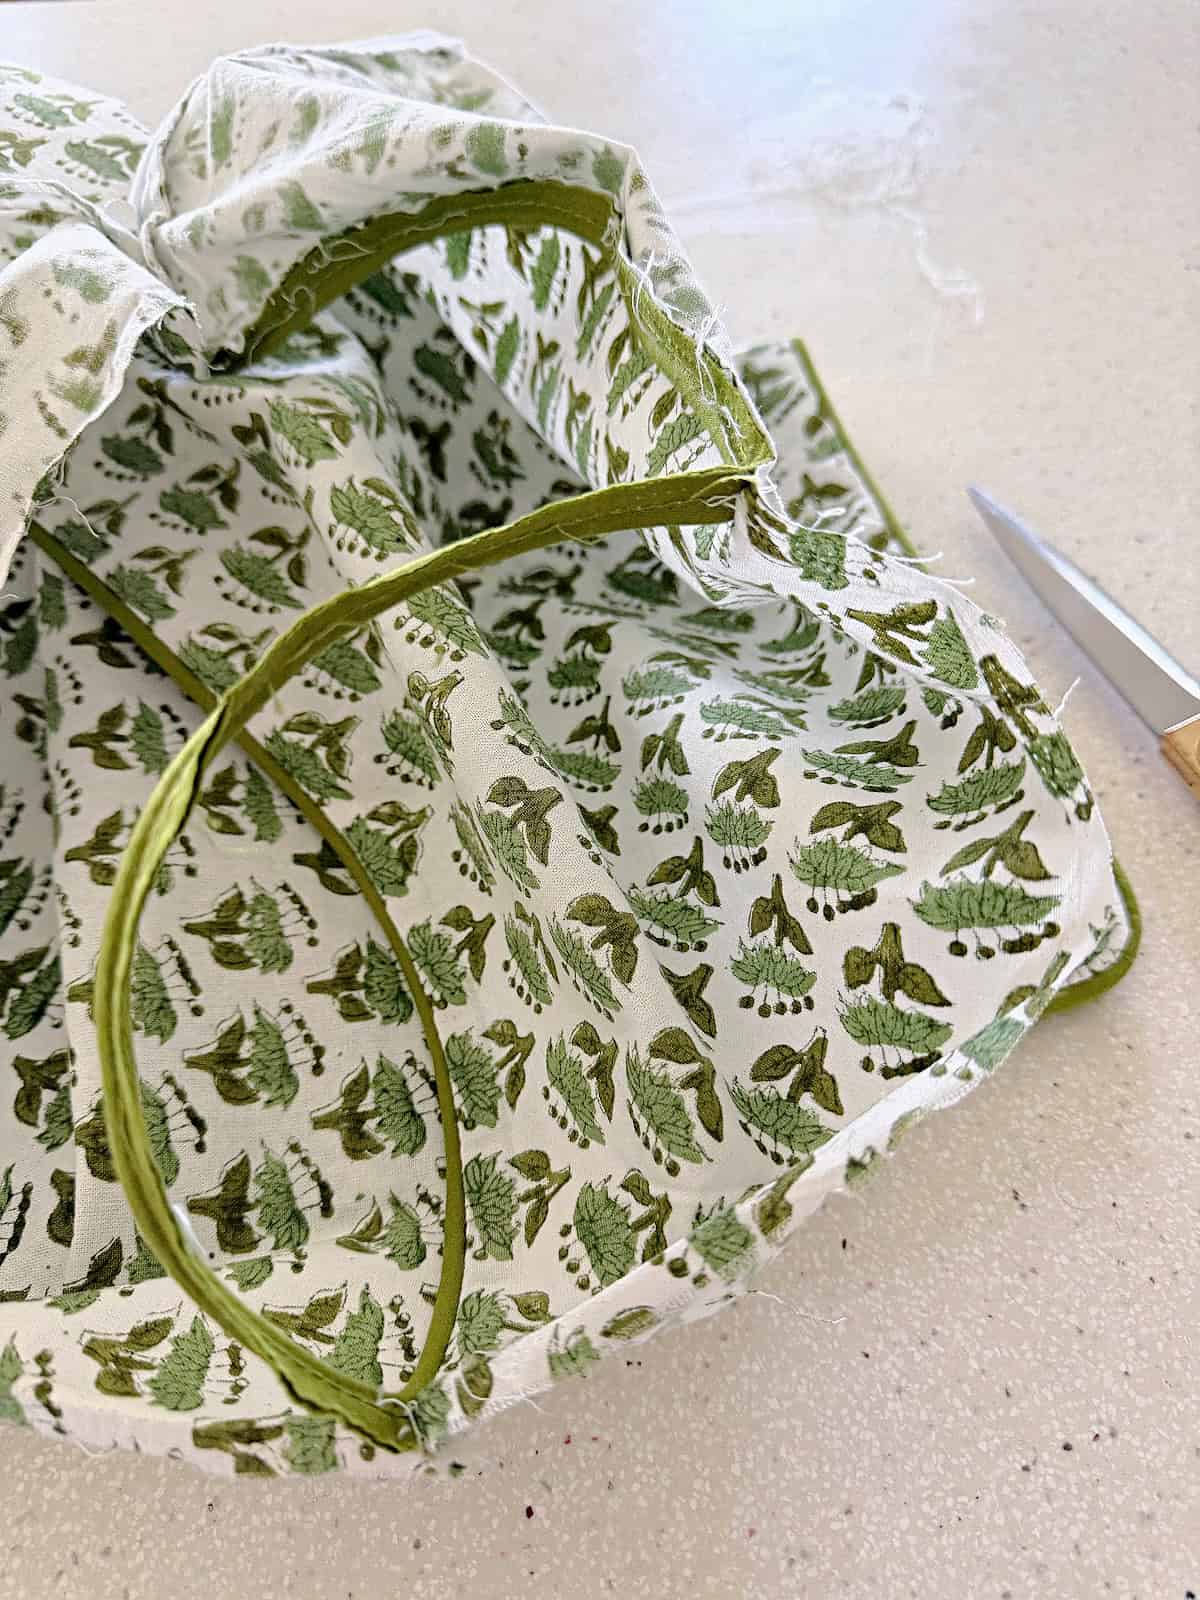
The first thing you need to do is to use the seam ripper and deconstruct the pillow covers. The cut the zipper off each one and set them aside for the next step.
Step 2 : Attach Fabric to the Lampshade
Next, heat up the hot glue gun and start gluing the fabric on the lampshade.
Start by attaching one end of the fabric right on the lampshade seam. Run a bead of hot glue down the side of the lampshade and place the fabric over the glue.
After the fabric is attached, pinch a small piece of the fabric and gently pull it over to make a pleat. Run another bead of hot glue along the fabric, essentially inside the pleat, so that you can’t see the glue and the pleat lays flat.
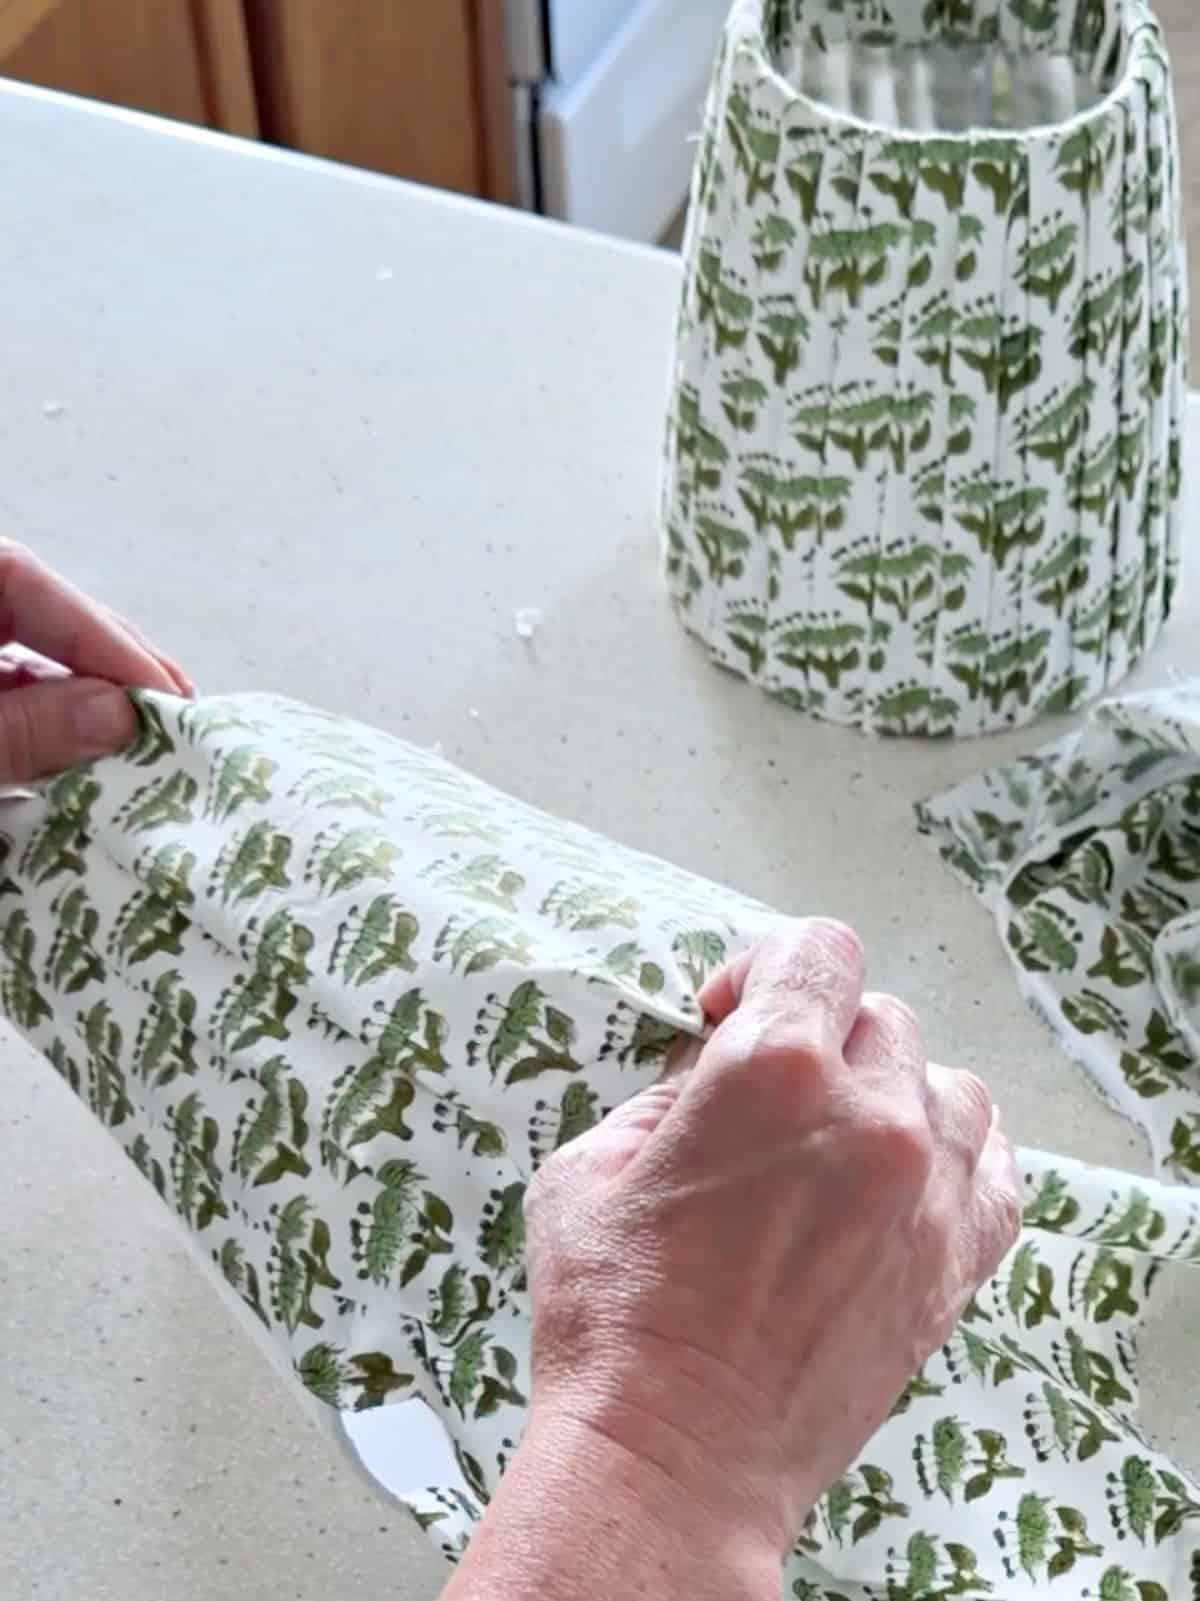
If you’re doing a smaller sconce shade like mine, you don’t want big pleats so try to keep them pretty close together.
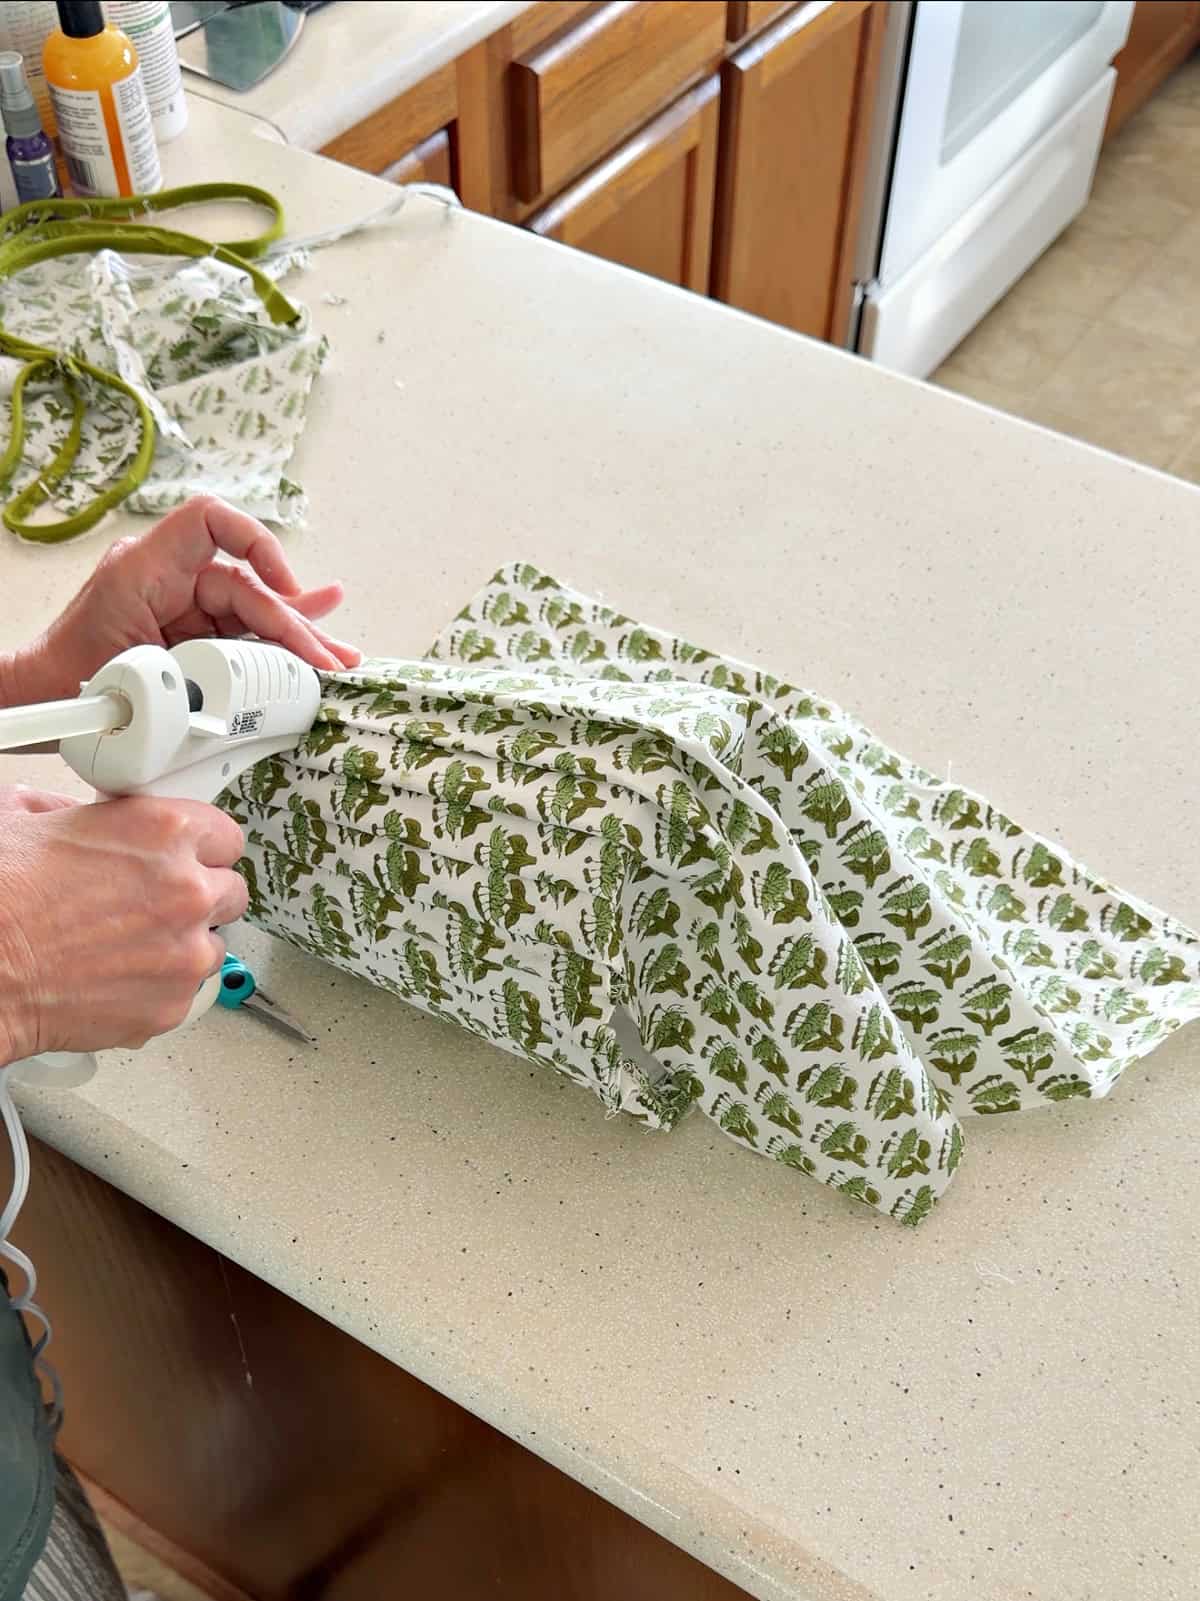
Important!
One thing I learned is if your shade is tapered you want to try to mimic that shape with your pleats. To do this you need the pleats to be a bit closer together at the top of the shade, and a bit further apart at the bottom of the shade. If you don’t do this your pleats will not be straight (ask me how I know).
After completing a couple of pleats, move to the top end of the lampshade. Gently pull up the fabric, that’s already pleated, and put a small bead of glue on the lampshade to secure the ends. Then do the same on the bottom of the lampshade.
Work your way around the lampshade until you reach the seam where you started. Remember to check the lines of the pleats every so often to make sure they’re not going wonky.
Step 3: Finish the Edges for a Clean Look
After you finish gluing on the fabric, trim each end just short enough to wrap around the top and bottom of the shade.
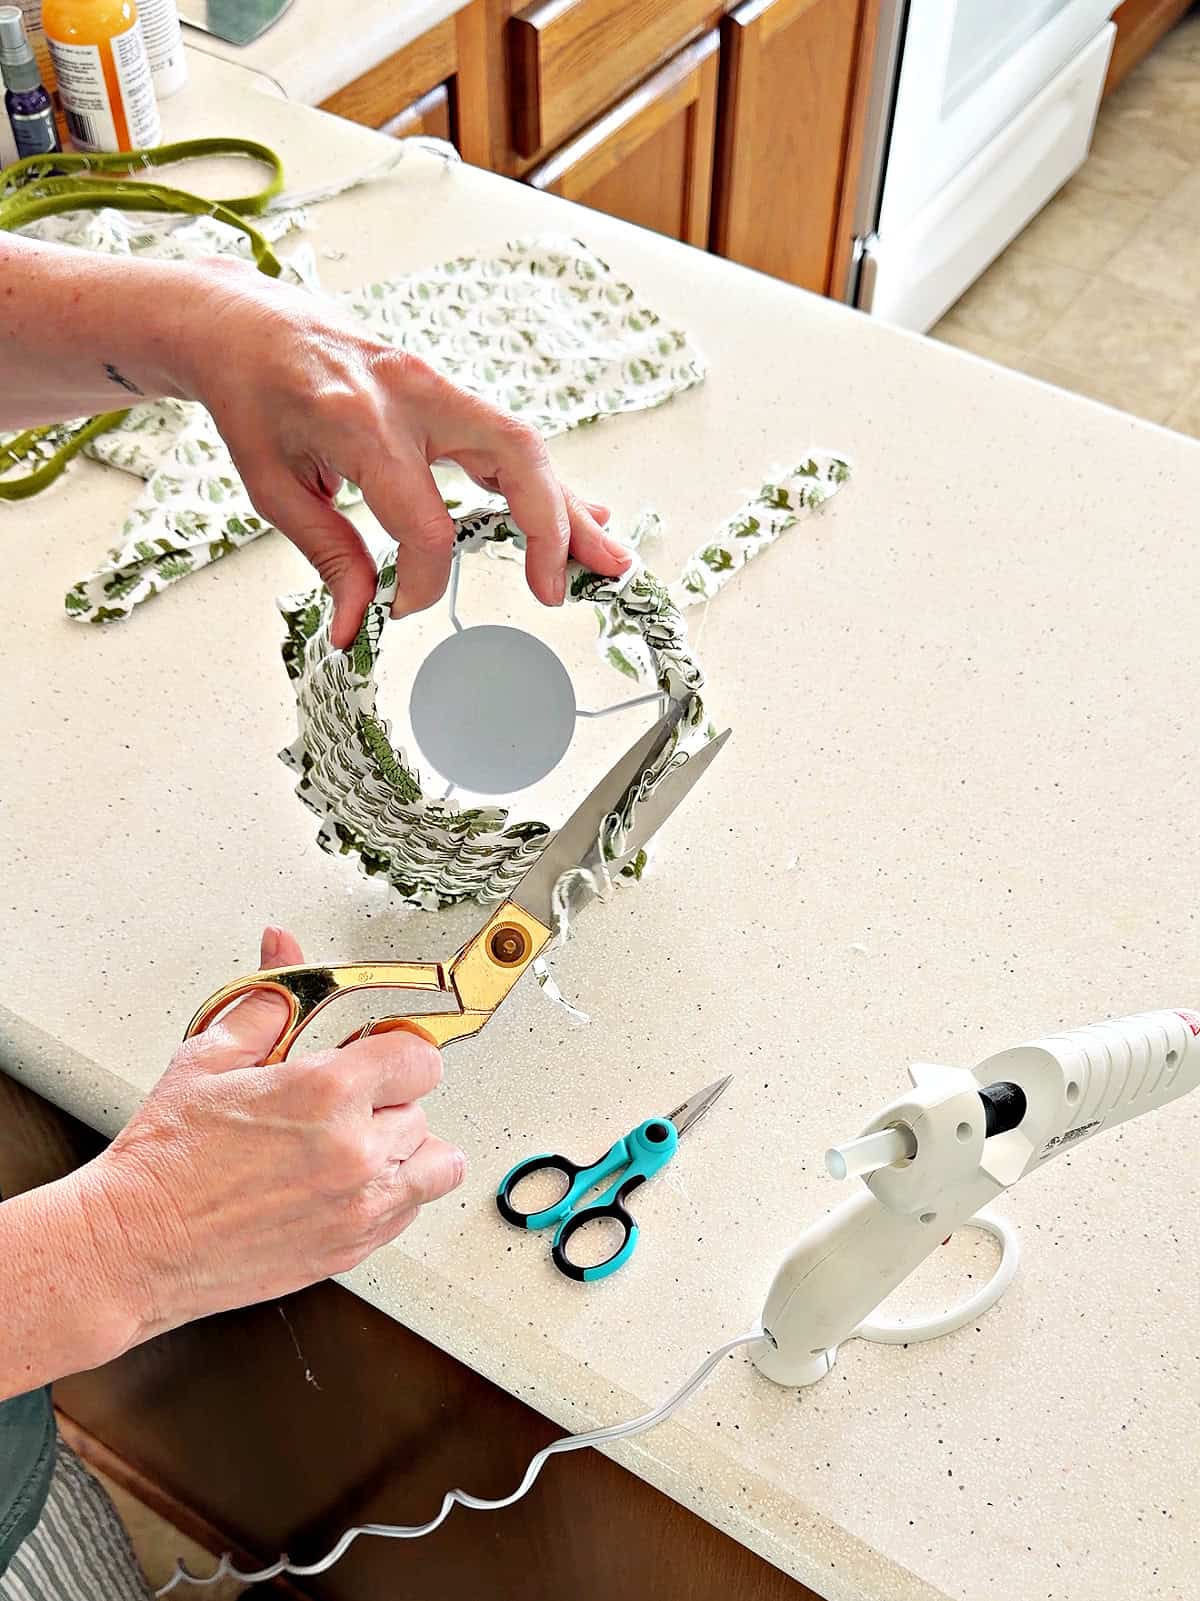
Then put a bead up hot glue around the top and, working your way around the lampshade, fold over the trimmed edge. Do the same for the bottom of the shade.
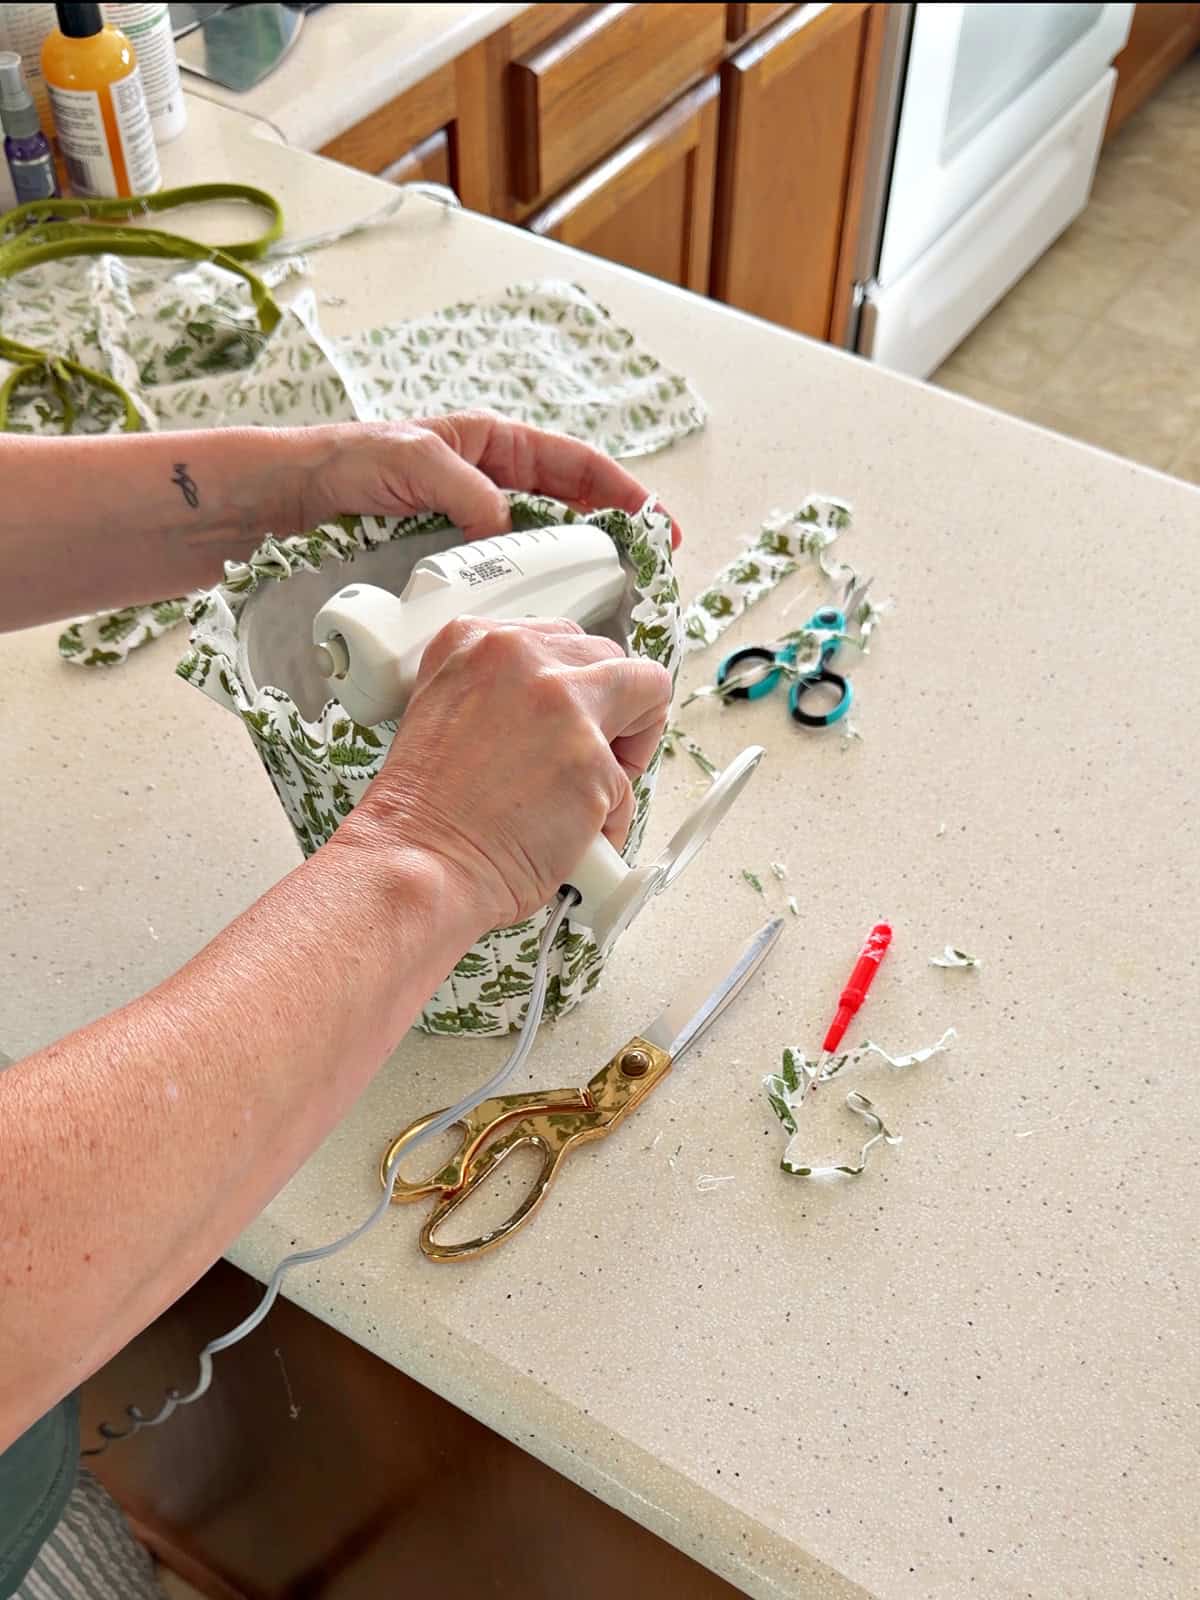
You could add trim around the top or bottom, or both, but I liked the simplicity of the lampshade without so I skipped it. I could add it later if I get tired of this look.
Finally I was able to reattach the lampshades on the sconces.
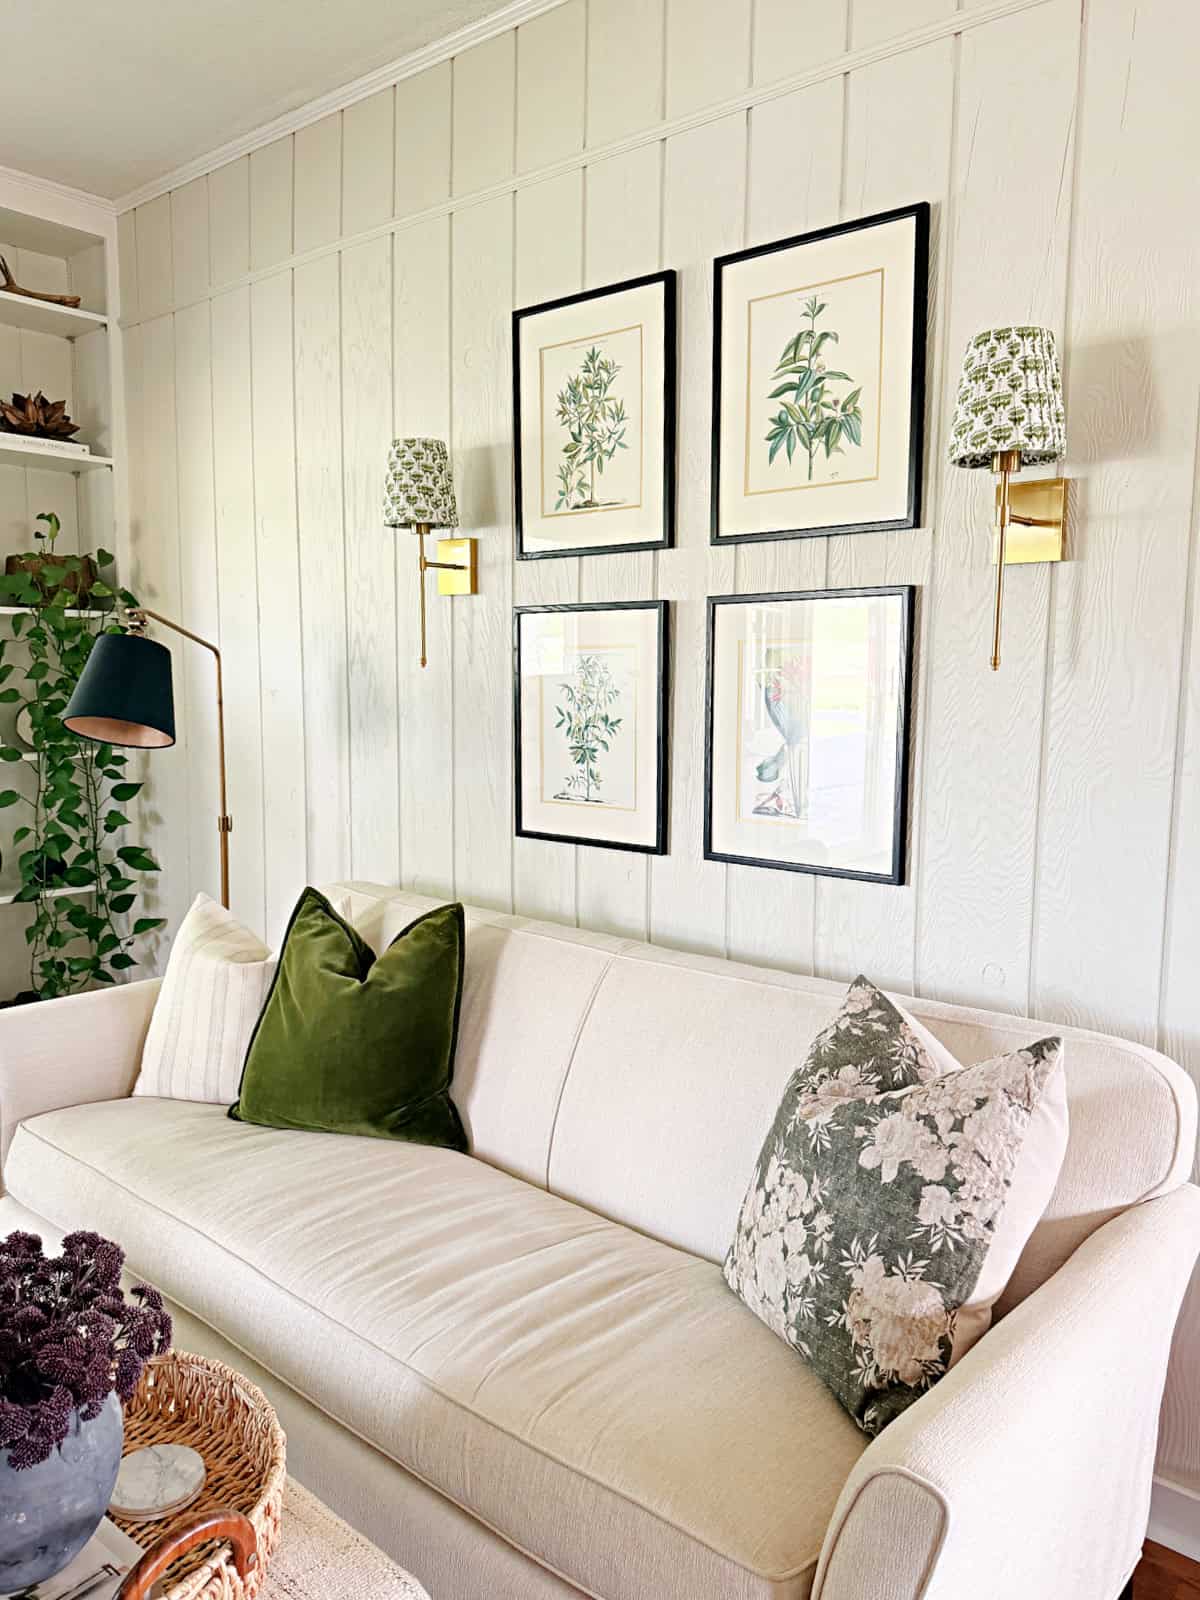
Really so simple to do and they turned out great. Custom shades without the custom price!
Got some extra fabric sitting in the closet? You could easily do this for no cost. Nothing better than that!
I love your cute little lamps and that really adds to them and the room. Pray you are enjoying your lovely place and land around it, thanks.
Those shades compliment the room so nicely!
Simple and fancy!!!
Thanks Margie!
I love this idea, never thought to use a pillowcase! I am not crafty; however, I think I could do this.
You can do it Jill! Thanks so much!
They look great, Kristi! I have the same fabric tablecloth so I’m thinking that I need some matching pleated shades!
You definitely do! Thanks so much Jane!