
Adding Window Mullions to a Builder-Grade Home
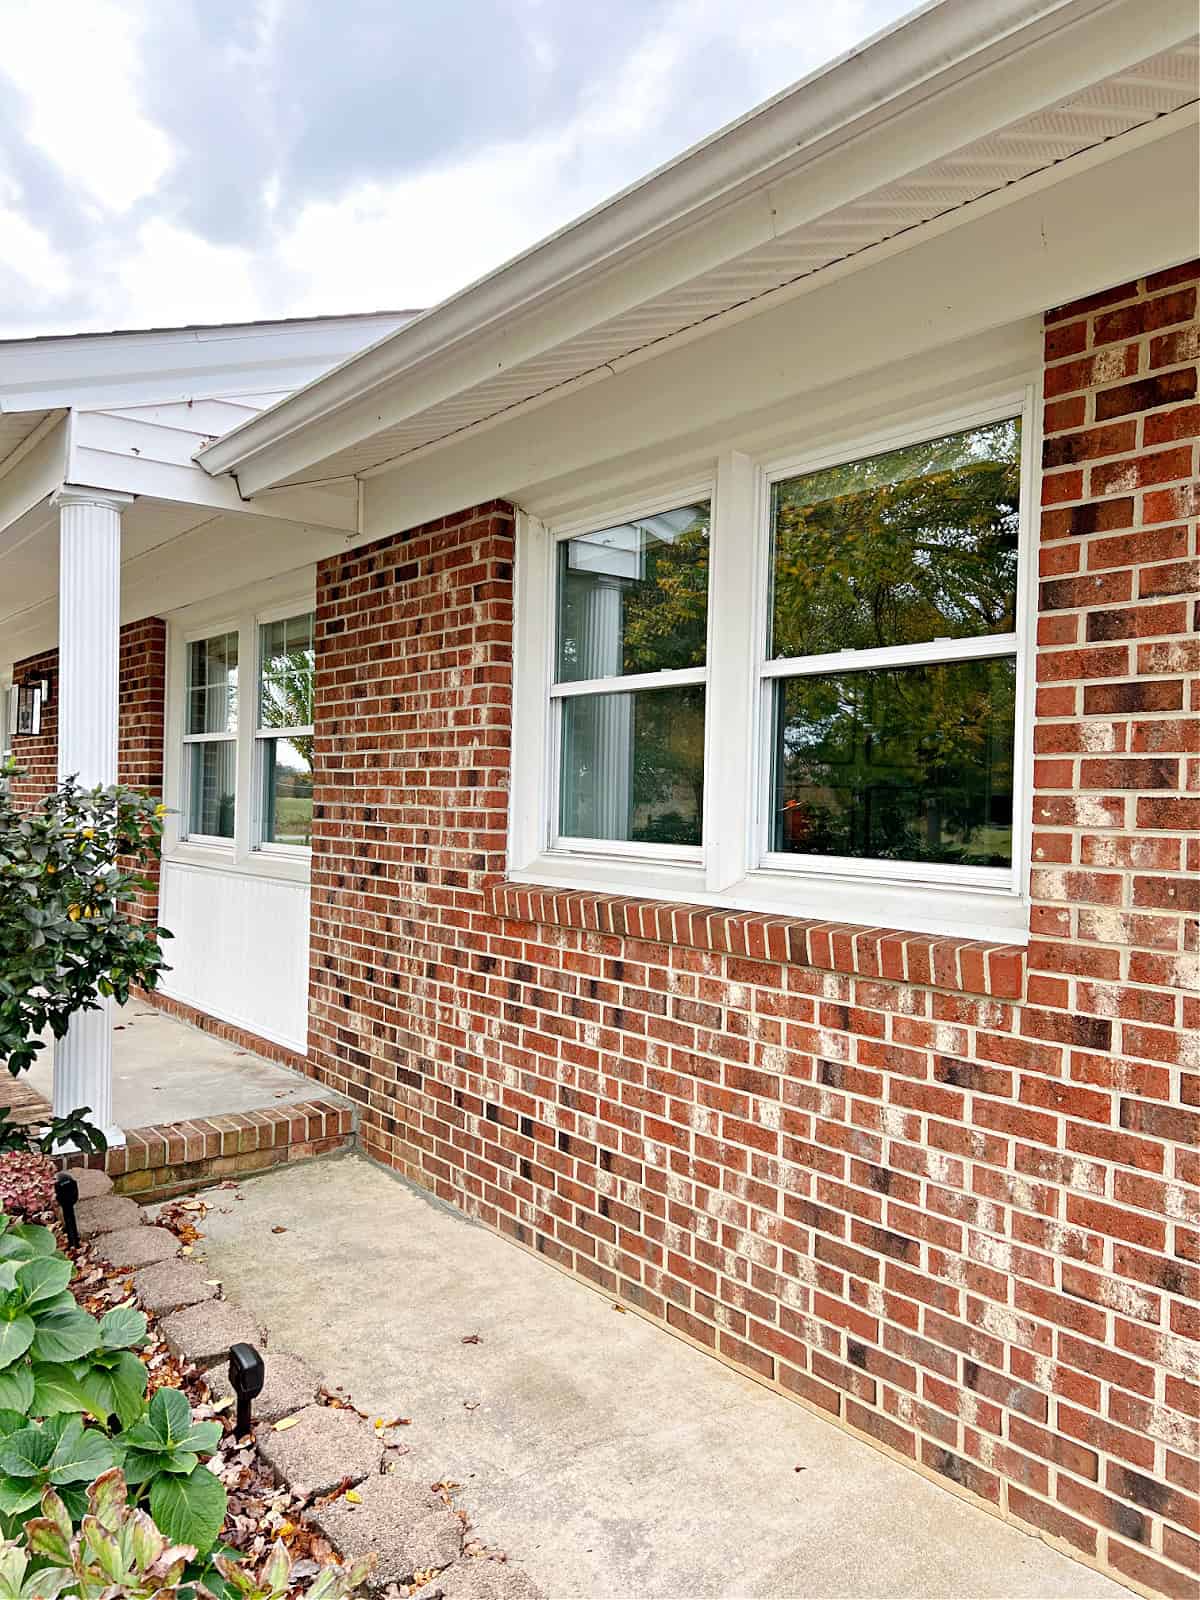
If you live in an older or builder grade home, you know the windows can sometimes be a little flat and uninteresting. Adding DIY window mullions (also called window muntins) is one of the easiest ways to give plain glass instant architectural character—without replacing the windows.
We live in a 1960’s era brick ranch. If you live in a home built in the 60’s then you know that builders weren’t adding a lot, if any, character or architectural interest to homes then. Little by little I’m going through our house and adding tons of character with trim and moldings.
Today is all about how I added removable PVC window muntins to our home. The easy to use materials I chose transformed our basic builder-grade windows into charming cottage-style focal points. If you’re looking for an affordable way to add some character to your home, this easy window mullion project might be your new favorite easy weekend upgrade.
Deciding what kind of mullions to use
While researching materials for this project I found that there are several different kinds of muntins or mullions or panes that you could use to get the effect I was trying to achieve. Wood, PVC strips and tape are a few popular options available.
I went with PVC strips (and share my reasoning for this decision a little later). This is where I got my kit.
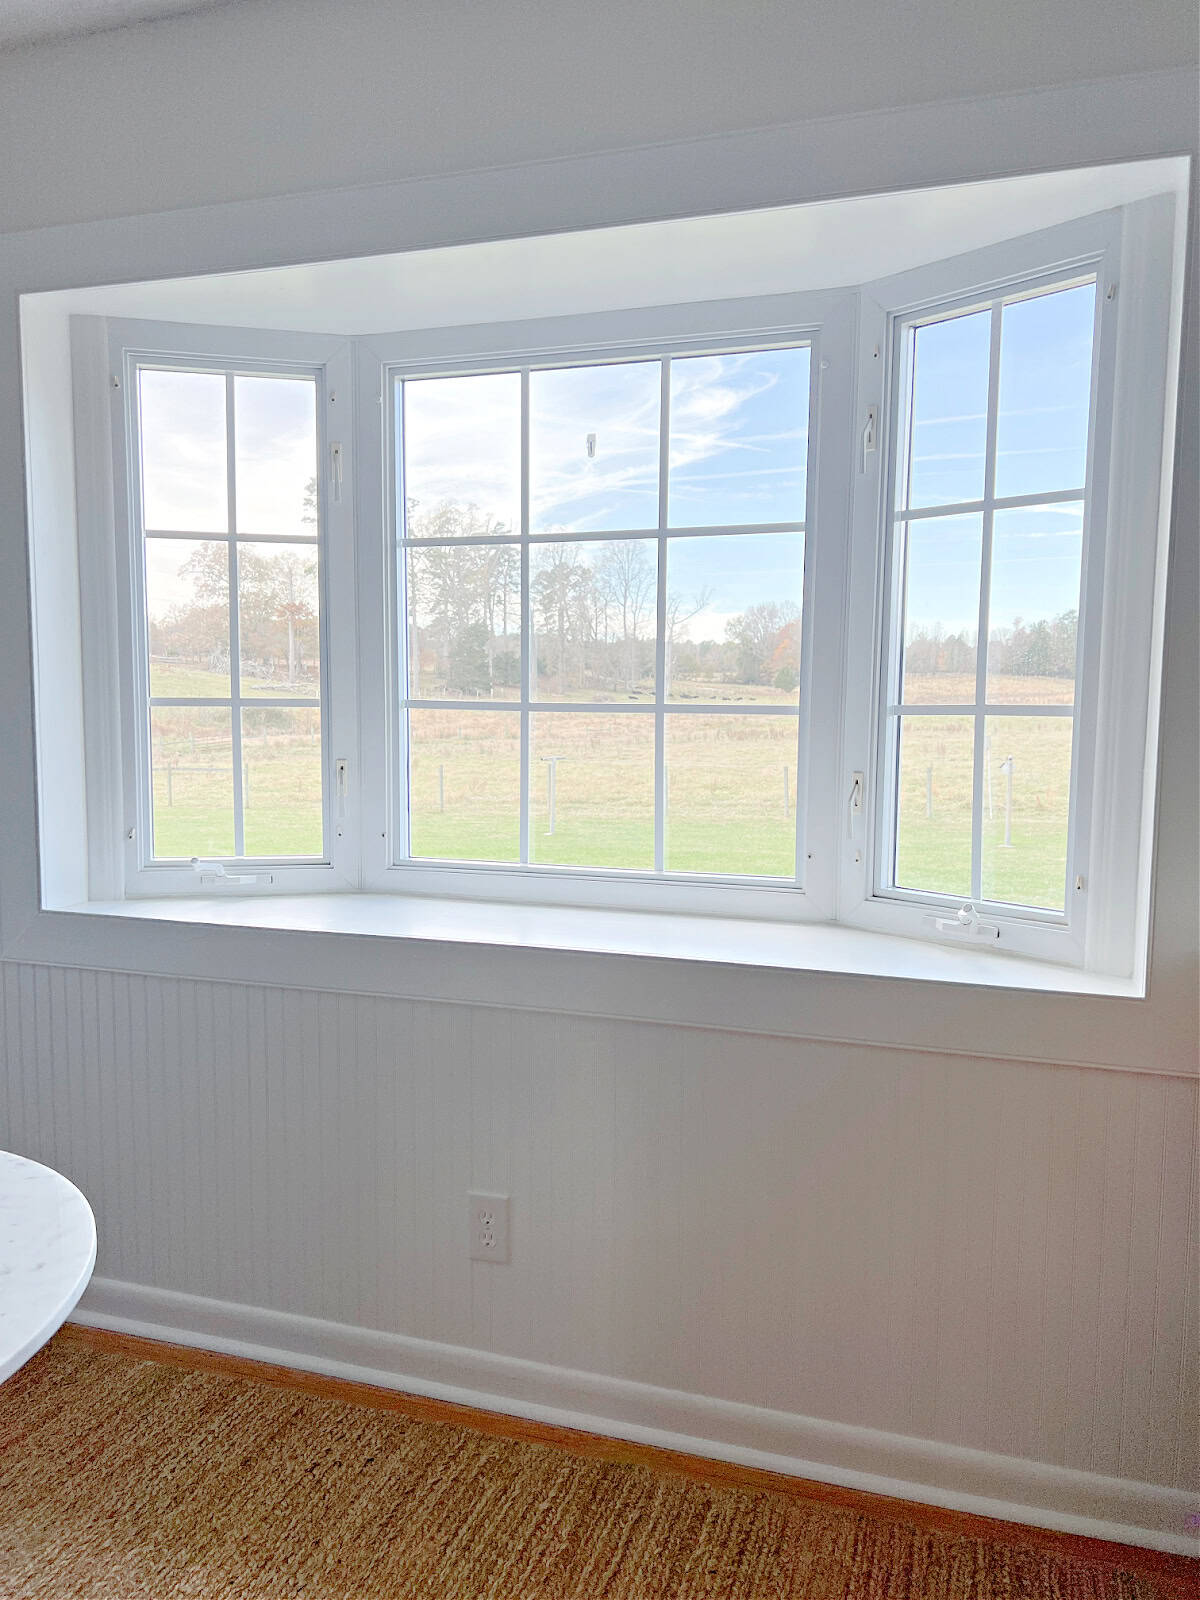
I was just looking to do the bay window off of our kitchen but once I saw the finished look, I decided to do the other windows in our home.
Calculating size
Just a quick note that these instructions are per the website where I bought my materials. You may find a different way to do it through other sources.
The first thing you need to do is to decide how many panes you want in each window. The directions on the website advises you to use a sheet of paper (8 1/2 x11) to figure out how many panes you want in a window. You can, of course, have as many as you want but this is an easy way to help you figure it out.
Then you should decide if you want full surround or no surround. Generally you would choose to do a full surround on a bigger window, like a patio door, to add rigidity and stability to your panes/mullions. In my case I did not do full surround, even with the larger window in my bay window.
Next you need to decide how you want to attach your grids. Either velcro, double stick tape or knife blade clips, which are clips that slide into the end of the PVC strips and slides under the seal on the side of your window.
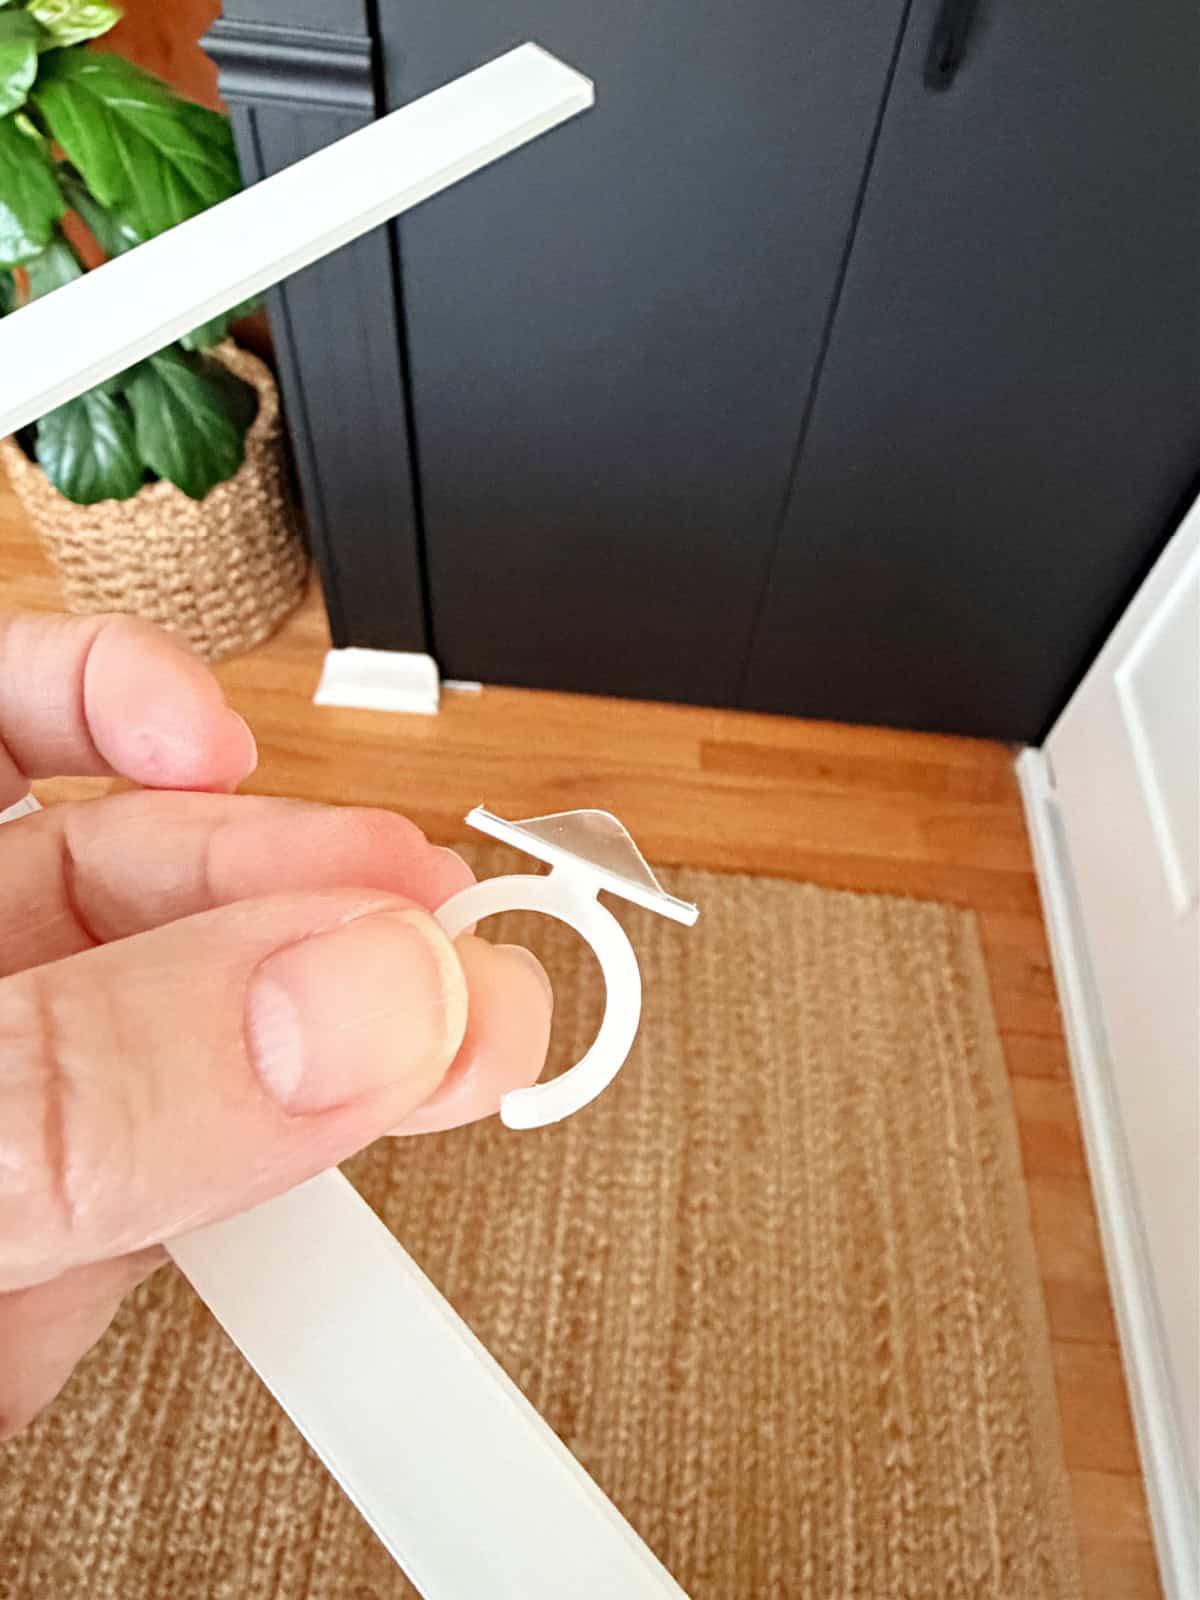
I really don’t think there’s a right or wrong way to attach your grids. I chose to go with the knife blade clips because I didn’t want to see any tape or velcro on the outside of my windows.
Now it’s time to calculate the amount of material you have to order. To do this you need to measure your window, height and width. Enter those measurements in the handy calculator that is on the website. Then enter the number of columns and the number of rows you want in your grid.
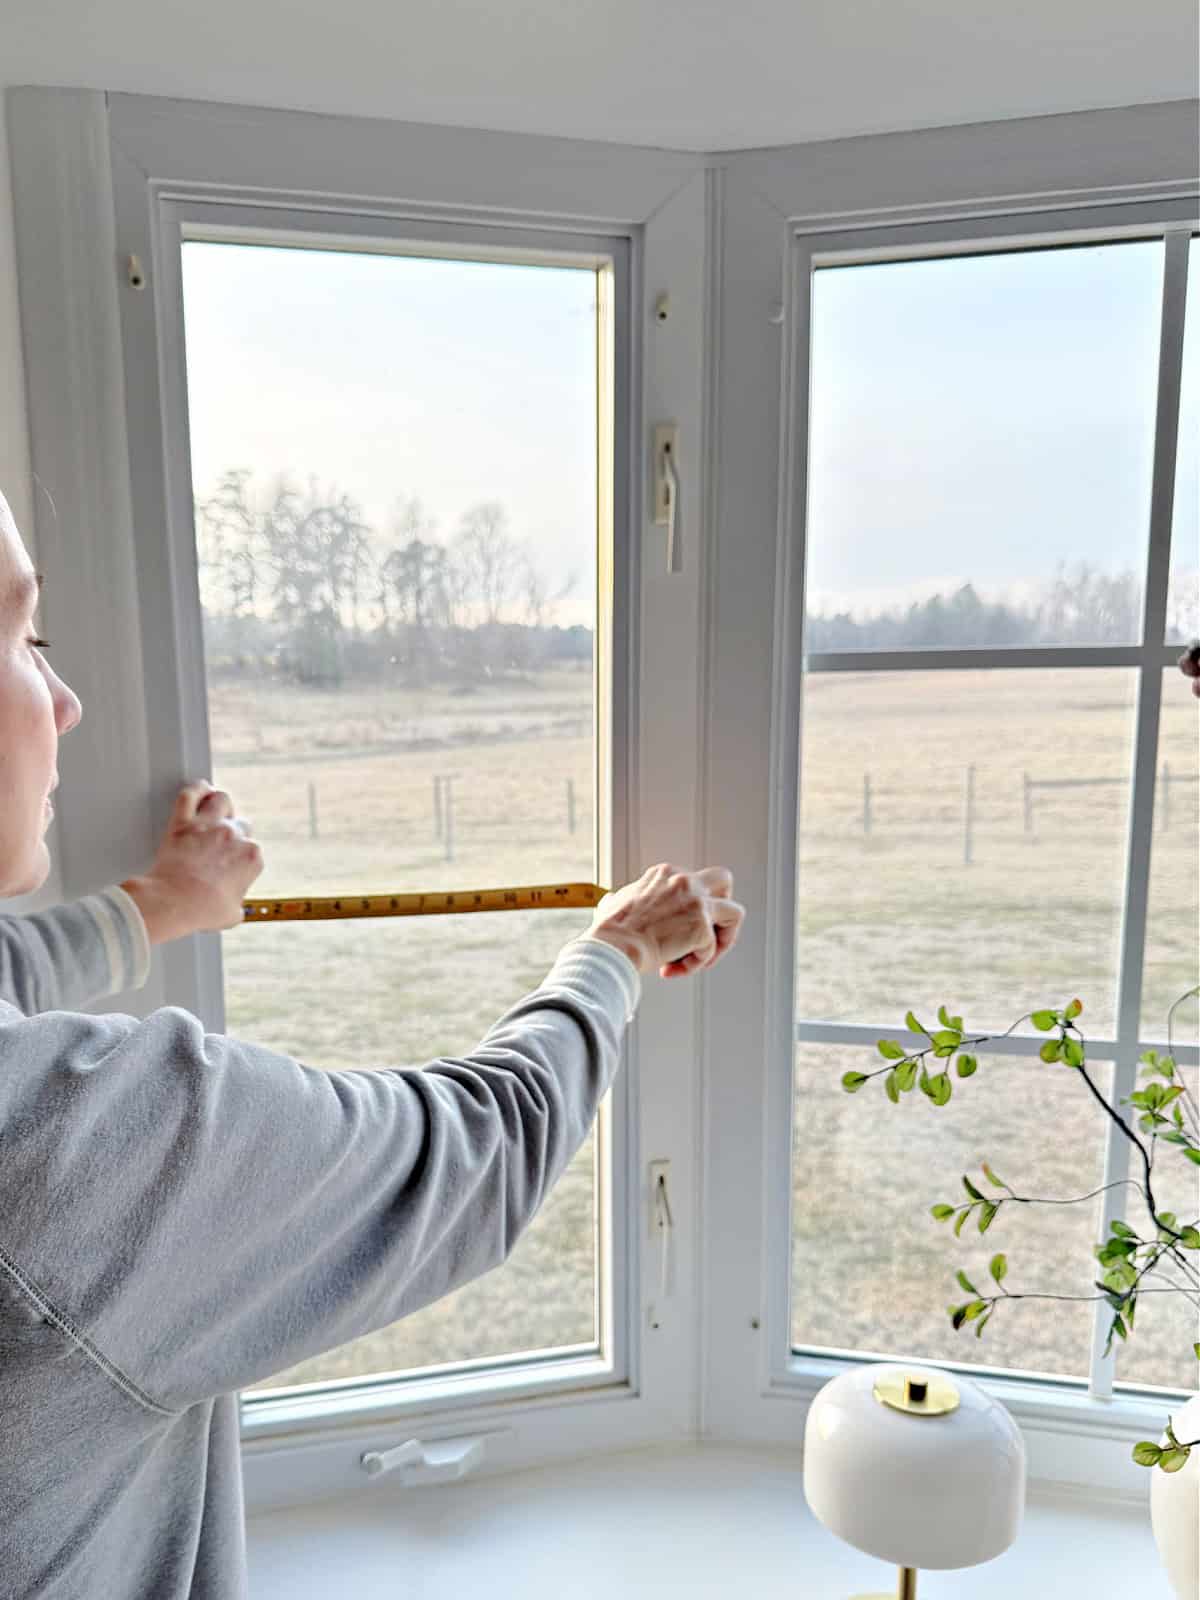
For most of my windows I went with 2 columns (up and down) and 1 row (side to side).
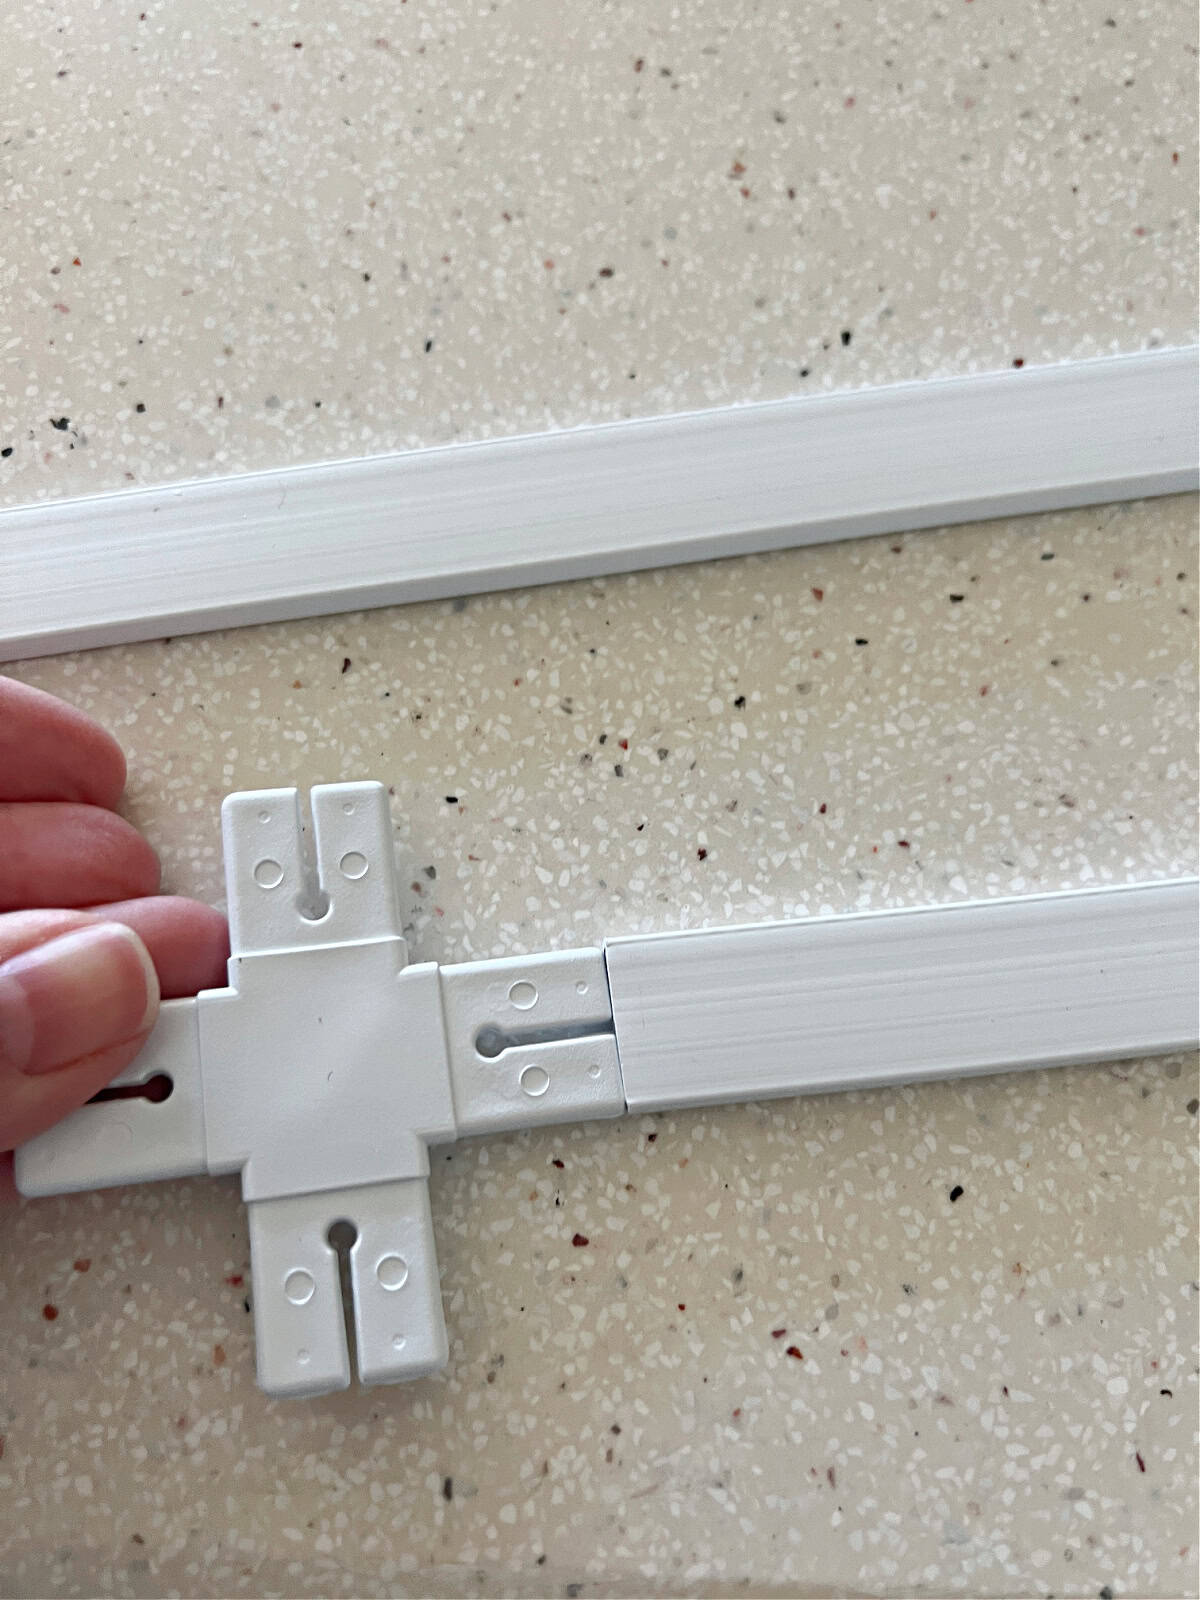
Next you need to figure out how many connectors you need. There are cross connectors, corner connectors (for a full surround) and tee connectors. I only needed to use cross connectors for all of my windows.
Important
The connectors take up 1″ of space in each direction and the knife blade clips take up 1/4″ of space so you will need to consider that when you are cutting your strips to fit your window. You will need to cut two different lengths of strips for each window so the strip piece length will depend on your window size and the number of connectors and knife blades you will be using.
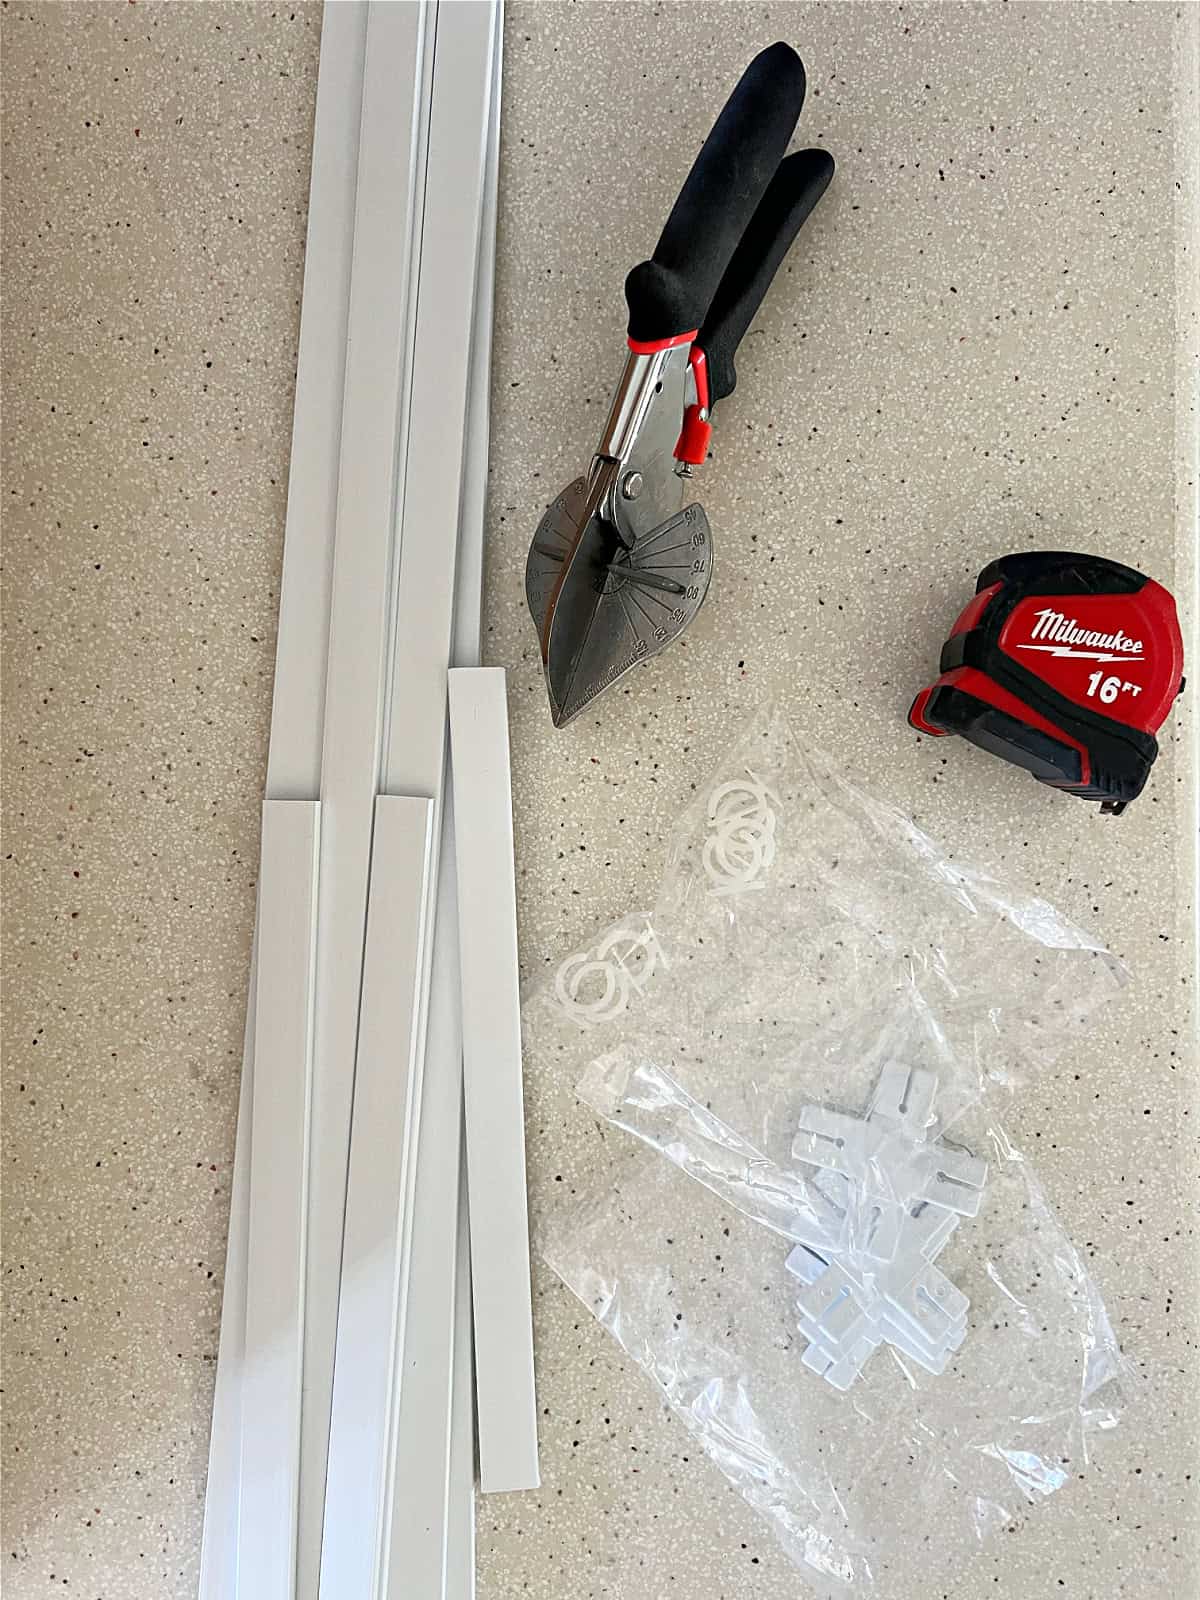
Cutting mullions and assembling
After you receive your material it’s time to make your mullions/muntins.
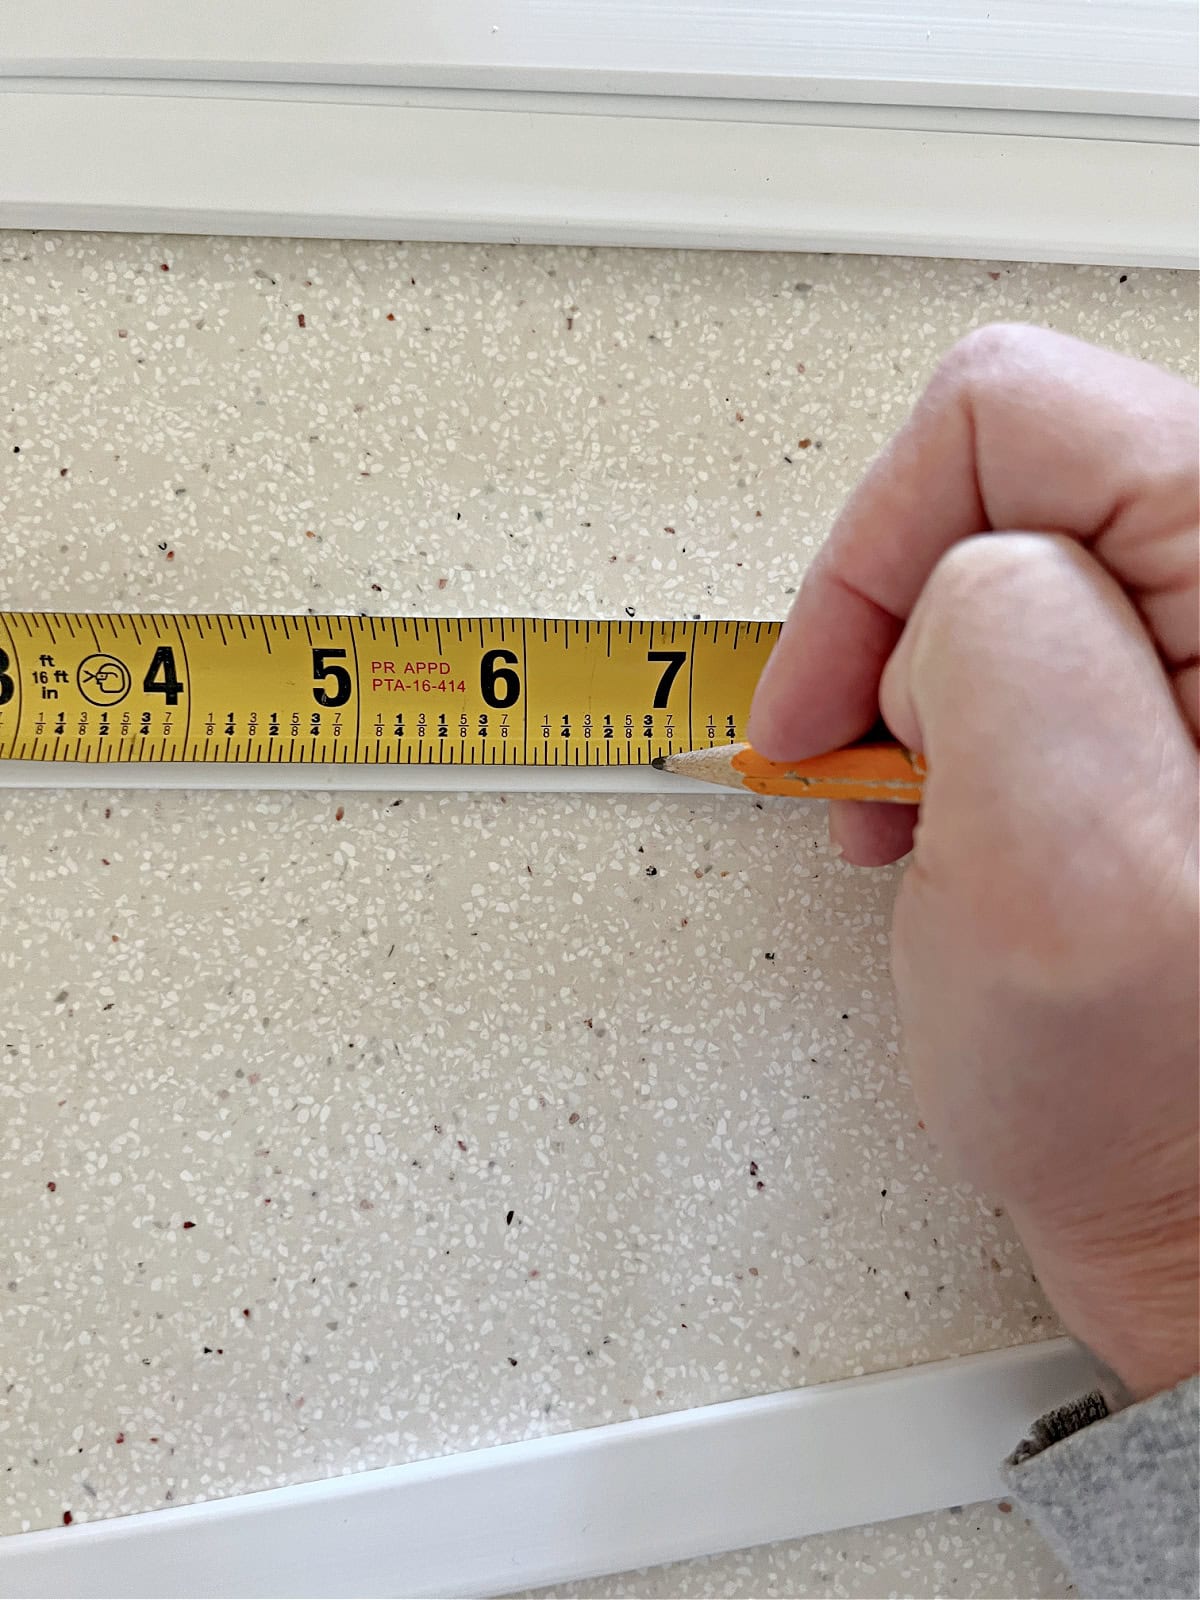
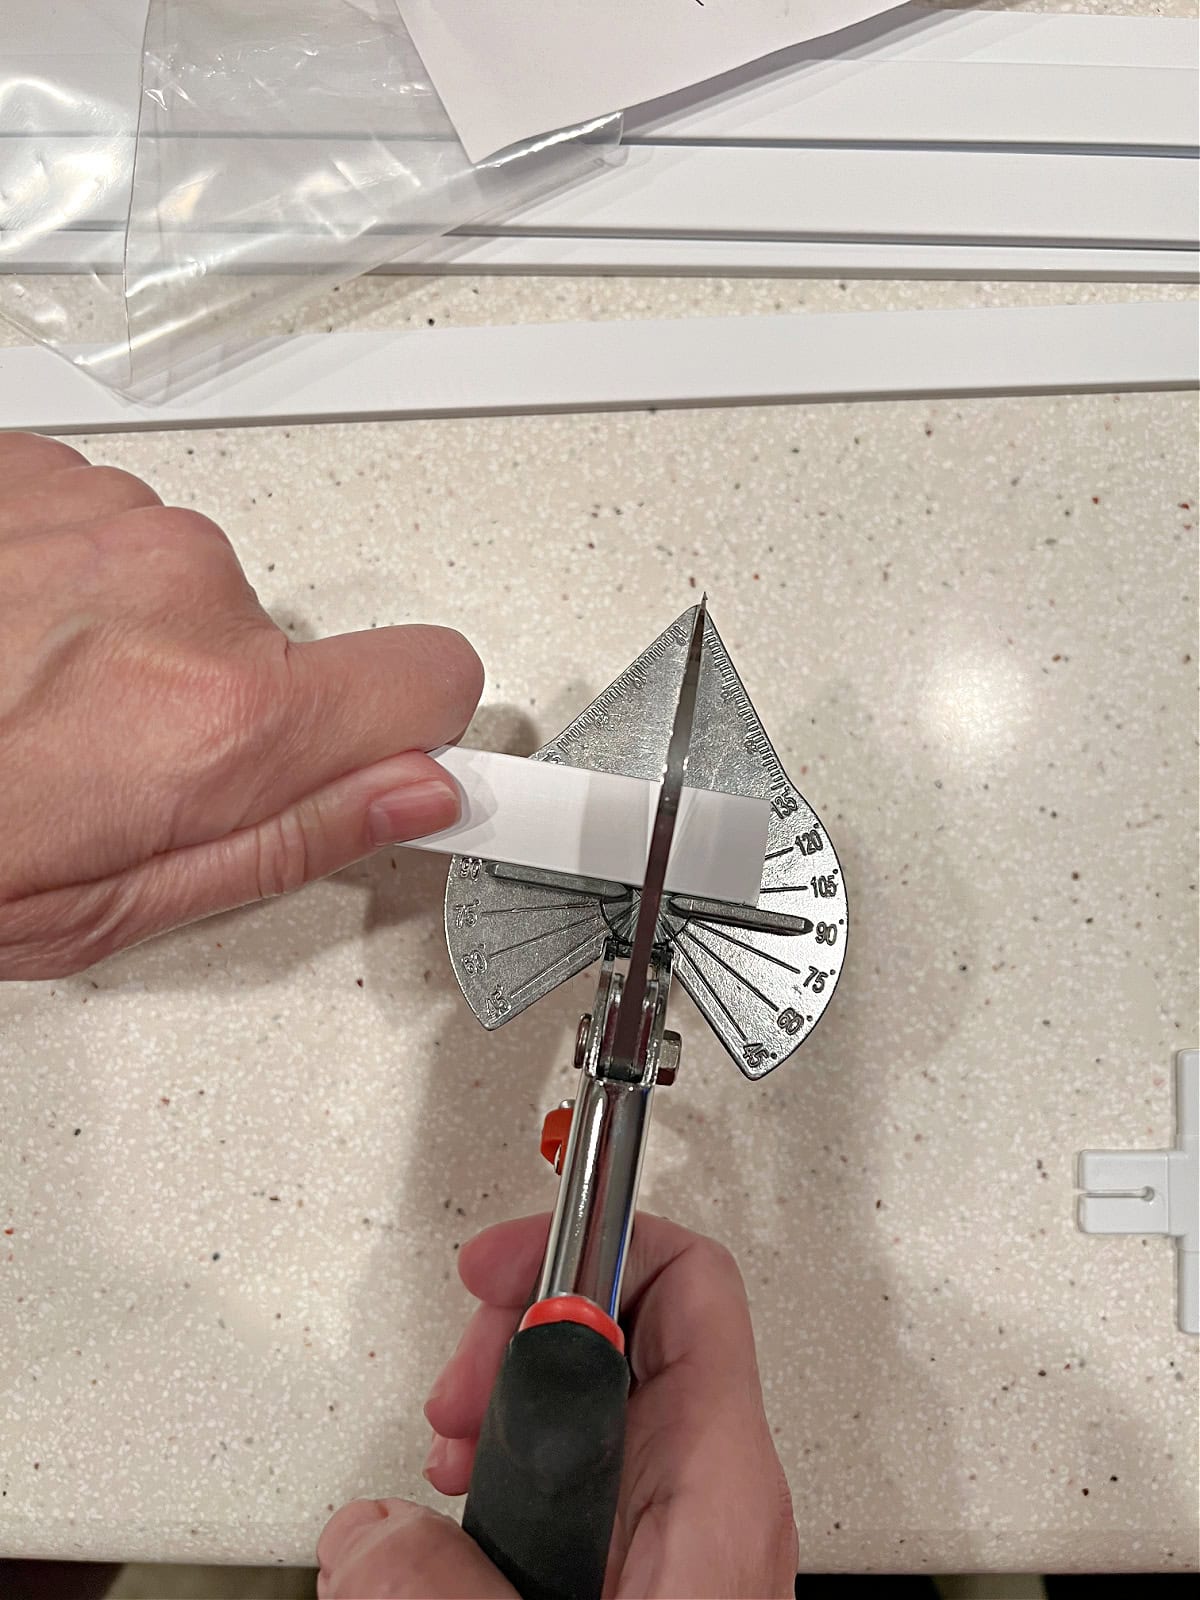
Take a strip of the PVC and measure how long you want it to be (don’t forget to account for the connector and, if you are using them, the knife blade clip). Mark and cut each vinyl strip. They are easy to cut with scissors but I did use my miter shears. And remember, you can always cut some off if it’s too long. You can’t fix it if it’s too short.
Once the strips are cut you can put your grid together with your connector and knife blade clip, if you are using them.
Inserting in window
Now all you need to do is install it in your window. It may sound complicated but it’s really easy and you don’t need to use any tools. Plus they can be removed so you can clean your windows.

Going above and beyond
I liked the bay window so much that I decided to do all of my windows, top part of the window only. 12 in total, plus our large bay window.
At first I planned on doing the top and bottom part of each window but I didn’t like the look. After experimenting with different pane sizes, I ended doing 6 panes on the top windows only. I love how they transformed the look of our house.
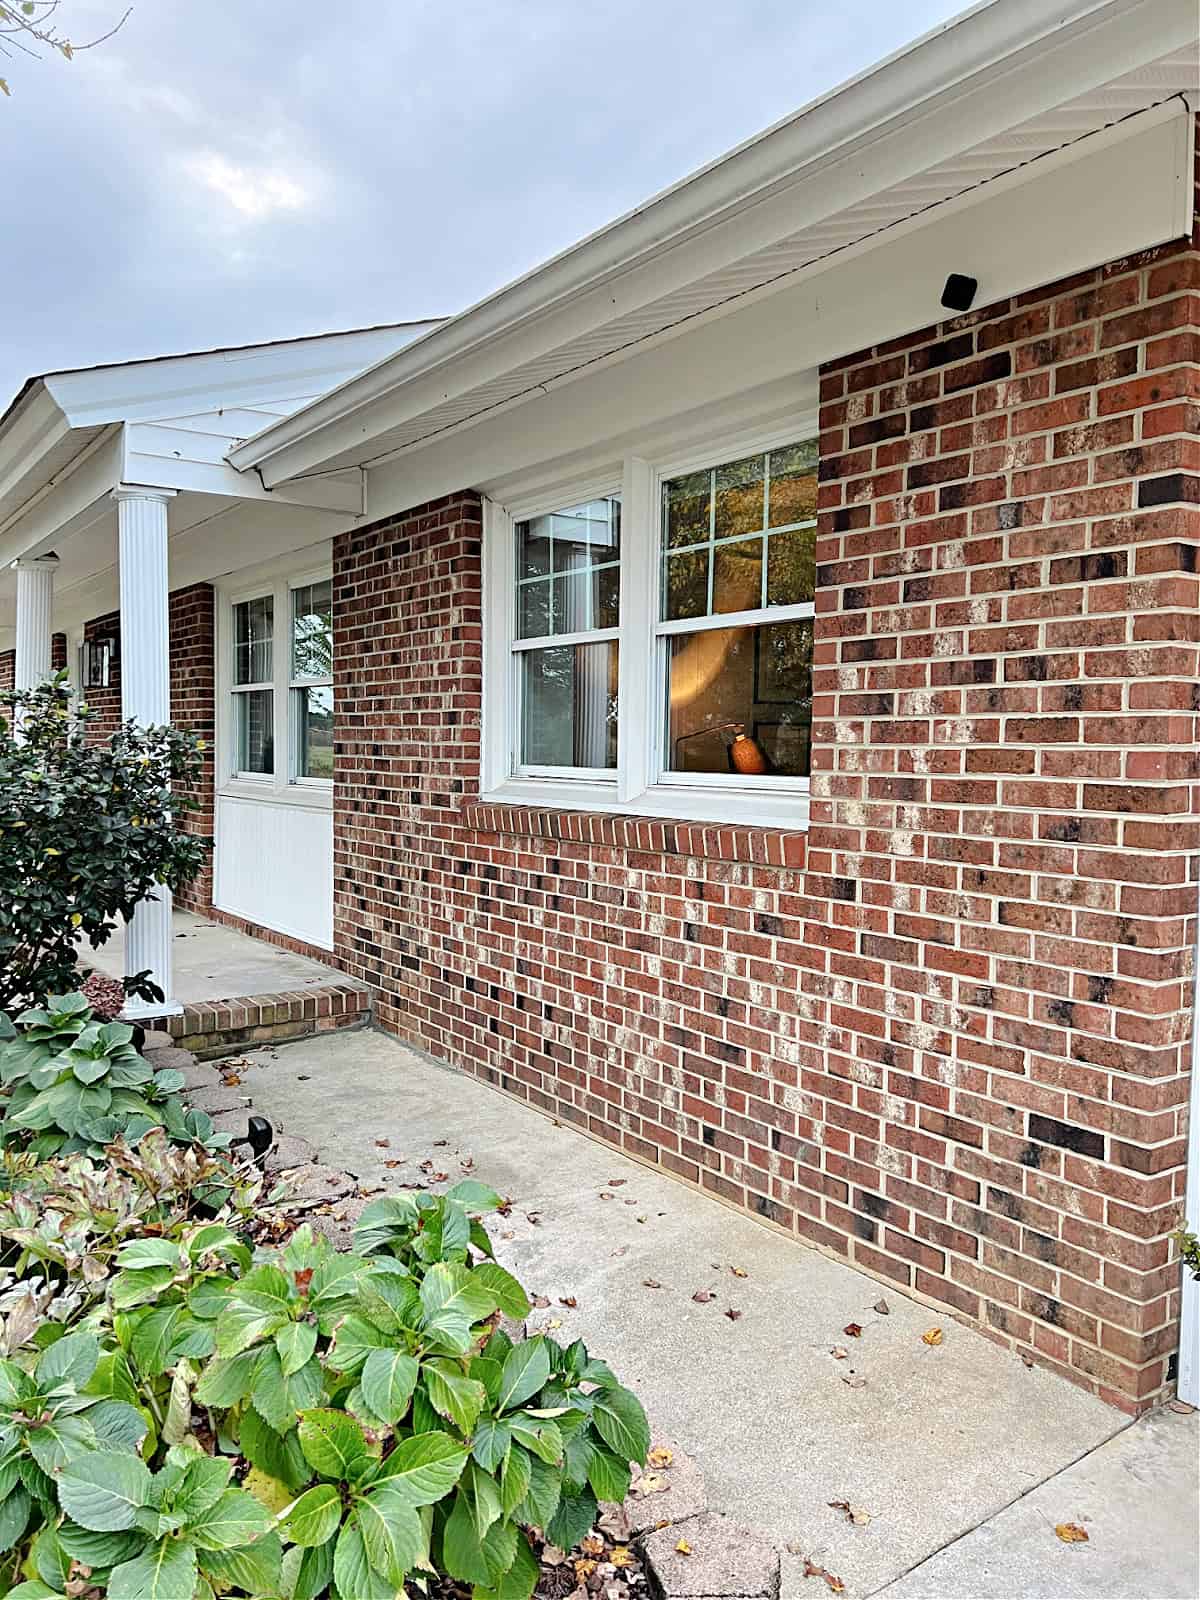
It’s not a huge change but just enough, and the new muntins/mullions really fit the style of our little brick ranch.