
No Demo Bathroom Renovation Progress

I love a good bathroom makeover… but I love it even more when walls stay standing and plumbing stays right where it is. Our vintage master bathroom renovation is proof that you don’t always need a full demo (or a giant budget) to completely change the look and feel of a space.
With a few smart updates, some cosmetic upgrades, and a little patience, we are trying to give this dated 60’s bathroom a fresh new look while keeping all the original layout and most of the vintage tile intact. If you’ve ever wanted to update a bathroom without the mess and expense of tearing everything out, this one’s for you.
When we moved into our house 4 years ago I was ready to rip everything out of our master bathroom and start over with a more modern look. As I worked on all the other rooms and really lived in the house, I found that I wanted to update my spaces but not change the style. In other words, I wanted to keep the 1967 vintage touches in our house and add to that. For example, the beadboard walls and smaller profile crown molding were used around the house. Instead of ripping all that out and starting over, I leaned into the look.
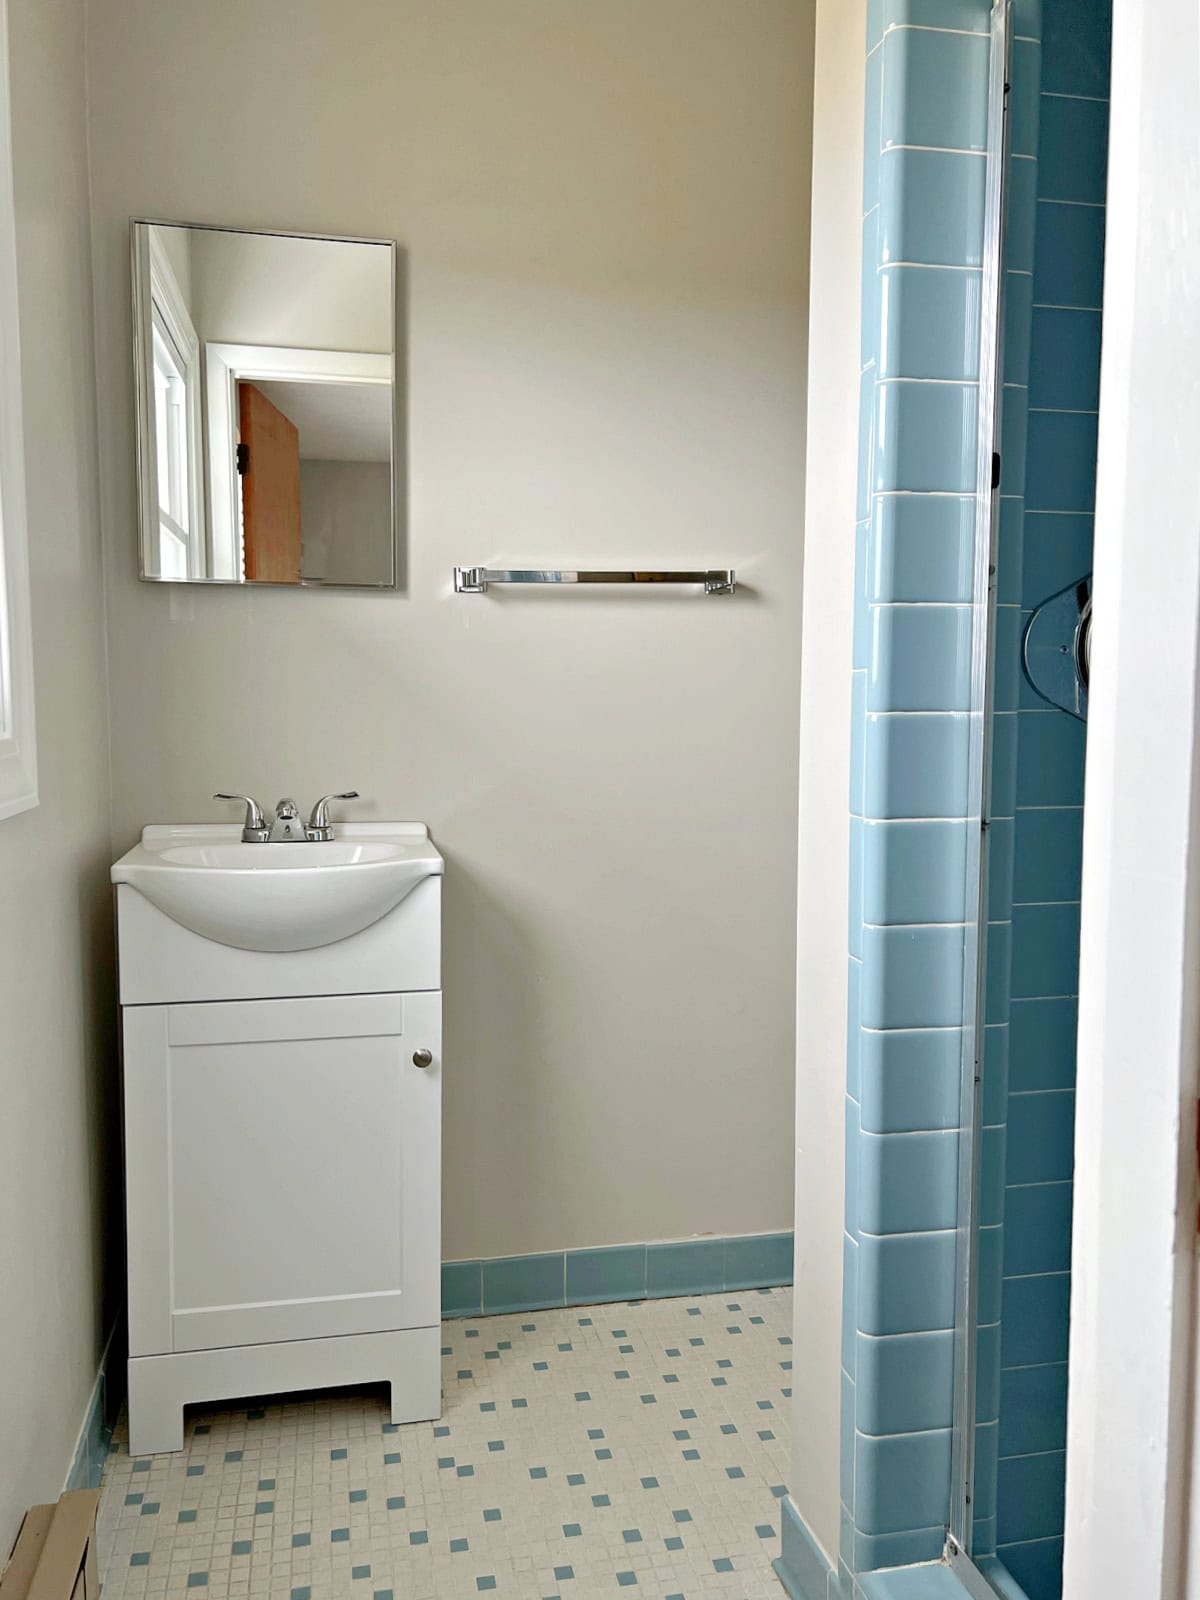
So when it came time to do the master bathroom, I decided to keep the light blue vintage tile that was installed when the house was built in the 60’s. Not only is it charming but it was in great shape. There were no cracks and all the tiles were intact.
Of course it needed work, and a good cleaning too, but it didn’t need to be ripped out.
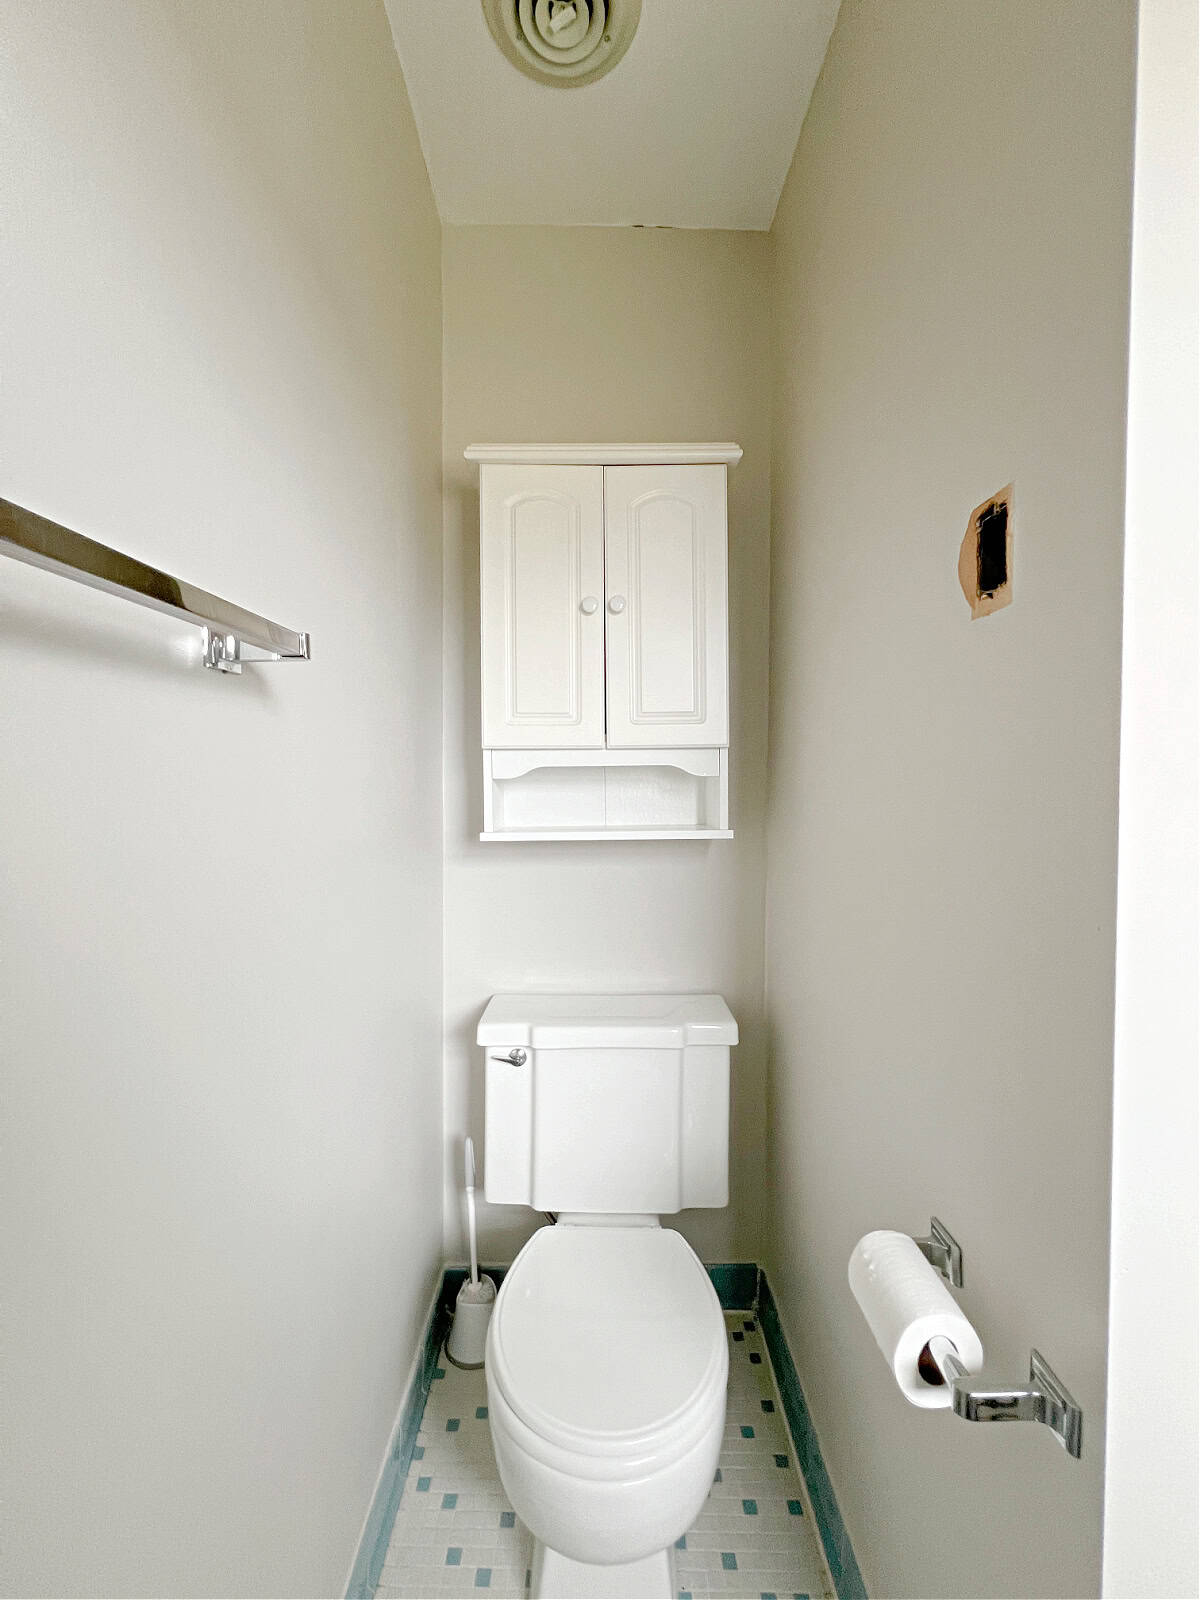
What did need to go? The old toilet, the dated hardware and the vanity needed an update.
Starting the renovation
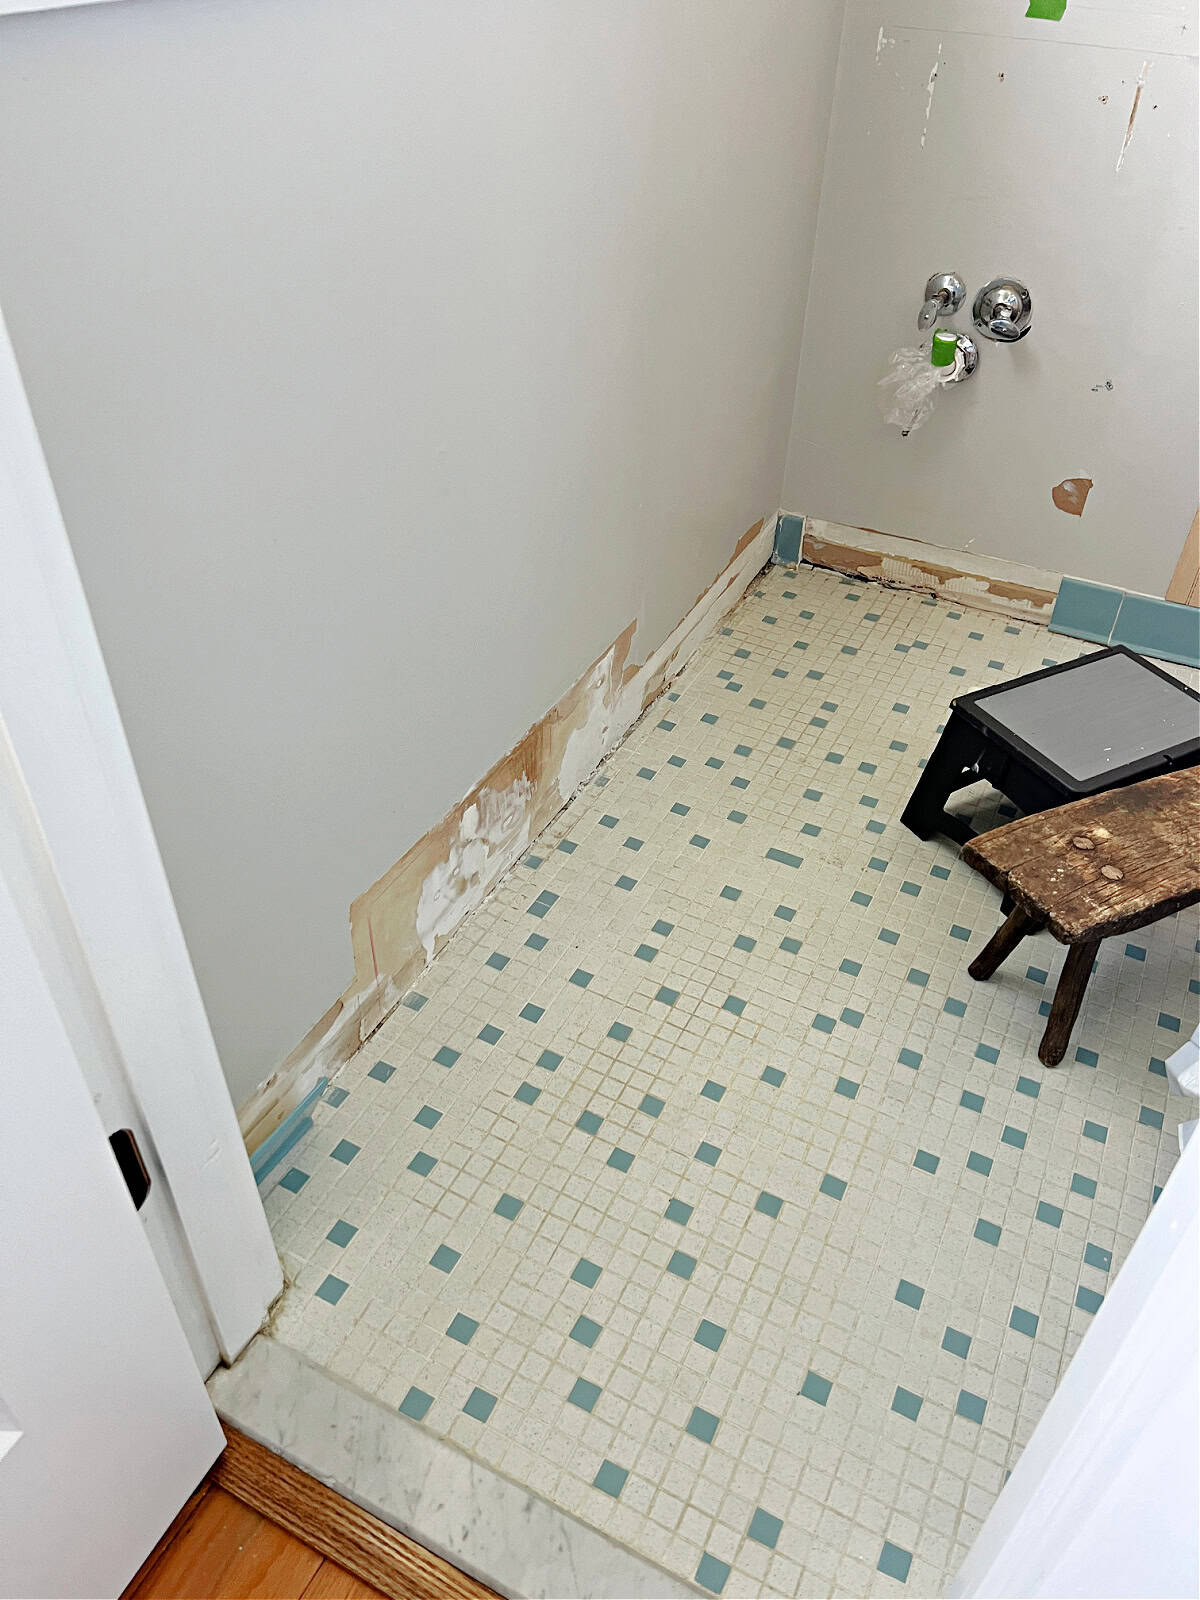
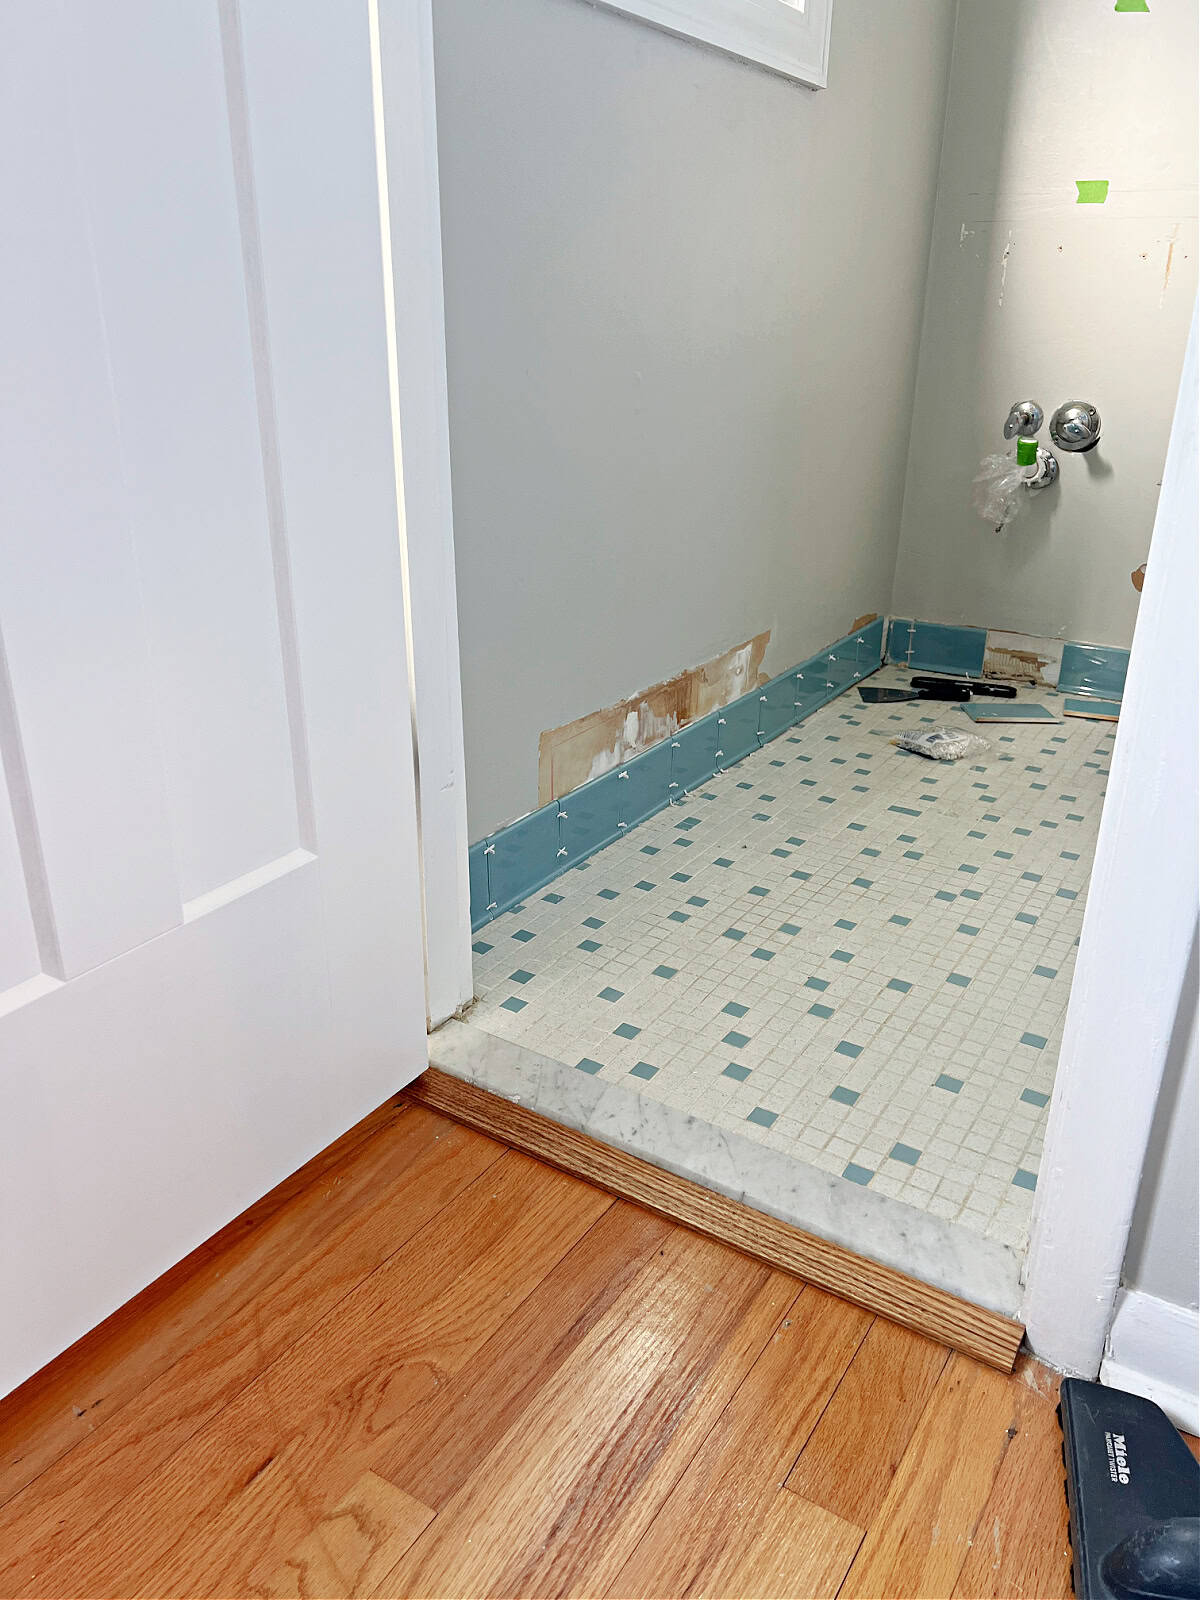
The first order of business was to remove the old baseboard heater and wall thermostat that we never used. Unfortunately there was a big hole in the tile along the floor, as well as a couple of missing tiles, so that needed to be fixed. There was also a few tiles missing behind the vanity so I needed to find some kind of replacement.
Not a big problem, or so I thought. I mean, I’ve seen these light blue tiles before. Sure it was from the 60’s but I was sure I could find replacements. Besides, I only needed a few tiles, 5 at the most.
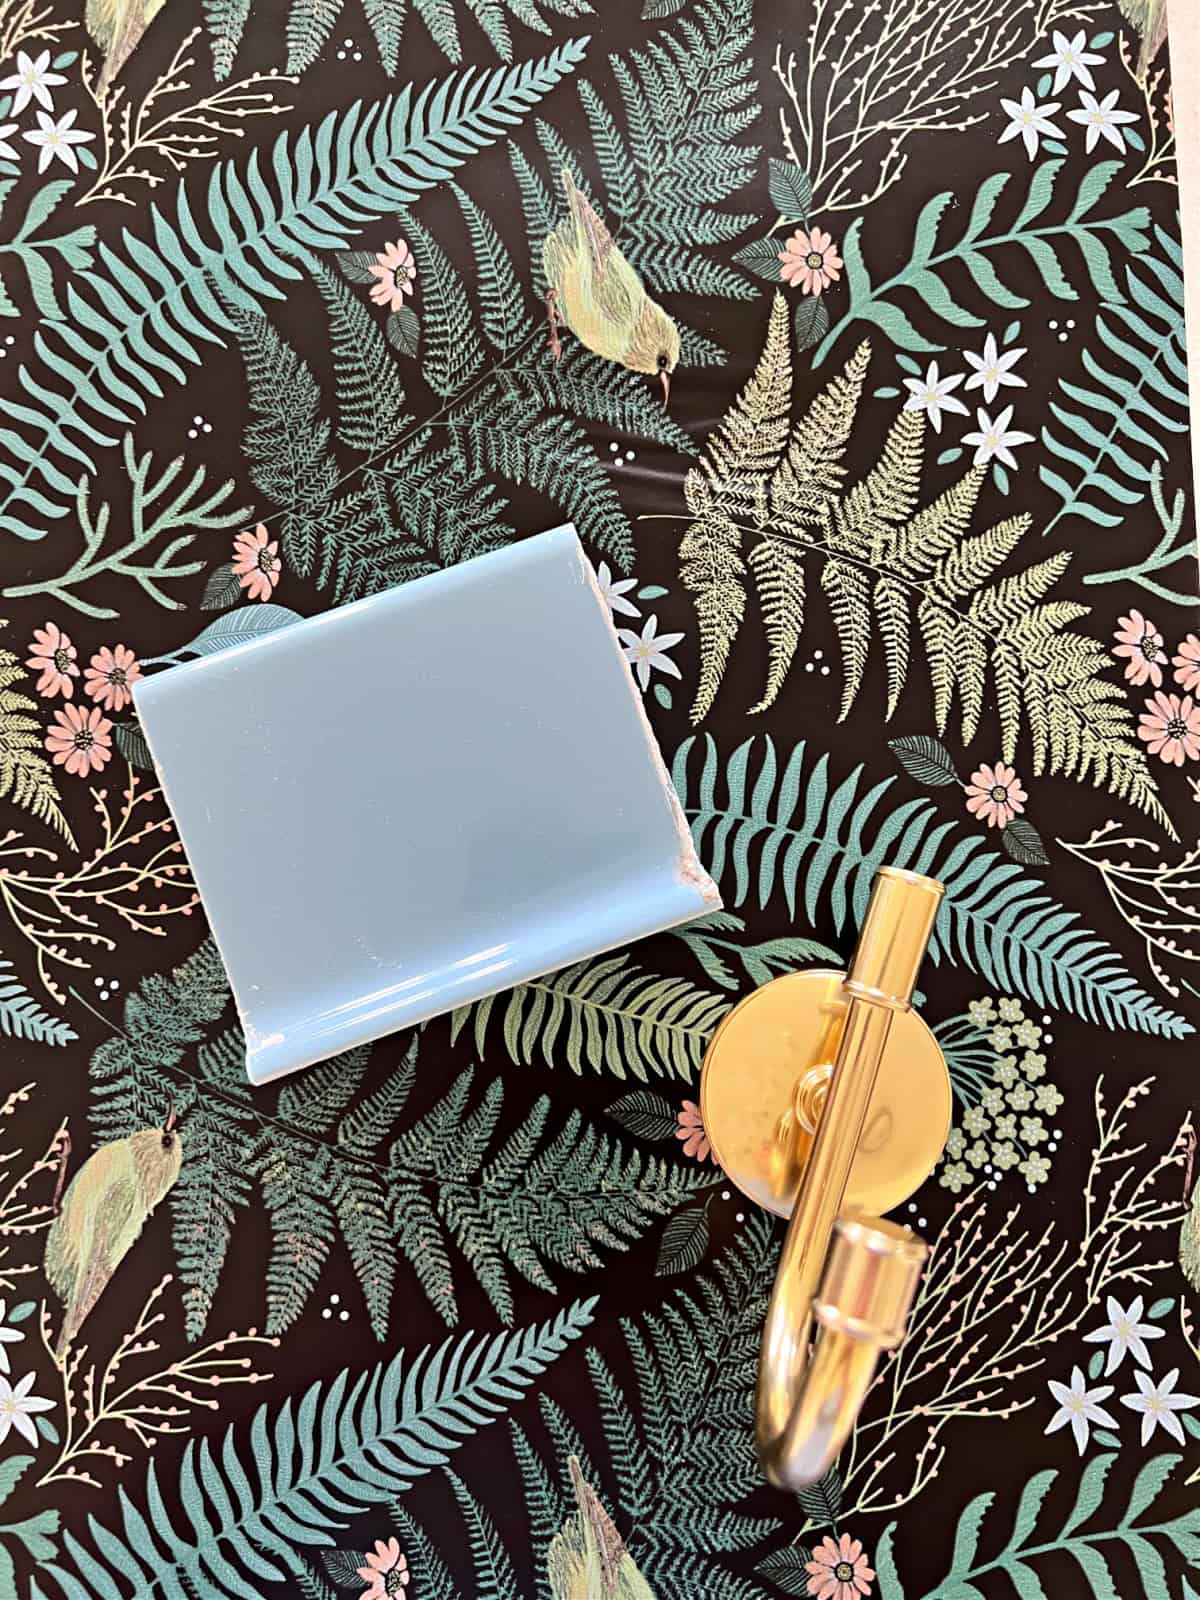
What I quickly learned was that not all vintage blue tiles are created equal. There are different sizes and different shades of blue. I found someone online who knows a lot about vintage tile and she tried to help me find the exact match, but it wasn’t happening. She did send me a sample to test with my tiles and although it was a bit bigger and the color was a little different (a bit more green to it), it would have to do.
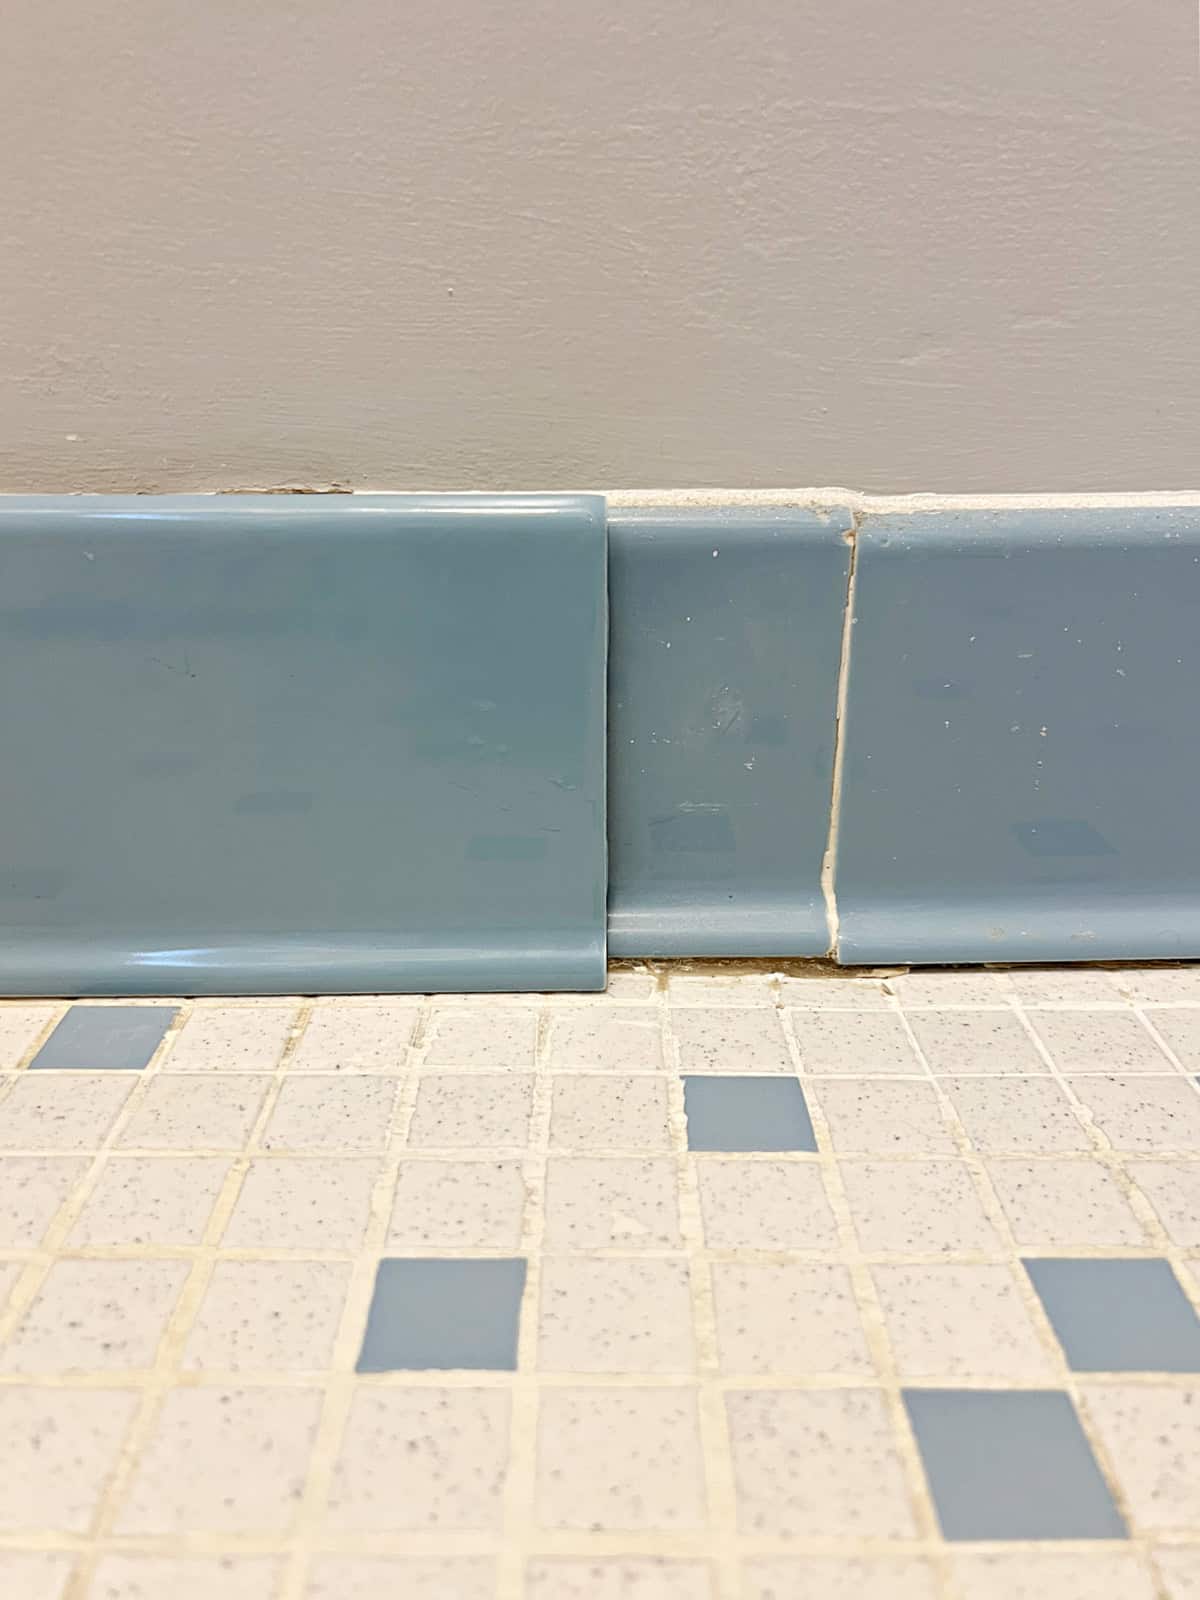
To compensate for the difference in color and size, I decided to remove all the tiles along the window wall and replace them with the “new” tile. The old tile, that was carefully removed, was used on the wall behind the vanity. The old and new tile would meet in the corner next to the vanity, which would be hidden with the placement of the vanity.
Phew, it took almost 2 months to work it all out and to get my tiles but, in the end it turned out ok.
Once the tile was up and grouted, it was time to clean the floor tile grout lines and scrape out all of the old caulk and silicone out that was between the tile trim and the floor. Then I put new silicone between the floor and tile trim and fixed the broken grout lines where needed. This was one long and arduous job that took about a month to complete, no lie. It was a backbreaking task and had me questioning my life choices on more than one occasion.
Once it was done though…wow. It made such a huge difference! The floor wasn’t really dirty but after almost 60 years of use, it needed a bit TLC.
After the tiles and floor were done, it was time to take care of the walls. They weren’t in great shape, especially where the old medicine cabinet, the thermostat and the baseboard heat were removed, so I decided to add some beadboard to the bottom half of the walls. We have beadboard in other rooms so it really goes with the vibe of the rest of the house.
The top half of the walls were going to get wallpaper. I always knew that was going to happen so I was really excited to use it in this space.
Before I installed the beadboard, Roger added some new electric to the room. There were no outlets in this space so we added one. We also added an electrical box for a sconce to be installed over the mirror and vanity. While we were at it we installed an exhaust fan and I put up some crown molding.
Next the beadboard went up, along with a chair railing that we had to craft ourselves to fit the walls and corners.
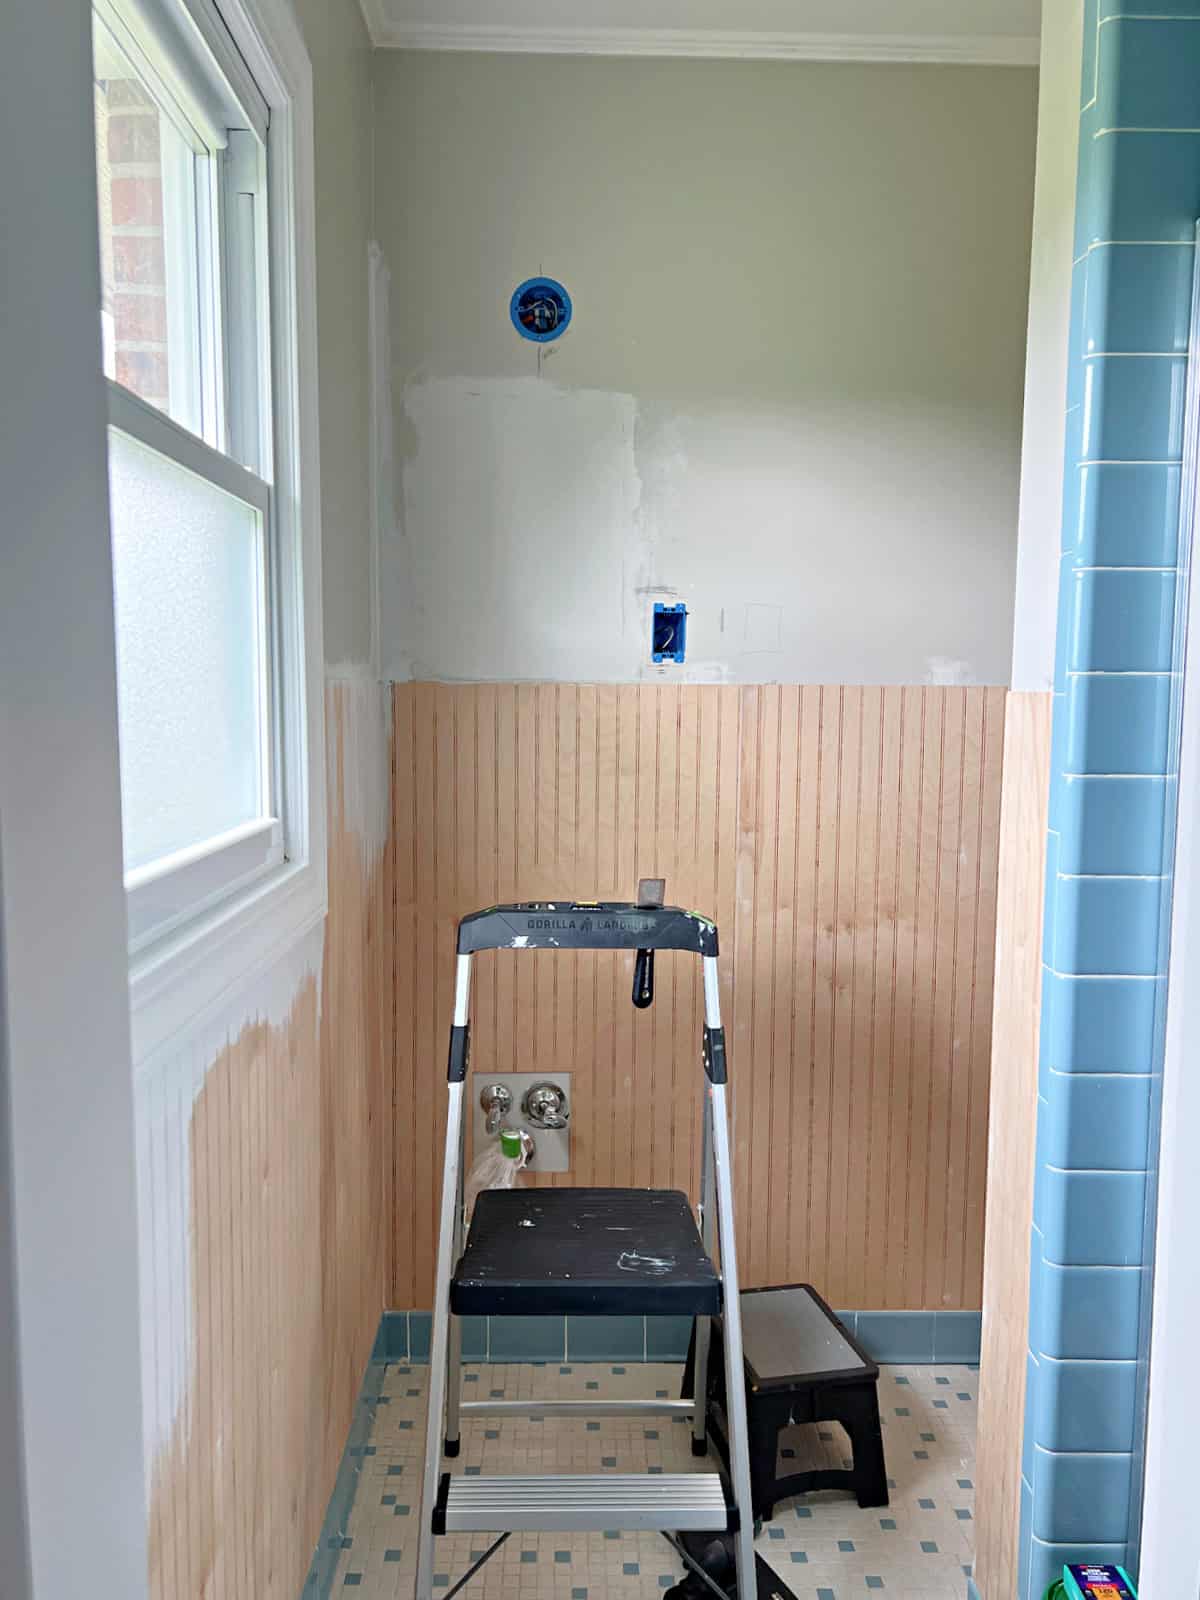
I filled all the holes in the beadboard, made sure the upper part of the walls were sanded and smooth, and primed everything from ceiling to the floor.
Once the primer dried I did a quick sanding of the bead board and painted the crown molding, window trim and beadboard with my favorite paint, BM White Dove Advance Satin.
Finally…finally it was time to hang the wallpaper. I wanted something dramatic for this small and awkward space and the paper I chose delivered. I love it!
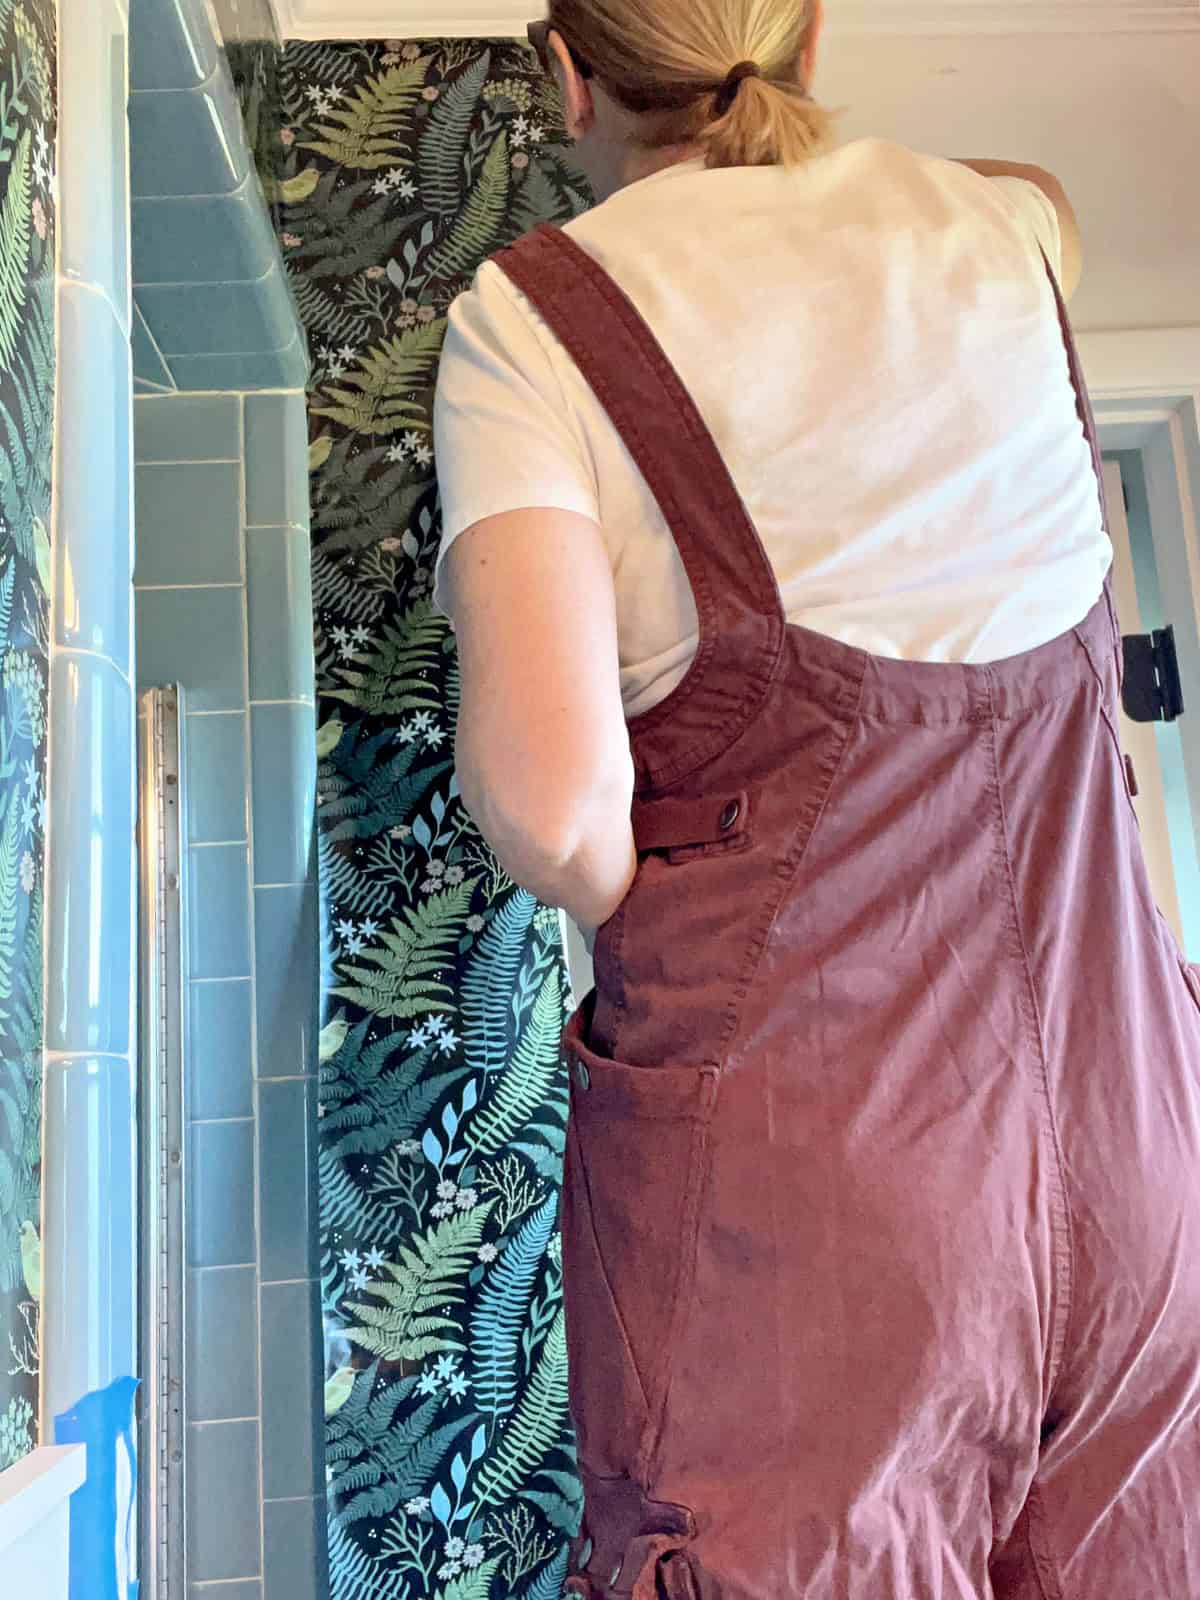
I love the blues and greens with the black. It goes so well with the blue tile.
And this is where our reno stalled again. We had to wait for the vanity to arrive and we had major problems with the toilet plumbing.
What’s a vintage bathroom reno without plumbing issues?
Make sure you check out the reveal of our vintage master bath reno. You can find it here.