Decorating a Dark, Narrow Hallway
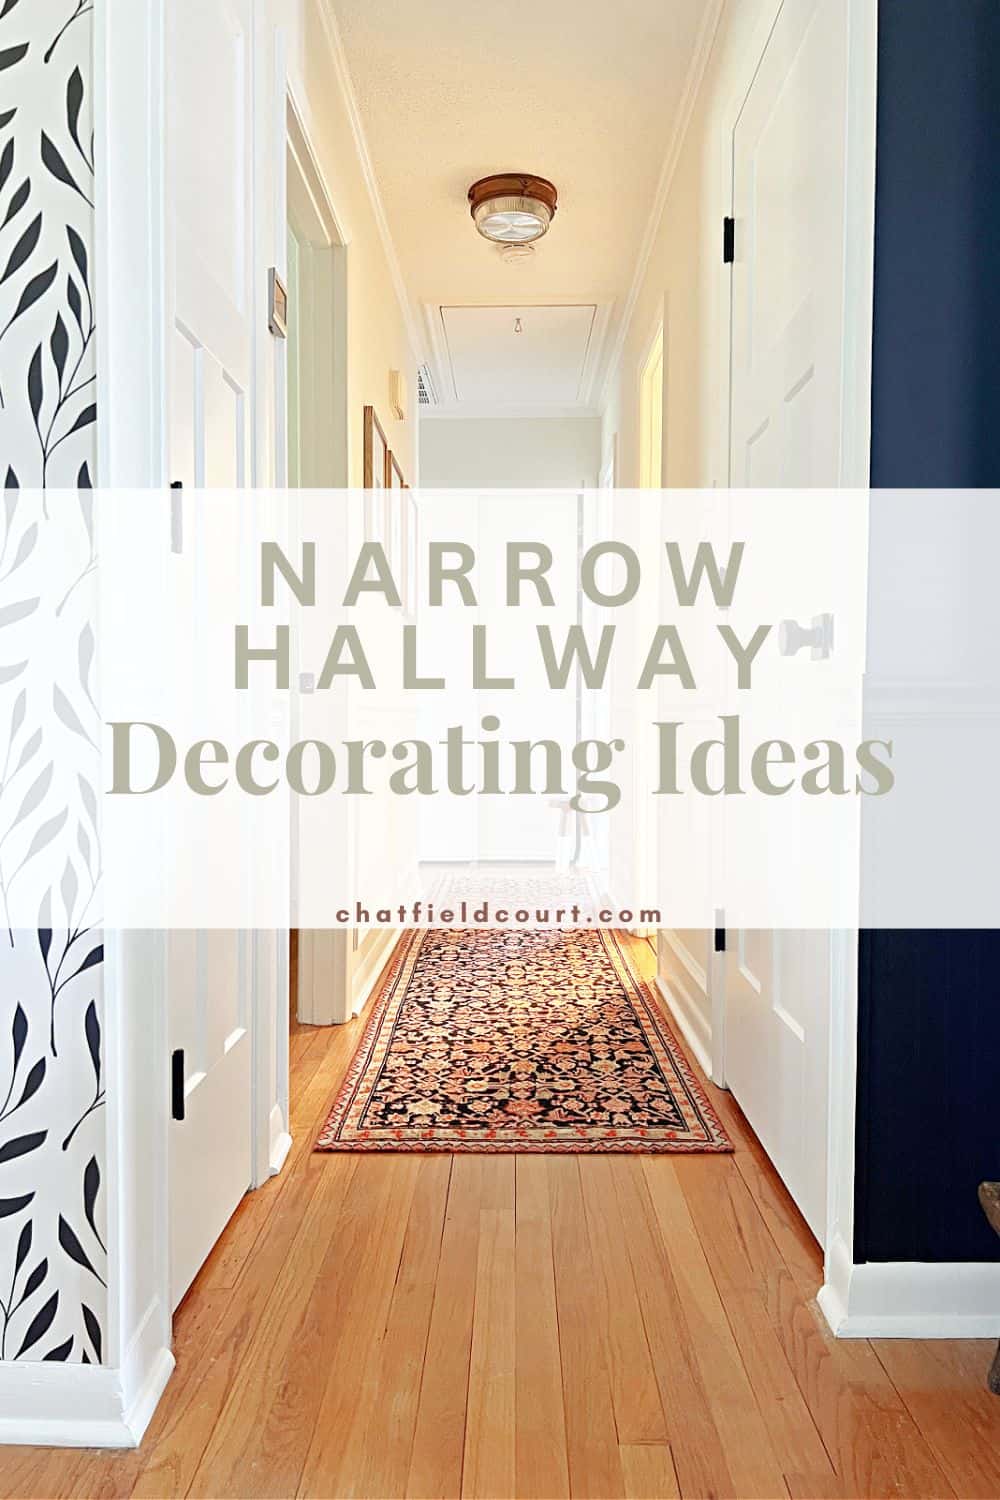
How do you decorate a dark narrow hallway in a 1965 brick ranch, and turn it into a light and bright space worthy of a second look? You give it a makeover with paint, lots of paint, and molding, lots of molding.
Hallways are usually underrated spaces in our homes. Sure we use them many times a every day to get to other rooms in the house, but it’s often overlooked when it comes to decorating.
I mean really, there usually aren’t any windows in a center hallway, and not a lot of room for decor, so you may think you’re limited when it comes to decorating.
I used to think all of that and more with our very uninteresting space.
Not anymore!
Our hallway goes down the center half of our 1965 brick ranch and leads to the hallway bathroom, all 3 bedrooms, the linen closet and the access to the attic.
It’s definitely well used, and perfectly adequate, but once I really started to take a look at it I saw lots of potential for improvement.
When we moved in 2 1/2 years ago the walls were already painted with a medium gray paint that had undertones of brown. Not terrible but it didn’t really brighten up the space at all.
It also had an old baseboard heater and a hodgepodge of old wood doors, some painted and some not. The ceiling access door to the attic also needed attention, as well as the ceiling return for the ac/heat.

Starting the Hallway Makeover
The start of the hallway makeover actually took place only a few months after we moved in. I was trying to figure out what to do with all the doors (there are 8 in just this space).
A few of the existing doors didn’t close properly and one had a gaping hole on one side. We also had a few that were previously painted with oil based paint and then topped with latex. Not a good combo. When I came across a great deal on replacement doors that were being discontinued, I felt like we had our answer.
So, the first step in this makeover was to replace the three bedroom doors as well as the bathroom, pantry and utility closet doors.
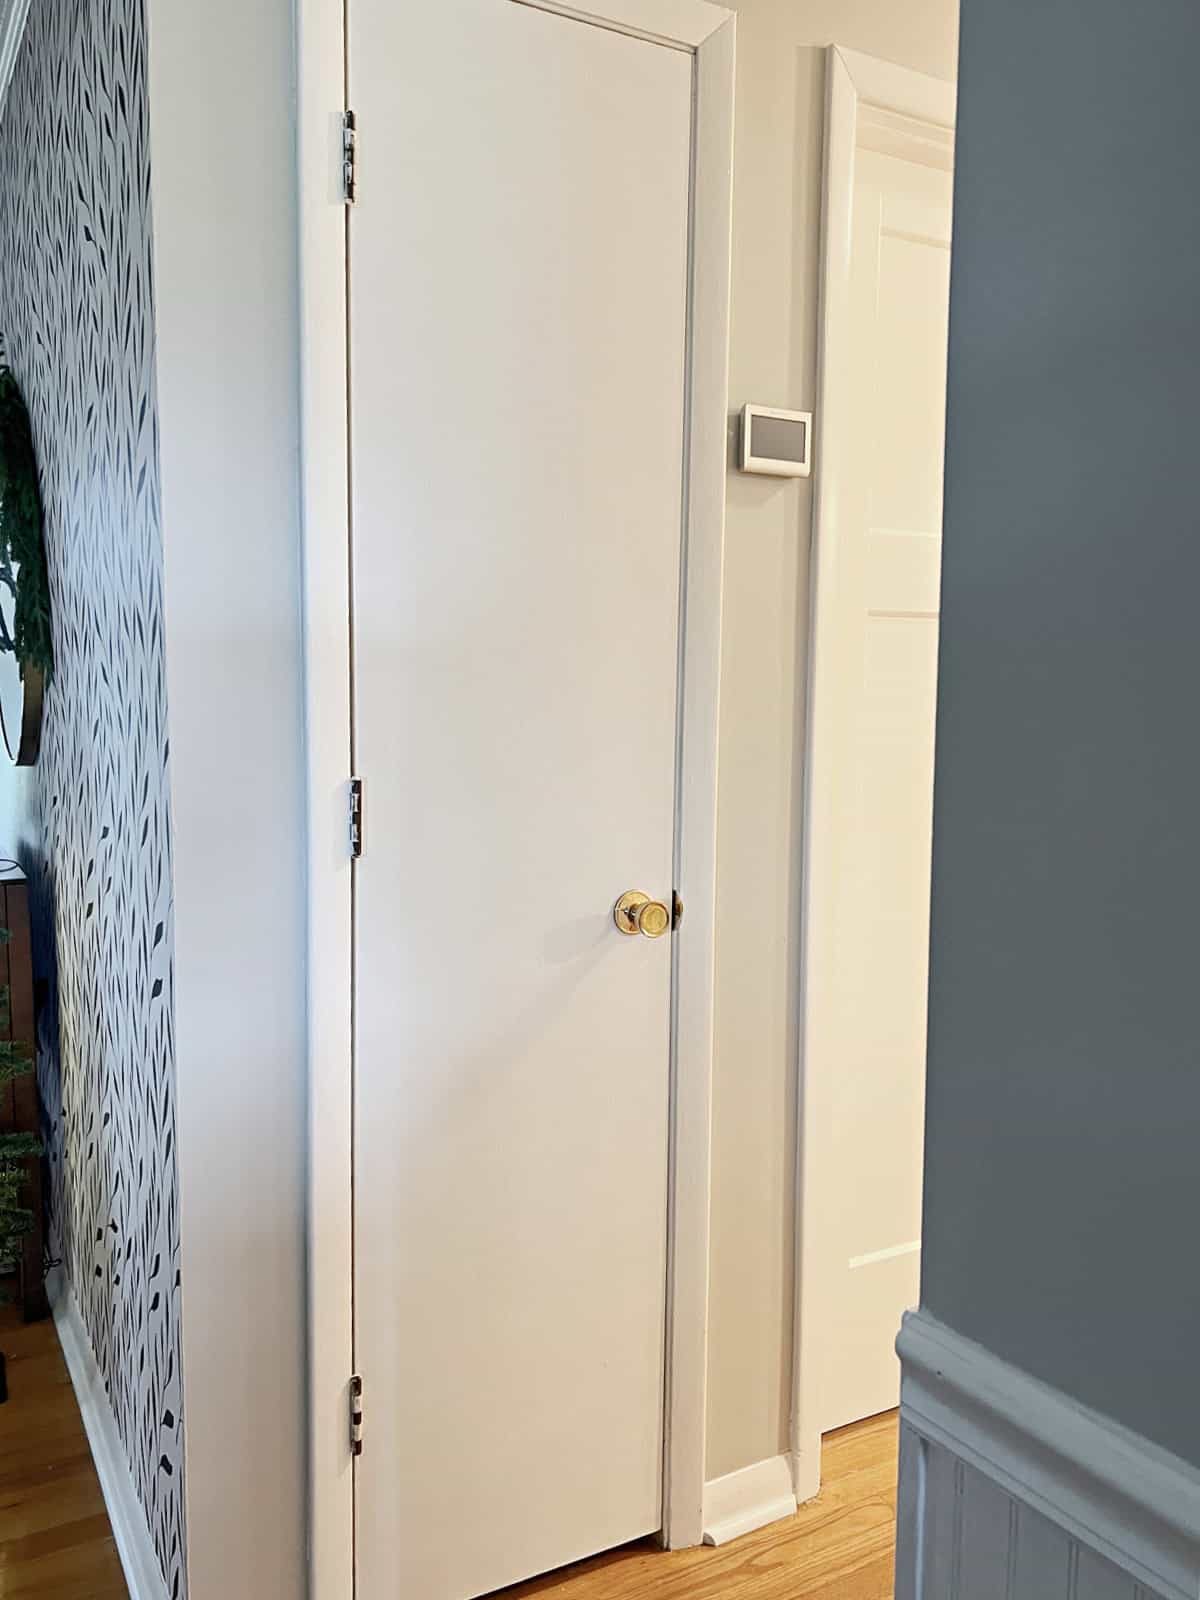
I also replaced all of the hardware, which included new knobs and hinges for each door. It was a big job but it was a good start to creating a more cohesive space.
After the doors were done I left this space alone for more than a year before I decided to tackle the rest.
Decorating Ideas for a Long, Dark, Narrow Hallway
1. Come up with a design plan: do you need to rip out rug, replace doors, paint everything? Have a plan!
2. Paint is a great way to transform a space
3. To create interest in a narrow space, try installing trim or moldings
4. Little details count! Swapping an old light fixture for new, fix that old dingy attic access door. Look for ways to make small changes for big impact.
5. Add color and texture with soft furnishings, like a rug.
6. Add interesting art or family pictures to walls
Adding Crown and Picture Frame Molding and a Chair Rail
When I was planning this space I knew that I would have to do more than paint the walls to give it the feel I was going for, which was to add some character and personality.
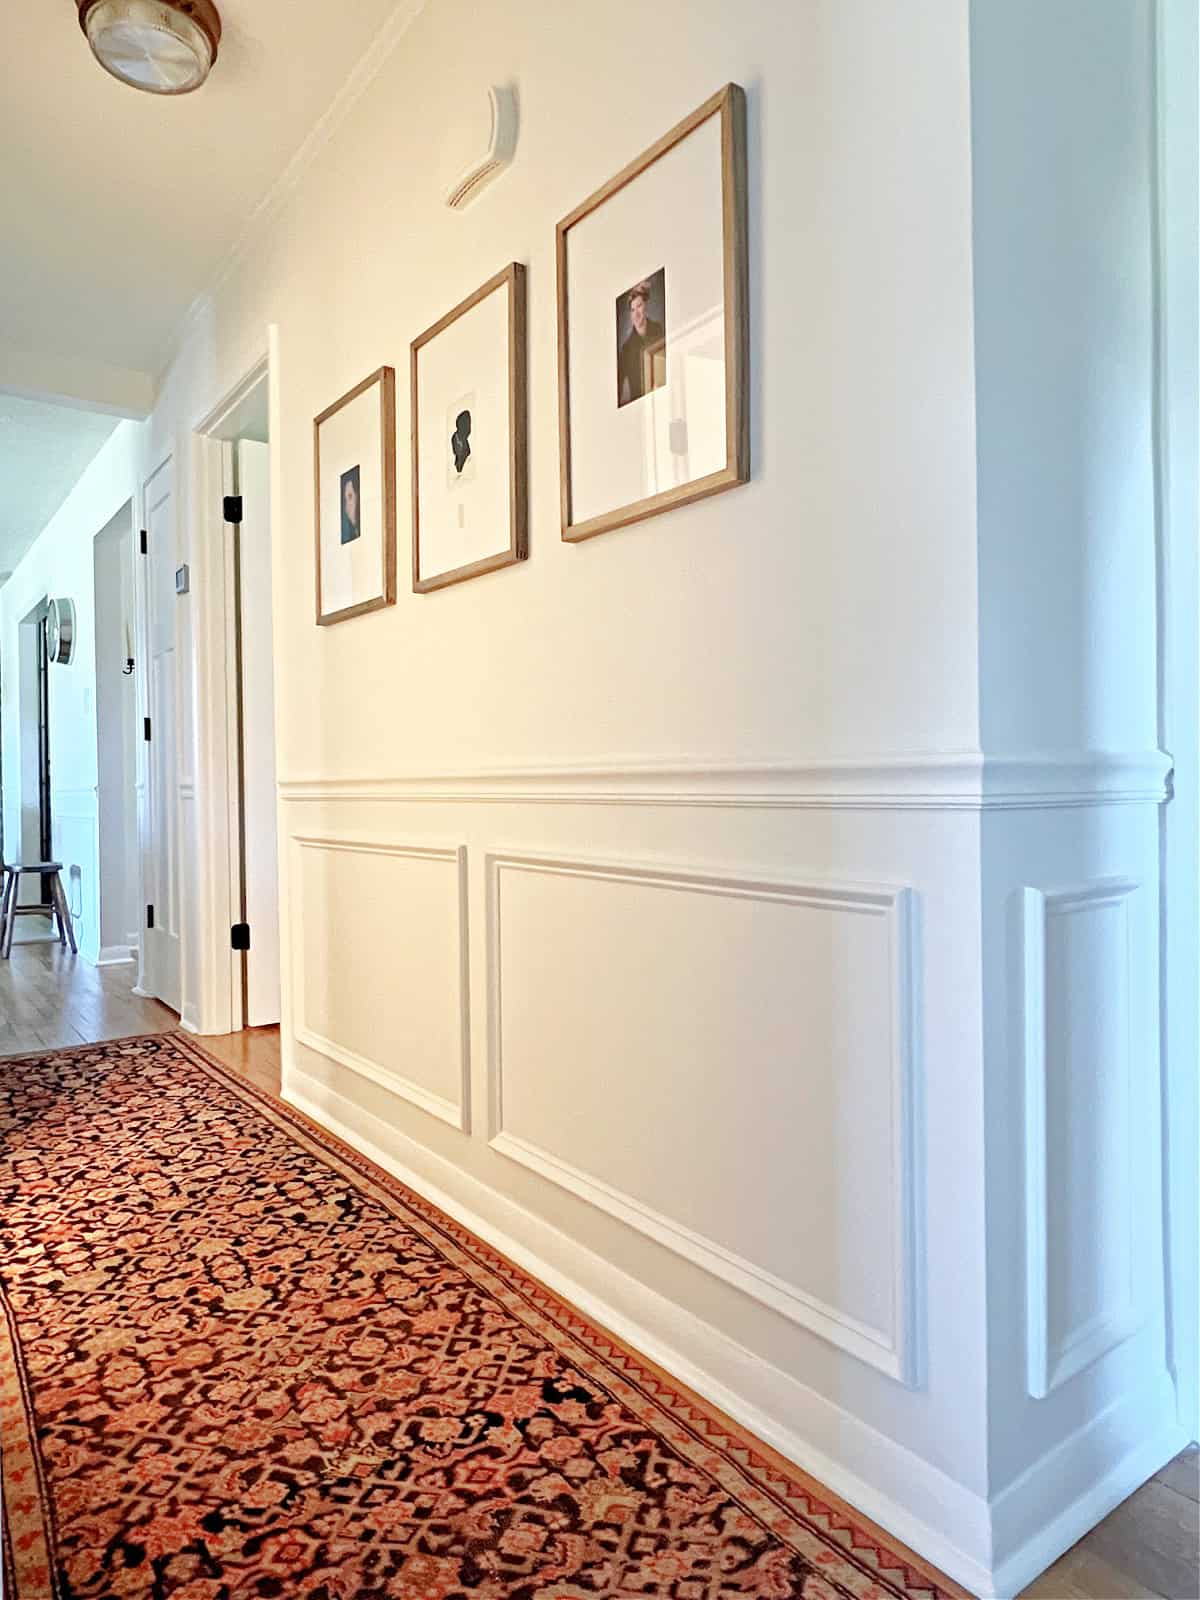
Since it’s a narrow hallway, the only way I was going to achieve my goals was to use moldings. More specifically, crown, picture frame and chair rail.
During our recent living room renovation I installed picture frame molding to one wall and loved the results. Because of that, I figured that if I brought that look out into the hallway, it would not only add character but also tie the spaces together.
I also decided to add crown molding around the ceiling. Most of the public rooms in the house have a smaller profile crown molding so I found matching molding and installed that around the ceiling.
We decide to also install a beam that separates the hallway ceiling from the open concept kitchen/dining/family room ceiling, as those spaces will get a new ceiling treatment when we renovate those rooms.
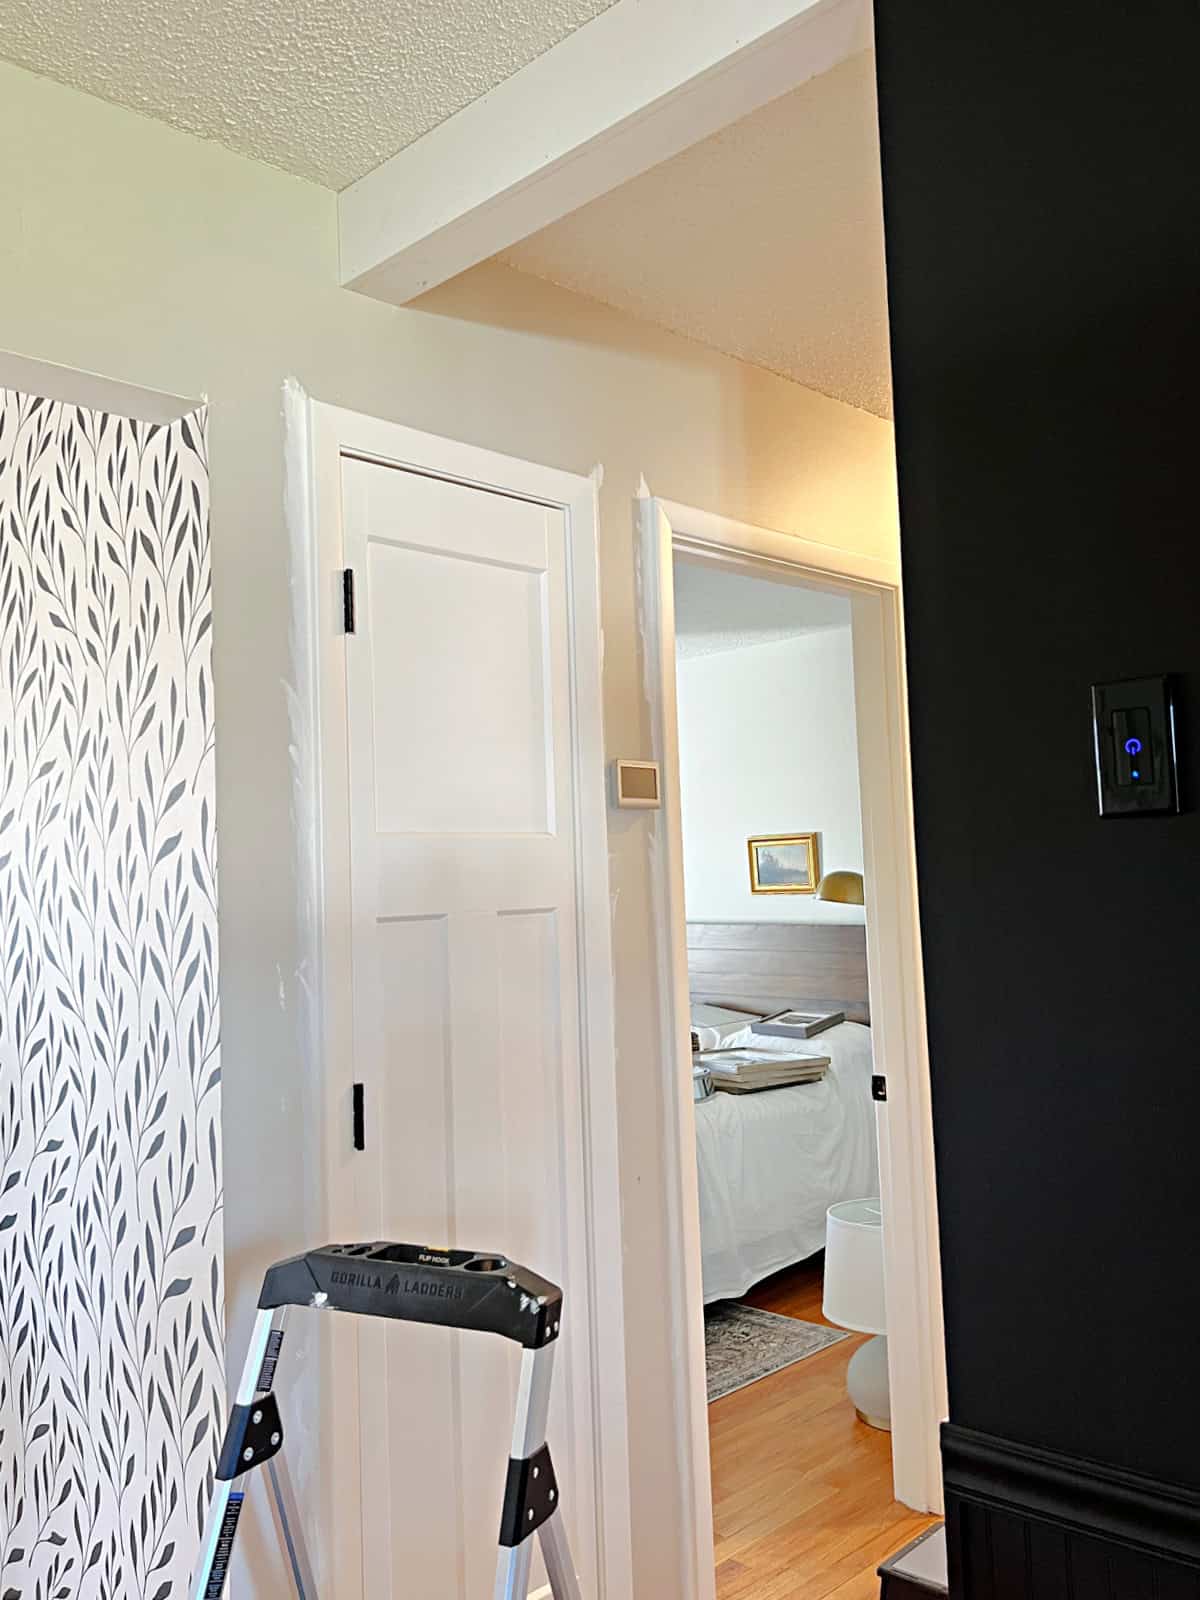
The chair rail was another easy choice as it’s used in the kitchen/dining area that leads into the hallway. Like the picture frame molding, it was all about tying the spaces together.
With the wall treatments decided on it was time to get to work cutting, installing, caulking and priming all the molding. These aren’t particularly difficult projects but they are all time consuming in their own right.
Attic Access and Heat/AC Return
If you have an attic access door on the ceiling then you know how unsightly they can be. There’s not a lot you can do to them but you can make them look presentable.
Ours was painted with beige, glossy oil based paint. The door trim was coming off and there was an ugly, dirty pull string hanging down for easy access.
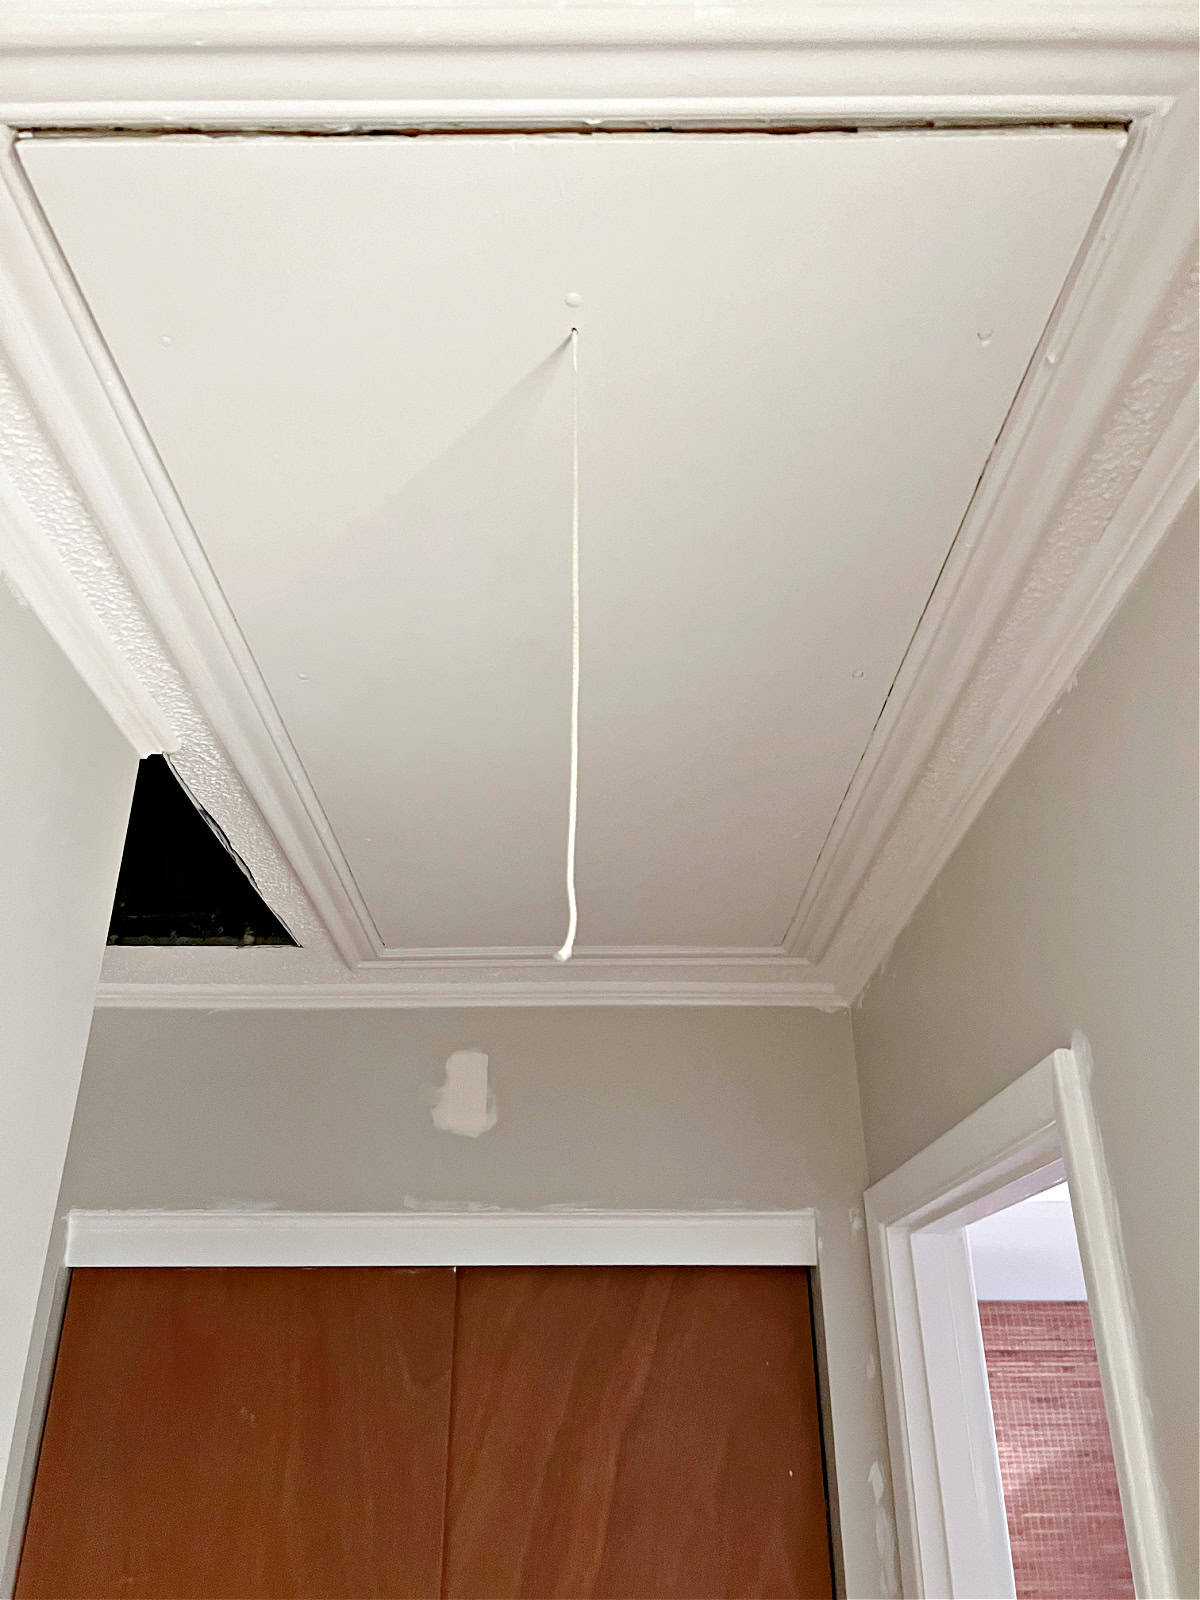
First order of business was to fix and caulk the trim around the access door. Next I cleaned, sanded, cleaned again, and primed the old paint.
I was really looking forward to cutting that string off so when I found a hook made for attic access doors, I said goodbye to that string forever. (This is the hook I used.)
The heating/ac return was an easier project. I simply replaced the old rusty return with a new one and caulked the ceiling around it.
Painting the Hallway
With the moldings all installed, and the attic access fixed, it was time for the fun part…paint!
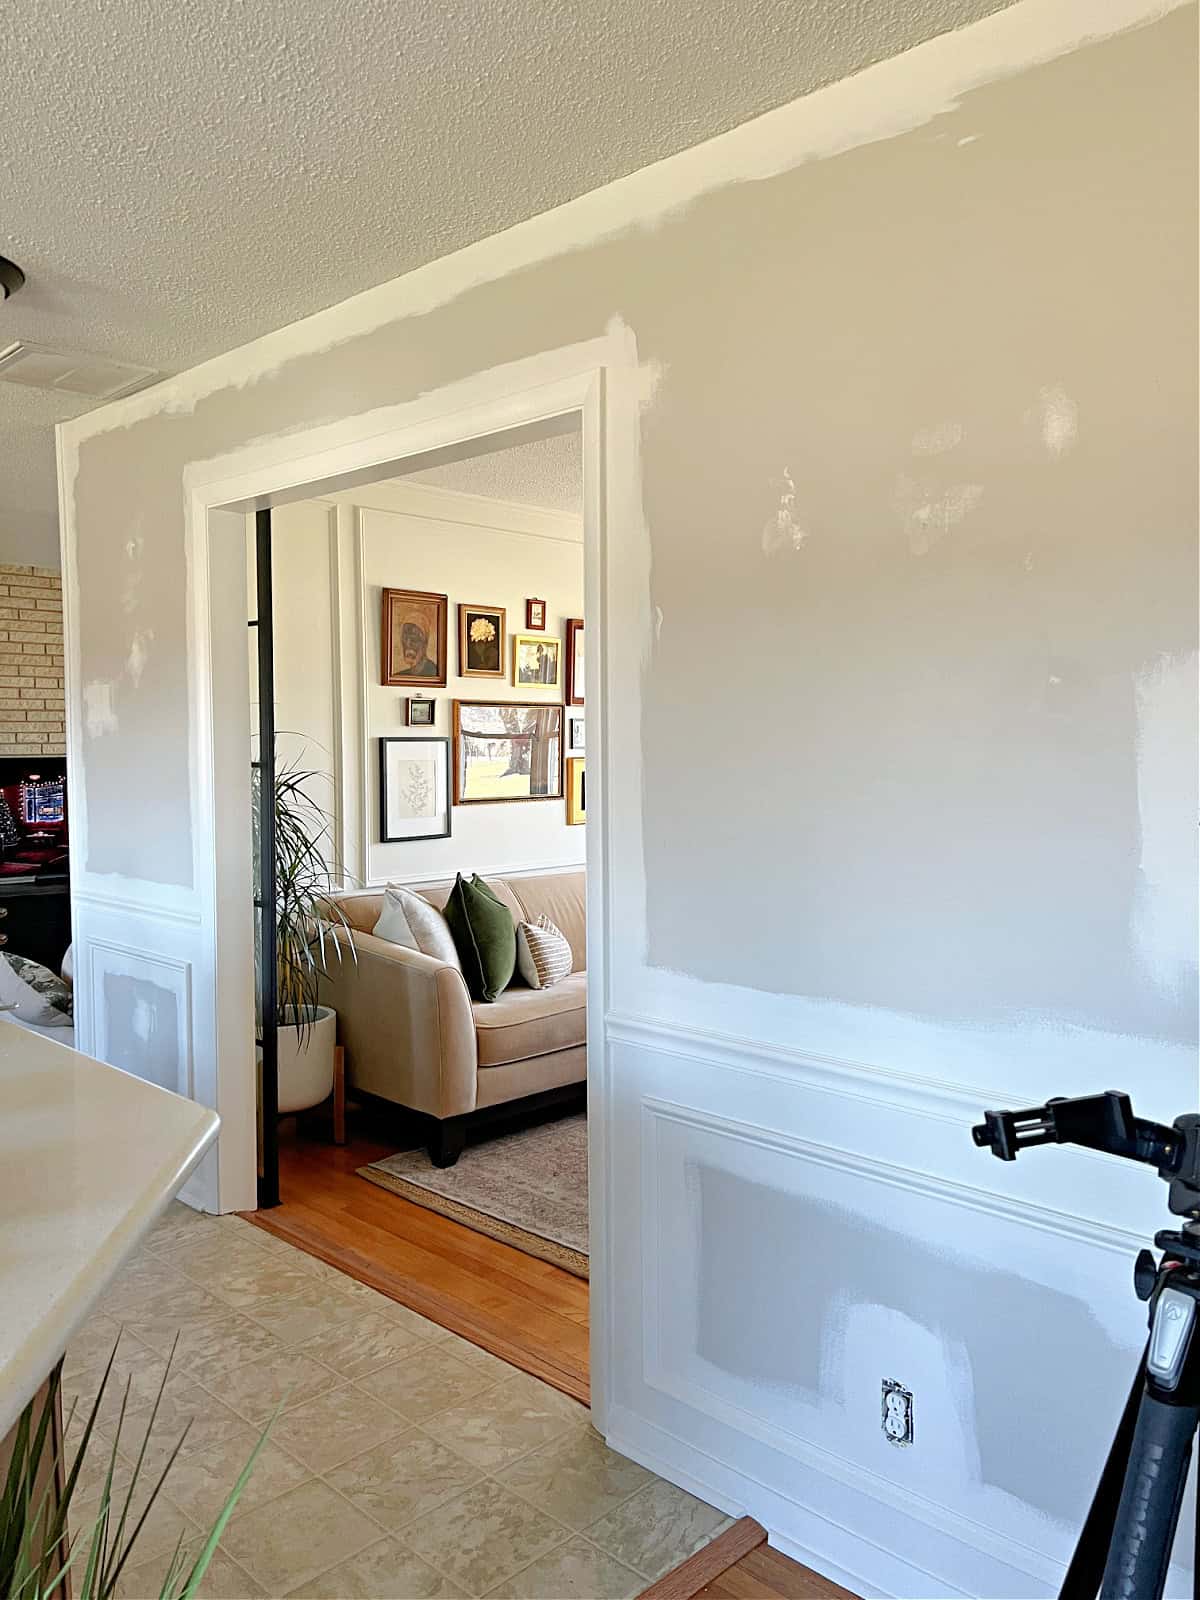
Since we are going for a timeless, classic and cohesive look, I used the same paint color that I used on the living room/snug walls, Benjamin Moore White Dove in a matte sheen. On the ceiling I used a flat bright white paint.
The new doors, door trim and wall trim were all painted in Benjamin Moore Advance paint in a satin sheen, in the color Polar Bear by Behr. The crown molding was painted in BM Advance White Dove in a satin sheen, and the picture frame molding and chair rail were painted in the same matte paint as the walls.
Phew, are you still with me?
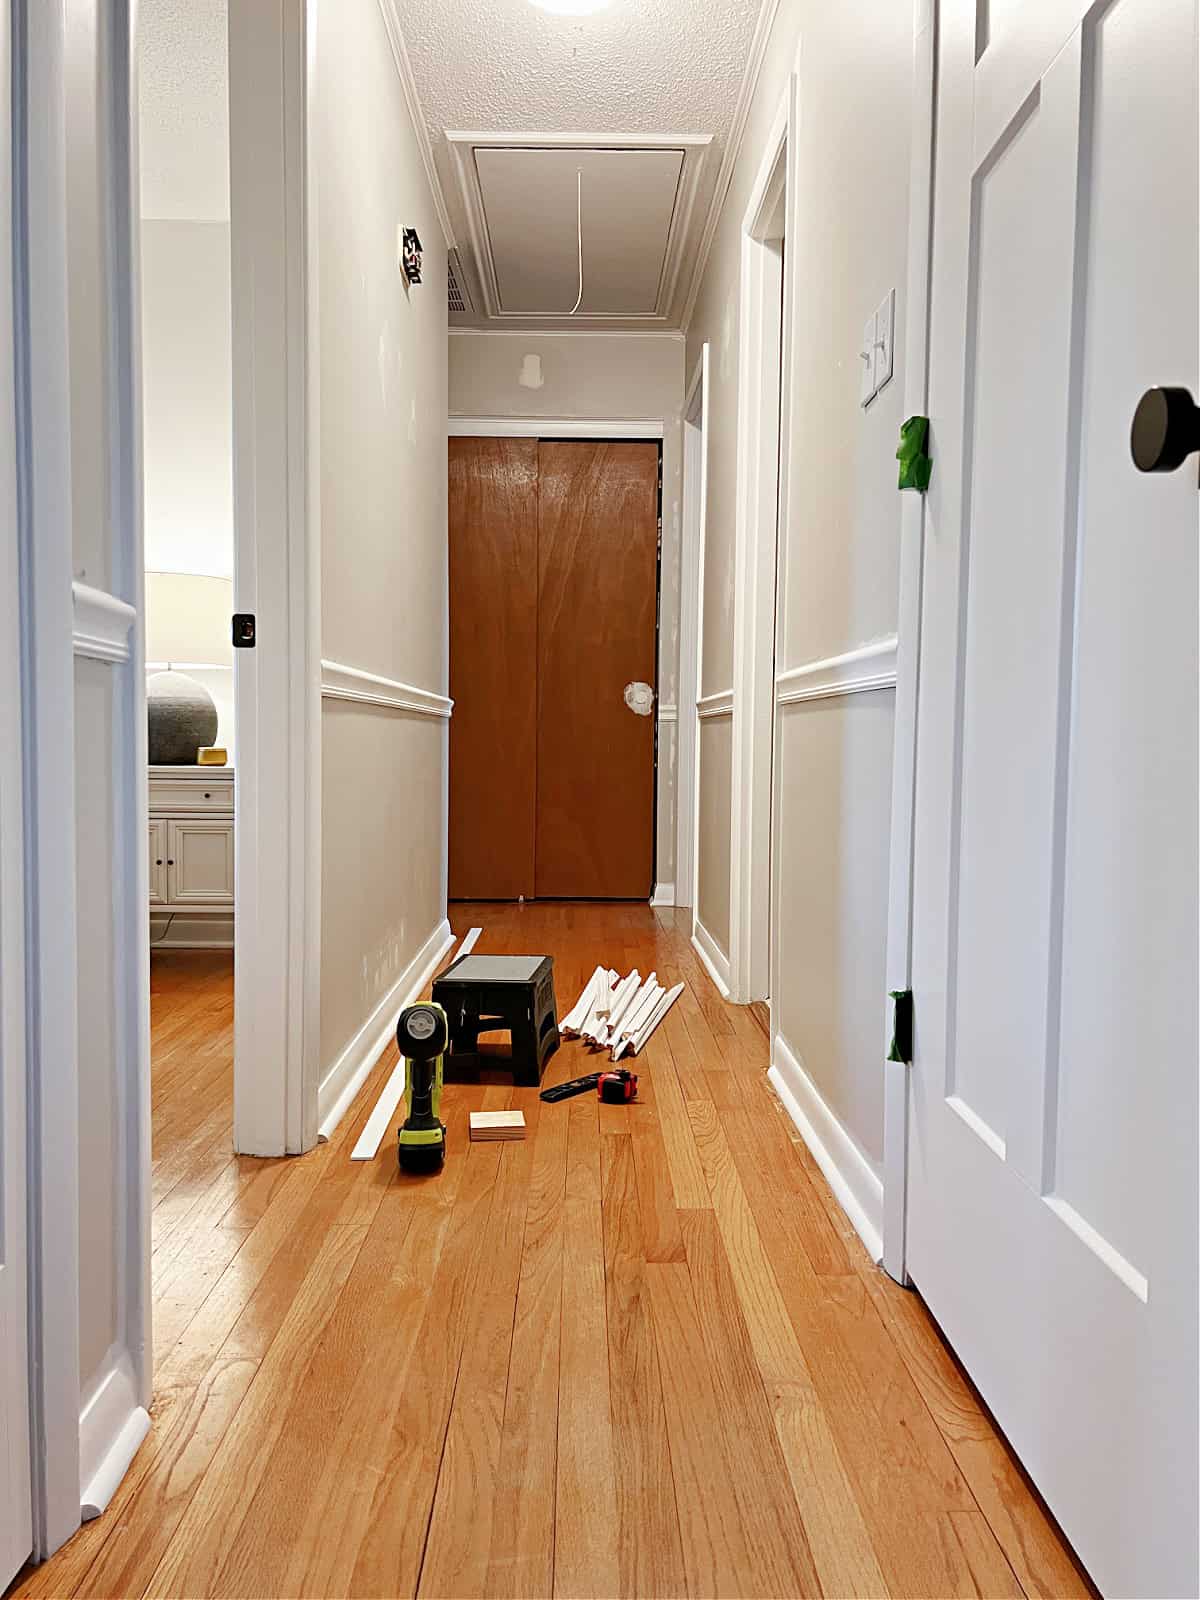
Sliding Closet Door Makeover
The final stage of this hallway renovation was the sliding closet doors. The dark brown , flat doors did nothing for this space, and they are in the first thing you see as you walk down the hallway.
I really wanted to replace these doors but if you have an older home then you know that that presents its own challenges. Also new sliding doors can be pretty pricey.
So, what to do???
Well, I already did a closet door makeover in the guest bedroom so I knew that these doors could be just as fabulous. With a bit of work, of course.
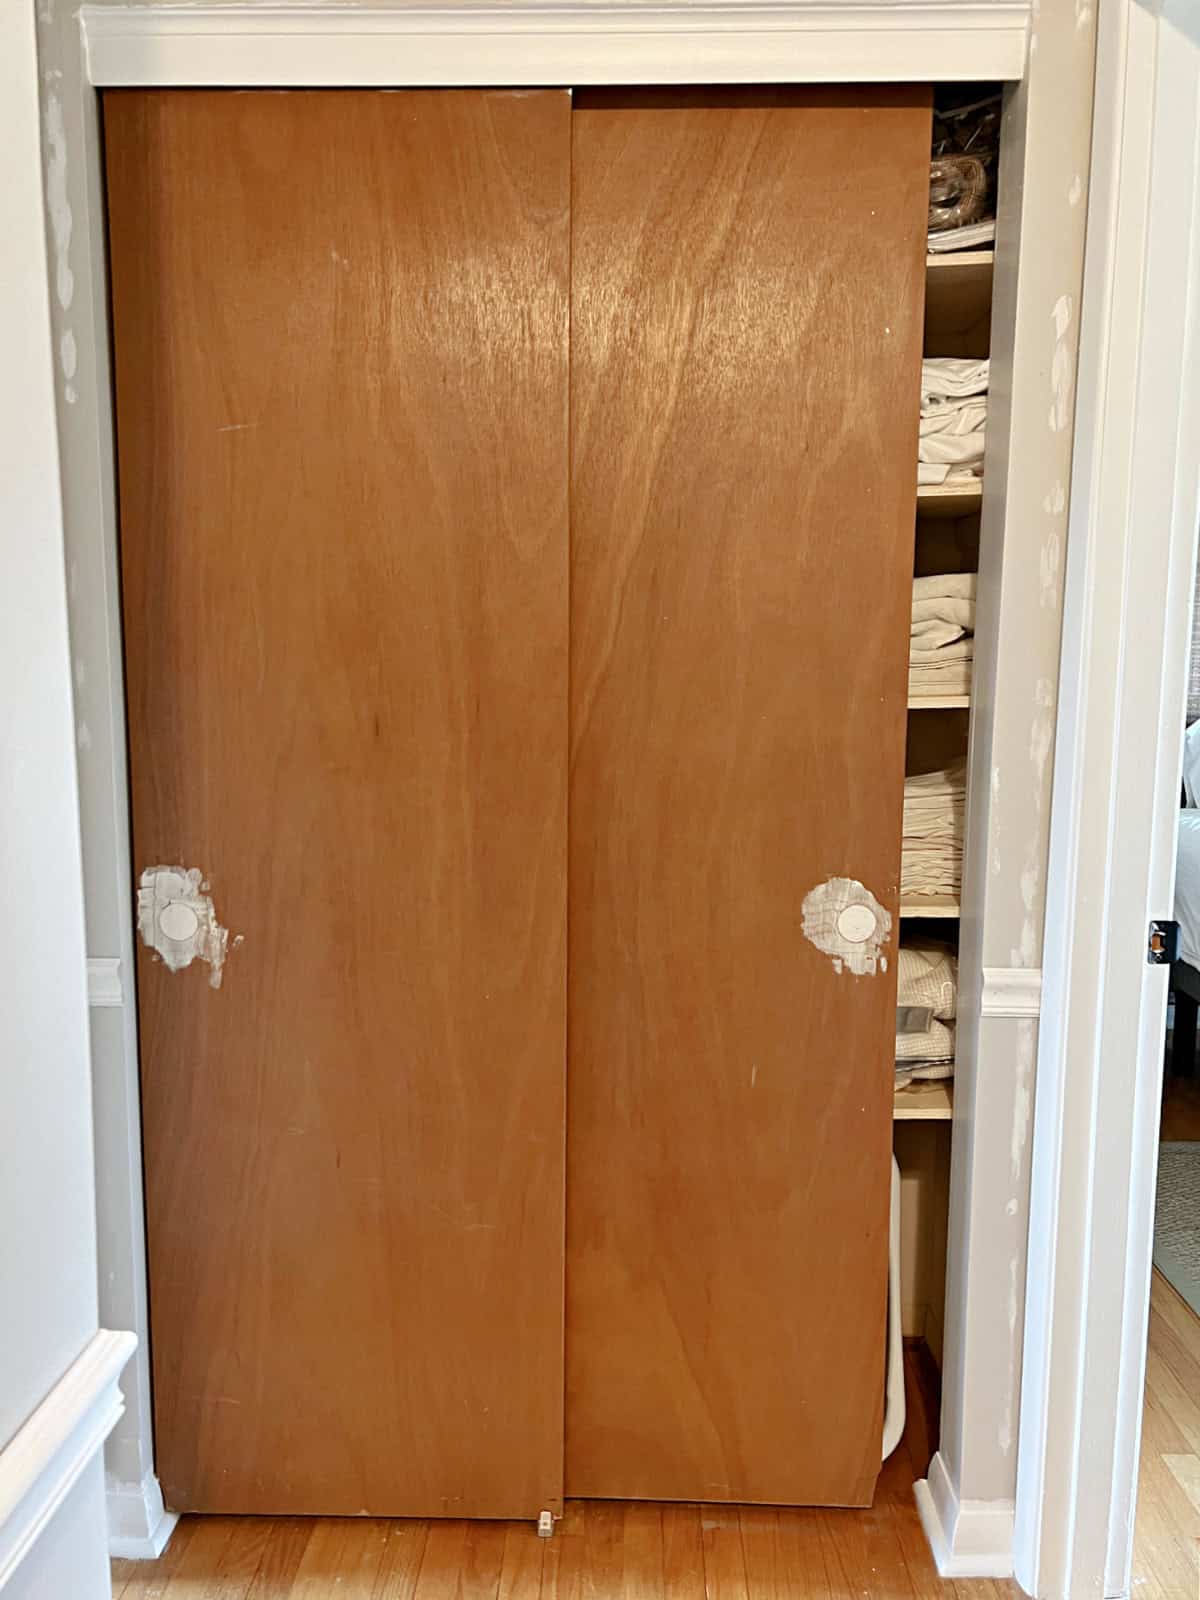
The first order of business was to remove the brass door pulls and fill them in. Then I removed the doors and added some trim to each.
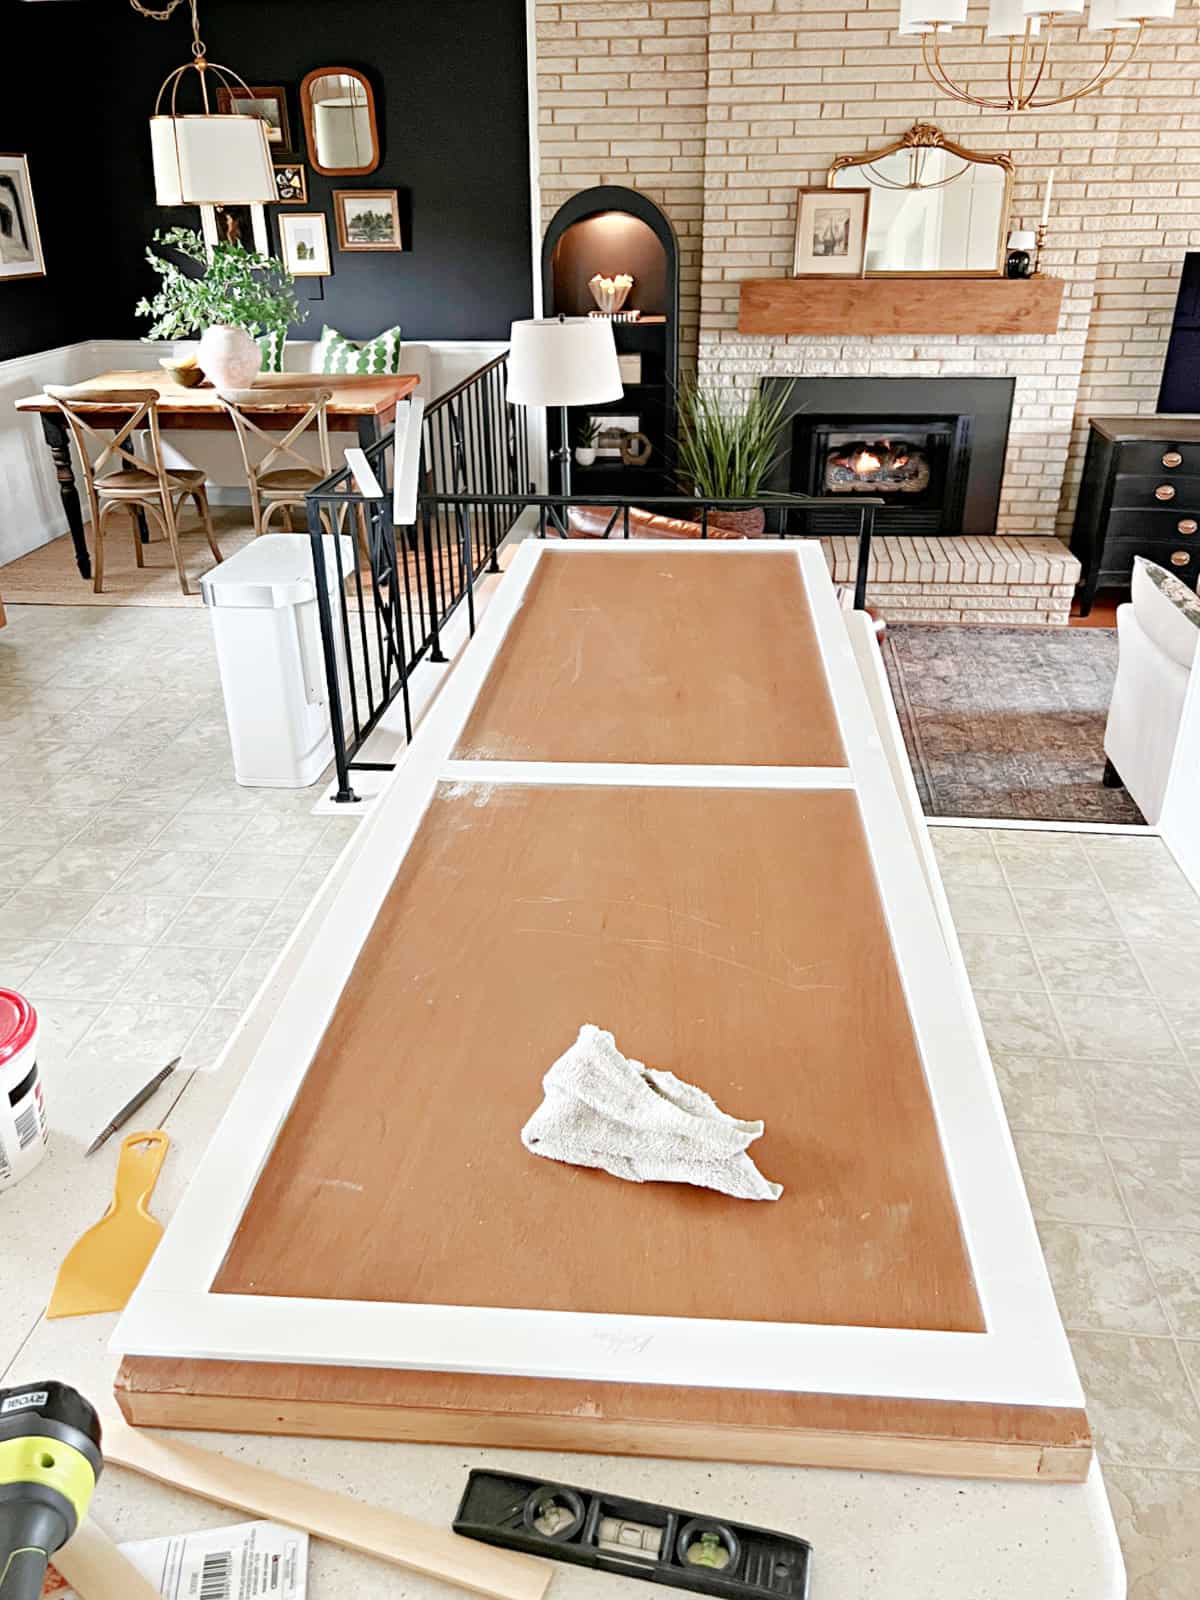
A couple coats of primer and many coats of paint and the doors were totally transformed.
I did have to replace the track and sliding brackets on each door to account for the addition of trim, but it was easy to do.
Once installed I added a new header to hide the rail, and new brass pulls.

And there you have it. “New” old and recycled sliding closet doors for a fraction of the cost of brand new.
Hallway Finishing Touches
With all of my projects done it was time to add a small bit of decor.
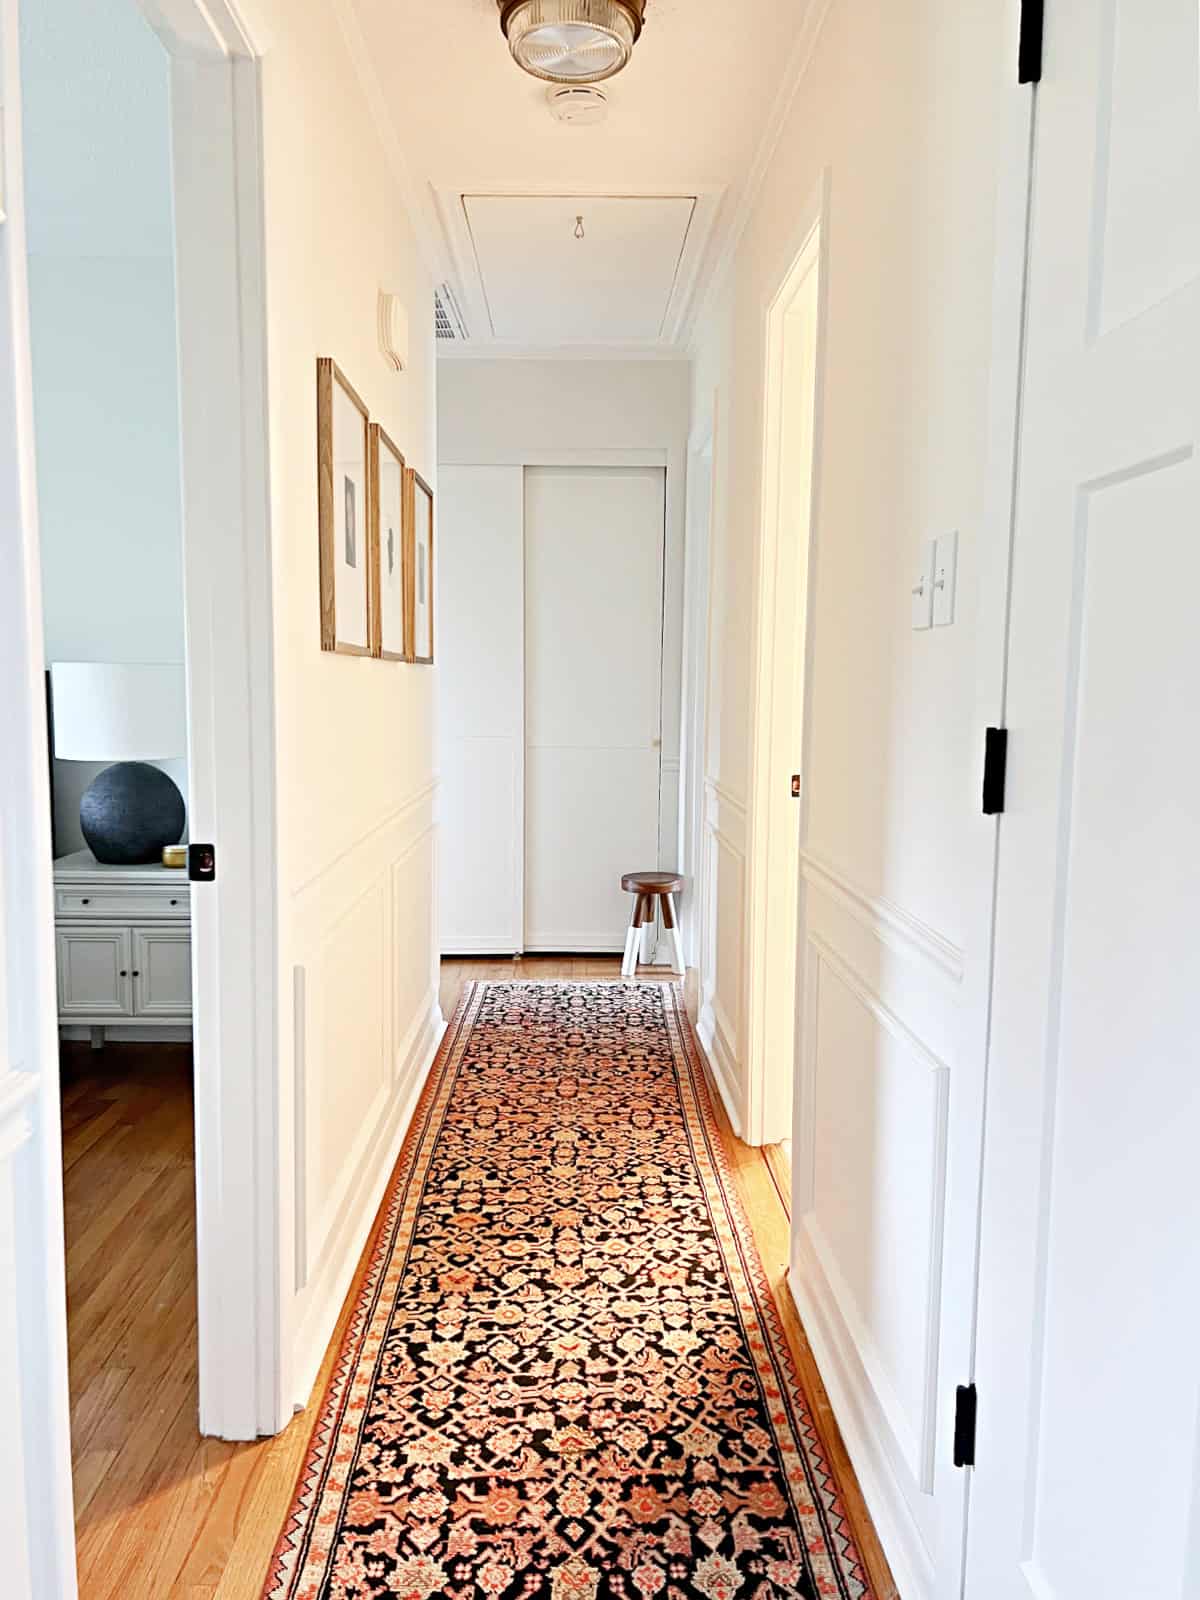
The ceiling light that I snagged in a ReStore years ago for $15 (and sells for $1400!) was rehung on the freshly painted ceiling.
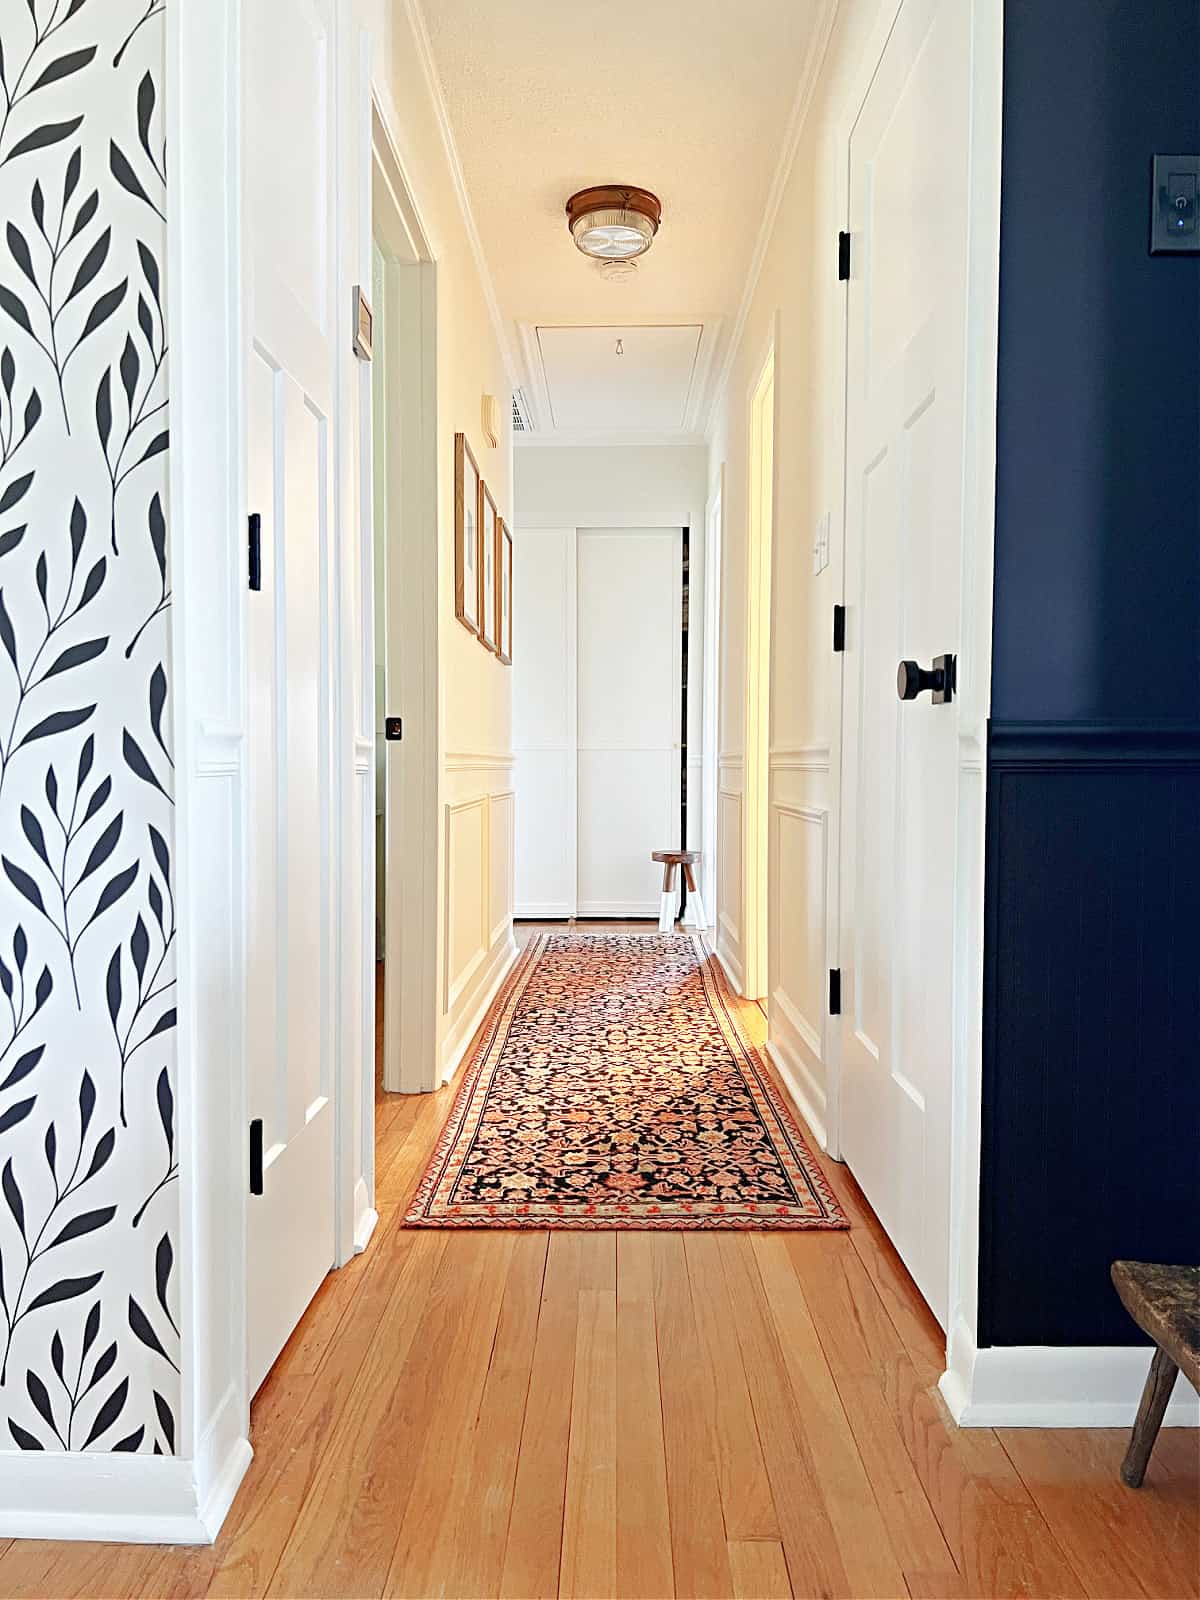
I also hung family pictures on the longest wall and added a pretty vintage Turkish runner to give the space some softness and color.
Now this hallway is more than just a means to get to the bedrooms and bathroom, it’s a light and bright space with character and a bit of sophistication. I’d like to think that it was always supposed to look and feel this way.