
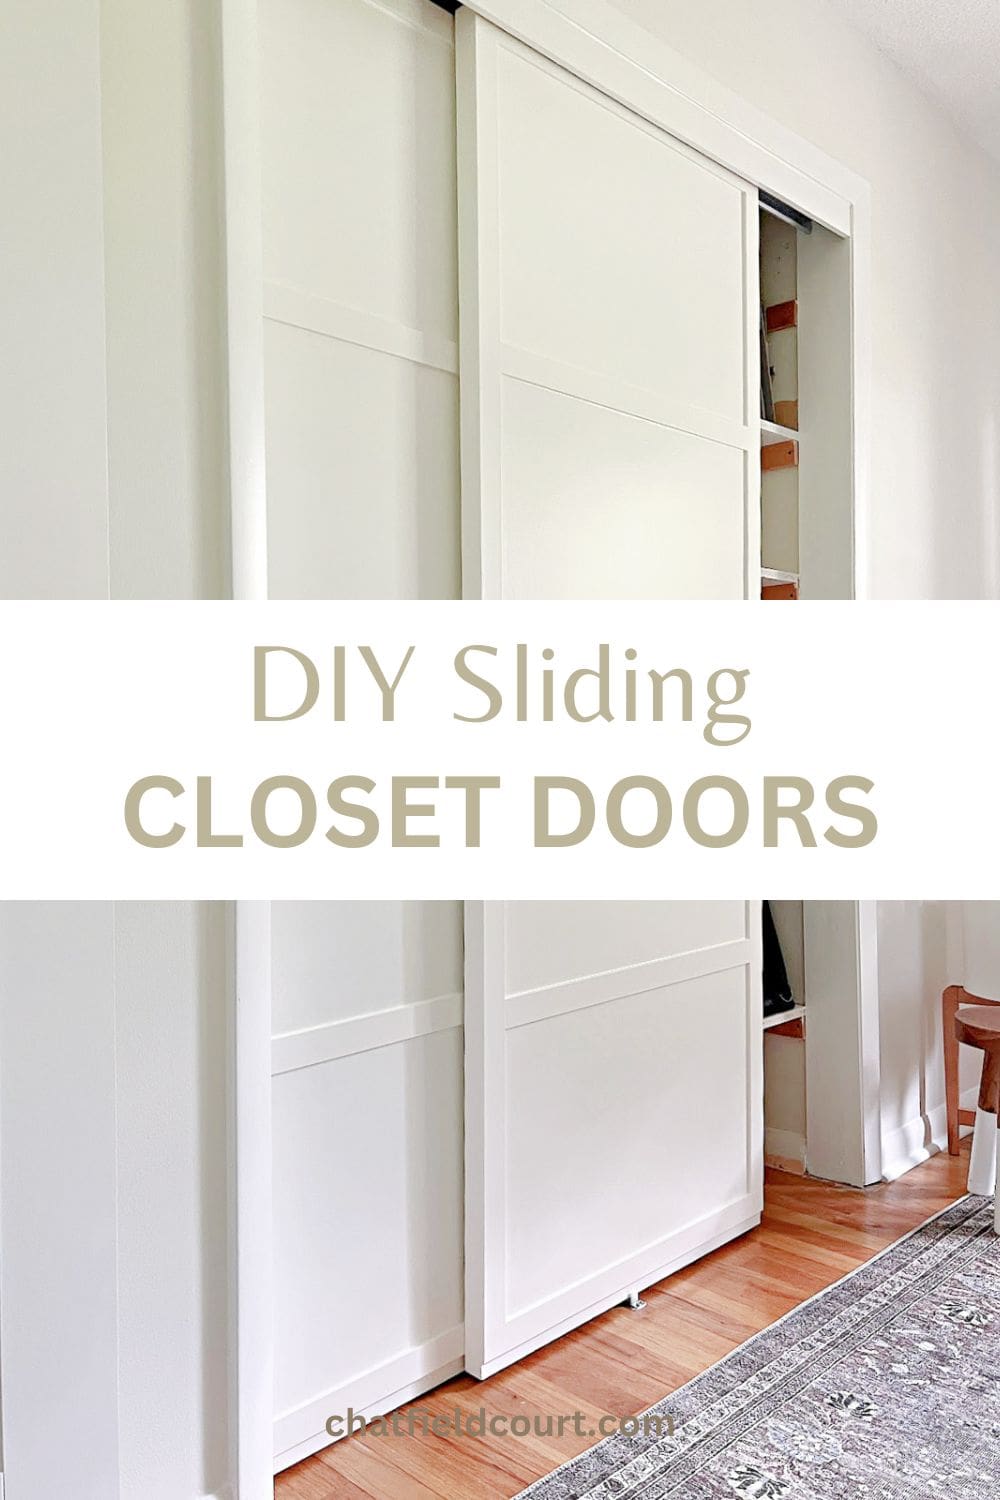
DIY Sliding Closet Doors
When you are starting a bedroom makeover, closet doors are usually way down on the list for a redo. Am I right? That’s usually the case for our bedroom makeovers but the bi-fold closet doors in our guest bedroom were keeping us from accessing the much-needed storage space.
We had to figure out a way to switch the bifold doors out for sliding closet doors, and it had to be on a budget.

I searched the internet but all of the doors I liked were hundreds of dollars. That wasn’t an option for me so I set out to build my own.
Can you turn a normal door into a sliding door?
Yes you can!
We used primed, slab hollow core interior doors from the home improvement store for our project.
With the addition of PVC molding, a sliding closet door track and wheels, we created custom sliding doors that took our room to the next level.
Supplies for sliding closet doors
- flat, primed hollow core doors
- PVC lattice molding
- tape measure
- miter shears
- construction adhesive
- brad nailer
- caulk
- paint
- paint roller
- screw driver
- sliding closet door rail kit
- sliding closet door rollers
Customizing a sliding door
I’m not a newbie when it comes to making a sliding closet door. In our little stone cottage I made one out of a vintage door and added a mirror.
I love how that door turned out but I was looking for something different for this room.
We started out with louvered bifold doors. They weren’t in the best shape (despite appearances) and we couldn’t utilize all of the storage space in the closet, so I was ready to switch them out.

We wanted the new sliding doors in this guest room to look panelled so I went with flat hollow core interior doors and inexpensive PVC molding to create the look.
Before I started any cutting or glueing, I had to lay out the PVC molding on the door to work out my design.
Then I did a bit of measuring…actually a lot of measuring and math to figure out the placement of the molding.

The measurements were probably the hardest part of the whole project, and took the most time. It’s really important to get it right though, and to not skip this step.
Once the measurements are figured out, it’s time for the fun part…building the closet doors.
My first step was to lay the PVC around the perimeter of the door. I laid 2 long pieces on the long sides of the door and used the miter shears to cut and fit 2 smaller pieces on the top and bottom of the door.

The perimeter pieces were all fitted out to the edges of the door. For the bottom of the door I measured up 1 inch from the bottom edge, across the width of the whole door.

This was a necessary step so that the doors would be able to slide through the floor guide, that does not adjust to the wider door width.
With the perimeter pieces laid out, I started on the cross pieces.
I wanted 4 panels, which meant I needed 3 cross pieces. First I cut and laid out the middle piece. Then I found the center between the bottom strip and the middle strip and cut and laid my next piece.

I did the same for my last panel piece.
Attaching PVC to a closet door
After all of the PVC pieces were cut, fitted and laid out, I double checked the placement and measurements, and started attaching them with heavy duty adhesive.

I started with the perimeter, applying a thin bead of adhesive to each piece. Then I used a brad nailer in a few spots on each piece to keep my strips in place.
Once the perimeter was done I glued and nailed the 3 cross pieces. Before I caulked and painted the first door, I built the second door. Since I had all of the math worked out, this one went quickly.

After both doors were built, I caulked and painted both sides of each door with the same paint I used on all of my doors and trim.
Hanging sliding closet doors
To hang the doors I installed the sliding door rails on the closet opening and the door rollers on each door.

After we hung the doors, I installed the floor guide. To finish it all off, I added a piece of molding over the closet rail to hide it.
I just couldn’t bring myself to install closet handles just yet. Maybe someday down the road that’ll happen but I’m loving the clean look.
IMPORTANT TIP!
One thing to take note of is the thickness of the doors, with the addition of the PVC molding, before you install them. Being that our closet doors were thicker than normal we had to use a specific roller so that they would not hit when installed. This is the roller that we used.
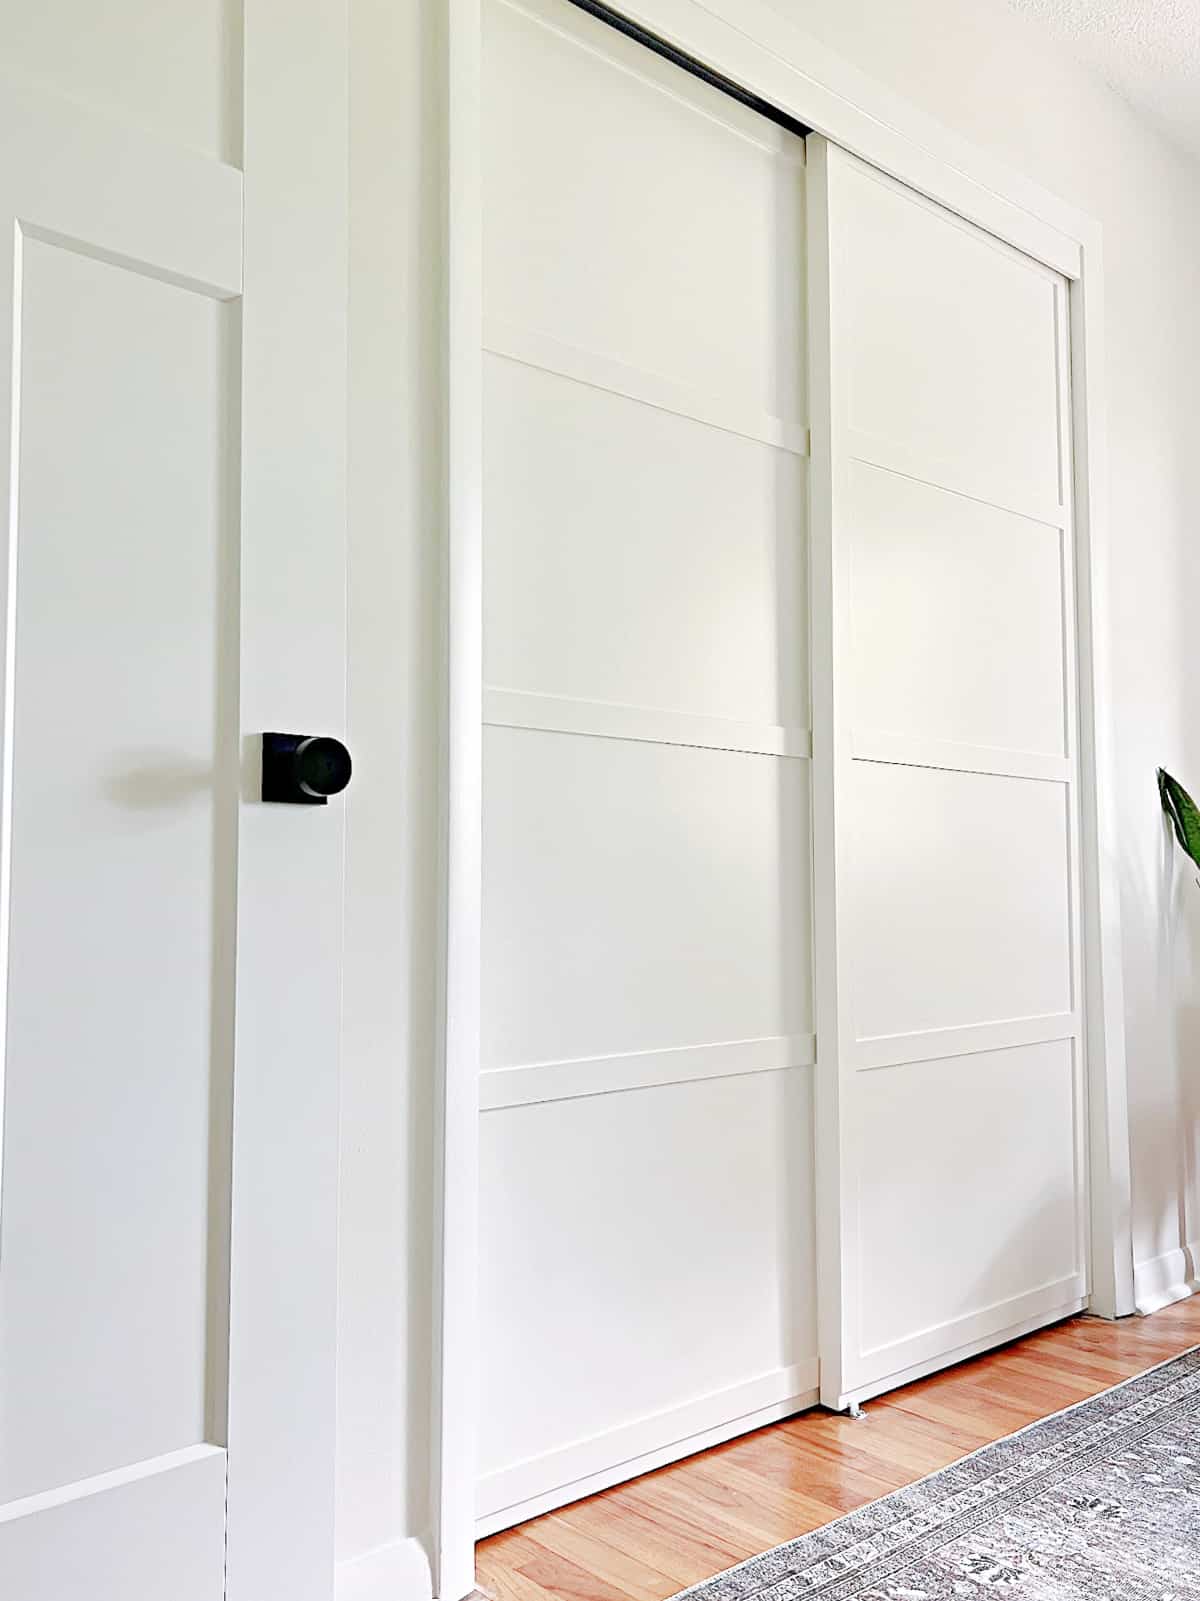
The doors turned out way better than I’d hoped, and now we can easily access the all of the storage.
I know it seems complicated, with a lot of steps involved, but I promise this is an easy project to do. It’s a great look for any closet in your home and can be made with more, or less, panels.
