Moving an Electrical Outlet
This post may contain affiliate links, please see our policy for details.
When we started the redo of one of the guest rooms, I knew that the first job we would have to do would be moving an electrical outlet.
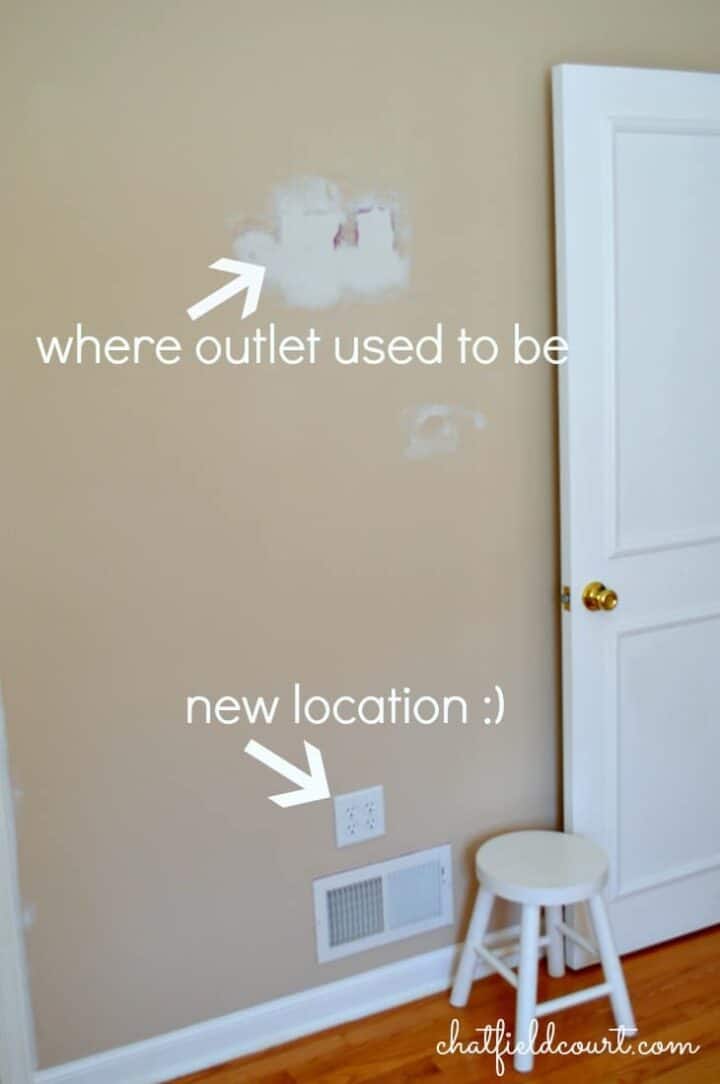
It appears that the previous owner had a tv on the wall and had an outlet put halfway up the wall, smack dab in the middle. We were not going to put a tv up, so the outlet was a real eyesore, as was the giant hole next to it (no idea why that is there).
Since we had to paint anyway, I asked my husband, aka. the electrical genius, to please move the outlet so it was lower to the floor. I usually try to do these things while he teaches me and walks me through it, but I was busy working on removing the caulk, so he did all the work on this one.
Roger is trained in and works with electricity on a daily basis but if you are not comfortable doing this, please call a licensed electrician.
Sometimes moving an electrical outlet can be costly, labor intensive and a difficult job.
The 2 reasons why we were able to do this easily was because (1). the outlet was attached to a single, flexible wire (not a pipe or multiple wires), and (2). the wire that was attached to the outlet came from the basement up and not from the attic down (which would have made the wire too short to easily complete the job).
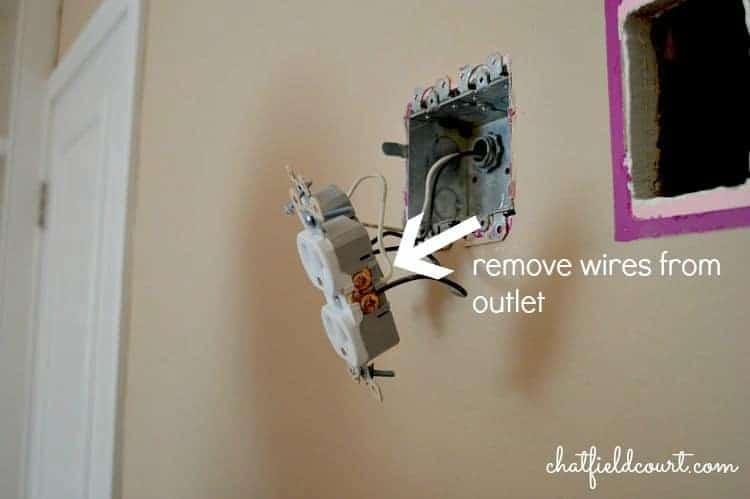
Very Important!!! The first thing you need to do is to locate the circuit breaker in the electrical panel and turn off the power to the outlet. Now it’s time to remove the outlet by removing the wall plate and then the screws that hold the receptacle into the box so that you can get to the wires to remove them.
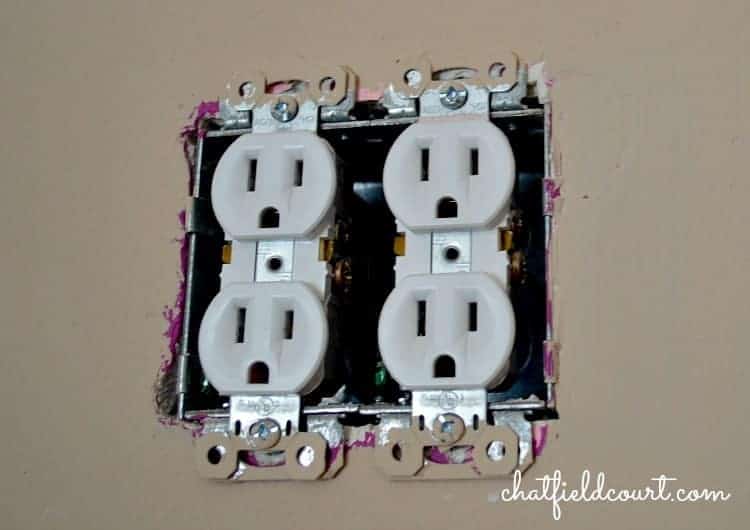
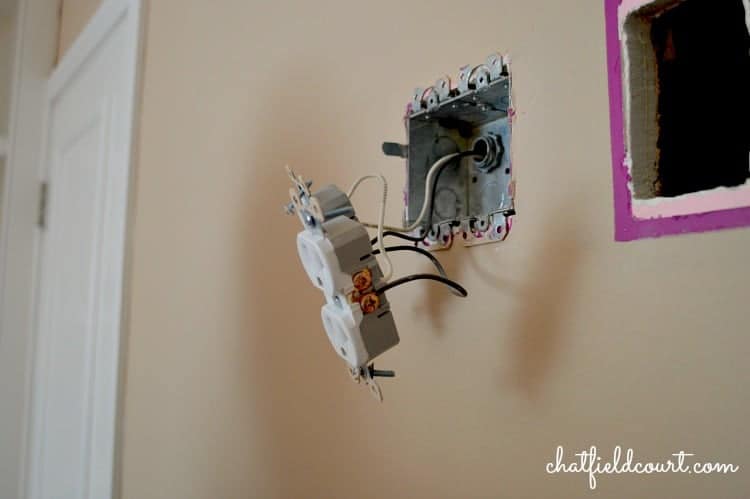
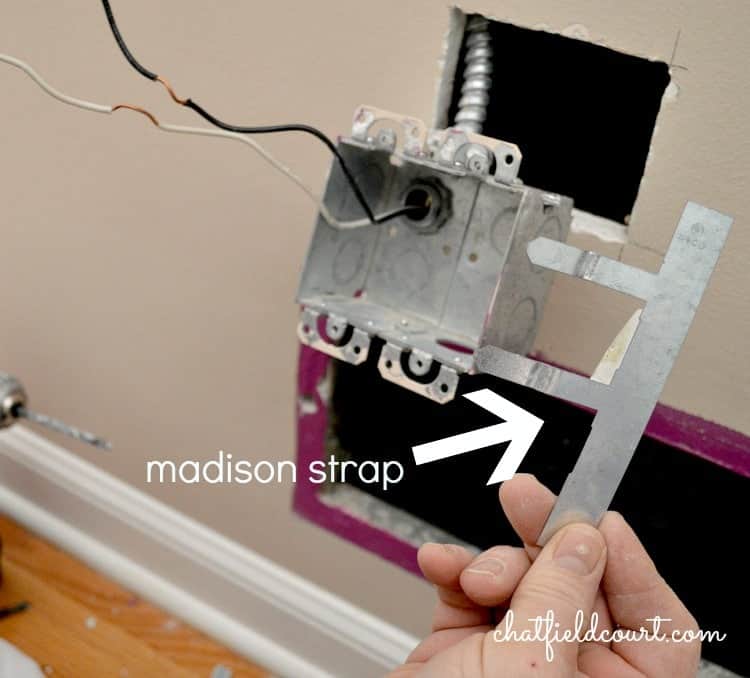
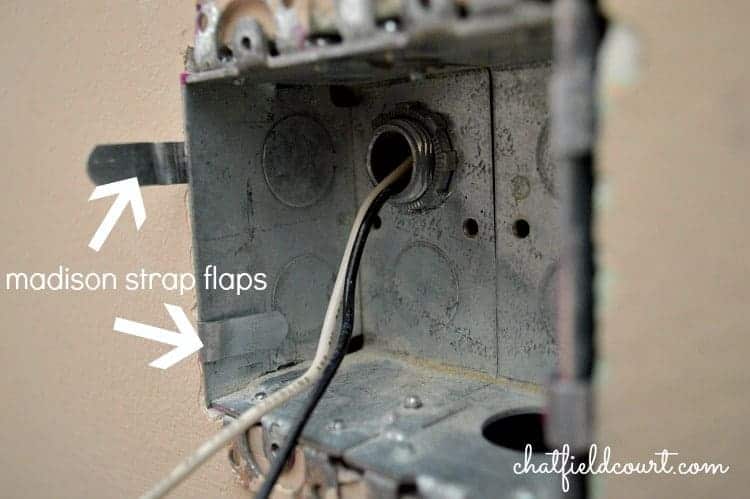
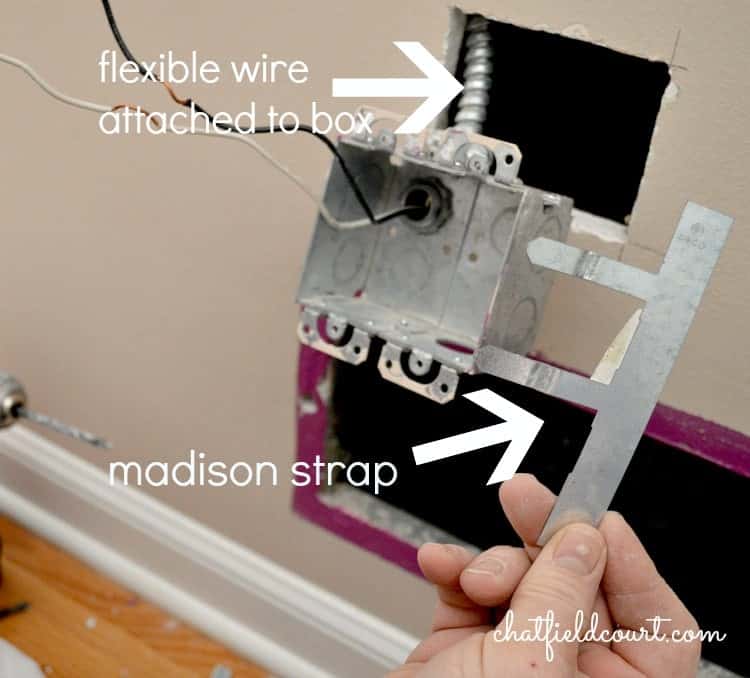
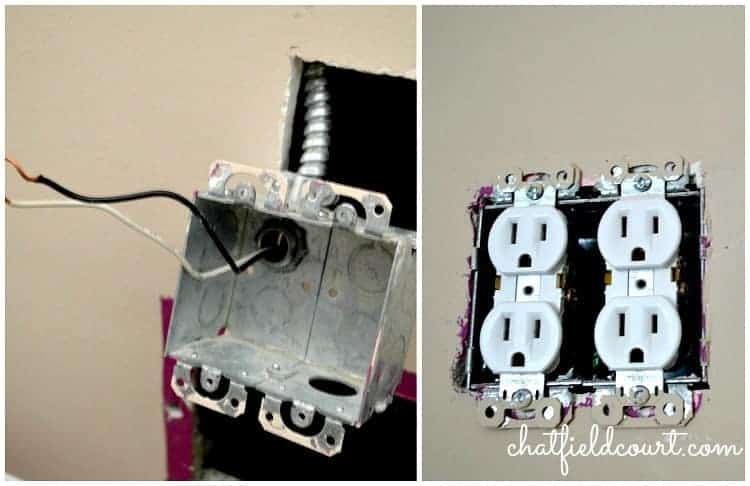
Because this outlet box was added after the house was built, it is not attached to a stud, so madison straps were used to mount the box to the wall.
Madison straps sandwich the box between the inside of the wall and the outside of the wall using the receptacle to hold it in place.
Now that the screws that hold the receptacle in have been removed, the outlet box could slip into the wall so you may want to hold onto it.
Next step is to remove the electrical wires from the receptacles. Make sure you take note of the color of the wires and where they are connected.
You need to remove the madison straps by unbending the strap from the side of the box, lift the strap up and remove it from the wall.
The madison straps are not attached to the box and you will have one on each side.
The electrical box is now ready to be removed from the wall. When you pull the box out, there will be a large wire attached to the box. Y
ou need to remove the wire from the box and push the wire down the wall so that it can be attached to the outlet in its new location.
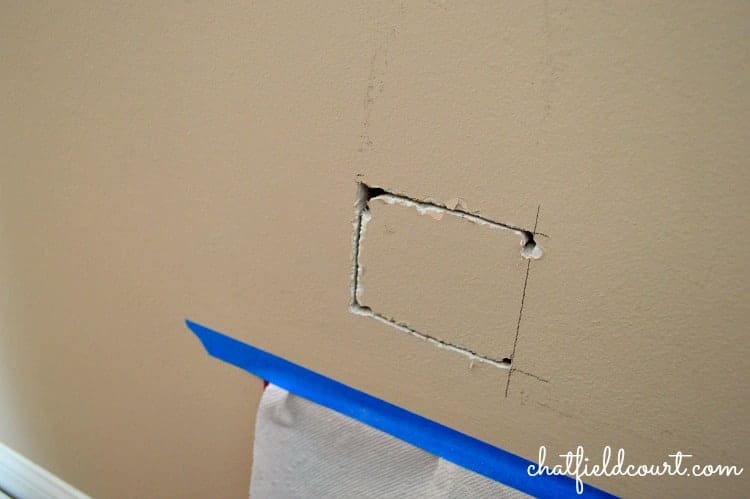
Now it’s time to mark and cut out your sheet rock for your new outlet. We used a drill to make some holes so we could use a sheet rock saw to cut the hole in the wall.
Pull the wire out that you fished down the wall and reattach it to the electrical box. Push the box back into the hole and reattach the madison straps and connect the electrical wires to the receptacles.
Screw the receptacles to the box and put the wall plate back on. Turn your breaker back on and you should have a working receptacle.
The next post will show how we patched a hole in the sheet rock, that was leftover from the old receptacle.
Hope you have great week.
