
DIY Tomato Cage Plant Stand

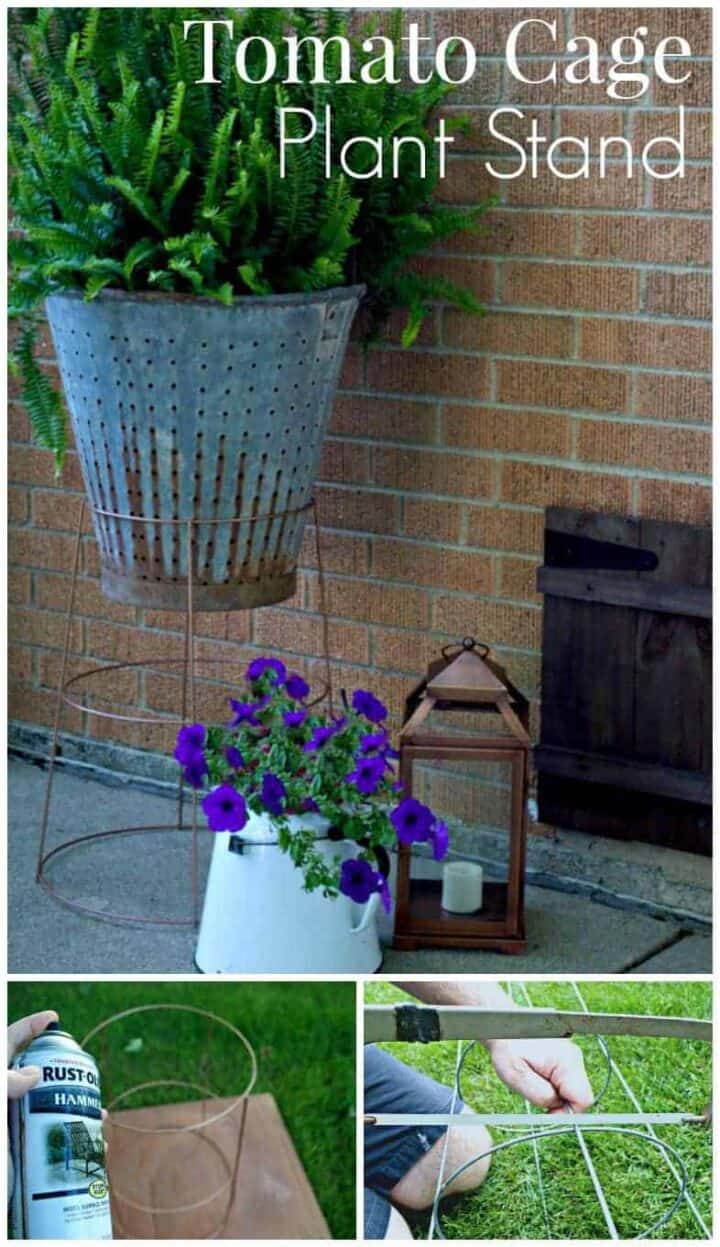
Can you really make a DIY tomato cage plant stand from an old, rusty tomato cage that you use in the garden? Yes, yes you can!
I know, it sounds strange. Stick with me though and let me explain.
A few weeks ago I went to the Kane County flea market, which is the mother of all flea markets around here.
You can find just about anything, from a vintage mail holder found in an old barn to plants to rusty giant letters. You name it, it’s there.
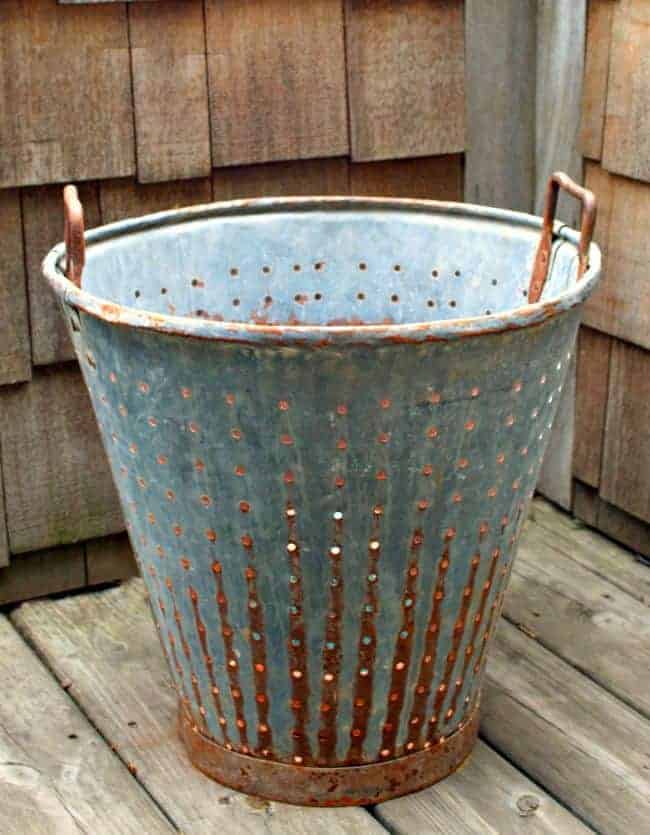
Anyway, I wasn’t looking for anything in particular, just enjoying walking up and down the aisles checking everything out, when I saw some vintage olive buckets.
I’ve been wanting one but I’ve never seen them at the flea, so when I saw that this giant, rusty beauty was $55, I knew it was coming home with me.
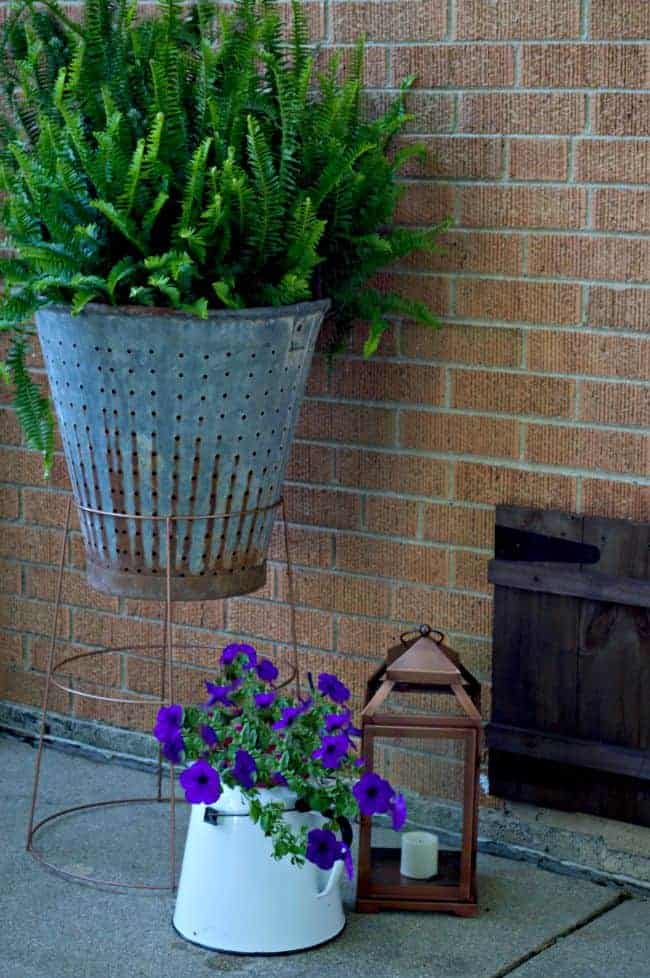
I’ve been looking at smaller olive buckets on and off for quite a while. I always thought I would use it in the house somewhere, but, once I got this one home and saw how big it really was, I knew it would have to go on my deck with a beautiful Kimberly Queen fern.
The only problem with it was that it needed a little height.
I was trying to figure how to get it up in the air when I saw the tomato cages that we had just put in the garden to hold up our young tomato plants.
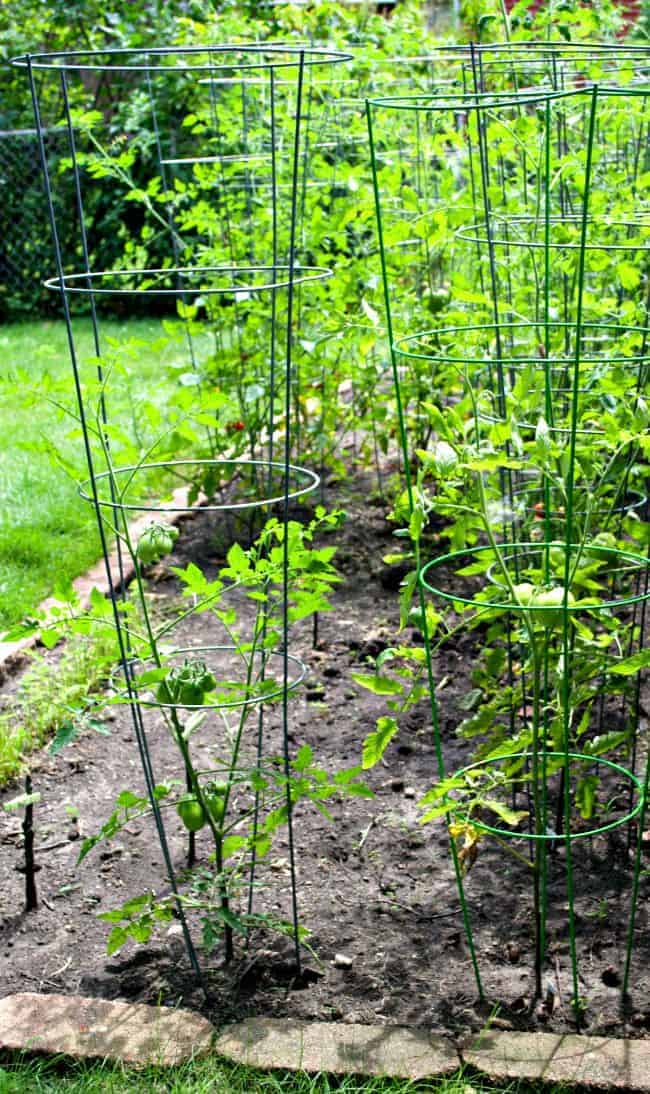
I didn’t measure anything but as soon as I turned it upside down, I knew it would work.
Roger though, had some doubts. He alway has doubts when it comes to my projects.
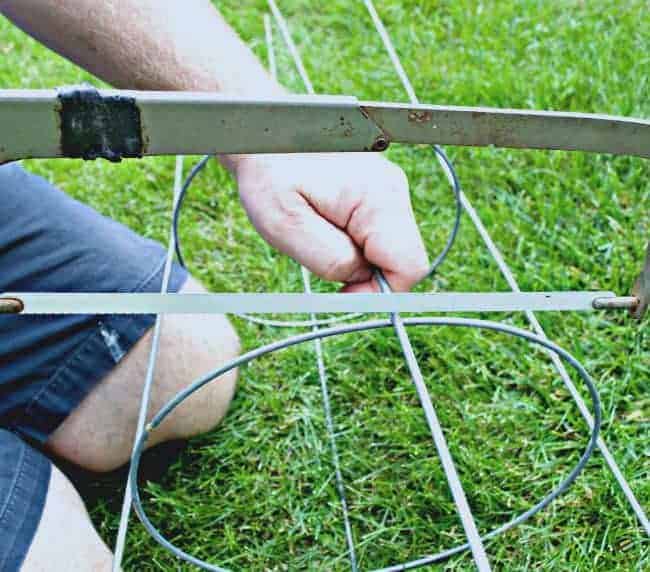
To get the size I wanted I used a hacksaw to cut the 4 posts and the bottom ring off.
Five minutes and I had a DIY tomato cage plant stand (way before they became a popular thing).
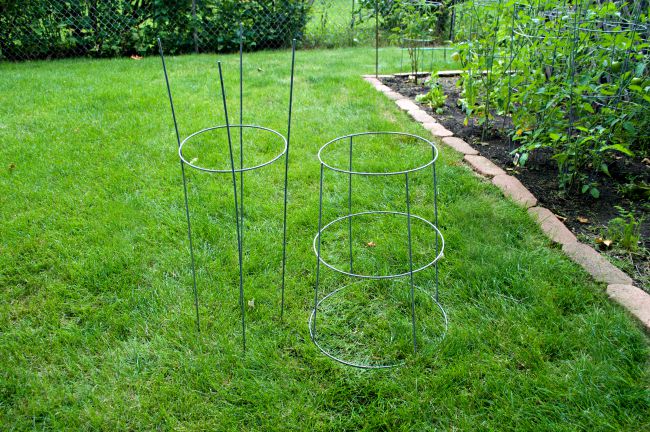
Then I put my bucket in to check the fit and it was perfect, and surprisingly sturdy.
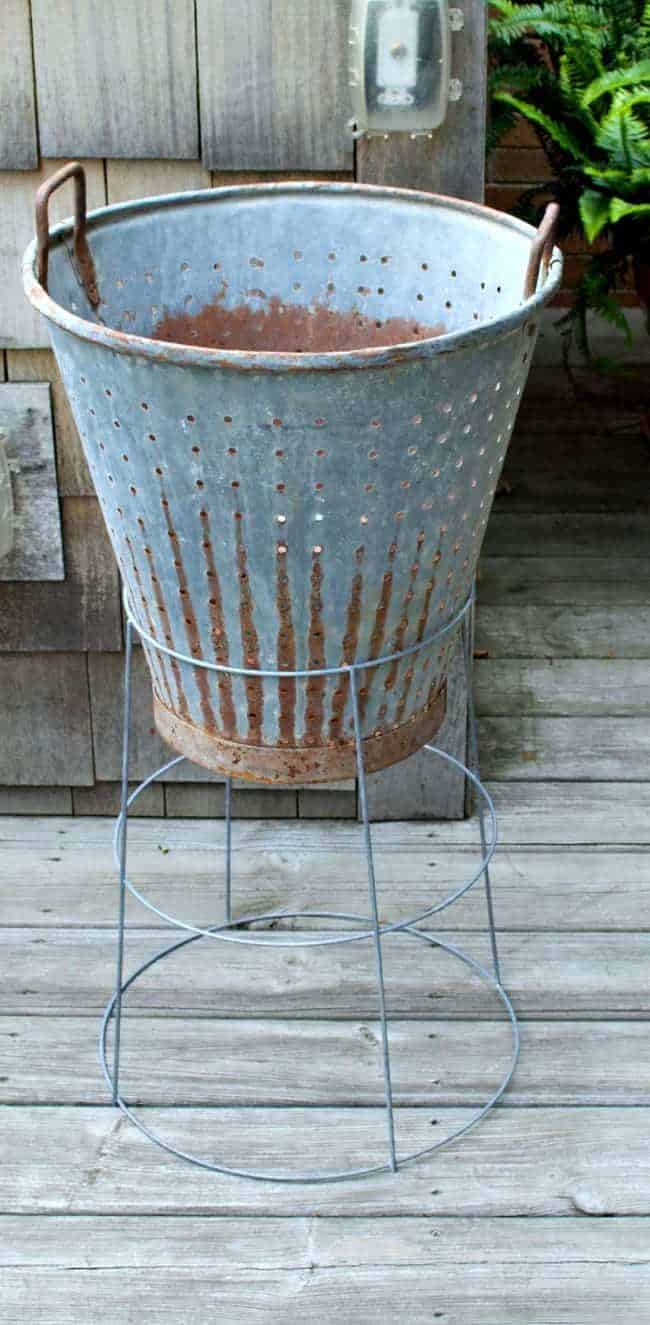
Can you spray paint tomato cages?
Absolutely!
The tomato cage that I used was old and a dull colored gray.
I wanted to add just a bit of color to it so I pulled out the hammered bronze spray paint.
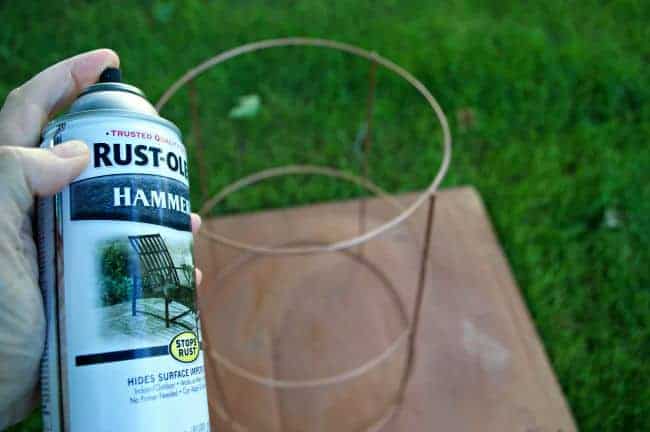
It was just the touch it needed.
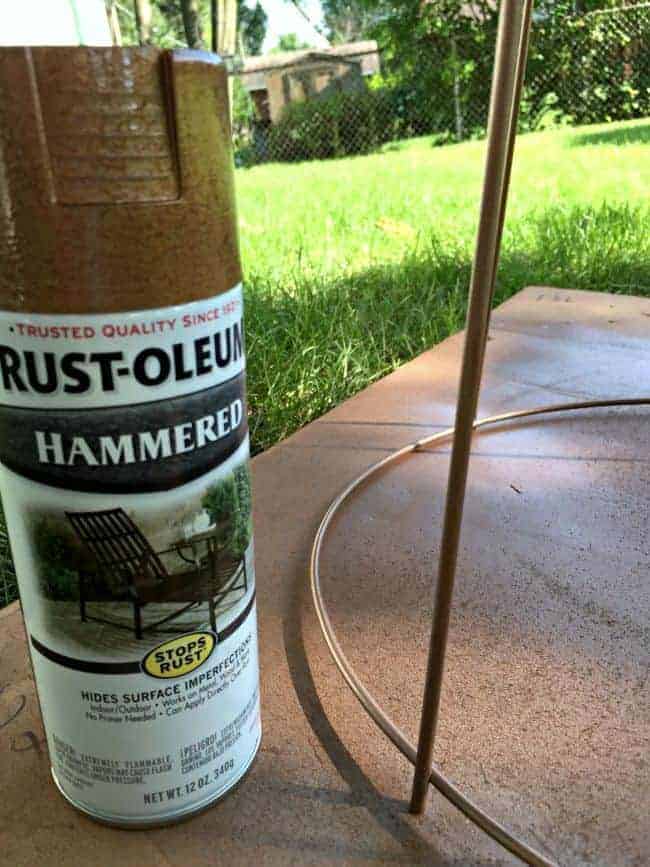
A little bit of drying time and I had a “new” plant stand for my vintage olive bucket.
All I had to do was to add a fern and it was ready for a photo shoot.
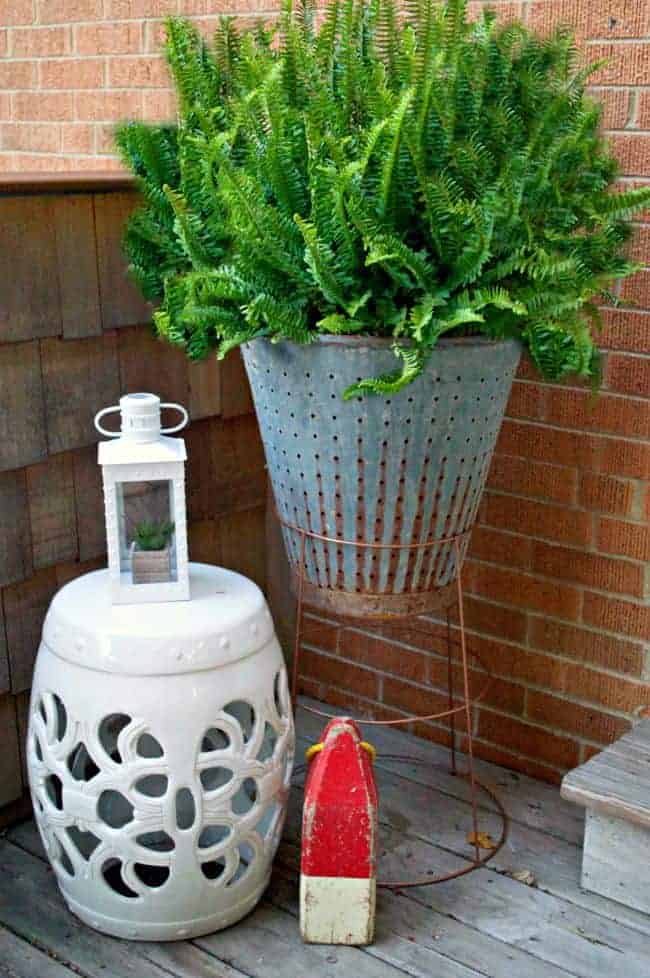
I never knew I wanted one but now I can say that I love my DIY plant stand.
More DIY planter ideas
DIY Tomato Cage Plant Stand
A super easy to make DIY plant stand from an old tomato cage. In less than 10 minutes you can have a unique stand for your outdoor, or indoor, plants.
Materials
- tomato cage
- Sharpie
- hacksaw
- file (if needed)
- spray paint
Instructions
- Turn tomato cage upside down, with stakes in the air, to determine the size you need
- Test plant pot in the rings to make sure it will fit
- Use Sharpie to mark where you will cut it down
- Use hacksaw to cut stakes off of tomato cage
- Use a file to smooth rough edges
- Spray paint with your favorite color
- Insert potted plant
- Enjoy!
I would love to have a large olive bucket to use as a planter. That’s very clever using a tomato cage for a stand!
Thanks so much, Linda! I really love my olive bucket and I’ve used it in so many different ways. 🙂
That olive bucket is gorgeous and I LOVE the plant stand!!!! Genius!!!
Thanks so much! 🙂
What an excellent idea!
Thanks so much, Pamela!
That is just so clever! I really like the clean, unobtrusive appearance of that upside down tomato cage -the planter almost appears to be floating. Those cages come in different sizes too, so could be grouped together to stagger heights, etc. A copy worthy idea, for sure.
Thanks so much Janele. I love how it turned out. I’m sure it would look awesome to have a grouping in different sizes, great idea!
Kristi – Thank you for sharing at the Thursday Favorite Things Blog Hop. Stop by today and check out my Tuesday Treasures where you will see your Plant Stand featured! I absolutely love the bucket. You made this look so easy! AS always I love your creativity!
Aww, thanks so much for your sweet comment Debi. I’m honored that you would choose to feature my project.
Love your olive bucket! And, thanks so much for sharing the idea to use tomato cages as container stands. I have a pot on my back porch that could use a stand – hoping to try this. Saw your post at Between Naps on the Porch’s Metamorphosis Monday – thanks for sharing!
Thanks Carolyn and welcome. I’m so glad that you stopped over from Susan’s and that you liked my tomato cage container stand. I hope you’re able to try it, it really was so easy. 🙂
Oh I just LOVE this – so perfectly rustic and vintage – and what a genius way to add height !
It’s just perfection !
Awww, thanks so much Suzan. That means a lot coming from someone as creative as you are. 🙂
What a great idea! I love that you painted it bronze. So creative. I have been wanting a rusty olive bucket but don’t want to pay the price!!
I know what you mean AnnMarie. I didn’t want to spend over $100 for a bucket but when I saw it at the flea market for $55, I knew it was a great deal for such a large bucket.
Thanks so much for the nice comment and for stopping in.
What a clever girl you are. Love this idea. Jo @ Let’s Face the Music
Thanks so much Jo!
I just love Blog Land sometimes because I never knew there WAS such a thing as an olive bucket until reading your post! 🙂 This was a fun read 🙂
Too funny. I’m glad I could bring you up to speed on the ever popular olive bucket.
Thanks for stopping in. 🙂
What a smart idea! Olive buckets are on my wish list. The Kimberly Queen ferns look so pretty in there.
Thanks so much Stacey! I think it was meant to be because the bucket fit perfectly. 🙂
Cool idea! 🙂
I appreciate it Rhonda, thanks!
Seriously too clever….and I will be making a few for myself! thanks for sharing your creativeness!
Awww, thanks Cathy. I’m sure you could make them look great in your beautiful garden.
First let me say that I hope that is not you cutting the tomato cage. Awful hairy arms and legs for a woman. LOL Love your plant stand. The bronze pain made it perfect.
Debbie
Thanks Debbie! Oh my goodness Debbie, so funny. I was telling hubs, before you commented, that I should say that I’ve not grown man hands but I do have a male model. LOL Hubs won’t use my camera so he is stuck posing for pics.
Have a great weekend!
Great job! Love the tea kettle, too!
Thanks MJ. I’m still trying to figure out the best way to use the kettle. Happy weekend!
I love my olive bucket. It looks good with a fern (the way you have it), so I may go to the nursery and pick up a nice big fern this weekend.
Best,
Michelle from simplysantabarbara.blogspot.com
I’m really loving my ferns Michelle. Last year was the first time I’ve ever had one. They are so easy to care for and don’t shed. Thanks so much for stopping in.
You are so creative and that olive bucket is just dreamy!! 🙂
Awww, thanks Kim! The olive bucket is pretty awesome. 😉
Hi Kristi, I hope that you are enjoying your summer.
Love the olive bucket!
Thanks so much Tara!
Great idea! Is it heavy enough that it won’t tip over? I love the purple “tunia” in the white tea kettle.
Actually, it is Brenda. That was my first concern but it seems pretty sturdy. I didn’t plant the fern in the bucket either, I just placed it in in it’s plastic pot.