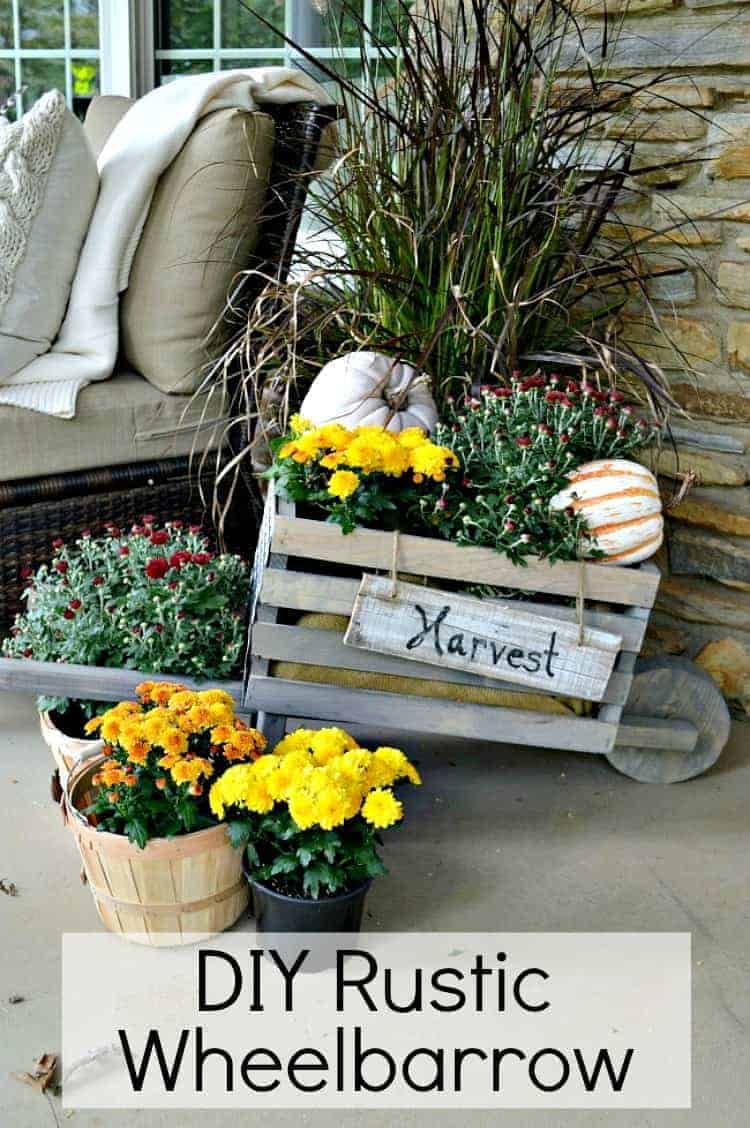
DIY Rustic Wheelbarrow
This post may contain affiliate links, please see our policy for details.
Hey there and happy Monday! Recently I told you all about The Home Depot DIH Workshop virtual party that I’m a part of and today I’m so excited to share my project with you, a DIY rustic wheelbarrow that I decorated for my cozy fall front porch.
So, how this all went down was The Home Depot gave a group of bloggers a challenge to build the same rustic wheelbarrow and to customize it in our own unique style. This project is all about their DIH Workshops and the cute wheelbarrow is the project that you can learn to build at their next Workshop.
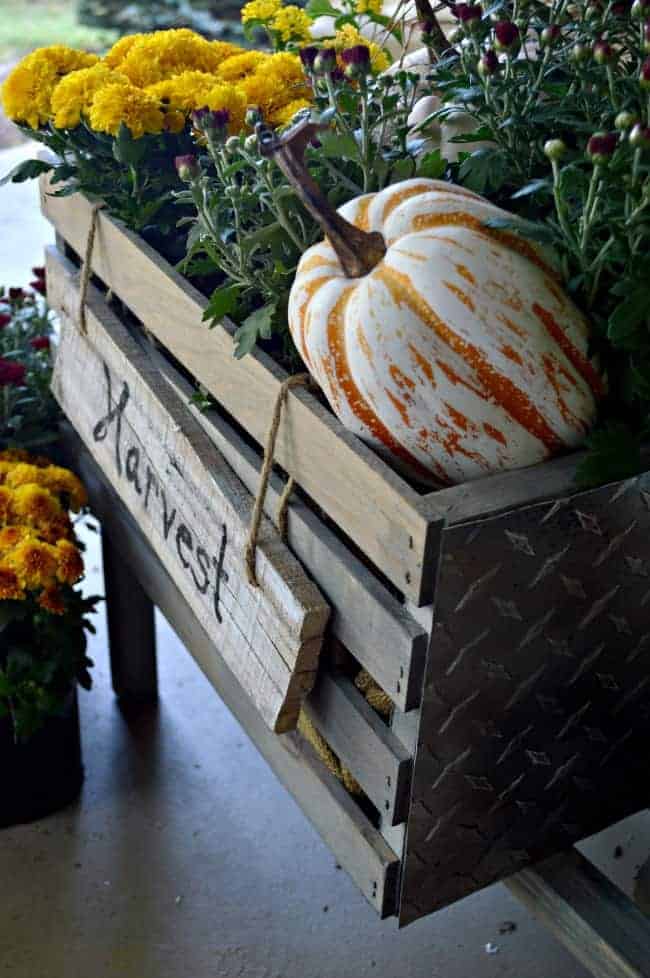
You’ve heard of The Home Depot Workshops before, right? They offer Do-It-Yourself (DIY), Do-It Herself (DIH) and kids workshops at all of their locations for do-it-yourselfers of all ages and experience levels. You can learn how to build decor projects, how to make easy home repairs and how to operate tools through demonstrations and step-by-step instructions.
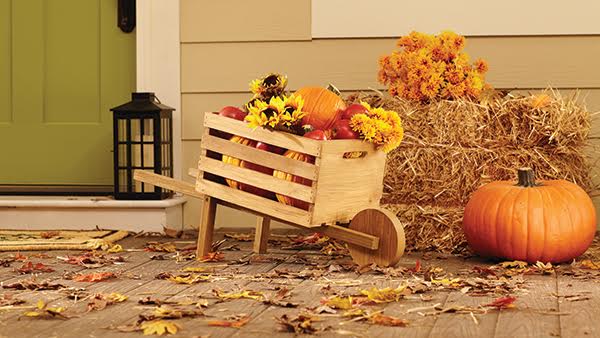
Now that you know about the Workshops, let’s get to how I built and decorated my rustic wheelbarrow (and yes…I did it all myself).
I am a huge geek when it comes to building something fun like this and I couldn’t get in the car fast enough to get to THD to get my materials. This was all I needed for my project.
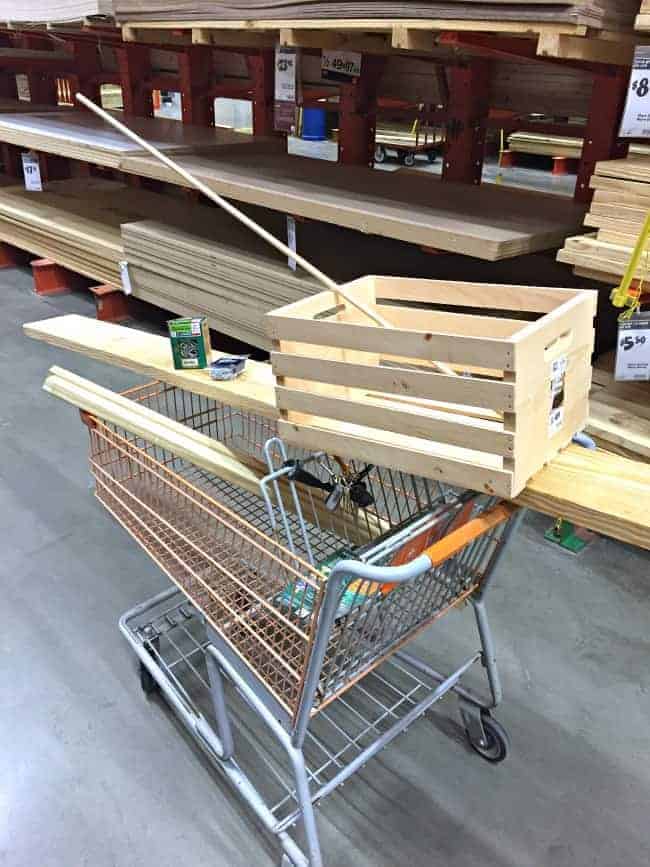
DIY Rustic Wheelbarrow
Materials
- 1 – Crates and Pallet 18″ x 12 1/ 2″ x 9 1/2″ Large Wood Crate
- 1 – 2″ x 8″ x 8′ Prime Kiln Dried Board
- 3 – Pressure-Treated 36″ x 2″ x 2″ Wood Square End Baluster
- 1/2″ x 48″ Wood Round Dowel
- 1 – Box #8 x 2 1/2″ Phillips Square Drive Flat-Head Full Thread Zinc Coated Multi-Material Screw
- 1 – Pack #8 x 1″ Flat-Head Phillips Wood Screws
- paint or stain to finish it the way you like (don’t forget to use polyurethane if you’re displaying your rustic wheelbarrow outside).
Tools
- circular saw
- jig saw
- drill
- 1/2″ drill bit
- string or compass
- measuring tape or carpenter’s square
- pencil
- safety goggles
- sanding block
Instructions
Once I had all of my supplies and pulled out all of our toys tools, I was ready to start building.
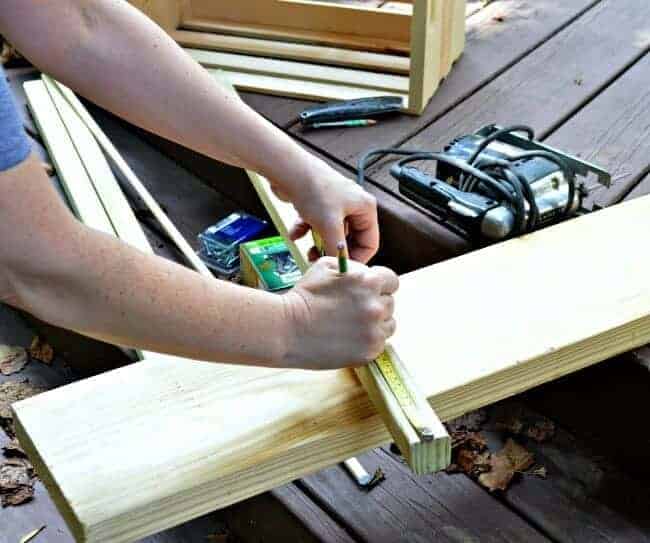
First I measured and marked 2, 8″ segments from one of the wood square end baluster and 1, 3 3/4″ segment from the wood dowel for the wheel axel.
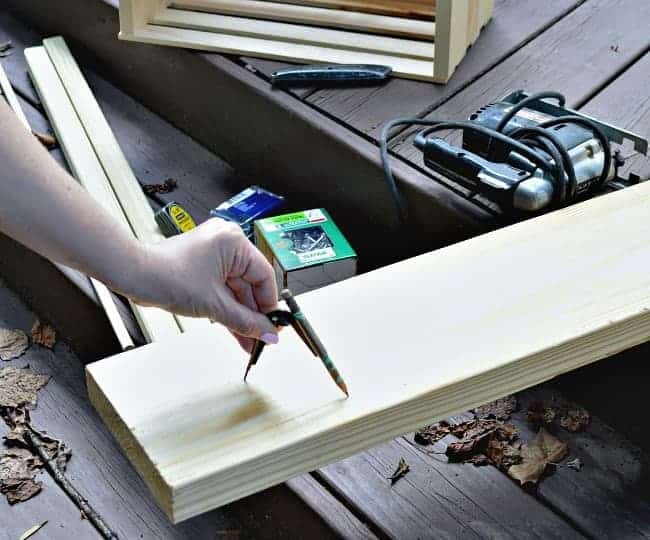
Then I used my compass to draw a 7″ circle on the kiln dried board (you could also use a nail, string and pencil to make a circle).
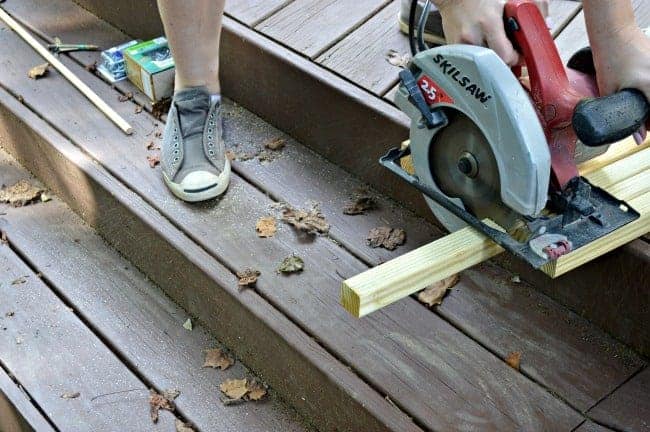
Once all of my measurements and marks were made, I used my circular saw to cut the 2 segments from the baluster and 1 segment from the dowel. Remember…safety first. Make sure you wear your safety goggles.
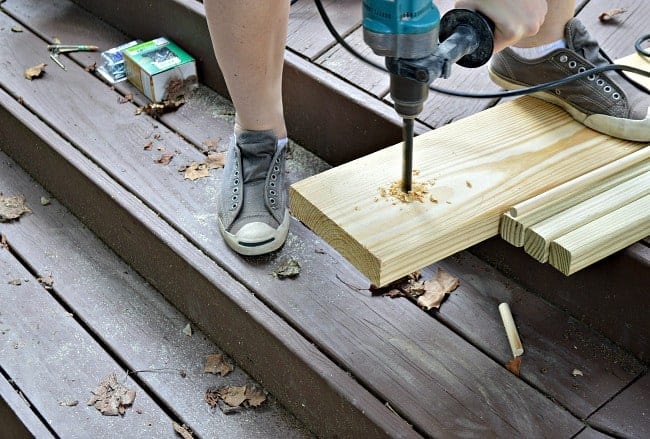
Then I used my drill, with a 1/2″ drill bit, to drill a hole in the center of the 7″ circle on kiln dried board. After the center hole was drilled, I used my jigsaw to cut the circle out, which will be your wheel.
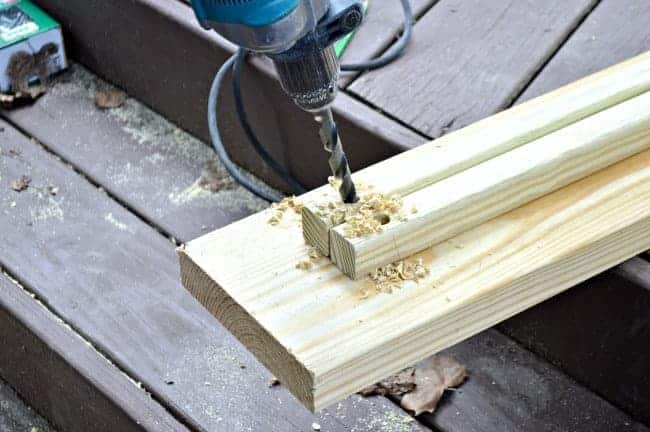
Next, I measured and marked the 2 remaining balusters 1 1/4″ from one end and in the center, this will be your wheel axle. Using the 1/2″ drill bit, drill a 1/2″ hole halfway through the baluster at the mark you made on each baluster using a slight 5° angle and the drill bit pointing away from the short end of the baluster. It sounds complicated but it’s really not.
Assembly
With all of our cuts made and holes drilled, it’s time to assemble our rustic wheelbarrow.
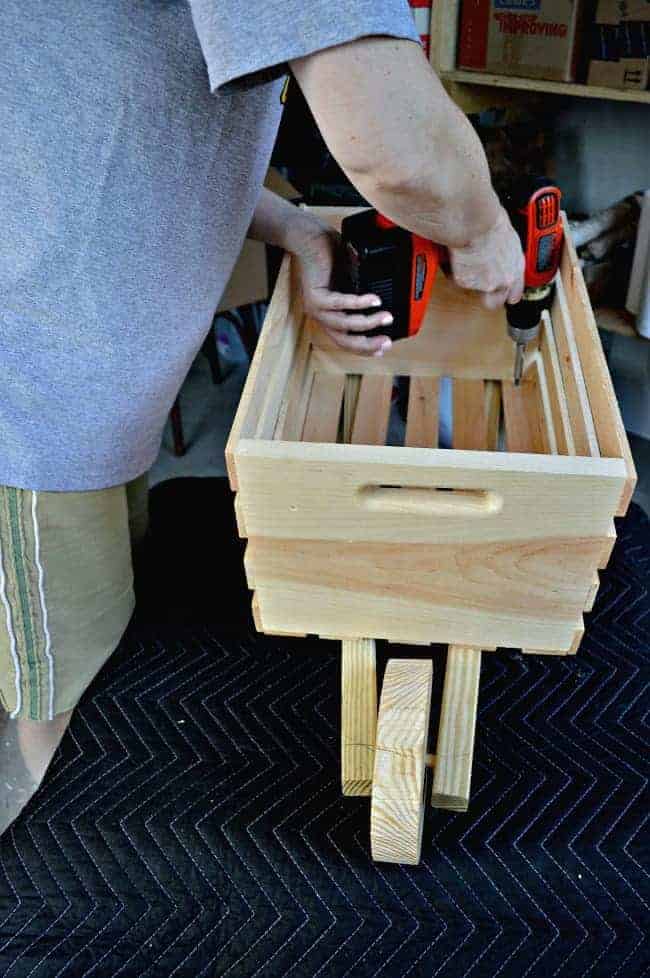
Turn your crate upside down and align one of the balusters over the bottom of the crate. Make sure the hole that you just drilled for the wheel axel overhangs the end of the crate by 6 inches and is centered over the second slat on that side. The other end of the baluster should be angled to hit in between the two outermost slats on the other end of the crate, allowing a 12 ̋ overhang to act as a handle. Secure the baluster to the bottom of the crate using a 2 1/2″ screw on each end. I made sure to screw through the baluster and into the middle of the side of crate so that the screw had something to grip.
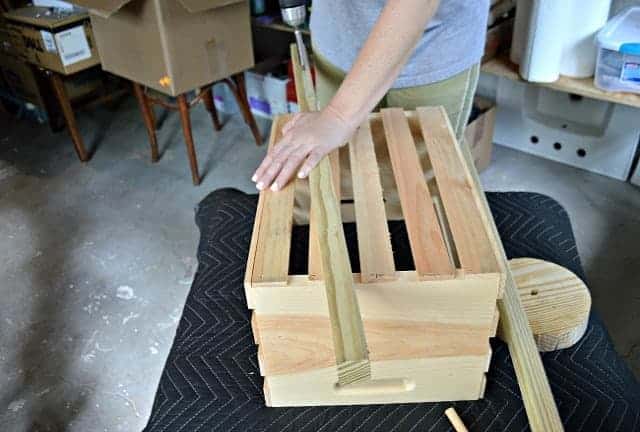
Who said you can’t have pink fingernails and use power tools? 😉
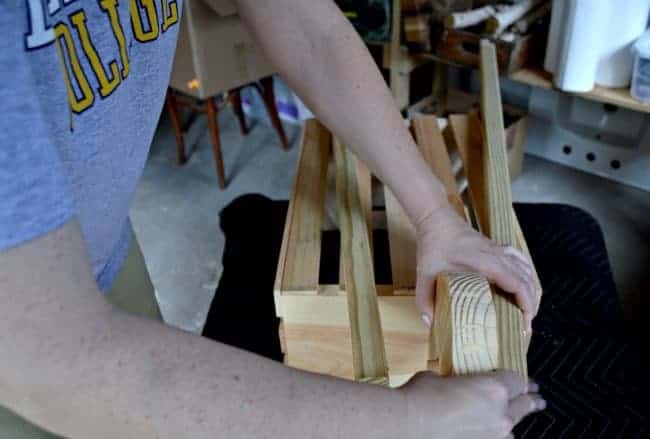
After the first handle is securely attached, insert the 3 3⁄4″ wheel axle into the drilled hole on the secured baluster. Slide the 7″ wheel onto the wheel axle, and insert the wheel axel into the remaining baluster. With the wheel sandwiched securely between the two balusters, secure the remaining baluster to the bottom of the crate the same way you secured the first baluster, centered over the second slat at the wheel end and between the two outermost slats at the handle end using 2 1⁄2″ screws at each end.
We’re almost done with the assembly but this little baby needs some legs to stand on. Place the two 8″ legs vertically 3⁄4″ in from the end of the crate on the outside of the balusters. Secure with one 2 1⁄2″ screw through the balusters.
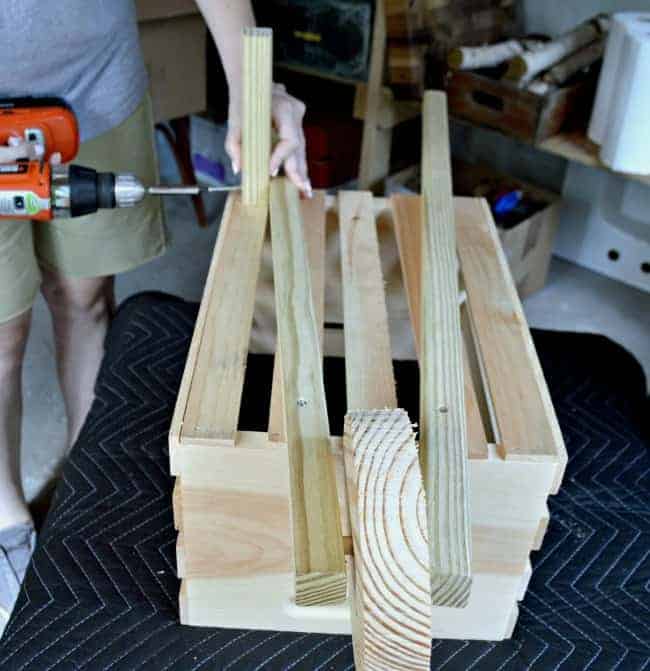
Turn your wheelbarrow over and secure the legs through the slat on the inside bottom of the crate using one 1″ screw into each leg.
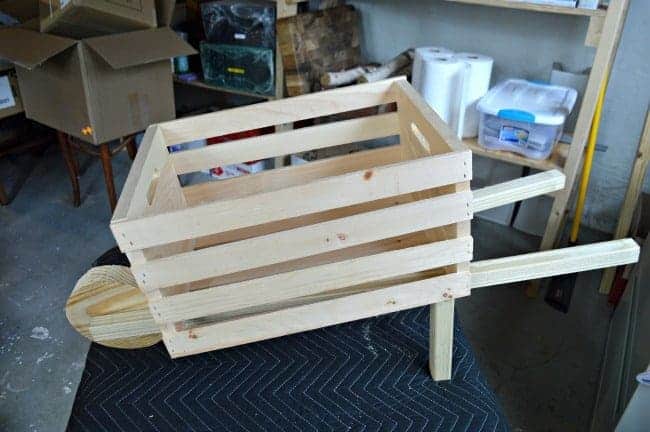
We’re done building. It turned out to be the cutest rustic wheelbarrow ever. Building it was a blast but we’re not quite done because it needs to get dressed up for fall.
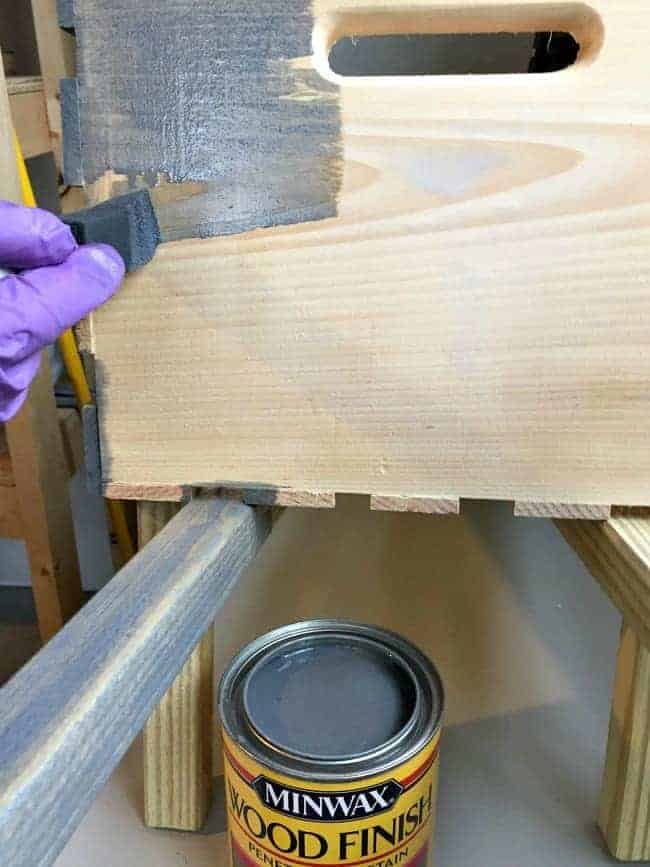
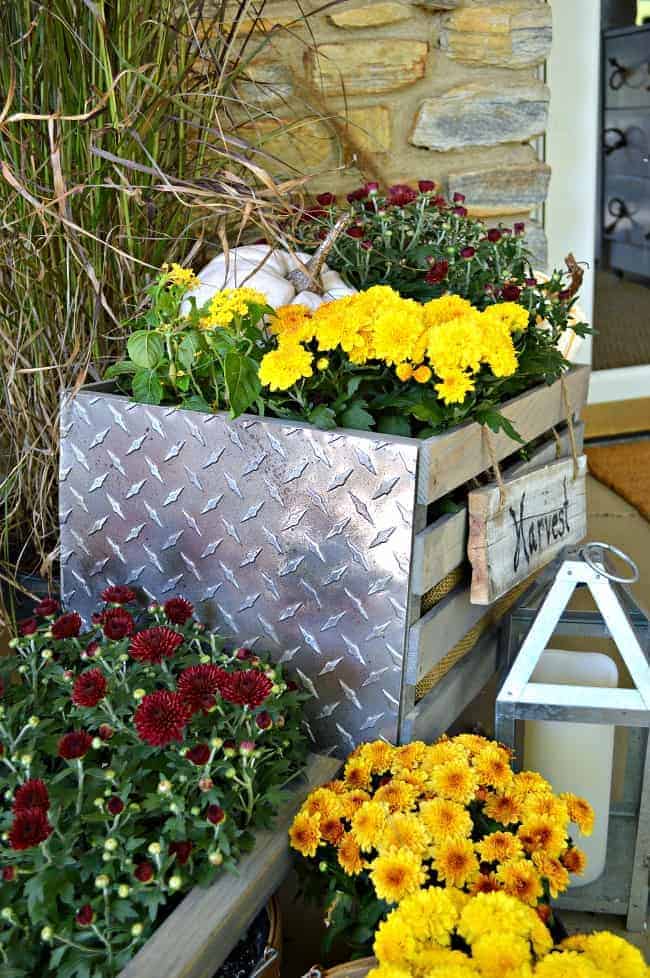
I wanted to stick with the rustic theme so, instead of using paint, I chose to use gray stain.
A little bit of sanding and stain and I was ready for the next step.
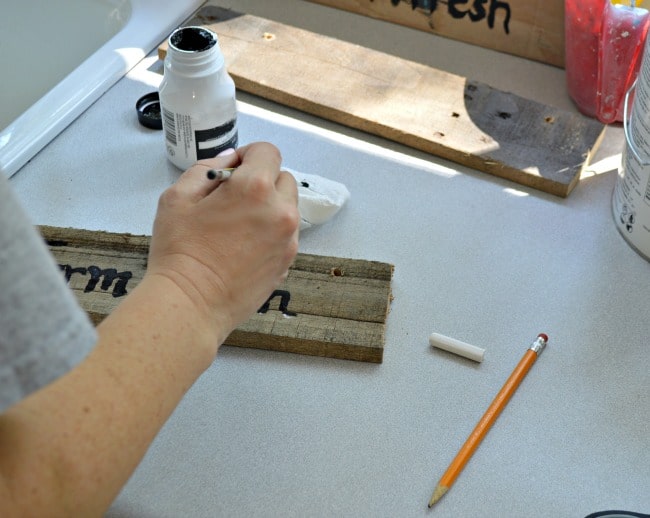
Since we’re going rustic, I decided to add an “old” sign to the side of my wheelbarrow, kind of like the carts you see at a farmer’s market. I just used a piece of a leftover wood and, after dry brushing some white paint and hand lettering it (you know, to keep it rustic), it was ready to hang.
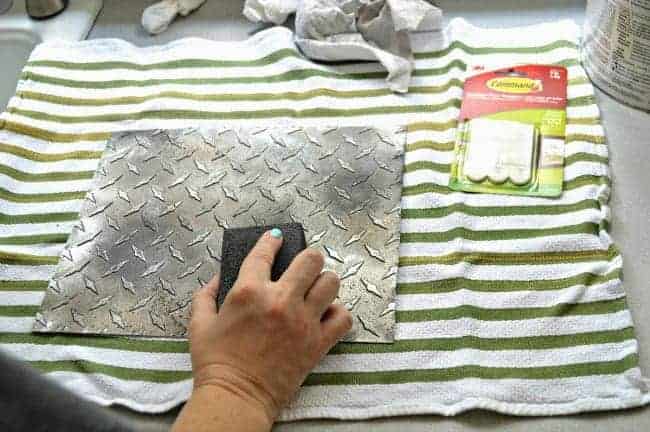
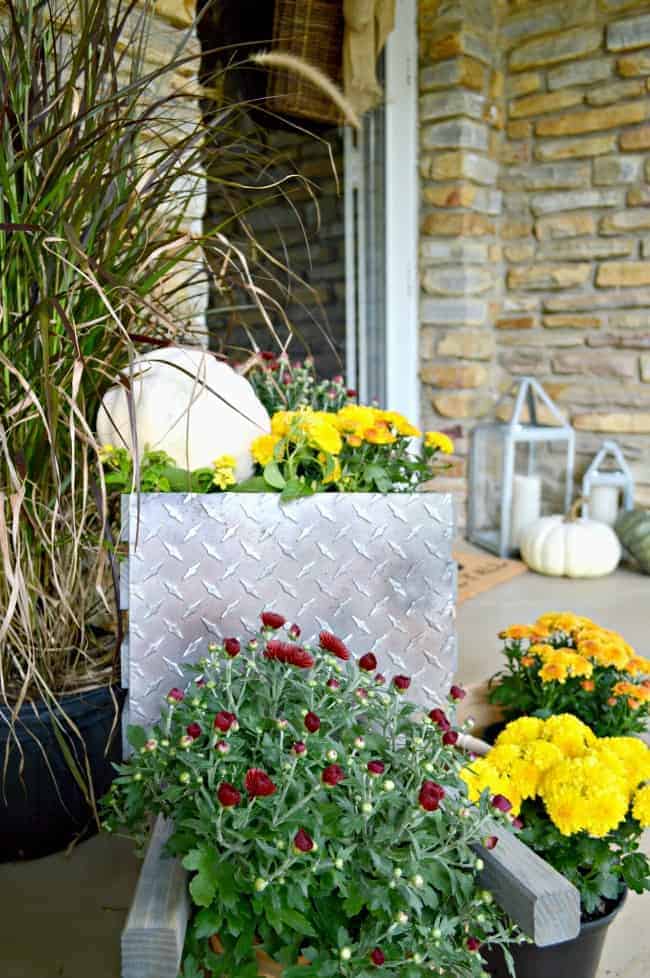
I was happy with my wheelbarrow but felt like it was missing a little something, so I went back to Home Depot to look for the perfect addition. A small sheet of diamond plate aluminum was exactly what it needed. A little snip, snip, a bit of sanding and and some paint to make it look weathered. Once it was dry, it was ready to be attached to each end of the wheelbarrow. Like my “Harvest” sign, the aluminum is meant to be temporary, in case I want to use it during another season, so I used a couple of velcro strips for easy removal.
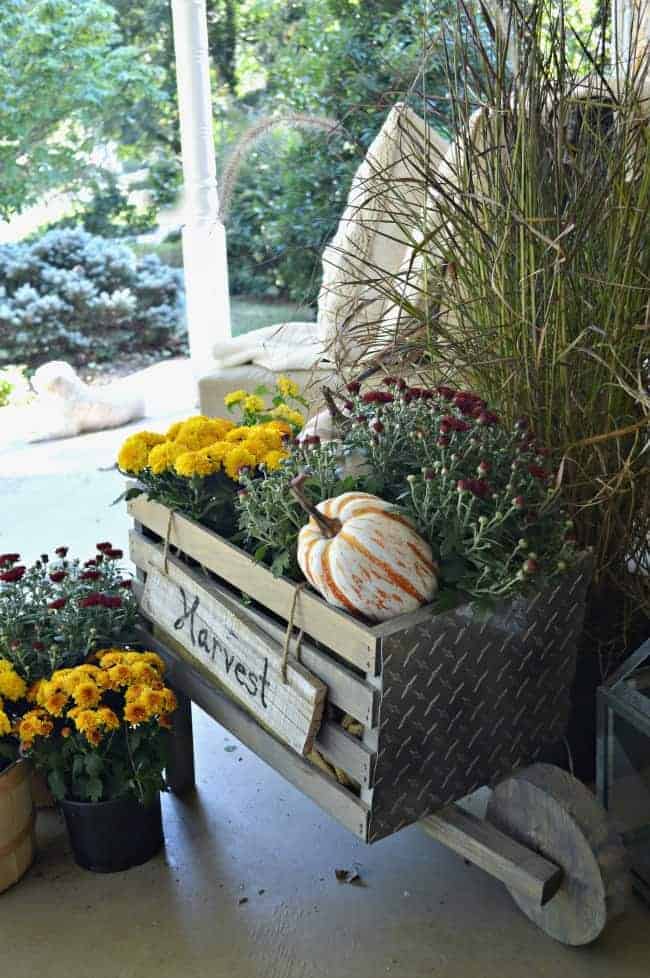
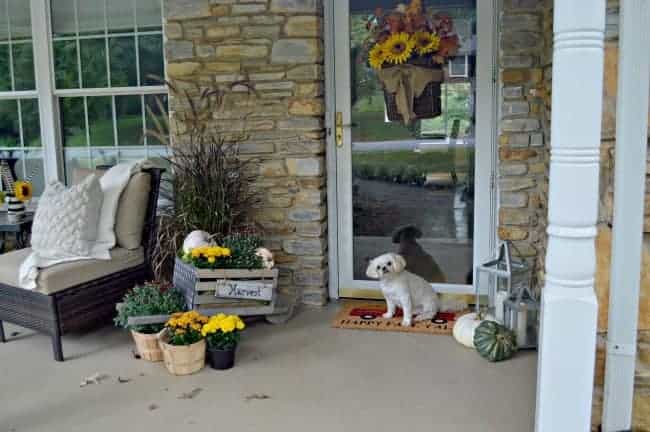
This is the first time that I’m getting to decorate my new front porch. I love my wheelbarrow and think it adds the perfect touch.
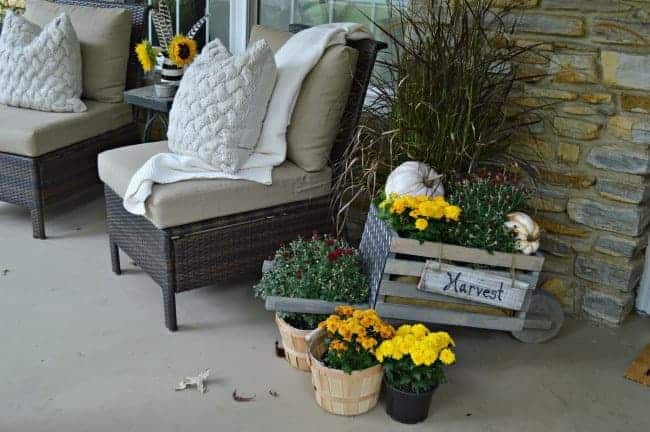
A couple of lanterns and a few “live” additions, all from The Home Depot of course, and I had the perfect fall display. Easy!
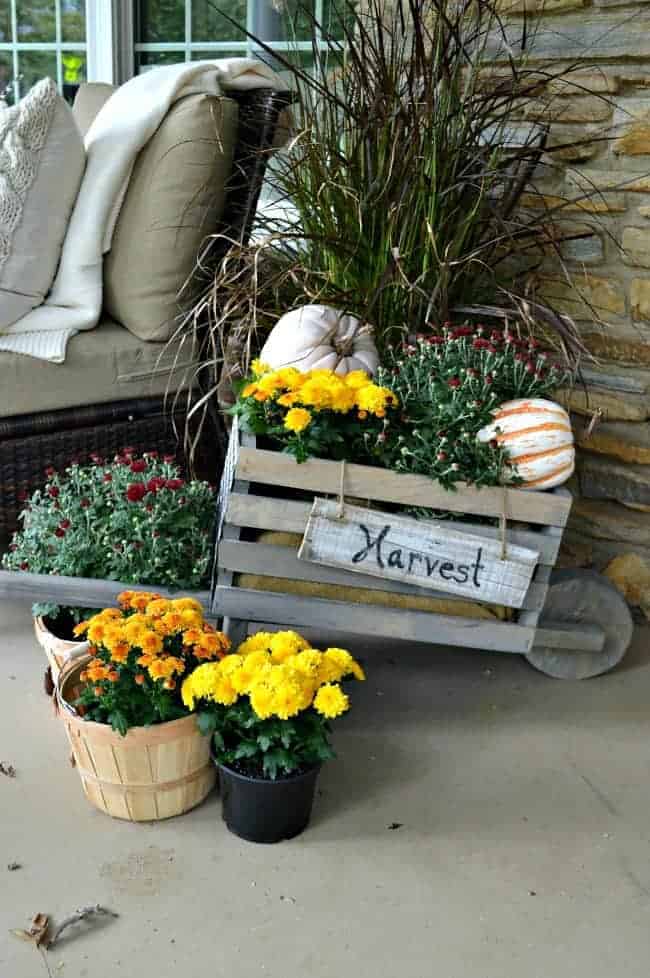
My photography assistant…taking a much needed break.
I had so much fun building this and adding all of the fall touches. It really is an easy project that you can do and decorate any way you want for any season, not just for fall.
You can learn how to make your own rustic wheelbarrow by taking part in one of The Home Depot’s Workshops. To get more info or to register, click here or click on the big button. #DIHWorkshop
Happy Fall!!
