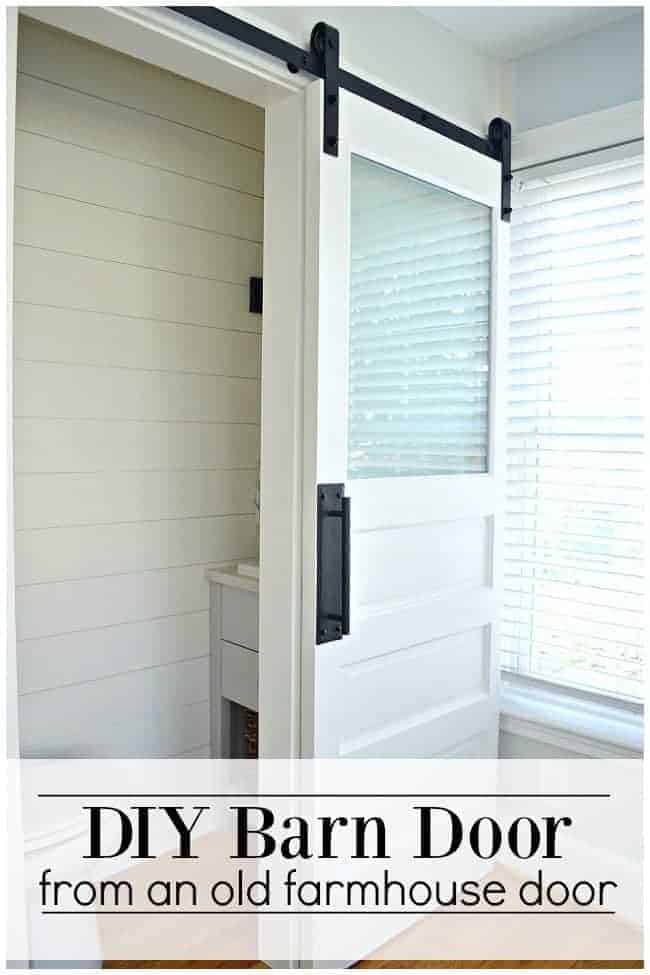
Bathroom Sliding Barn Door
This post may contain affiliate links, please see our policy for details.
How to turn a hinged farmhouse door into a bathroom sliding barn door on a budget. A DIY that goes from epic fail to success.
I don’t talk about my failed attempts at projects often but they do happen, more times than I care to admit.
Recently I had one of these big oops moments when I was trying to add a bit of privacy to the window of our bathroom barn door with frosted glass spray.
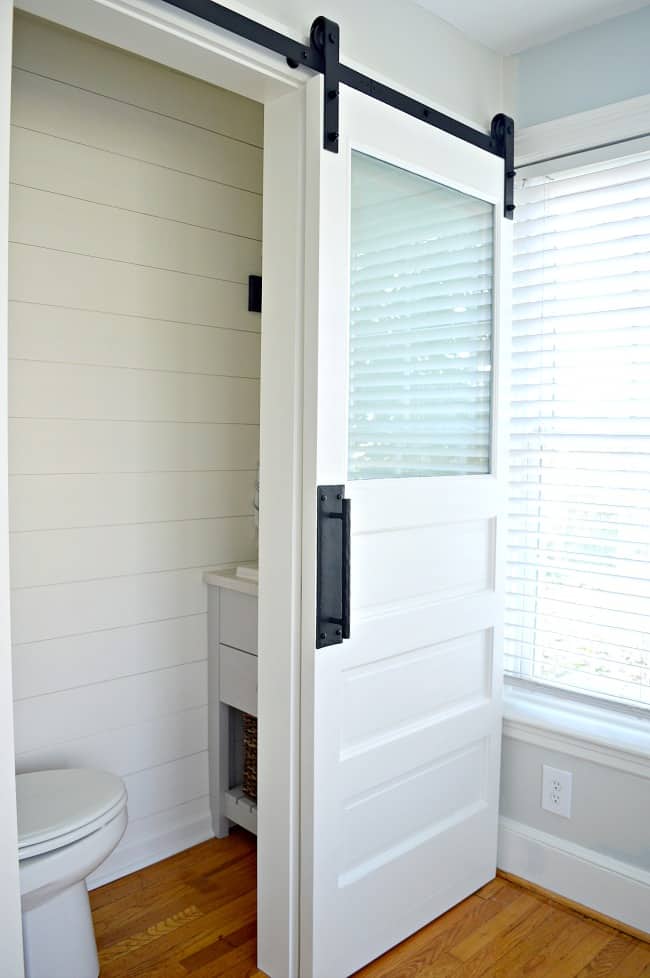
I’ve used this spray before and loved the results so I was confident it would work for this project.
I was so confident that I decided to do the project on a Facebook Live.
It turned out to be a huge failure. What’s worse is that it failed in front of the people who watched it live.
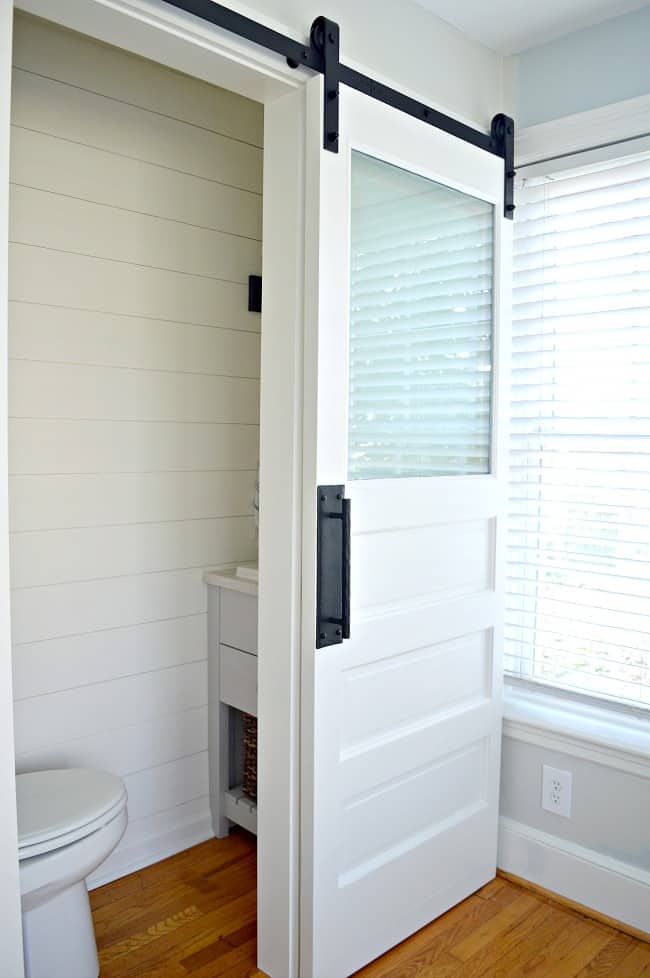
If you saw my last post with the tiny powder room reveal, then you saw our barn door.
Using a barn door for a bathroom
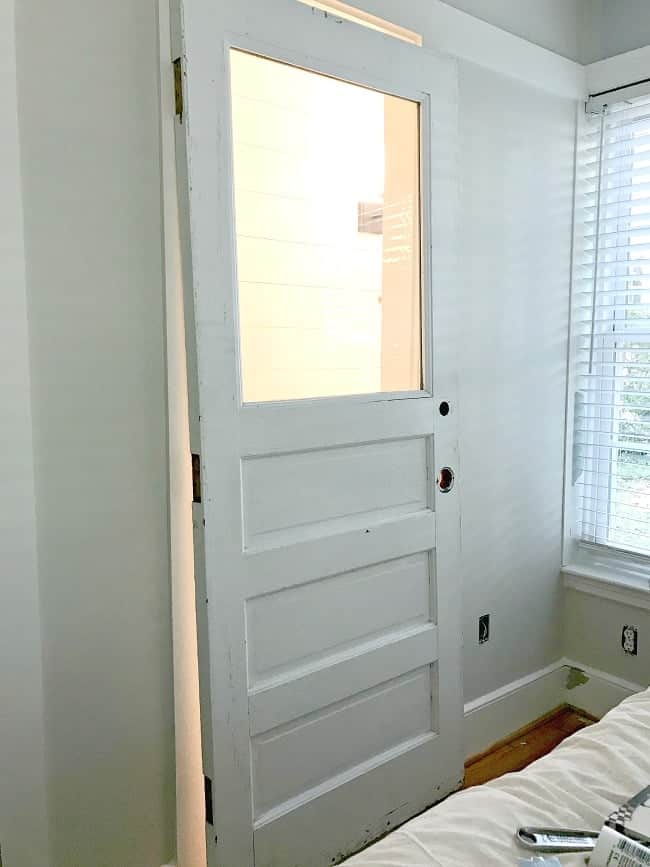
We found the door sitting by the curb when we lived in Illinois.
I’ve been hanging onto it in the hopes of repurposing it for a special project and our new powder room was the perfect place for it.
The door obviously has glass which was both good and bad.
It’s good because it lets light in and you don’t feel like your in a little box when the door is closed.
It’s bad because…well, it’s glass. Nobody wants to be peeped at when they’re in the bathroom, so we had to try to fix it.
That’s where the frosted glass spray comes in.
Supplies used to build a DIY barn door for privacy
- paint – I used BM White Dove, Advance
- barn door hardware
- door handle – I bought mine on Etsy
- frosted glass spray paint
- painter’s tape
- screw driver
- drill
Before we get to the big fail, let’s talk about what I did to prep the door. First I painted the front and back of the door.
Then I scraped the window and cleaned it well.
You want to make sure you get every speck of paint off or it will show up when you frost it.
Once it was clean it was time to apply the tape. My first thought was to go thin so I used 1/4 inch painter’s tape.
We measured 1 inch in from the edge of the window, all the way around, and applied the tape.
To secure the tape, and to prevent seepage, I quickly went over it with a spoon.
I didn’t want the oils from my hands getting all over the glass and interfering with the spray so I used the spoon trick on the tape.
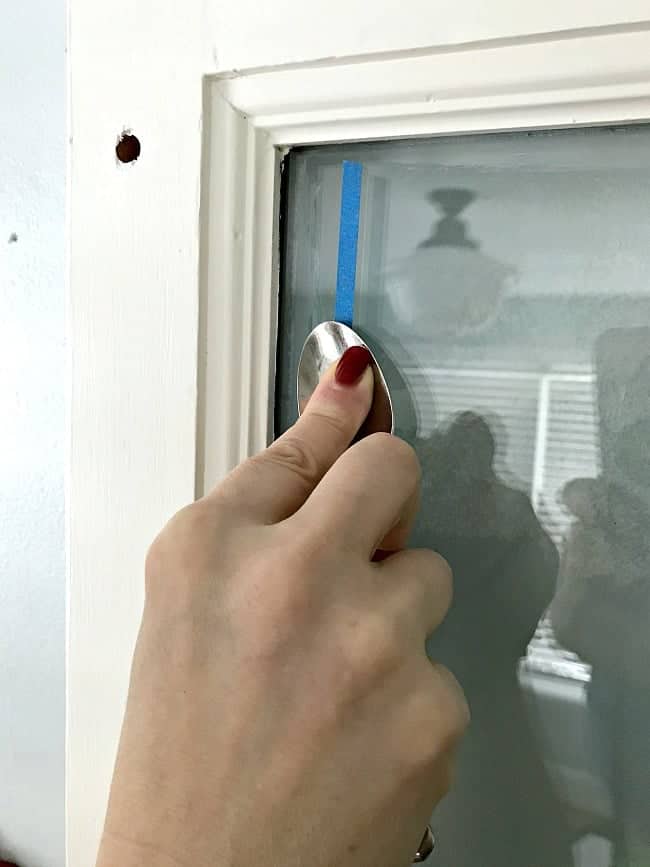
Next we papered and taped the rest of the door and took it outside to spray. The spray paint is pretty toxic so I suggest painting outside.
If you must do it inside, make sure you have an open window and lots of ventilation.
Making the video
With the door ready to go, hubs pushed play and we started our Facebook Live video.
I gave the door a good 3 or 4 coats of the frosted spray paint on the video, letting each coat dry in between.
We stopped recording after a few coats and I waited for the spray to dry so I could remove the tape.
I pulled the tape off and the dried spray came with it. UGH! I’ve never seen that happen in all the times that I’ve used it.
We left it dry a little longer and tried again. Nope…the dried spray was coming off in sheets.
I even tried lightly scoring along the tape with a razor but nothing worked.
We made the decision to pull all the tape off and scrape the window clean. I didn’t want to rush into another mistake so I let the door sit overnight to think on it.
My first thought was to do a test so I scrounged up a scrap piece of glass from the basement.
On the scrap glass I took a piece of 1/4″ tape and a piece of 1″ painter’s tape and sprayed the same amount of coats over each piece. I left it sit to dry overnight.
The next day the 1/4″ piece pulled the spray off with it, just like it did on my door. The 1″ piece came off clean.
I also tried to pull the tape off when the spray wasn’t completely dry. That was a total disaster with both the 1/4″ and 1″ tape.
So the verdict was to use the 1″ tape.
The next day I was ready to try again so I prepared the door…again…and gave it another shot.
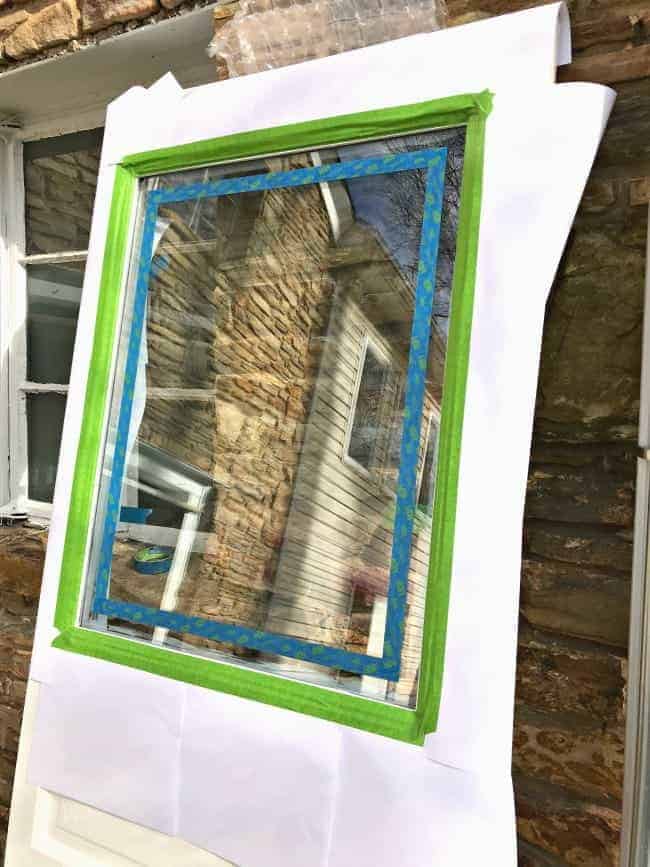
I couldn’t leave a failed project on Facebook, so I had to do another Live video and explain what happened and what I did to fix it.
Thankfully it all worked out. I did wait a little longer before I pulled the tape off, and took my time, but it all came off without incident.
My only conclusion is that the tape was too thin and I may have done too many coats (?).
The second time around I only did 3 light coats to be safe and it covered well.
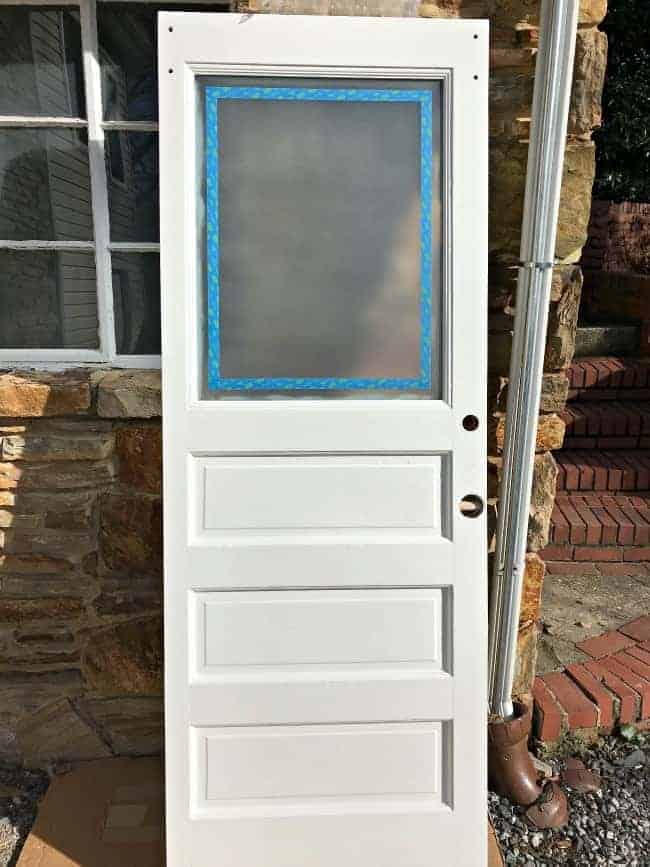
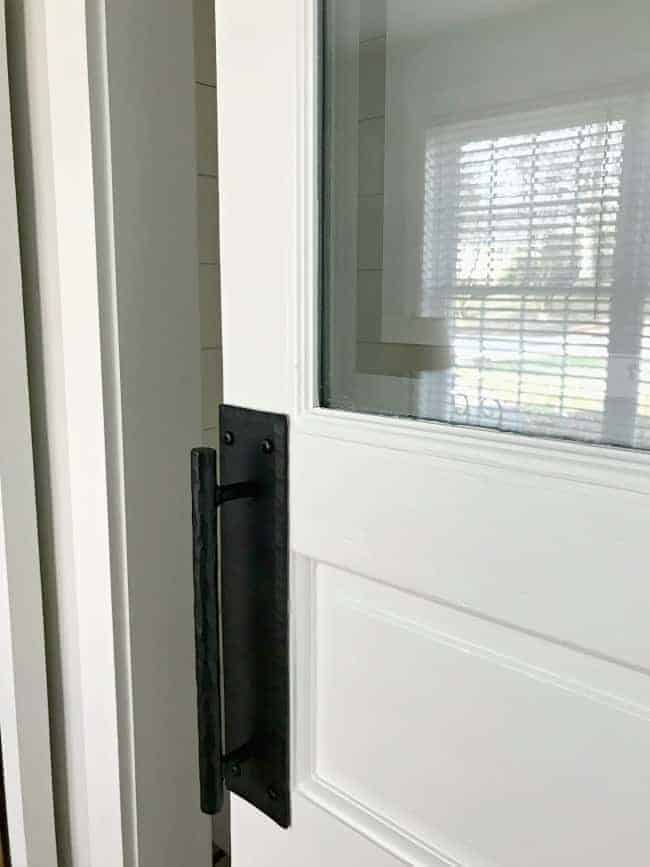
It wasn’t easy to go back on video to announce that my project was a fail but I’m glad it all worked out in the end. Failed projects are just part of DIY.
Well, part of DIY in our house anyway. 😉
You can check out my videos from our Facebook Lives. The blue shirt is from day 1 and the red shirt is day 2.
The videos were really live so there was no editing done, which means you get to see the hubs’ thumb during all of video #2.
I also want to point out that these are my working duds and hair. DIY is not pretty, y’all. 😉
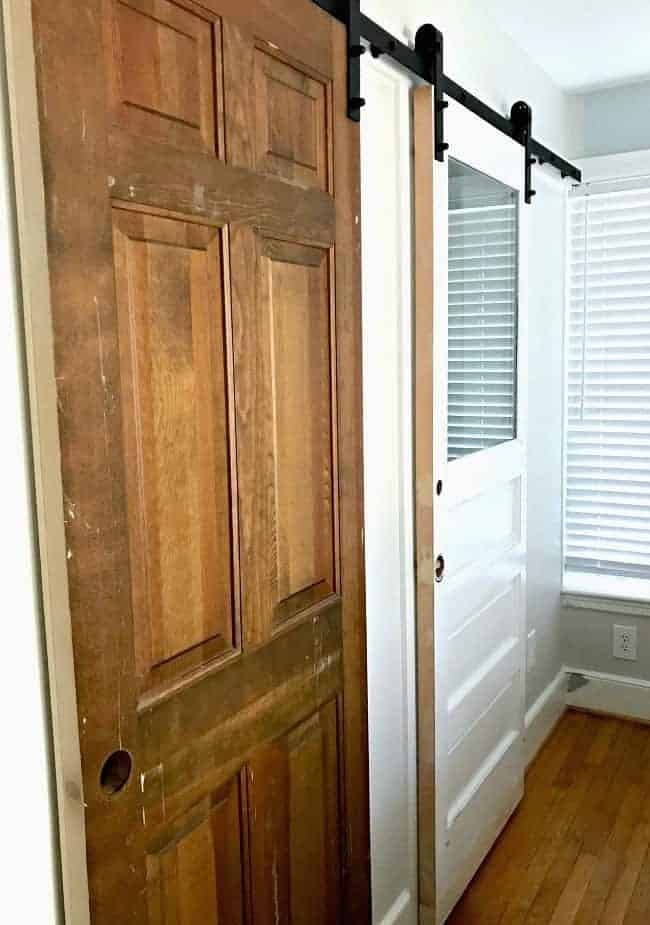
We also converted an old wood door into a closet barn door with a mirror if you want to see more DIY door transformations.
