Change the Look of a Plain Front Door
This post may contain affiliate links, please see our policy for details.
As I finish my living/dining/entry room redo, I thought I would share one of the projects that I just finished, painting the interior of my front door.
One of the first things I did when we moved in was to paint the front door. I knew I wanted something bold so I took a leap and came up with this…
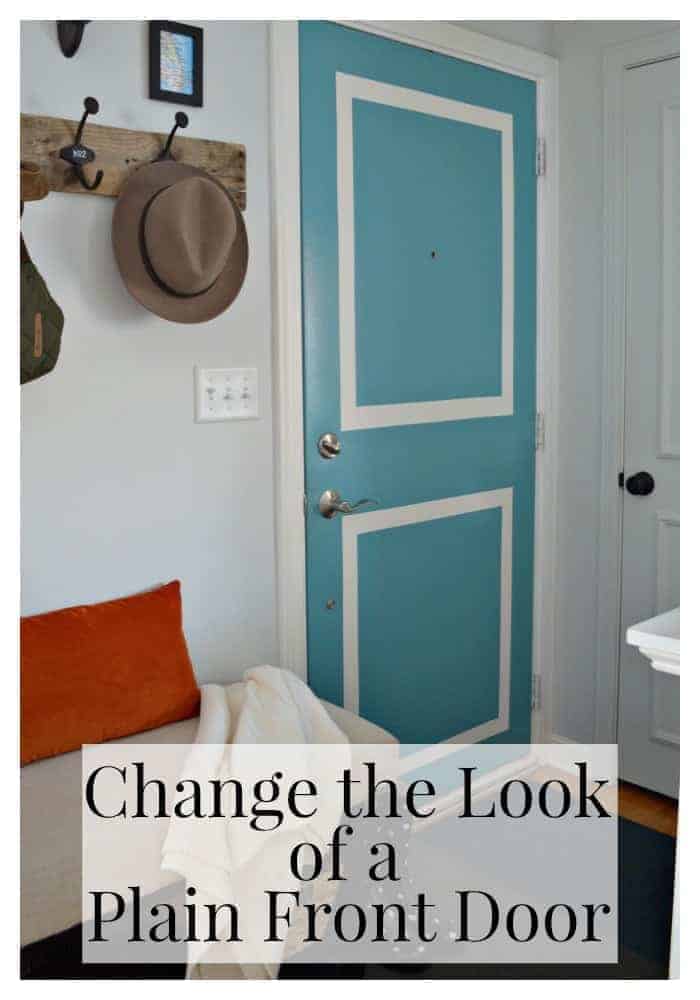
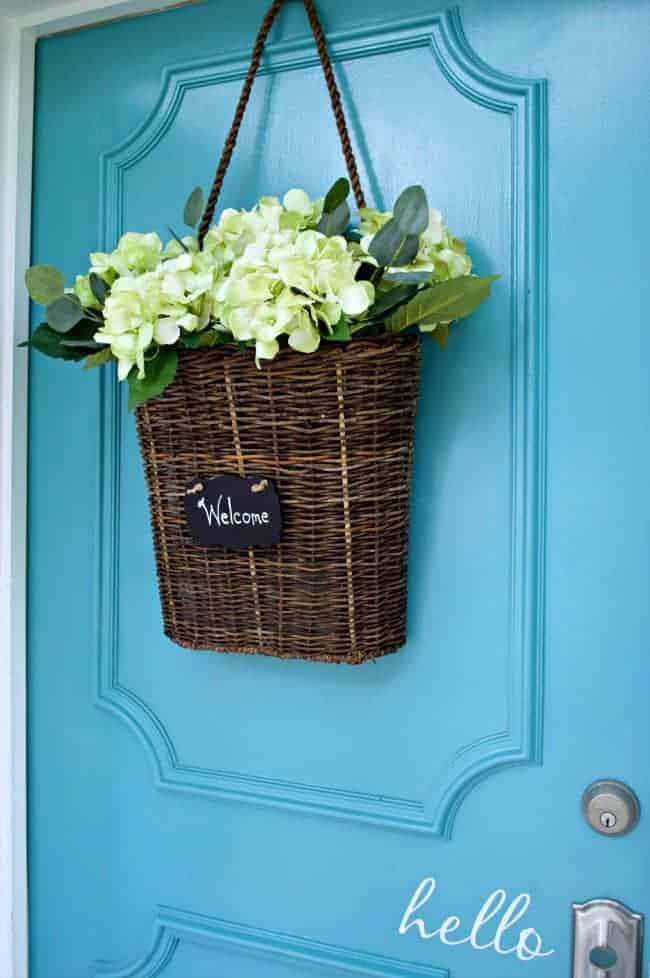
It’s Benjamin Moore Blue Lake and I’m thrilled with the results, just love it with the color of my brick.
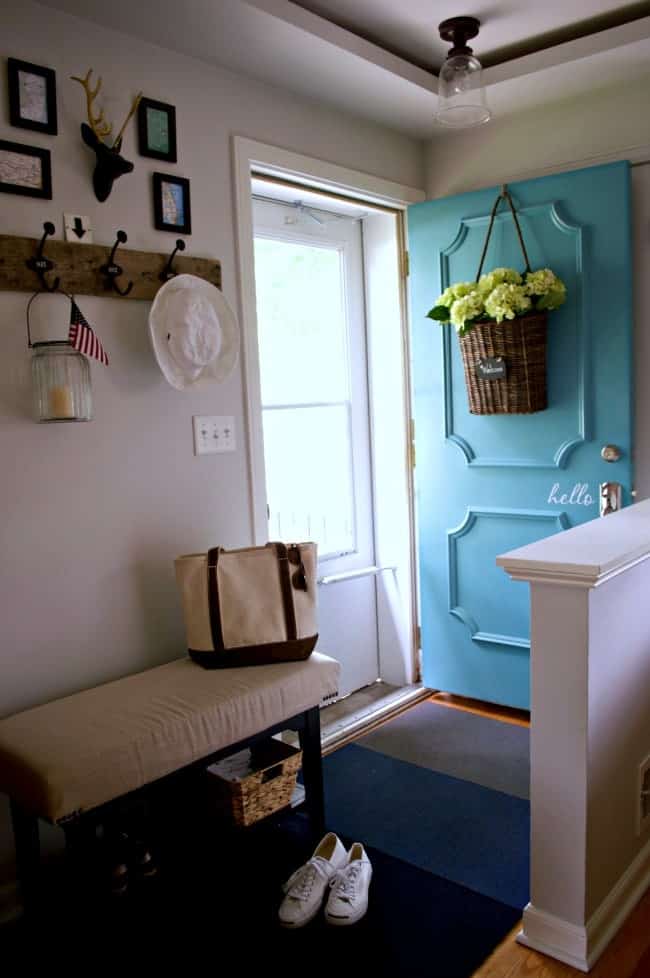
Now that the outside of the door looked great, I knew that I wanted to do something to the inside of the door.
I didn’t want to do black because the living/dining/entry doesn’t get a ton of natural light and it might look like a dark hole, so I ended up painting it the Blue Lake figuring that, if I didn’t like it after I painted my walls, I could repaint.
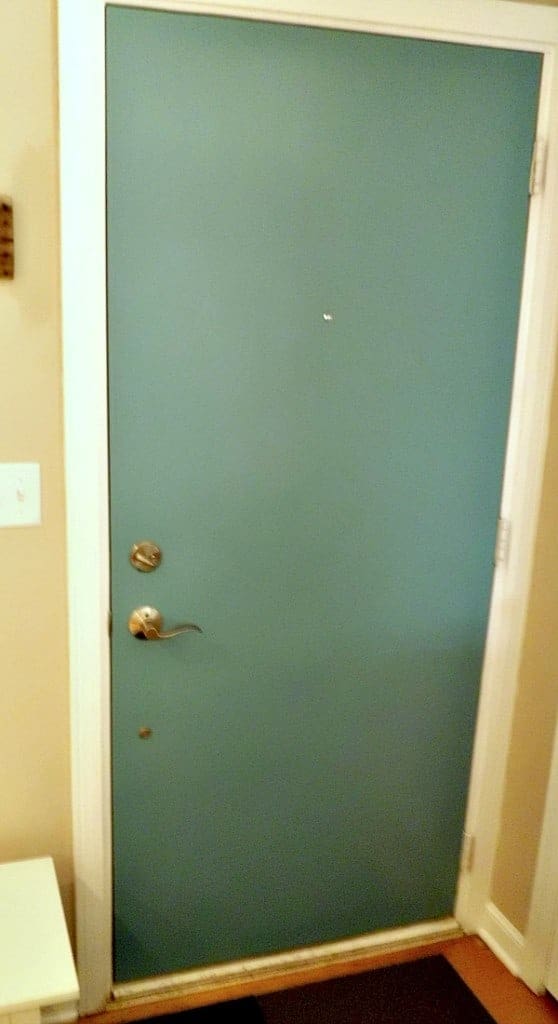
The before and the progress pictures aren’t the best, but what can I say? I was a new blogger taking pictures in the middle of the night while I excitedly did this project. 😉 I hope you’re able to get the gist of what I did, though.
The outside of the door had moldings on it, but the interior side was just a flat, blank, boring door.
I looked online for ideas to spruce it up a bit and came up with two ideas to either put some molding on the door or to try to paint some molding on the door.
Painting the door was more appealing to me, so I figured I would try it and if it didn’t work out, I would go the “real” molding route. There is a coat closet right next to the front door with molding on it, so I fashioned my “fake” molding after that.
First, I taped the door where I wanted my “molding” to be. This was the hardest part of the project because you want even spacing all around. I used a yard stick and once I started it and figured out the measurements, the taping went by pretty quickly.
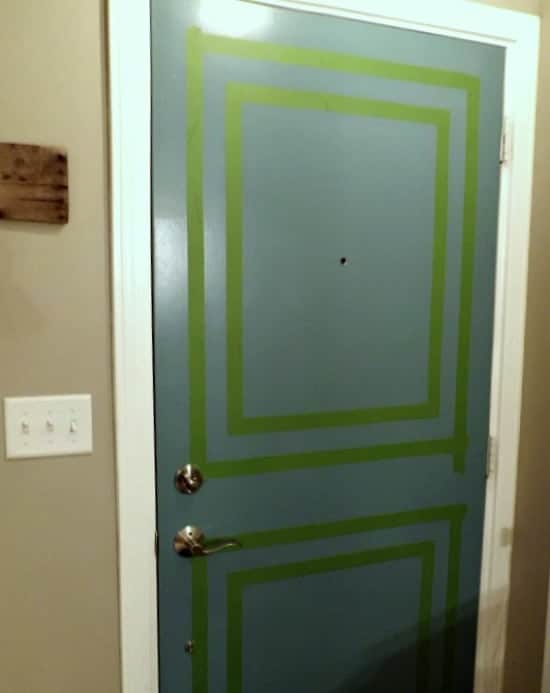
I used Frog Tape for this project (I was not paid for my opinion, I just like the product) and made sure my edges were down nice and tight.
Also, make sure your corners are square and that you don’t have two pieces of tape on top of each other or it could make your line a little wonky (this happened to me, in the corners, and it took some time to fix the lines to make them look straight).
Once I was happy with my boxes, I got out my BM Blue Lake. Now here is a secret, for those of you who have never done this, use your base coat to cover the edges of the tape where the new paint should go.
This prevents the new color from bleeding under the tape and gives you a crisp clean line.
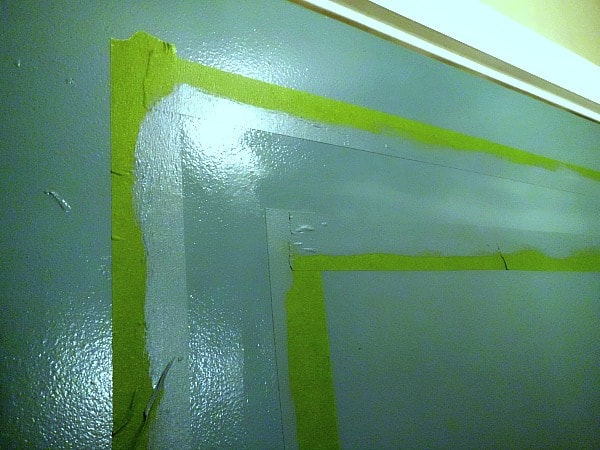
This step is really easy and really fast, but really necessary.
Just put a thin coat around the tape and let that dry. I just used a regular paint brush.
After the base coat was dry, I used a small foam roller and painted on my “molding” color. I chose BM White Dove, it’s what I already had on hand and I will be painting my real molding in this room with this color.
I ended up applying 2 coats and immediately and carefully removed the tape after the second coat so that there was no chance of pulling the paint up with the tape.
I had no bleeding and perfect lines!
My husband was really skeptical and I was a little nervous too, but I love how it came out! It isn’t 3D like the molding on the closet door, but it’s something just a little different and it was so easy to do.
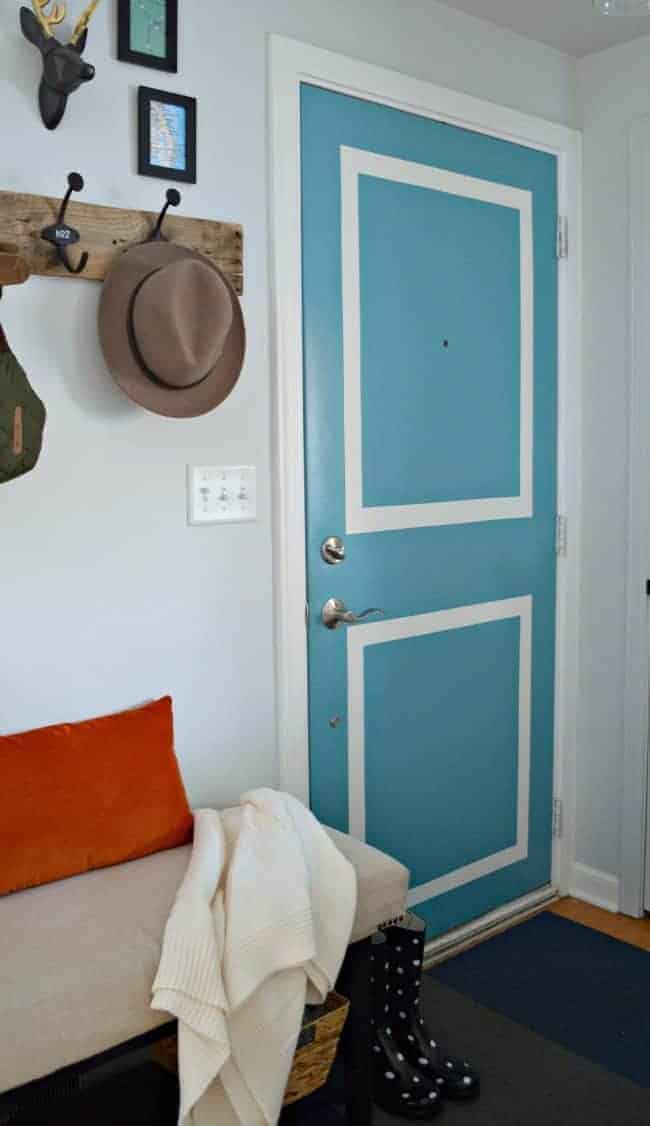
Definitely better!
So what do you think? Would you paint on “molding” or would you rather have the real thing?
I gave my blue door a bit of a second makeover with a front door refresh.
