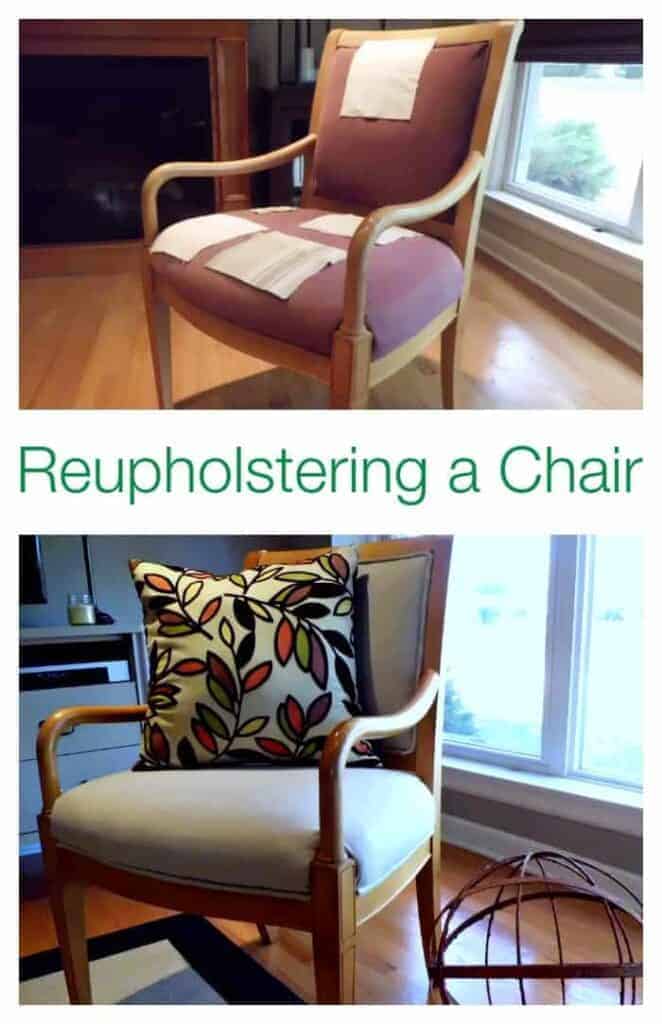
Reupholstering a Chair
This post may contain affiliate links, please see our policy for details.
Happy Monday to you! I’m still in Denver visiting my daughter, but I have been wanting to share this for a while, so I finished up this post last night so I could finally do that. I was trying to get a decent after photo and I think I got something that is good enough to share (I am still working on my photography skills and trying to find a better camera so please bear with me). Anyway, here is one of my latest projects I completed while working on my living/dining/entry…reupholstering a chair.
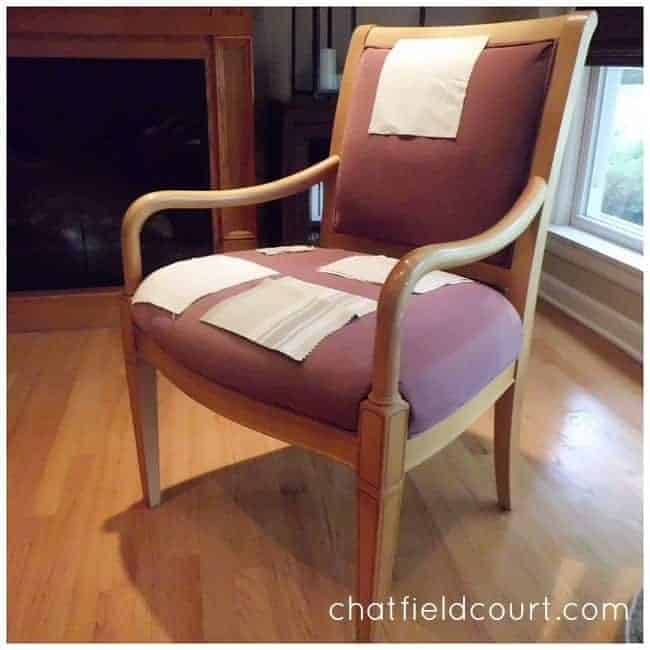
I bought this chair 3 houses, or 15 years ago, when we lived in Macon, Georgia. I loved it from first sight. The wood, the shape and the fact that it was very comfortable made the decision easy. At the time that I bought it, I was decorating in jewel tones, forest greens, golds, maroons, and this chair fit right in with my decor.
Although the fabric was in great shape, I had wanted to get it recovered because the color was no longer working with the rest of my decor. Unfortunately, when we moved to Illinois, I didn’t know anyone who could recommend a good upholsterer so I just left it go and moved it into this house. I am trying to change my style this time around, so I knew that it was time to get the chair done. I’ve been reading blogs for 6 or 7 years and have seen and read a lot of great tutorials on reupholstering a chair, so I thought that I would give it a try.
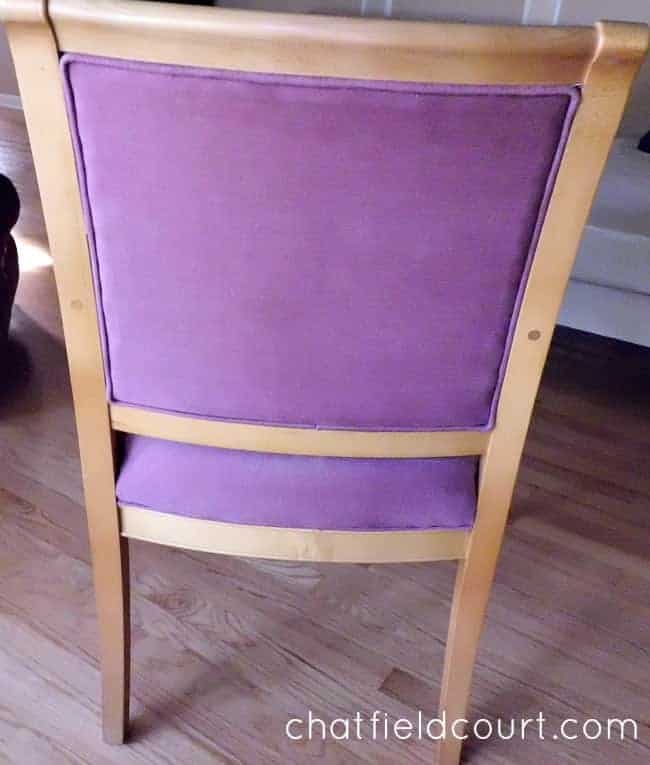
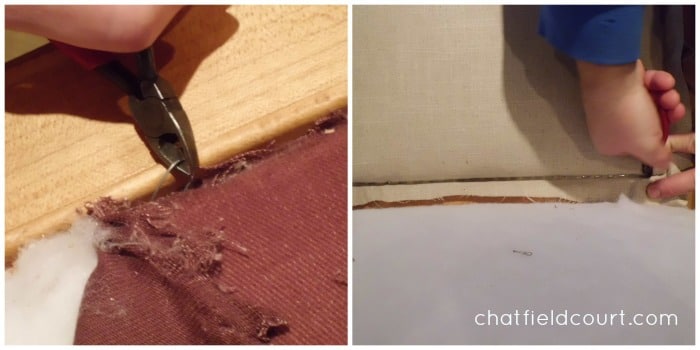
Now, I have recovered some chair seats and a small bench before but I have never tried a chair. Not knowing anything about this and never really looking at the chair that closely, I thought that the bottom cushion, and the back and front cushions, would just come off if I removed screws and I could just recover them and put them back on. Well, after turning my chair over and removing the black cover, I discovered that there were no screws. I almost stopped right there and gave up, but I figured that I would try to take the fabric off and see what happened. I thought that if I couldn’t do it, I would just find an upholsterer, so I slowly started to take fabric off. First was the piping, which was glued on (and came off pretty easily), and then I started on the fabric and staples. The staples were actually set in a thin, shallow channel (don’t know what the correct term is, but that’s what it looked like to me) that went around the whole seat cushion and the front and back cushion. Getting them out was pretty tough because most of them were set so deeply into the wood that I had a hard time getting a tool underneath them. I tried a lot of tools but ended up using a small, thin screwdriver and a pair of diagonal cutters. It was slow going, but in the end, they all came out and I didn’t mark up the wood.
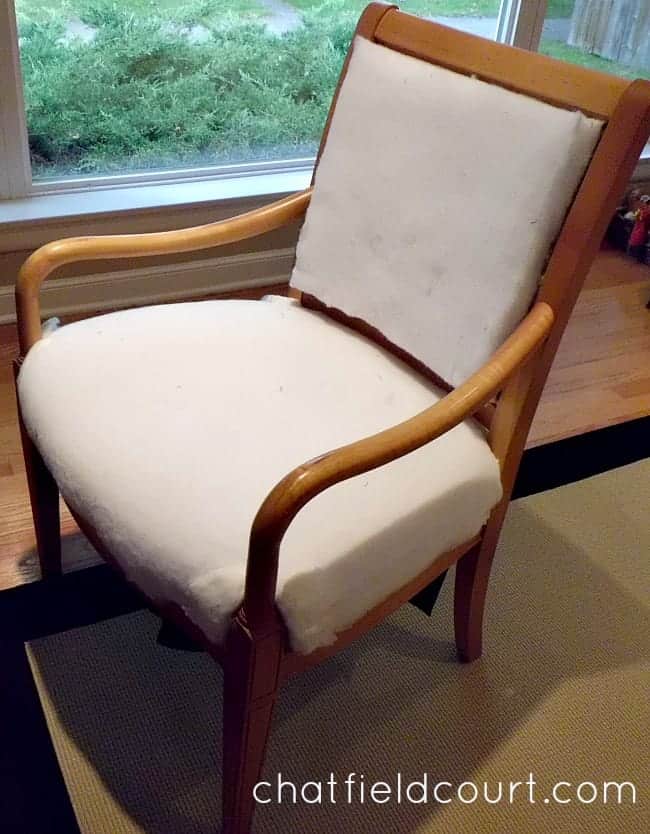
My next step, and the one I was dreading since I started this project, was to do the piping. I don’t sew or own a sewing machine, but I saw this great tutorial on making piping without sewing (she also shows how to sew piping), so I tried doing that. I went to the fabric store and bought some new cording for the piping but it was just too small, so I had to remove the old fabric off of the cording that I took off of the chair, and recover it. I cut out 2 inch wide strips of my fabric and used Fabric Tac to glue it around the cording. This was a messy, sticky job that was not fun, and I’m sure using a sewing machine would have been much easier and faster. I then used the Fabri Tac to glue the completed piping into the channel to cover my staples and this project was done. It isn’t perfect and I know that a professional would have done a, well, more professional job, but now I can say that I upholstered a chair. And, no, I will not be doing this again. It took a lot longer to do than I expected and I really didn’t enjoy it. Kudos to those of you who do it and do it well, and actually enjoy it.
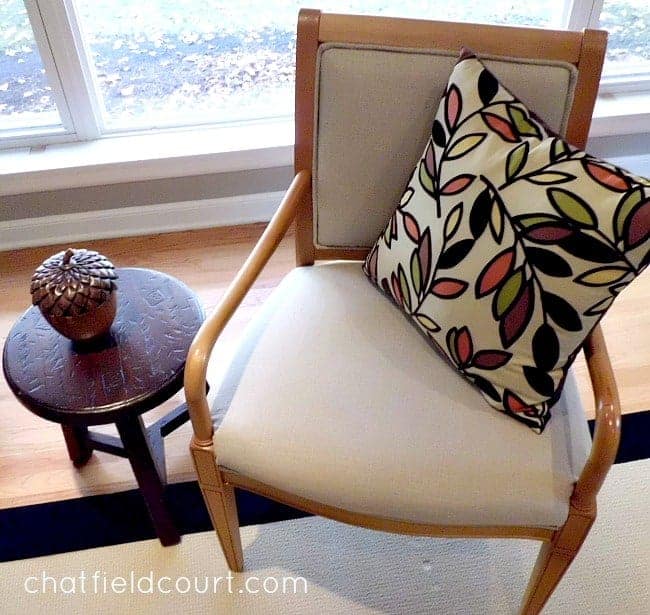
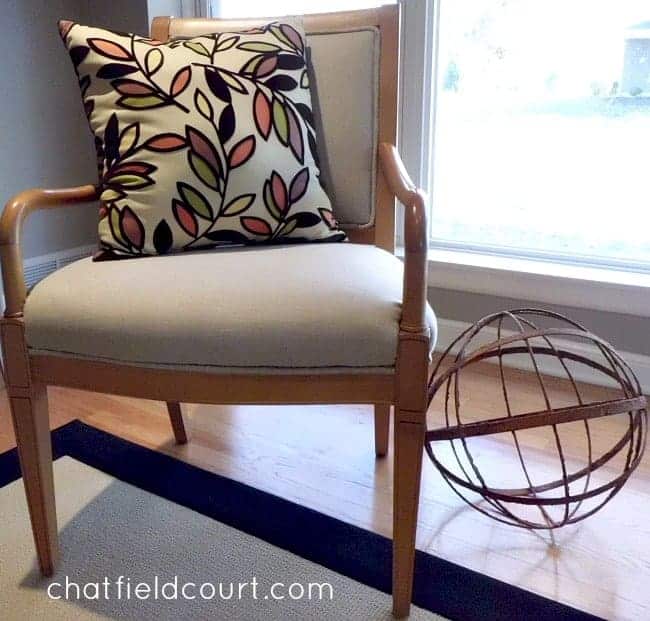
Phew, thanks so much for sticking with me on this long post. At long last, here is my finished chair.
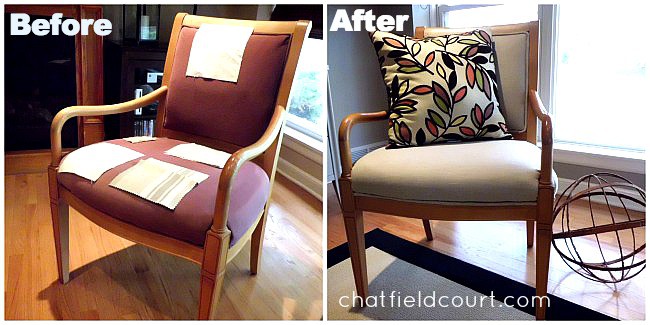
Here is one more, before and after.
Have you ever reupholstered a piece of furniture? Would you ever do it again?
Have you seen our other living room furniture posts? I’ve shared my Tips on How to Buy a Couch and a post and video on How to Fix Sagging Couch Cushions.

