Front Door Refresh
This post may contain affiliate links, please see our policy for details.
Yes, yes we still have projects to do in the kitchen but a girl’s gotta have some fun once in a while…right? Well, I wouldn’t say that doing a front door refresh is a fun time but I do enjoy painting and the door was in need of a little love, so I grabbed my supplies and had a little painting party over the weekend.
I know that I just showed you the same paint on the back door but I’ve been on a painting frenzy lately (wait until you see what else I painted…again), and the front door has a different painting technique from the back, so you’re getting two for the price of one. Actually, you’re getting this for free so you’re welcome. 😉
Ok, on to the front door refresh.
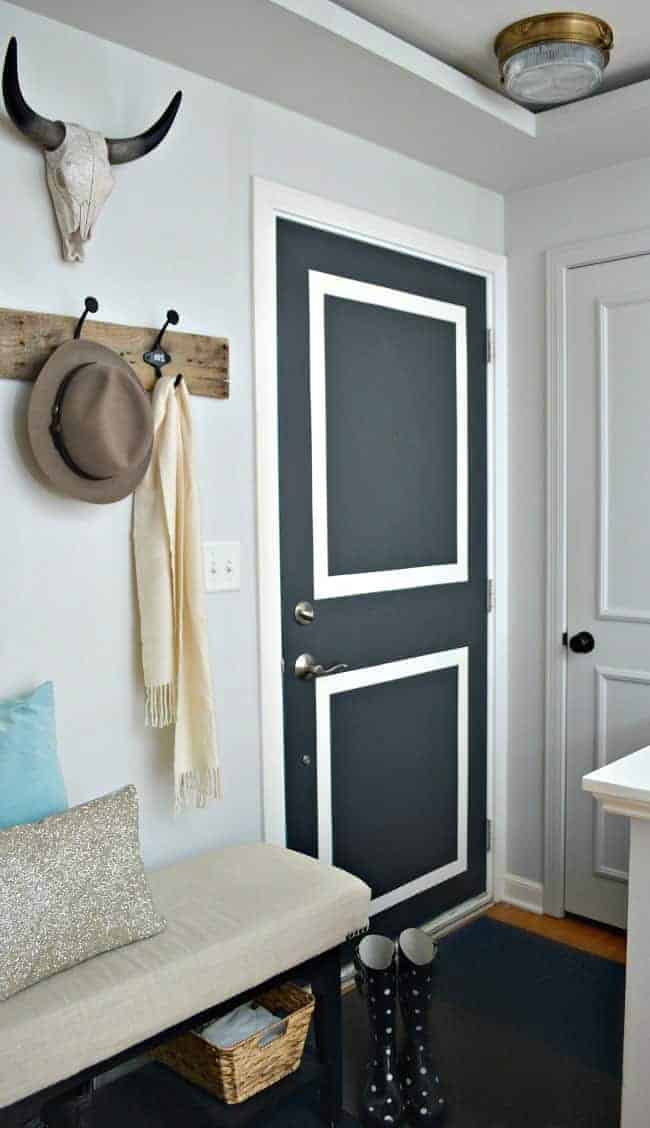
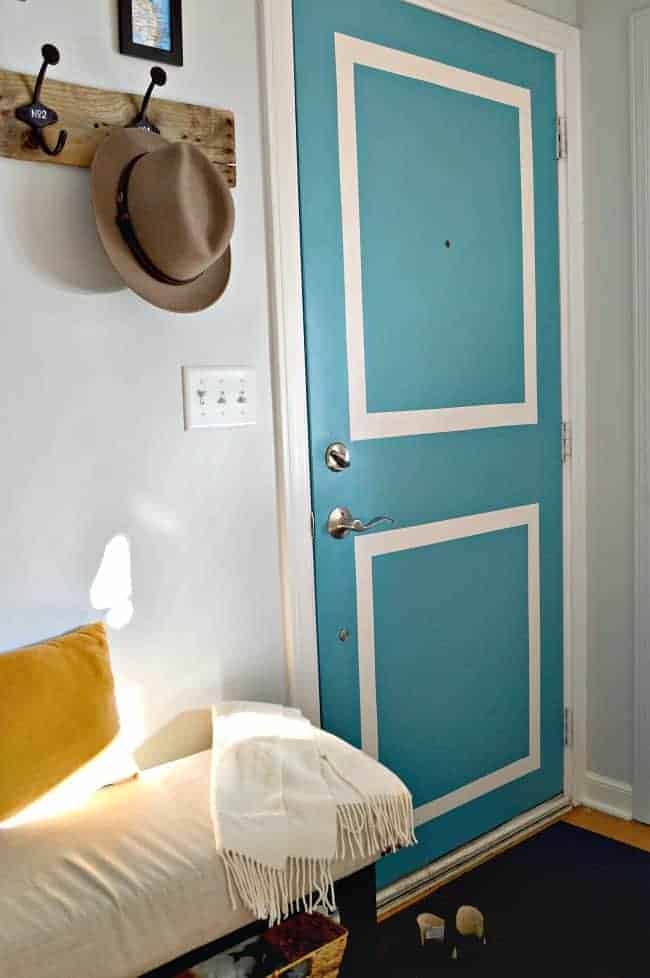
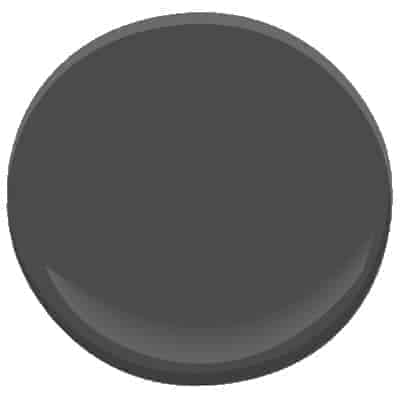
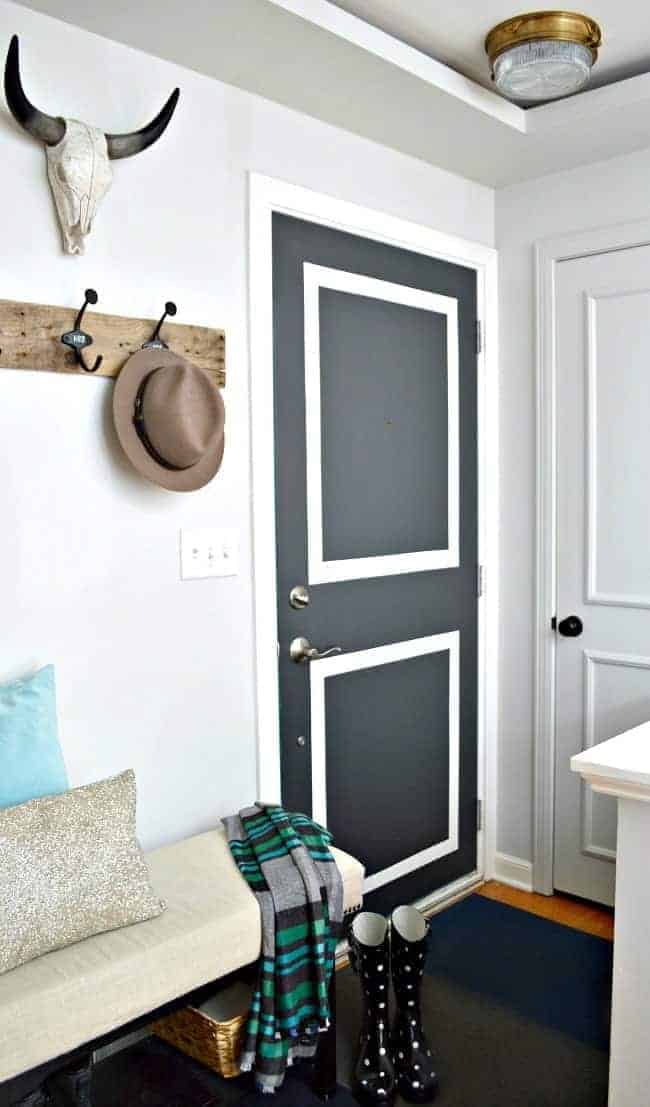
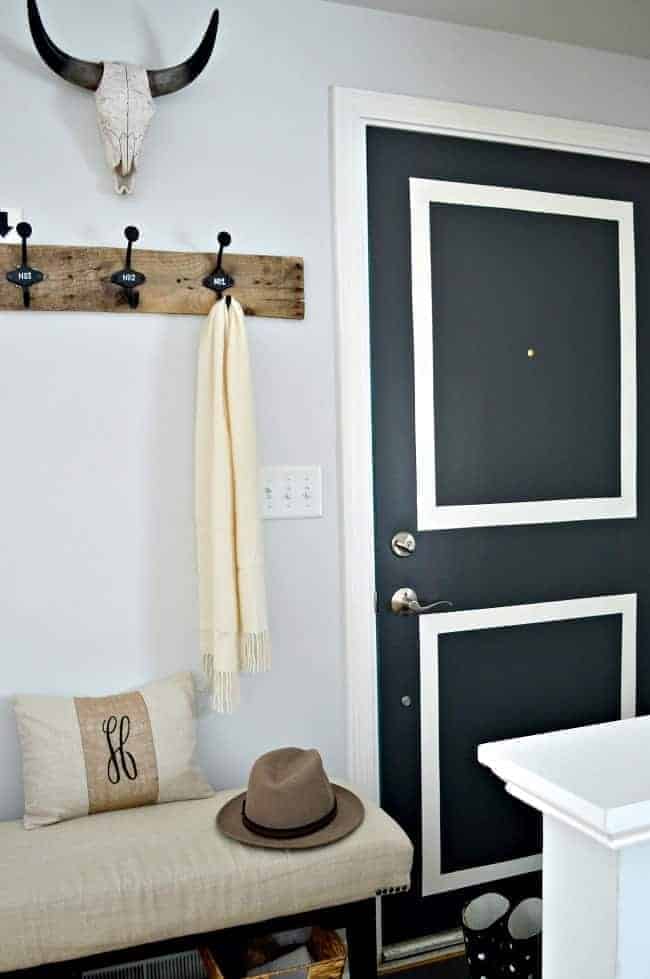
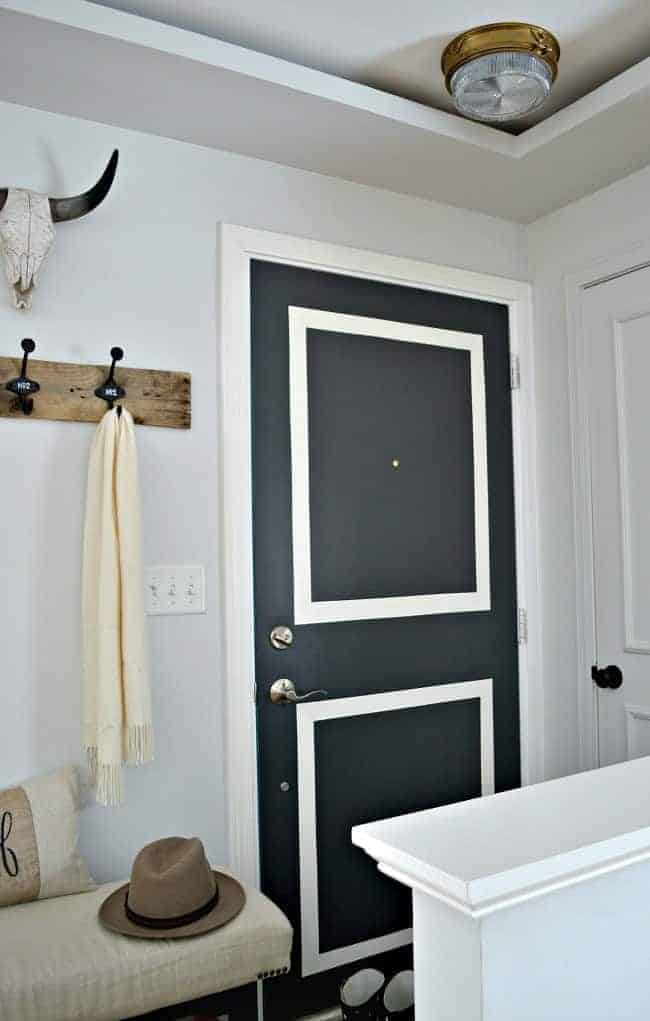
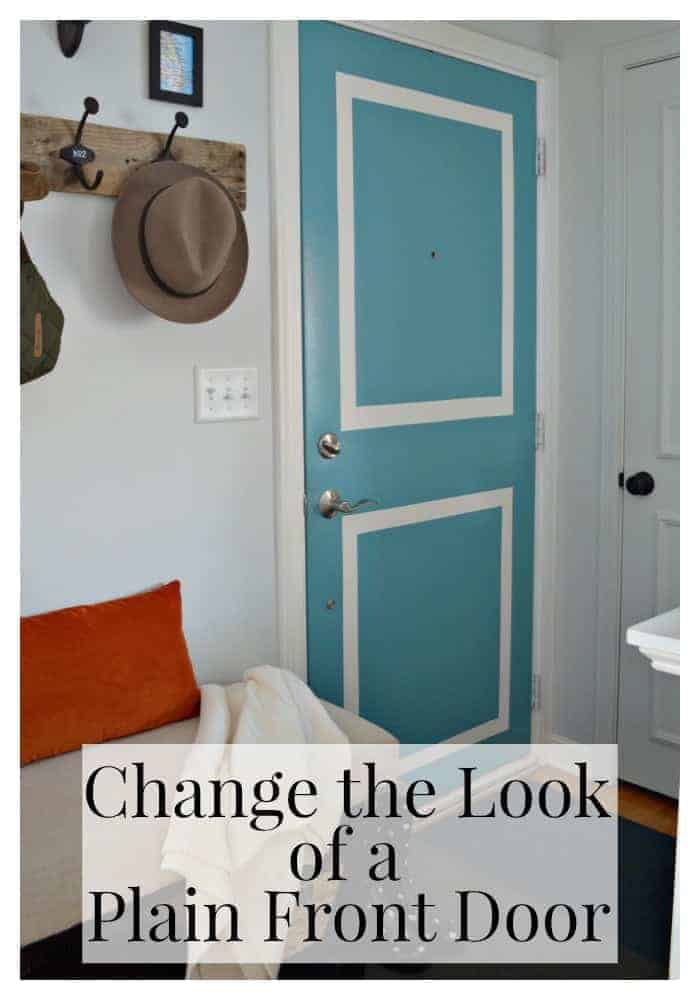
I painted both the outside and the inside of the front door when we moved in 2 1/2 years ago, with BM Blue Lake. I still love the color but wanted a bit of a change for the inside of the door, and something that matched better with the back door, so I painted it the same color, BM Wrought Iron.
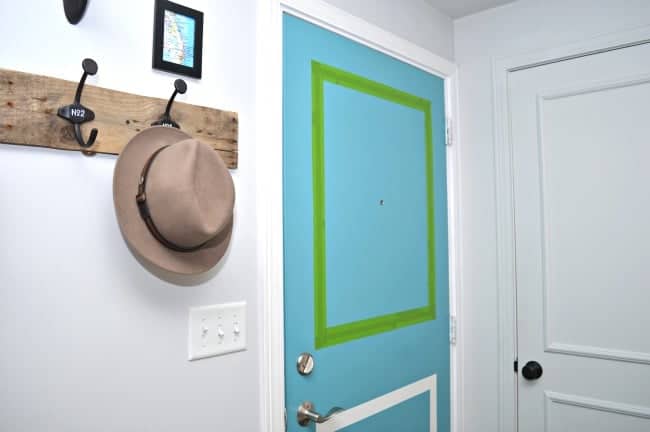
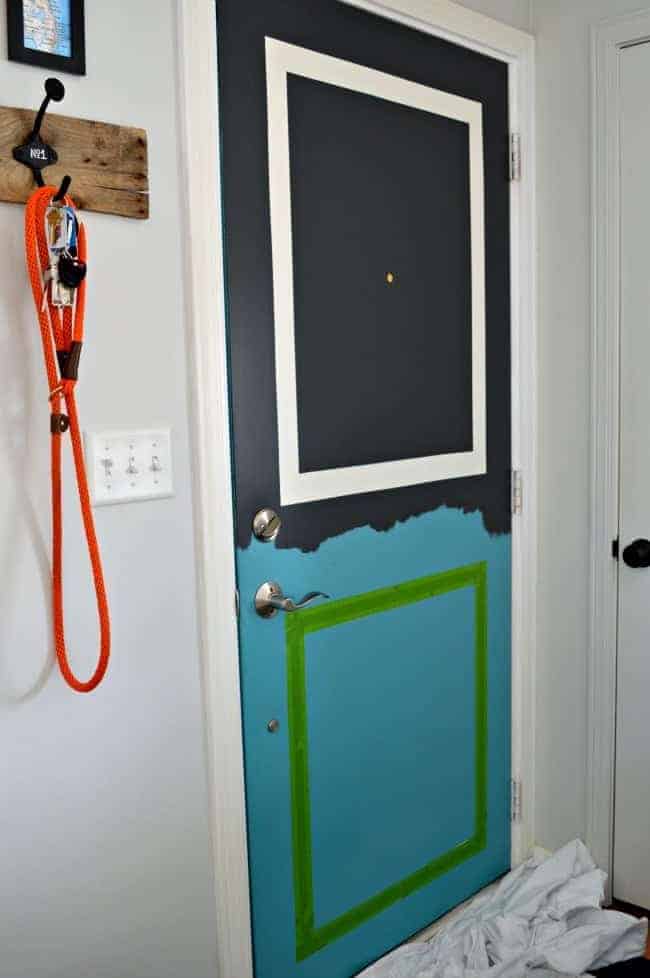
When I painted it the first time I used white paint and FrogTape to add “faux molding” to an otherwise plain, flat door. For this refresh I wanted to keep the “molding” and just paint over the blue, so I decided to tape over the white. I wasn’t quite sure how it would turn out, actually I thought that I would totally mess it up, so I did a test and taped off the top box first to see what happened.
First I taped the white of the box using FrogTape. Then I ran the smooth handle of a screwdriver over all of the edges, making sure they were flat, so that no paint would slip under and onto the white. After I gave the door a good sanding and wipe down, I took my paint brush, starting on the tape, and painted out away from the tape, both inside and outside the box. You never want to paint in towards the tape.
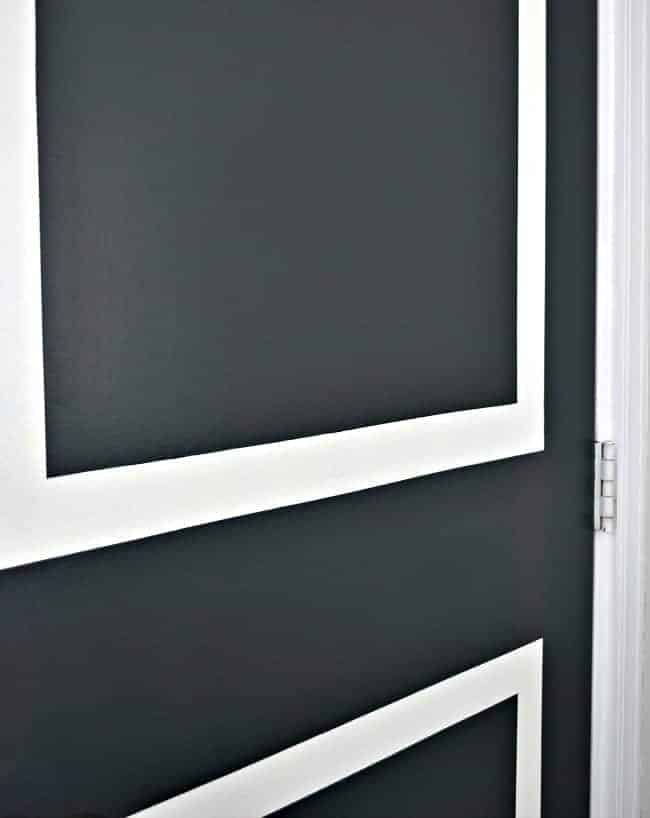
Two quick coats and I removed the tape. The “molding” made it through, crisp lines and all, so I taped off the bottom box and finished painting. The boxes actually took longer to tape than the door took to paint, but they looked as good as they did when I painted them the first time.
I was a little nervous about using such a dark color in this corner of the room but I love it. Isn’t it amazing how a little paint can make such a huge change in a room?
We also made a few updates and changed the light above the door. It’s a tough spot for a light because, with the door clearance and that funky ledge, it has to be a certain size. I love this one I found this one at a thrift store for $20. It’s a really heavy light and I thought that it could be solid brass. After a little research, using the tag on the back of the light, I found out that it is solid brass and usually sells for $950. Woohoo, I got the deal of the century!
Thankfully we only have 2 doors in the house so this will be my last door refresh…until we hang the thrifted one on the back of the house. My paintbrush is on standby. 😉
Do you ever start painting things and find it difficult to stop or am I in a class all by myself?
See how I created the “faux molding” when I painted the door the first time.
Add “Faux Molding” to a Plain Front Door

