
Tips for Hanging String Lights on a Deck
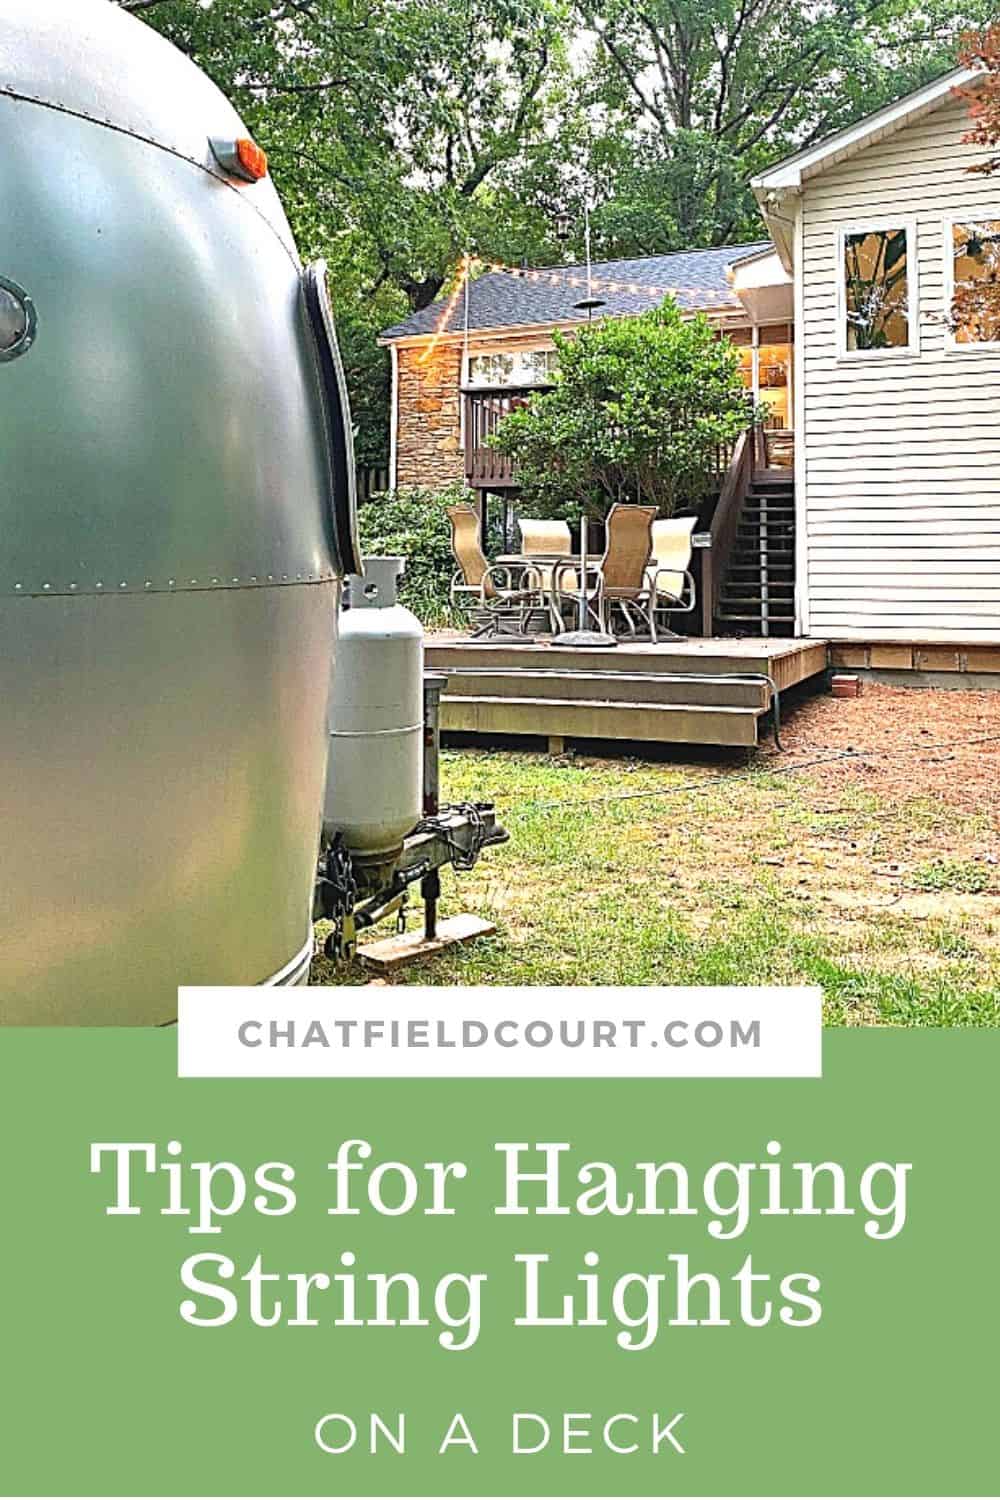
Tips for hanging string light on a deck using a piece of EMT (electric metallic tube) to make a deck light pole and wire rope.
Who doesn’t love the glow of string lights around your deck on a warm summer night?
You may think that hanging outdoor lights on a deck is hard to do but I’m here to share our easy process to getting that string light glow.

I’ve wanted to install deck lights since we moved into our house and I’m happy that we’re finally getting it done.
We installed outdoor string lights on our deck in our Illinois house several years ago, so we knew what it would take to add hanging lights on our deck.
The upper deck, where the lights will hang, is a pretty small space so we weren’t going to do some elaborate set-up. Just hanging a couple strings of lights and a string light pole would do the job.
Supplies to hang outdoor string lights
- 3/4″ 10′ galvanized EMT
- 2-stainless steel hose clamps
- 2-3/4″ EMT one hole straps
- screw eye
- 2-1/16″ stainless steel wire rope clamps
- 1/16″ stainless steel wire rope
- 2 strands string lights
Tools needed
- drill
- wire cutters
- screw driver
- white electrical tape

Make a pole for hanging outdoor lights
We already had a DIY bird feeder hanging from the deck so we had to work around that.

Once again we are using EMT, which is used to run electrical wire through. I like it because it’s cheap at around $5, and it’s very sturdy.
You can also paint it to match your space.
I painted the poles that we made last time we did this project but we did this really quickly, in about 20 minutes, so I didn’t paint it.
Besides, the bird feeder pole is still in its natural state, so I just kept the metal look for both.
Installing the deck pole for string lights
The first thing we did was drill a hole for the EMT in the deck railing.

Then I added my two hose clamps to the EMT.
One went on the top to keep the wire rope in place, and one at the bottom to keep it from sliding down through the 2 hole straps that we attached to the deck pole.

Next, I slipped the tubing into the hole Roger drilled in the deck rail, and used the hole straps to secure it to the bottom of the deck.
What kind of wire for hanging string lights
With the pole ready to go we hung the cable guide wire. The wire we used for our project was 1/16″ stainless steel wire rope.
You want wire that is strong enough to hold the string of lights, without sagging, and it needs to stand up to the elements.
Installing the wire
We needed to attach the wire and lights for the deck to something and since the house is all stone (and hard to drill into) we had to put a screw eye into my brand new tongue and groove porch ceiling.
The idea was to string the lights starting at the screw eye, over to the EMT that we put up and then over to a big, old hook that was attached to the house by a previous homeowner.
Almost in a V formation.
From there we would use an outdoor extension cord that we ran to an outdoor outlet to give us power.

With the screw eye in place we strung our rope guide wire.
Why you need a guide wire
Roger has worked with electric his whole adult life so he knows a thing or two about it. I know that a lot of people skip this step but he says it’s important to use some kind of guide wire to hang your string lights.
The reason that you shouldn’t just string the lights without wire is because the string light wire can stretch (it’s not made to hold the weight of the lights).
So the short answer is yes, you need to use a guide wire when you are hanging string lights.
With that out of the way, we can move on to securing the wire. This is where the wire rope clamps come in to play.
They keep the wire in place and taut.

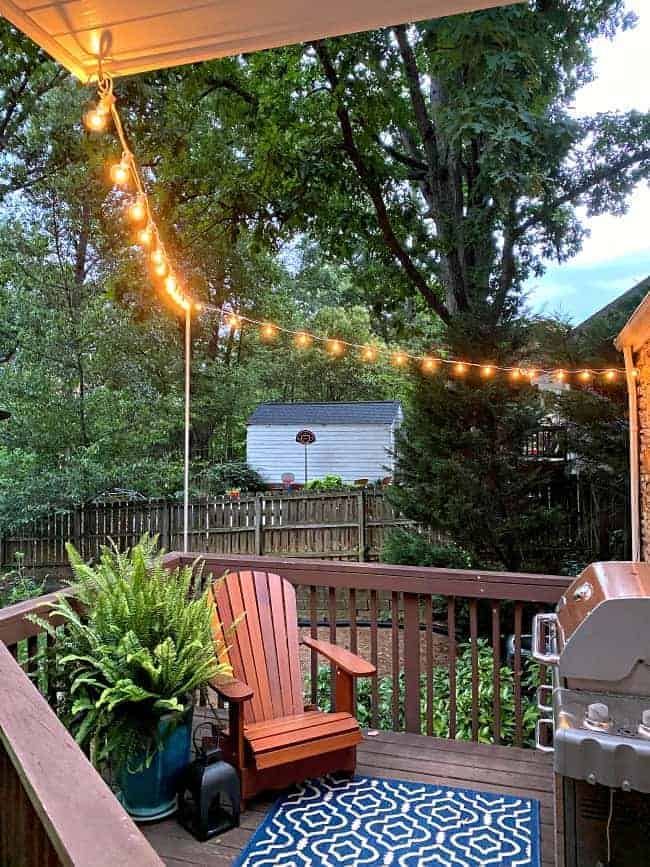
Hanging string lights on a deck
Once the wire was taut we were ready to hang the string lights.
These particular outdoor lights had hooks on them (to hang them on wire) so hanging them was easy.
To keep them from sliding down the EMT, Roger looped the lights around the top of the hose clamp that we attached to the pole.

We needed to run a second string of lights so we used some white electrical tape to protect the plug on each strand.
Then we ran the second string over to the hook on the house and plugged it into the outdoor extension cord and a GFCI outlet.
It took us about 20 minutes to hang our new deck lights and we were in business.

Now with the new porch roof, the outdoor string lights and a little decor, we have a great new outdoor space.
We can’t do a whole lot in this small space but now it looks good!

It also looks great from inside the house. You can see the porch string lights from the front door straight through the dining room.
I just wish we had done this easy project sooner.
Recommended String Lights
- Globe Bulbs
- White String Lights
- Dimmable Bulbs
- Shatterproof Edison Bulbs
- Extra Long, 100 ft, with 104 Bulbs
Tips for Hanging String Lights on a Deck
Tips and tricks for hanging string lights on a deck in less than 30 minutes using EMT pipe from the home improvement store.
Materials
- 3/4" 10' galvanized EMT
- 2-stainless steel hose clamps
- 2-3/4" EMT one hole straps
- screw eye
- 2-1/16" stainless steel wire rope clamps
- 1/16" stainless steel wire rope
- 2 strands string light
Tools
- drill
- wire cutters
- screw driver
- white electrical tape
Instructions
- Drill a hole for the EMT in the deck railing.
- Attach the two hose clamps to the EMT. One goes on the top of the pole to keep the wire rope in place, and one at the bottom is to keep it from sliding down through the 2 hole straps that will be attached to the deck post.
- Slip the tubing into the hole that was drilled in to the deck rail. Use the hole straps to secure it to the bottom of the deck.
- With the pole ready to go you can hang the guide wire.
- Install a screw eye so you can string a guide wire
- The idea is to string the lights starting at the screw eye, over to the EMT pipe that was installed and then over to another eye hook that was attached to the house.
- With the screw eye in place, string the rope guide wire
- Secure the wire with the rope clamps.
- Hang lights on guide wire.
- To keep lights from sliding down the EMT, loop them around the top of the hose clamp that is attached to the pole.
- Plug in to an outdoor GFCI outlet.
- Enjoy your newly lighted patio/deck.
Notes
It's important to use some kind of guide wire to hang your string lights. The reason that you shouldn't just string the lights without wire is because the string light wire can stretch (it's not made to hold the weight of the lights).