
Easy Chalkboard Calendar Tutorial

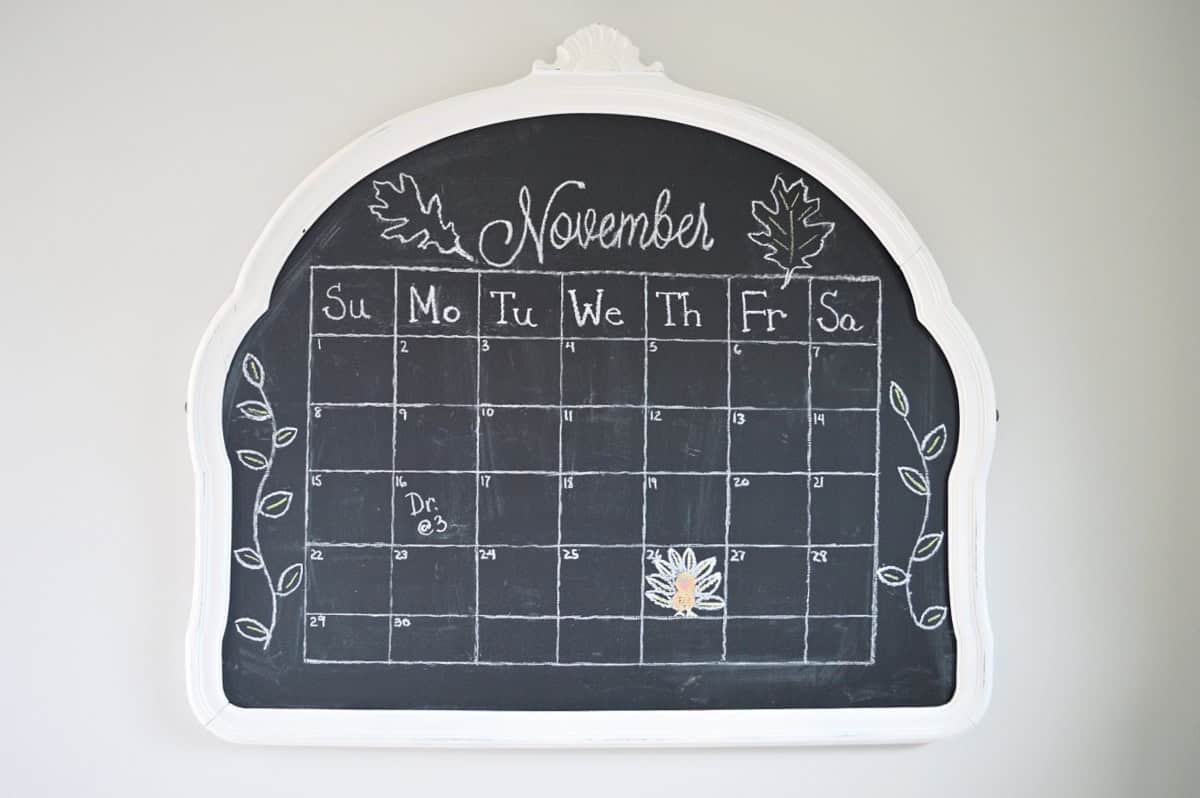
Last Friday I shared the DIY chalkboard that I made from a $10 vintage dresser mirror. I hung it in the kitchen, that’s in the middle of a reno, and created a monthly calendar on it to keep track of our appointments and other happenings.
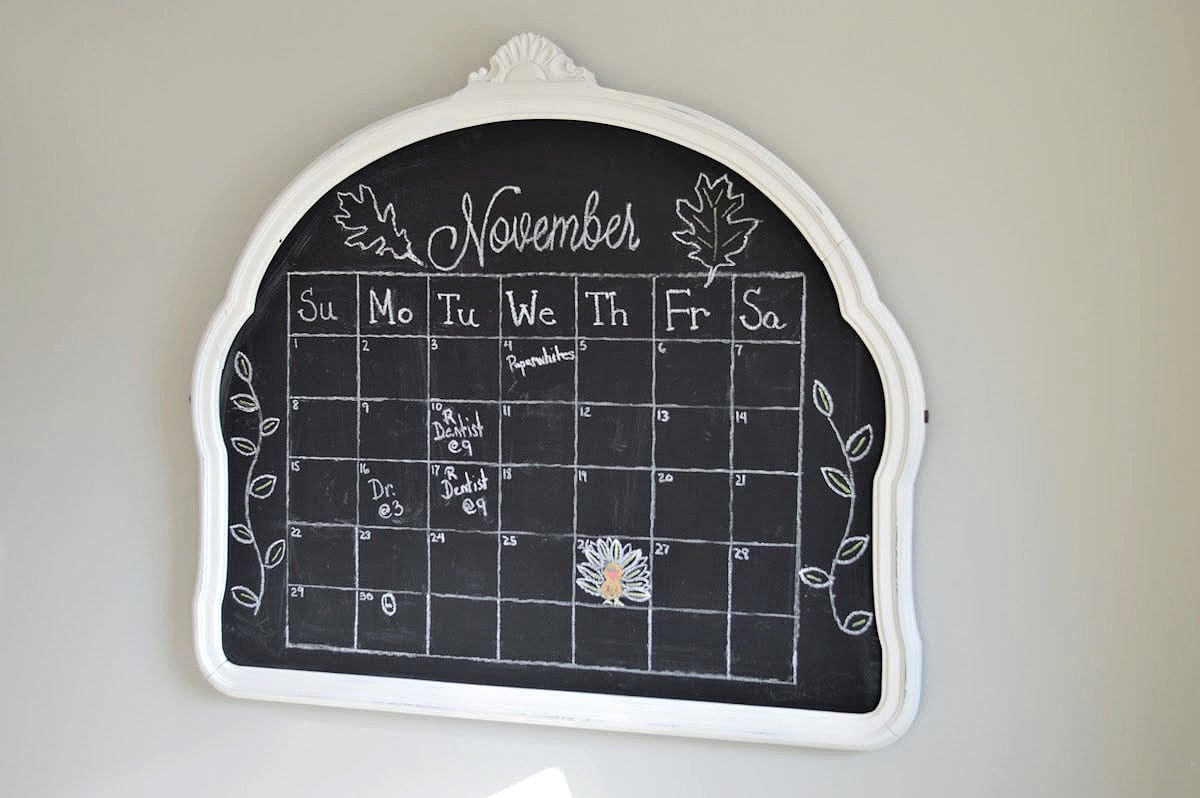
I love how the calendar turned out but it took some work to get it looking like that. I’m not a natural artist and I have shaky hands, so I had to cheat a little and come up with a few tricks to get the look I wanted.
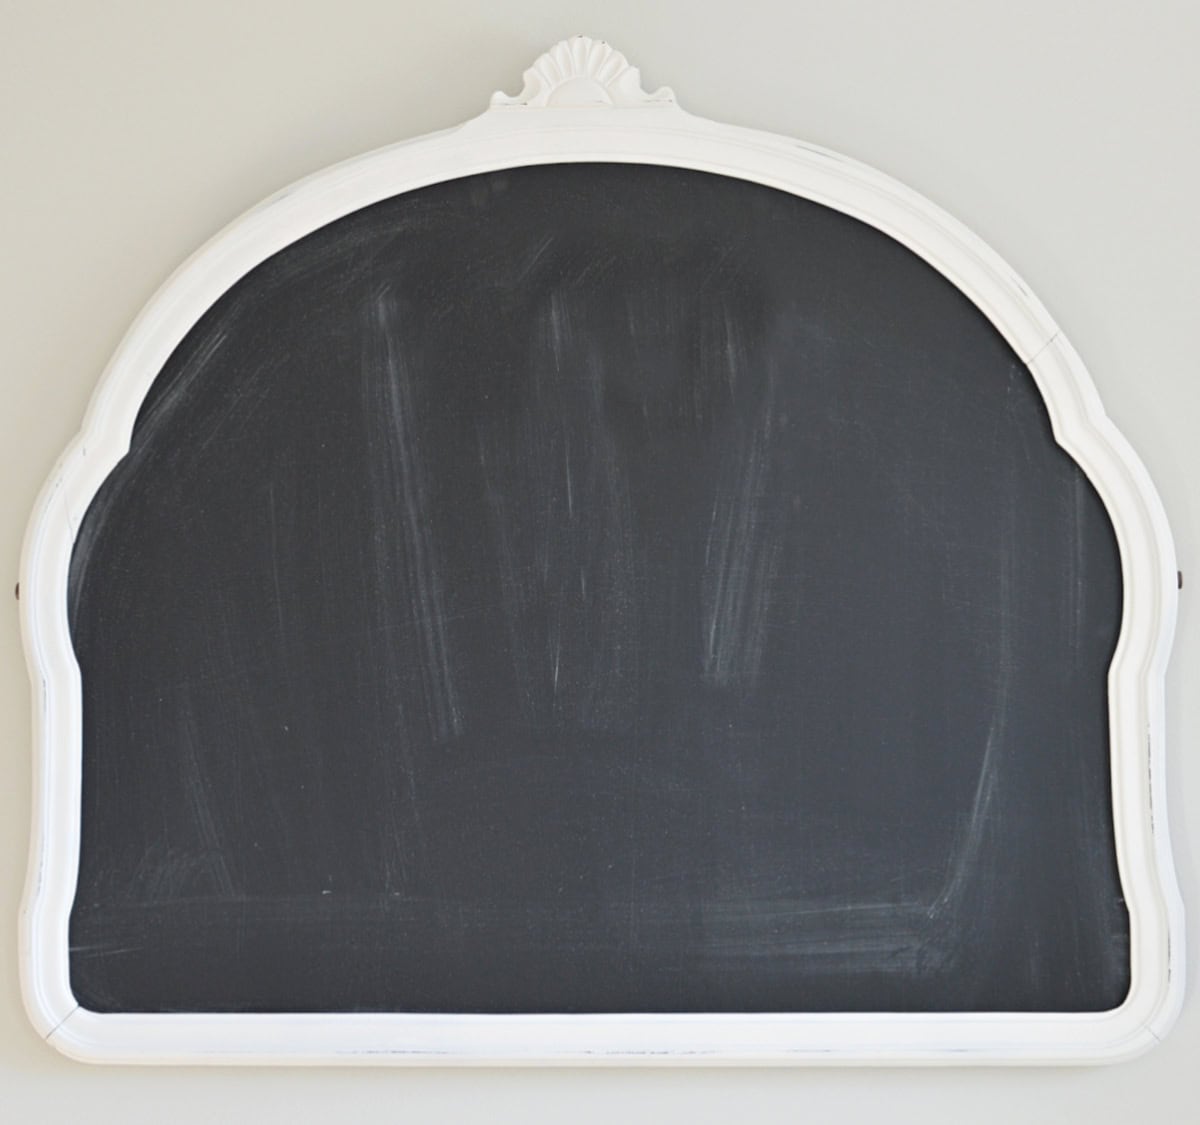
Naturally I started with a clean slate chalkboard. I knew that I wanted to have a monthly calendar but I really had no idea what I was going to do, so I started with the month and worked my way from there. Actually, I winged it. I mean it’s a calendar right? We all know what they need need to look like. 😉
Chalkboard Calendar Cheat #1
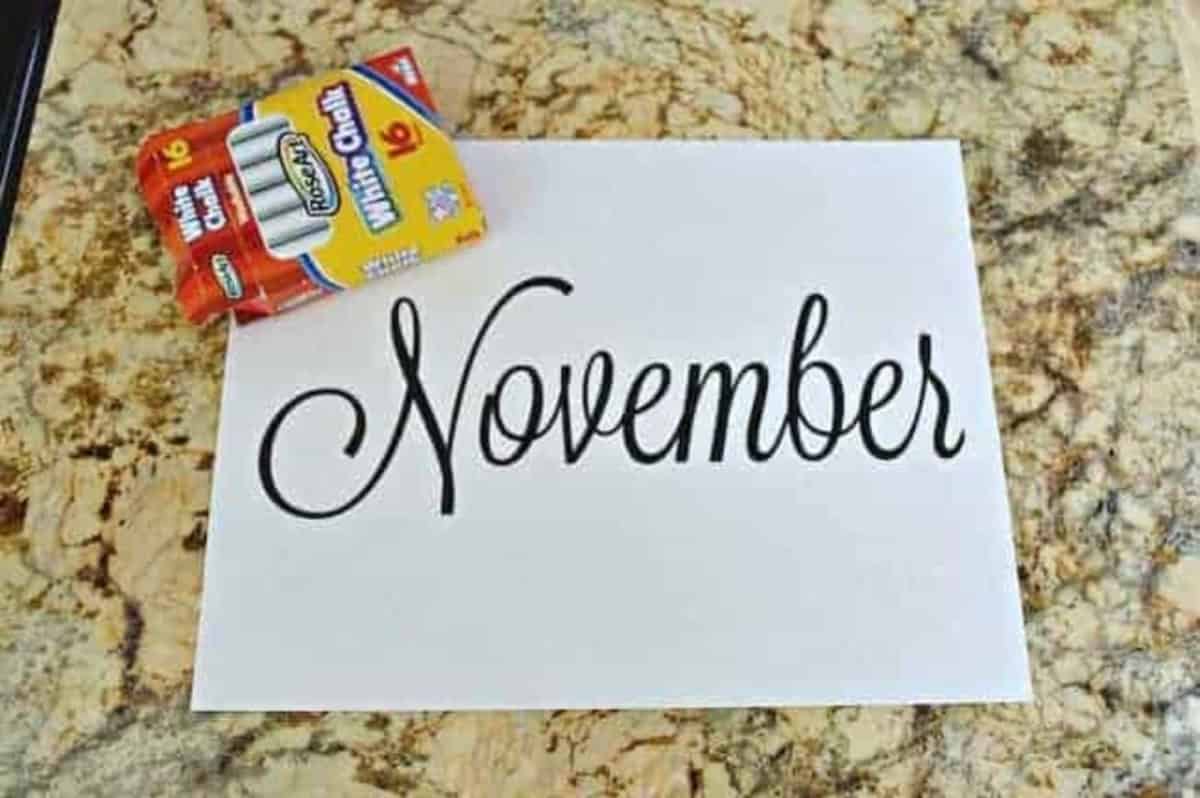
I started my calendar with the month. I went into Picmonkey, found a font I liked, and printed out November.
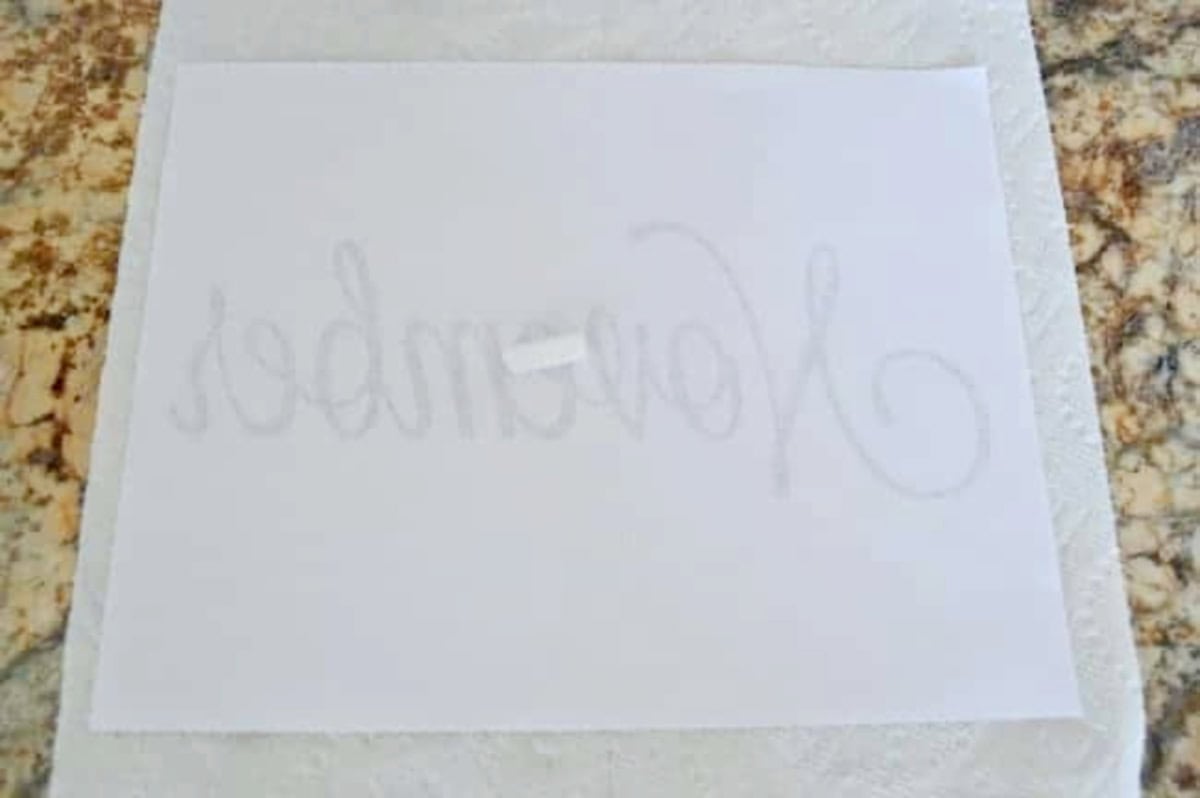
Next I turned the paper over, took a piece of white chalk and began tracing the letters.
Chalkboard Art Cheat #2
Make sure that you always keep a point on your chalk, I used a small eyeliner sharpener. It just makes the job easier.
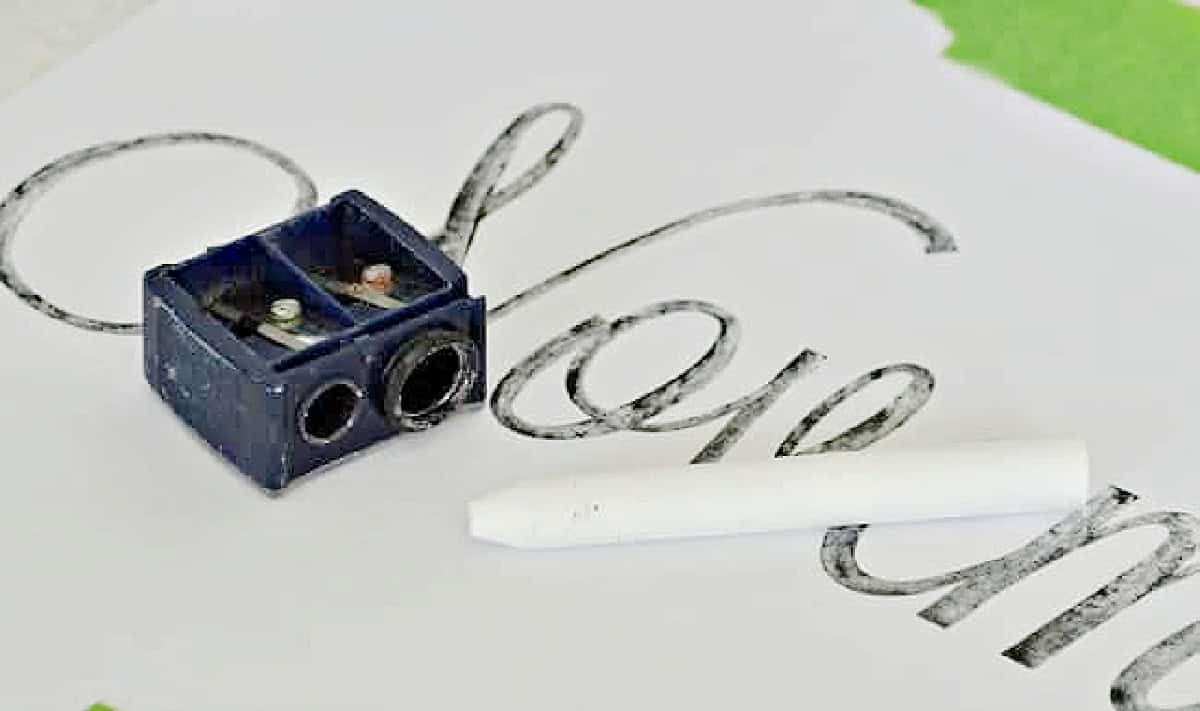
After I was done tracing the letters, I taped the paper, right-side up, on the chalkboard. I took a Sharpie, with the lid on, and traced over the letters, pressing firmly. The goal is to transfer the chalk on to the board.
Once I removed the paper, I was left with this…
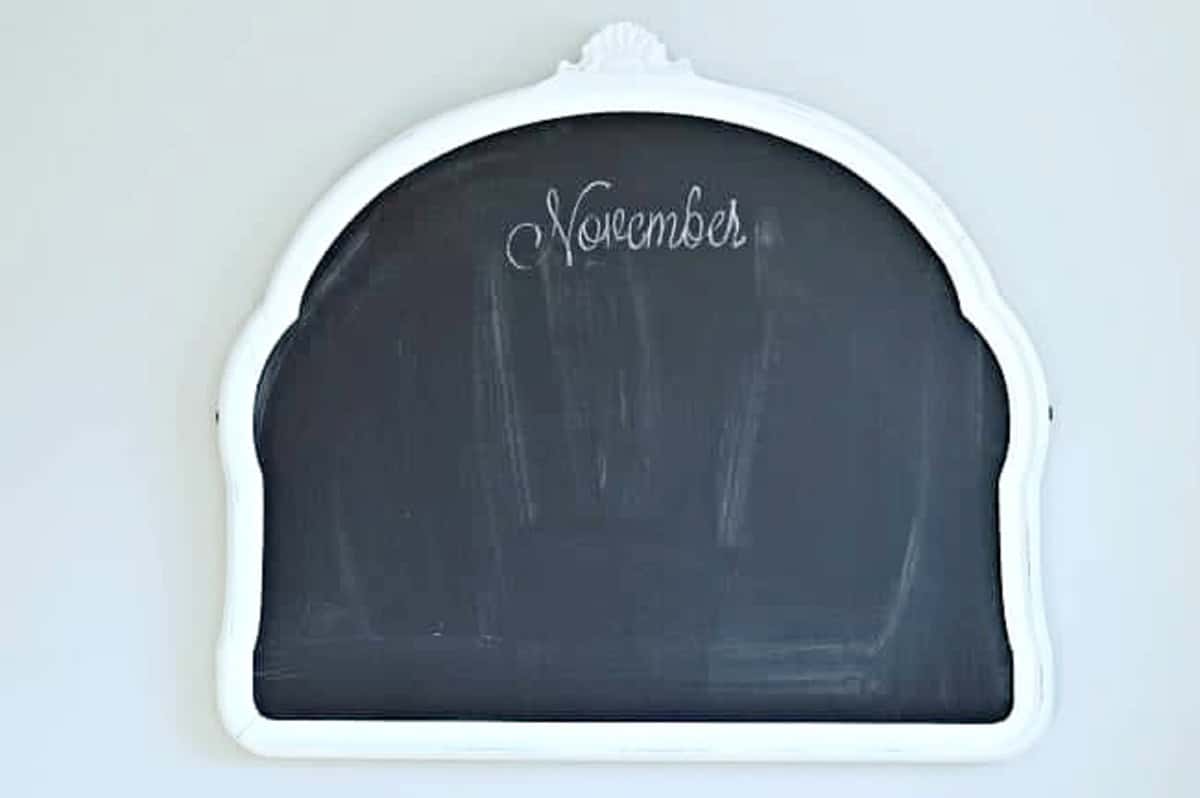
All I had to do was to trace over the letters to fill them in, using your sharpened chalk.
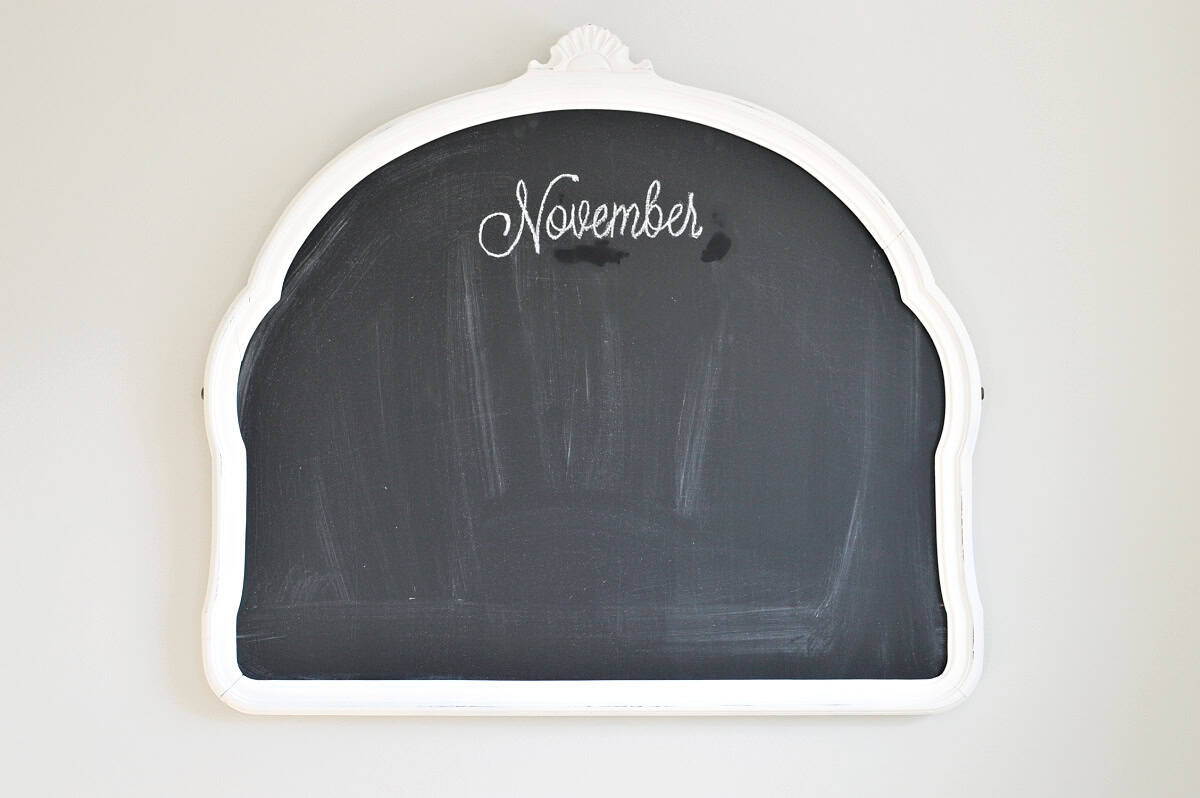
Cheat #3
Here easy way to fix mistakes. I used a craft brush and water to lightly touch up around my letters to make them look neater. Just remember to wipe your brush on a paper towel often to keep it clean. So easy, right?
Now it’s time to draw the calendar. In order to fit all the squares evenly, I used a tape measure to figure out where my lines would go and marked the places with chalk. Then I used a level to make straight lines.
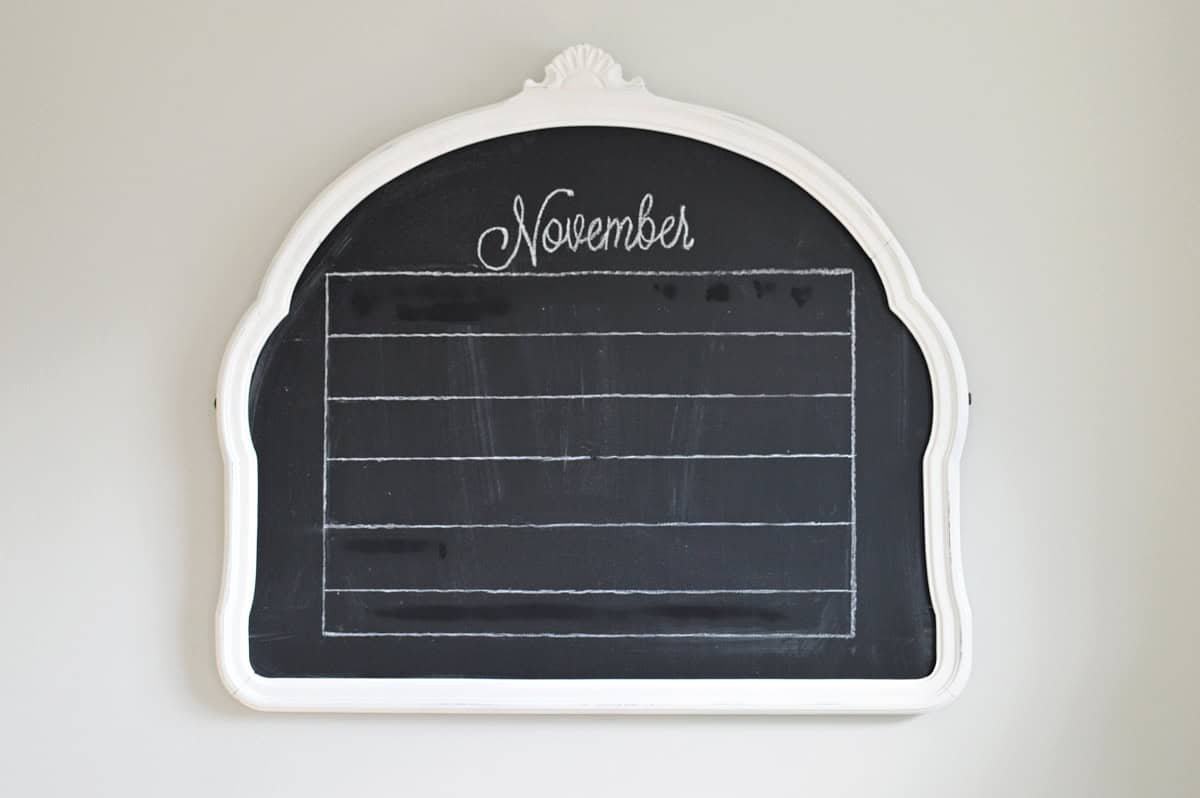
After the lines were done, I filled in the numbers.
The days of the week were next. I was going to use the same method that I used for “November”, but I had a hard time squeezing the words in, so I just free-handed the abbreviations.
Cheat #4
My calendar was done but I wanted to add a little somethin, somethin to it, so I drew a vine on each side and 2 leaves on top from stencils that I made when I added some fall to my old chippy window.
I do have to take credit for my awesome turkey. I know you think that I must have used some fancy stencil, but nope…it was all me. ;P
So, now you know that I used several cheats and a little bit of time to make my chalkboard calendar. I hope I was able to convince you to give it a try.
Your calendar turned out great! I love how you came up with all the little cheat cheats all great ideas. Your turkey is adorable. Enjoy your Thanksgiving!
Thanks Julie! The calendar was fun to do and I’m already thinking about my December design.
Happy Thanksgiving!
At first glance I thought this was a mirror – reminded me of one I use to have. I love what you did with this, so smart. The calendar is a great idea.
Thanks so much Carole. I’m really happy with the way it turned out. 🙂
Love your calendar!
Thanks so much Pamela! 🙂
Very pretty! Beautiful frame and what a great way to re-purpose it. Thanks for sharing!
Thanks so much, I appreciate it!
That’s a great cheat, Kristi! I never would have thought of sharpening the chalk.
xo,
rue
Thanks Rue! Sharpening the chalk definitely made this project easier. 🙂
Super cute and pretty! You are becoming quite the crafter Kristi! Love it!
Who knew? 😉 Seriously, thanks so much Vel.
Aw, I see now. How creative you are to come up with these cheats. Debbie
Thanks so much Debbie, I appreciate it!
Hope your week is a good one! 🙂
I’ve never heard of chalk transferring before, but that’s quite brilliant! Love your little turkey as well 😀
Thanks Jessica, and I’m so happy that you like Mr. Turkey too! 😉
Happy week!
Gooble, gooble! You have a cute turkey! I’m going to go to Picmonkey to see what I can find. I wonder if your method of transferring a design would work for other methods such as ink e.g. markers. I’m having trouble transferring designs onto painted wood surfaces. They come out too light and when it is script and small I can’t see it to go over it with paint.
I re-did the mirror I had with chalk paint. It came out fine this time. I think it was the chalk I was using. It was very old pieces and it was like using a pencil or pen on the chalkboard so it scratched the paint off.
Nice tutorial!
Thanks MJ!
Picmonkey has tons of fonts so hopefully you can find one that works.
I’ve seen petrified chalk like you described and I’m sure that’s what caused your scratch. Glad that you were able to fix your chalkboard.
So glad you stopped in to visit and I hope you have a great week!
Nicely done, Kristi. Are you going to show us the calendar each month so we can see how you change it up? Your artwork is quite good!
Thanks so much Nancy, you’re so sweet. I’m not sure that I can get it looking good every month but I’ll certainly try. 😉
Well aren’t you the crafty girl! I love your cheats and your hand drawn turkey! Fabulous!
Why thank you, my dear! I love my turkey too. 😉