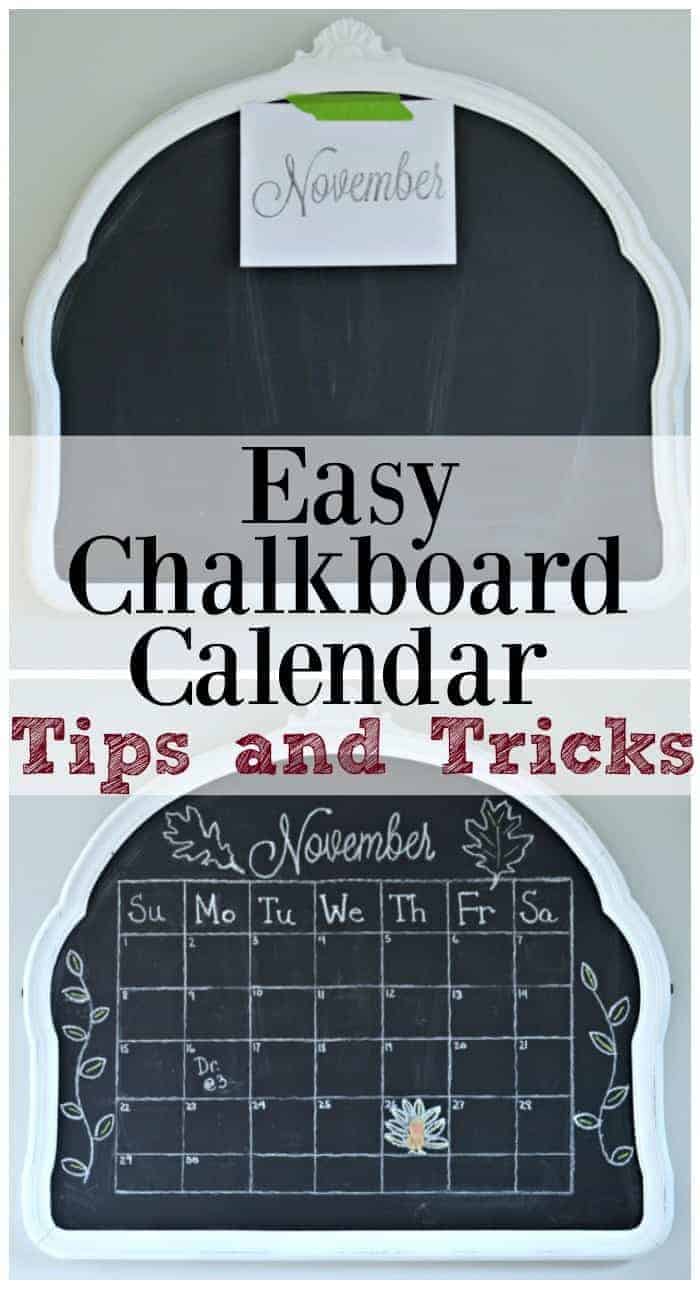
Easy Chalkboard Calendar Tutorial
This post may contain affiliate links, please see our policy for details.
Last Friday I shared the DIY chalkboard that I made from a $10 vintage dresser mirror. I hung it in the kitchen, that’s in the middle of a reno, and created a monthly calendar on it to keep track of our appointments and other happenings.
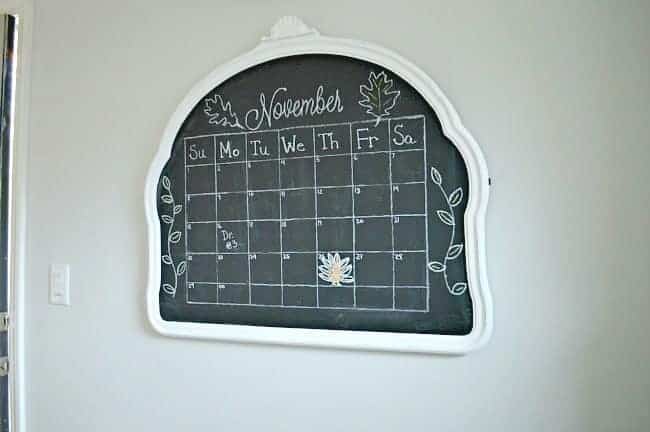
I love how the calendar turned out but it took some work to get it looking like that. I’m not a natural artist and I have shaky hands, so I had to cheat a little and come up with a few tricks to get the look I wanted.
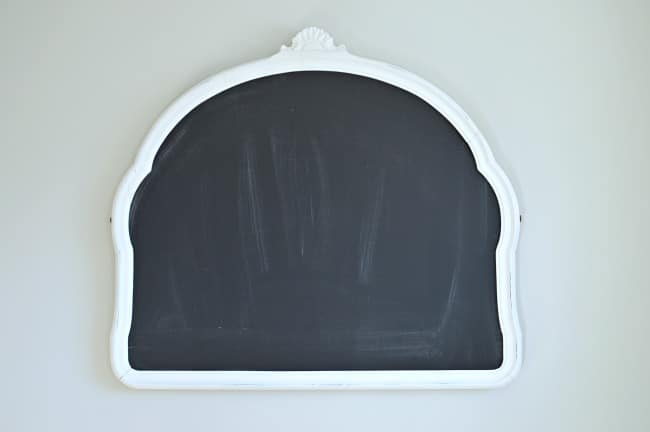
Naturally I started with a clean slate chalkboard. I knew that I wanted to have a monthly calendar but I really had no idea what I was going to do, so I started with the month and worked my way from there. Actually, I winged it. I mean it’s a calendar right? We all know what they need need to look like. 😉
I started my calendar with the month. Here is my cheat #1. I went into Picmonkey, found a font I liked, and printed out November.
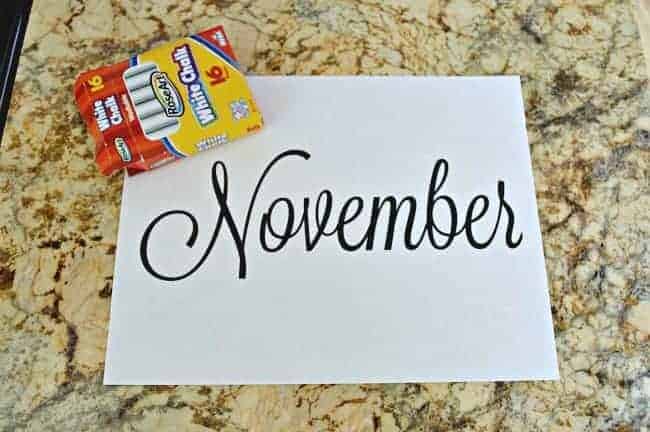
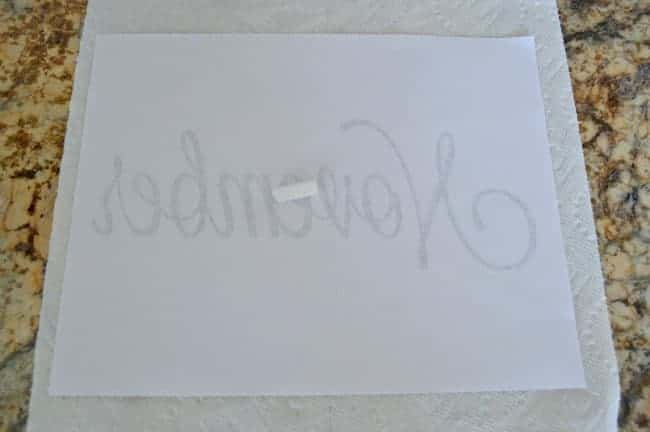
Next I turned the paper over, took a piece of white chalk and began tracing the letters.
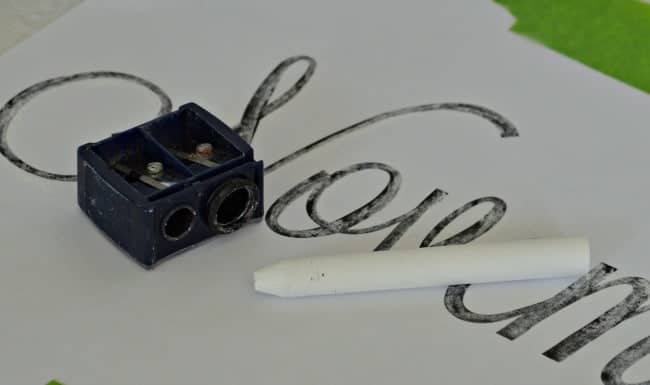
Cheat #2 is to make sure that you always keep a point on your chalk, I used a small eyeliner sharpener. It just makes the job easier.
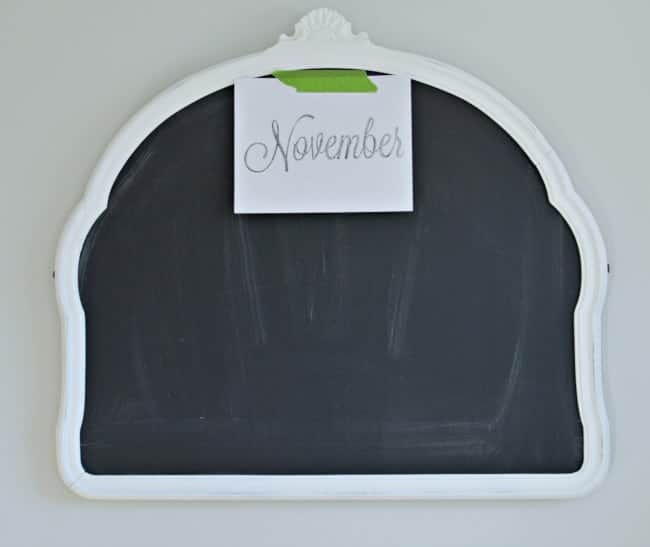
After I was done tracing the letters, I taped the paper, right-side up, on the chalkboard. I took a Sharpie, with the lid on, and traced over the letters, pressing firmly. The goal is to transfer the chalk on to the board.
Once I removed the paper, I was left with this…
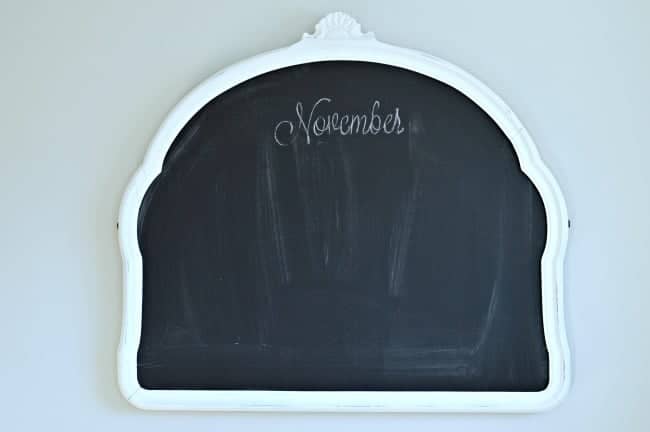
All I had to do was to trace over the letters to fill them in, using your sharpened chalk.
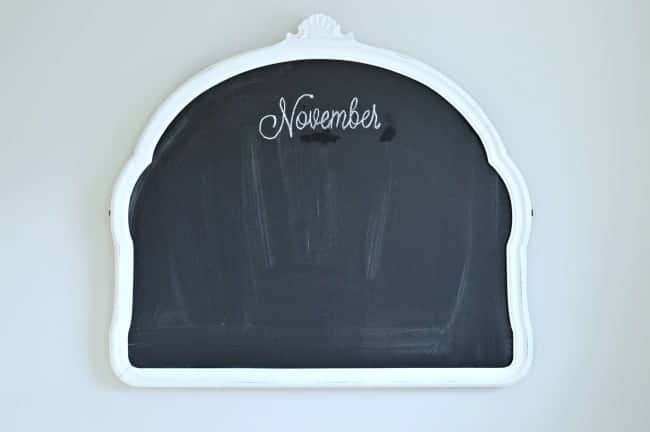
Cheat #3 is an easy way to fix mistakes. I used a craft brush and water to lightly touch up around my letters to make them look neater. Just remember to wipe your brush on a paper towel often to keep it clean. So easy, right?
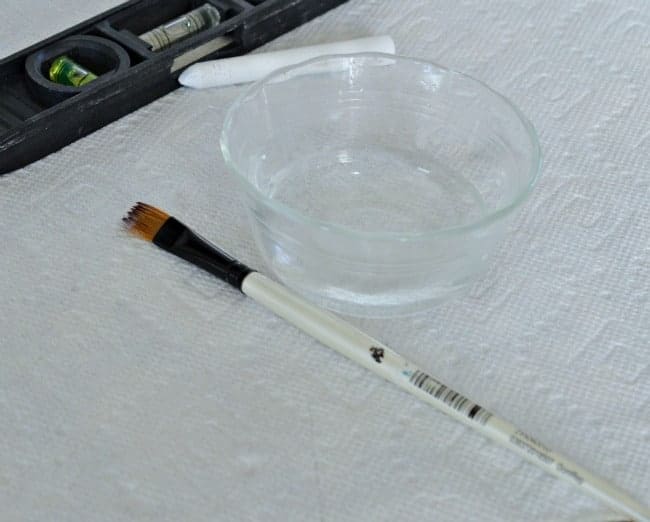
Now it’s time to draw the calendar. In order to fit all the squares evenly, I used a tape measure to figure out where my lines would go and marked the places with chalk. Then I used a level to make straight lines.
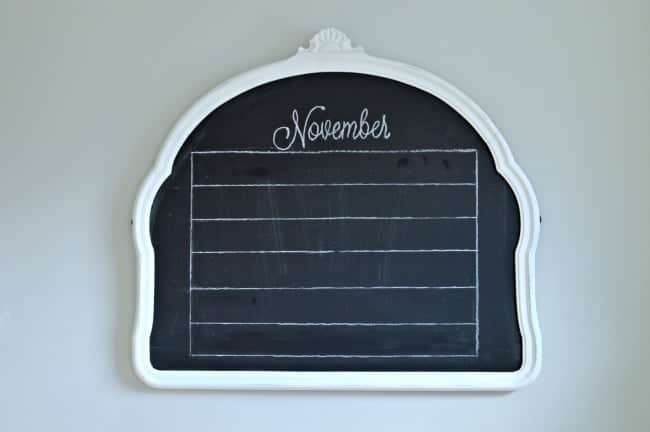
After the lines were done, I filled in the numbers.
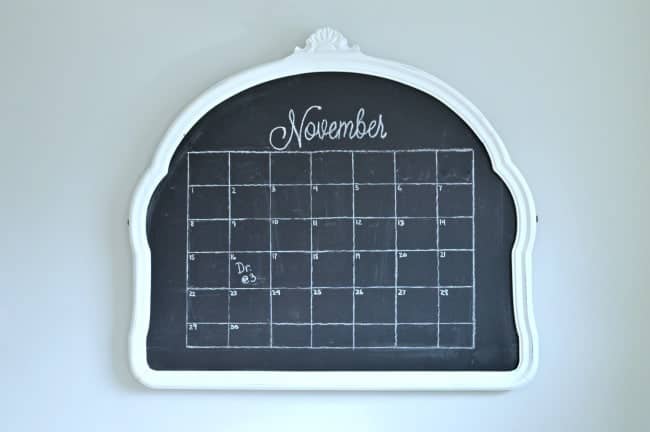
The days of the week were next. I was going to use the same method that I used for “November”, but I had a hard time squeezing the words in, so I just free-handed the abbreviations.
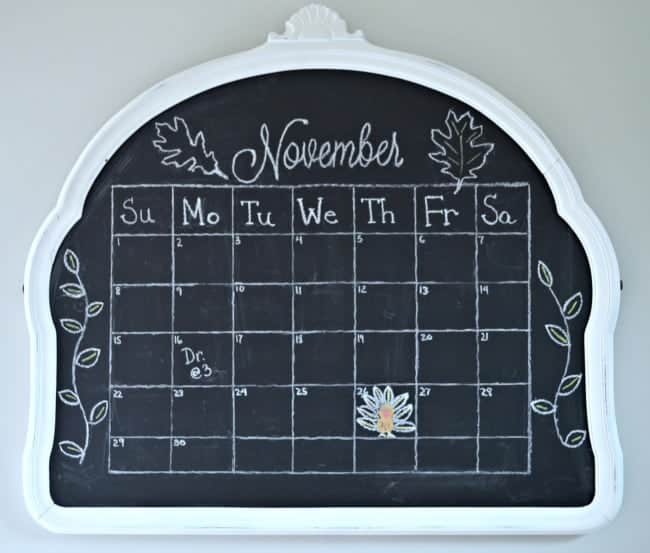
My calendar was done but I wanted to add a little somethin, somethin to it, so I drew a vine on each side and 2 leaves on top from stencils that I made when I added some fall to my old chippy window (cheat #4).
I do have to take credit for my awesome turkey. I know you think that I must have used some fancy stencil, but nope…it was all me. ;P
So, now you know that I used several cheats and a little bit of time to make my chalkboard calendar. I hope I was able to convince you to give it a try.
