
DIY Ceiling Light Update

A DIY ceiling light update for the guest bedroom (that got 2 makeovers!), using a thrift store find and a rusty orb.
Now that the recessed lights were taken painted in the guest bedroom, it was time for the ceiling light to come down (the last one to go in this house…yay!).
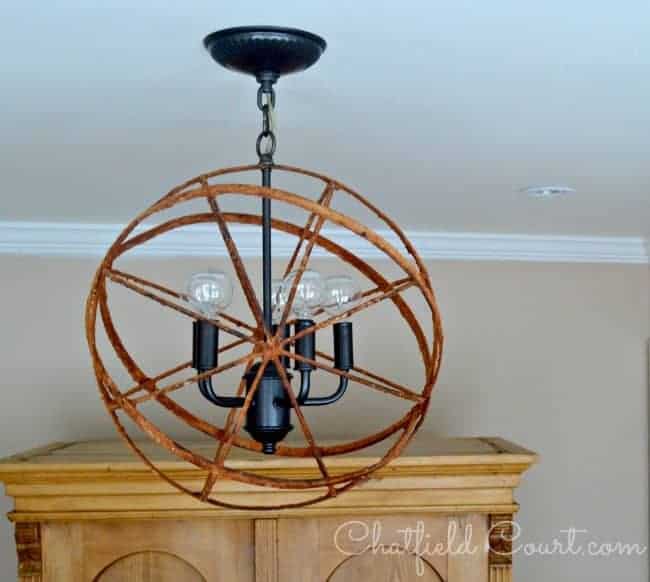
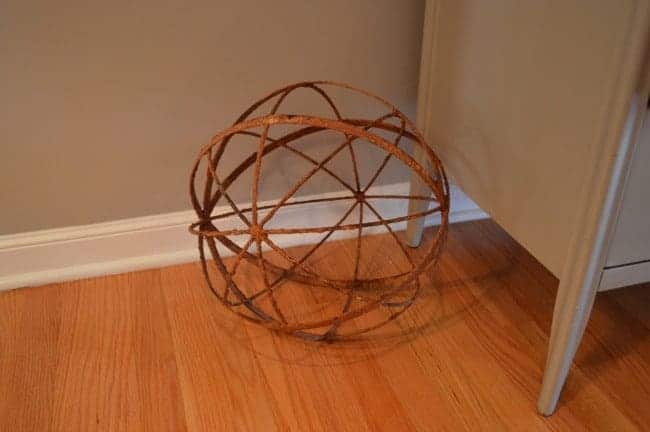
I looked at lots of different styles but all of the ones I really liked were expensive, so I decided to try to make my own. I had a rusty orb thingy (yes that is its technical name) that I bought last year for around $20.
My idea was to try to make some kind of hanging light with it, like this one (which costs $169)…
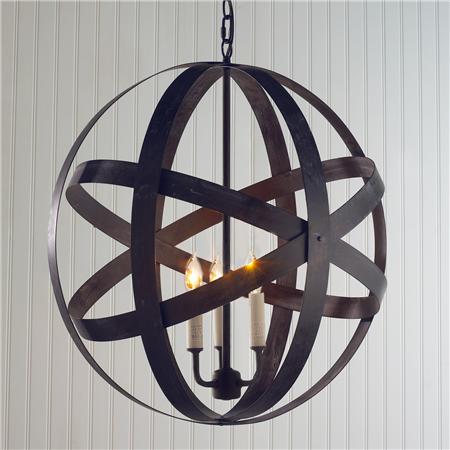
I wasn’t sure that I would get a three bulb piece in it like the inspiration but I could always just buy a hanging light kit and use a single bulb. Fast forward a few days and a trip to the thrift store.
I don’t always have great luck thrifting, but on this trip I just happened to find an old brass hanging light for $4.99. I was hoping that it would fit in the orb and felt that the price tag was worth a gamble so I brought it home.
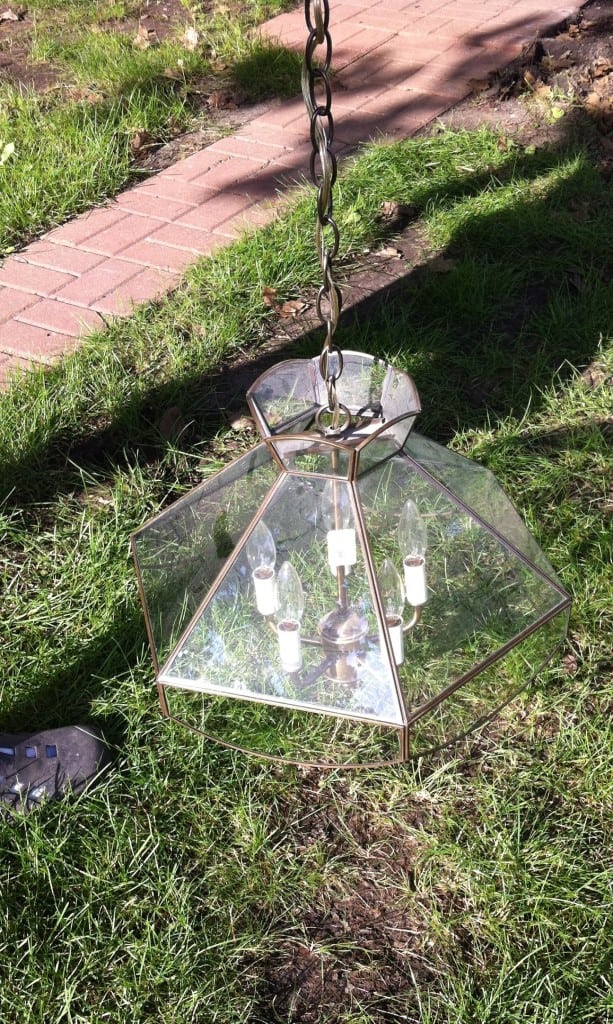
We took the light apart and carefully tried to fit it into the orb. I had my doubts but it ended up fitting! We took it back out, I cleaned it all up and threw a coat of oil rubbed bronze spray paint on it.
I also painted the old and discolored plastic candle sleeves, with the same bronze spray paint.
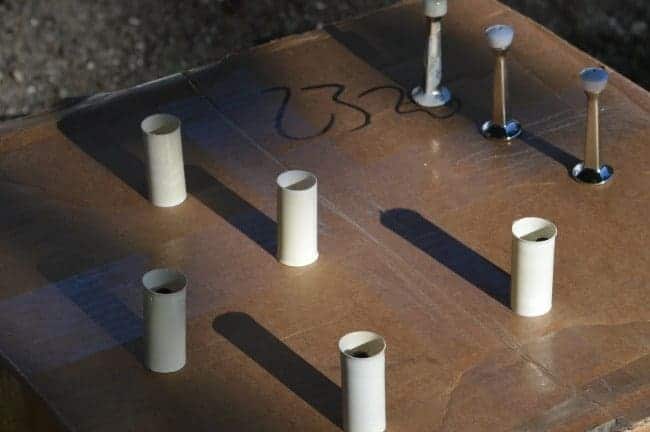
The hubs drilled a hole in the orb so that I could attach the rod to the light.
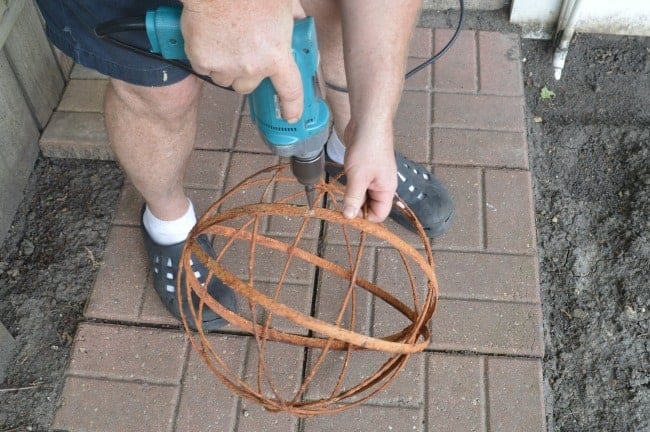
We carefully tucked the light back into the orb and hung it up. It is perfect for the room, just the right scale and I love how it looked.
I think that it’ll look great with my antique armoire and the wall planking. I could always knock of the rust and paint it but I’m really loving it as it is. Plus it only cost me a total of $24.99! 🙂
Ok, so sometimes projects don’t work out like you planned.
After we finished the makeover on the room my DIY hanging light fixture didn’t go with the rest of my new space.
Instead of ditching it and starting over, I grabbed some spray paint and gave it anther makeover. A little paint and it fits right in with the new look of the room.
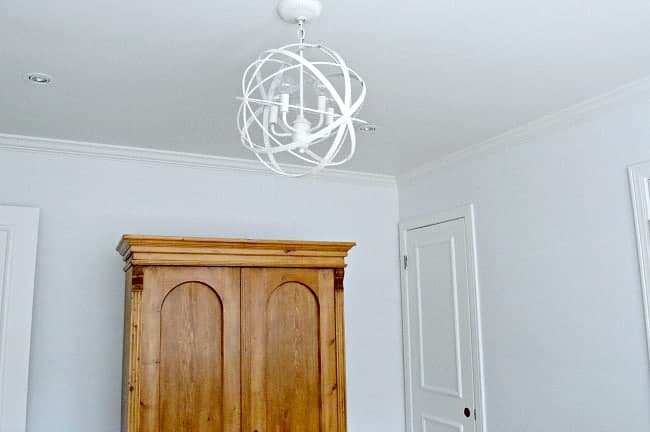
Now I can really say that I love how it turned out. Second time’s the charm!
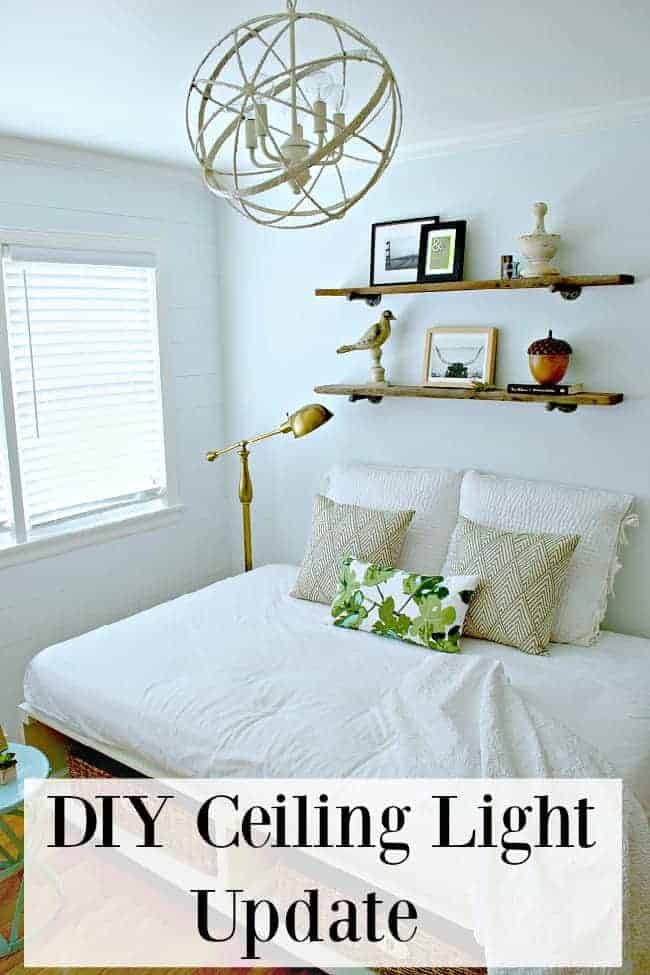
I love this sphere chandelier very cool
Great work! You are so talented. These light fixtures looking awesome. These are a great way to add some flair to your room. I can’t wait to try this. Thanks for sharing.
I love how this turned out!!! I’ve got two spheres I want to use as chandeliers, now I just need to find some old chandeliers I can take the lighting from. I love the bulbs you used on yours, love the modern look it gives your fixture. Thanks for the step by step guide, now I’m off to the thrift store!! 😉
Yay, so glad that my project inspired you. I would love to see how your lights turn out. .
I love those bulbs too. I tried traditional chandelier bulbs at first, but it’s just not my style.
Thanks so much for stopping in today. 🙂
Love this project! Y’all did a great job. Have been considering doing something similar in our living room. Is that where y’all hung this? Was wondering if you thought it gave enough light/didn’t project too many shadows because of the rings of the orb? Thanks so much for your input!! 🙂
Thanks Jena! The light is hung in one of my guest bedrooms and I am loving it. I think it gives off plenty of light and I have lower wattage bulbs in it because they were too bright. It does project some shadows on the ceiling but nothing crazy. Would love to see what you come up with. Good luck!
K.
The recessed lights fade away now that they match the ceiling color…..and I have to say I love your rusty thingy globe light! Really cool looking and very creatively frugal I might add. Thanks for sharing at Sunday’s Best!
Thank you Cathy for hosting Sunday’s Best and for the compliment on my rusty thingy globe light. 😉
K.
I love this light fixture make over! It’s just what I’d been looking for. I linked to your blog from Thrifty Décor Chick’s blog where I saw this. Now I’ve subscribed to your blog and am following you on Pinterest. You’ve got lots of great ideas!
Hi Helen and welcome. So glad that you found me on Sarah’s blog and that you stopped by. Thanks so much for the follows…and the nice comment. It made my day! 🙂
K.
I want to find me one of those cool orb things too! You did a wonderful job on this!
Thanks Mary! Hope you can find one.
K.
Great light remodel! It looks great and the price tag is even better. I want to do this above my stairs. Thanks for the tutorial.
Thanks so much Megan! It’s always great to do a project and save money, isn’t it? I appreciate your visit and comment. 🙂
K.
Oh my goodness, I love that light! I am one who ended up paying $$ for the real deal, but I think I like yours even better. So cool! Jane
Awww, thanks so much Jane. I would have paid $$ for that fixture too but my husband would have killed me. 😉 I’m glad that I got something similar to what I was wanting for this room. I appreciate your visit and your kind comment.
K.
Gotta love it when a project comes together without a hitch. I really like it and you have a fixture just like your inspiration but for way less plus it’s uniquely your own.
The recessed lights look so much better painted white. Smart move painting those out.
Thanks so much Shirlee. I don’t often have great luck when it comes to projects, but it’s always nice to have a good outcome. I think the recessed lights look better too. The silver was really distracting to me. Thanks for stopping by.
K.
All I can say is “WOW!” Really creative thinking. I would have never thought to do something like that. Can’t wait to see the rest of the room when it’s done!
Thanks MJ! I really appreciate it. Let’s hope I can get the room done by winter. 😉
K.
LOVE this.
Thanks so much Kelly!
K.
That looks great, you guys did a fantastic job!
Thank you Christine!
K.
It looks wonderful! And I am glad that you had no troubles this time around! 🙂
Thanks Deb! It was just one of those projects that went right. 😉 I appreciate your visit.
K.
Very, very creative and clever!!
Thanks!
Wow, that looks amazing! Love it!
Thanks so much for sharing at AMAZE ME MONDAY…
Blessings,
Cindy
Thanks so much Cindy and thanks for hosting such a great party!
K.