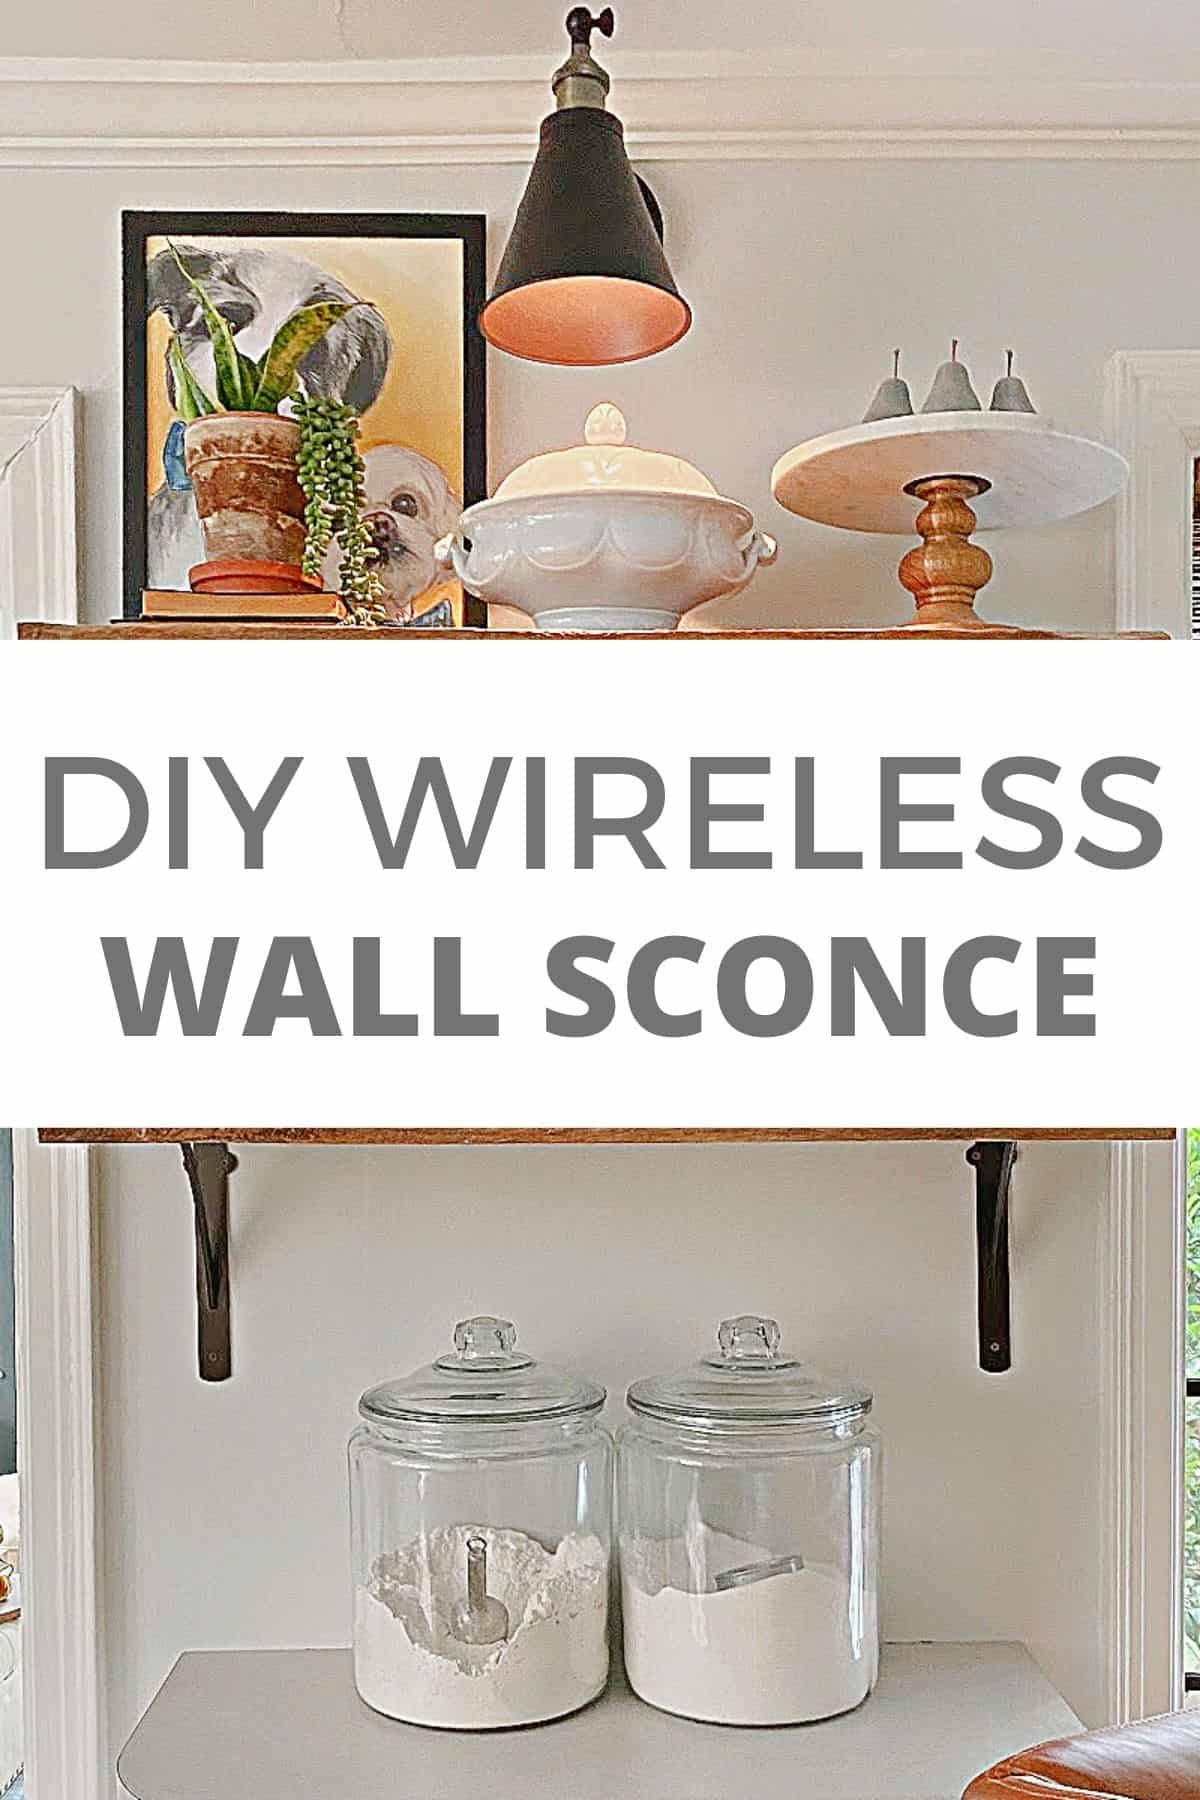
How to Make a DIY Wireless Wall Sconce
This post may contain affiliate links, please see our policy for details.
How to make a DIY wireless wall sconce with a battery operated puck light when you can’t or don’t want to run electric.
Sometimes when you live in on old house with plaster and stone walls, you have to think outside the box when you’re decorating.
That’s what we did when we built our powder room out of a closet, and what we had to do with the wall sconce that I wanted to hang in the kitchen.
It’s not easy to hang a picture, let alone adding new wiring for a light fixture, so when I wanted the look of a sconce over my DIY kitchen open shelving, I had to get creative.
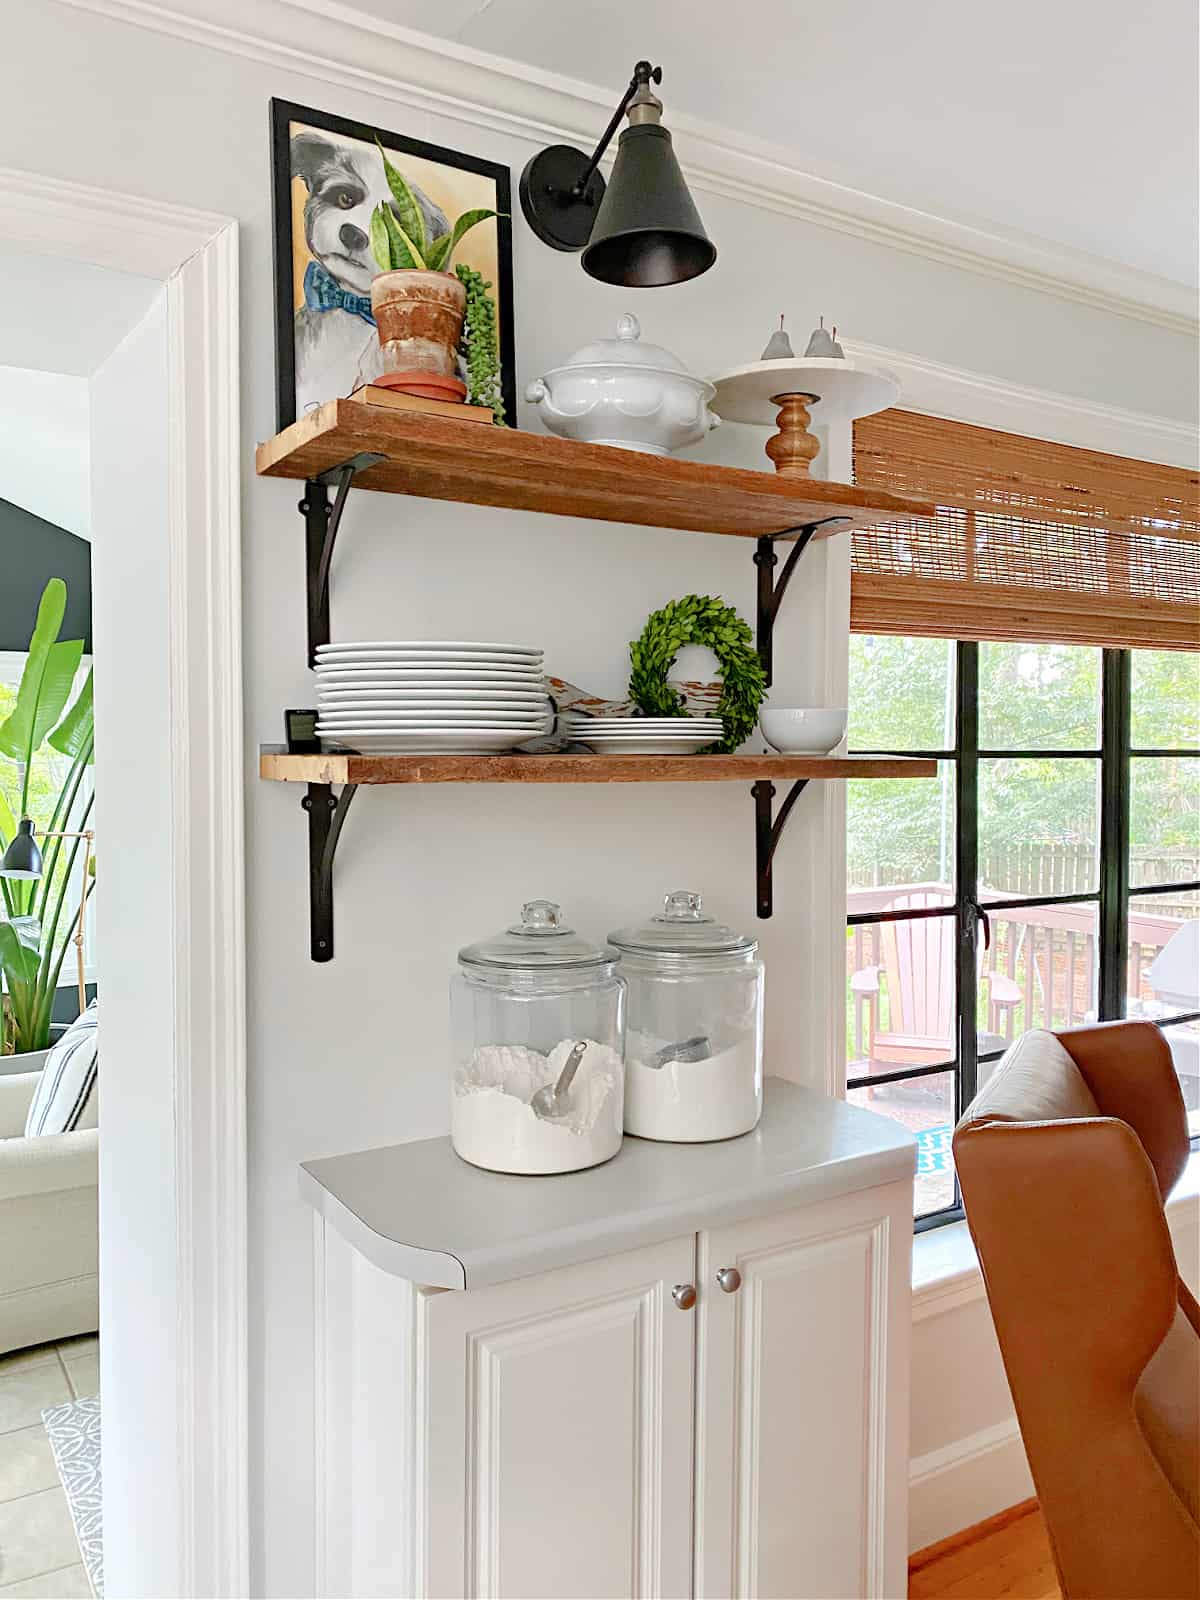
I knew that I would have to give up something if I wanted to add a wall sconce and that something was a real, working electrical light.
If you’ve been around here for a while then you know that I don’t usually take no for an answer.
I had to figure out a way to have a light without running new electrical wires.
We actually had to deal with this issue in all of our closets when we first moved into the cottage so it didn’t take me long to come up with a solution.
Can you really make a wall sconce cordless?
You can if you use LED battery operated puck lights.
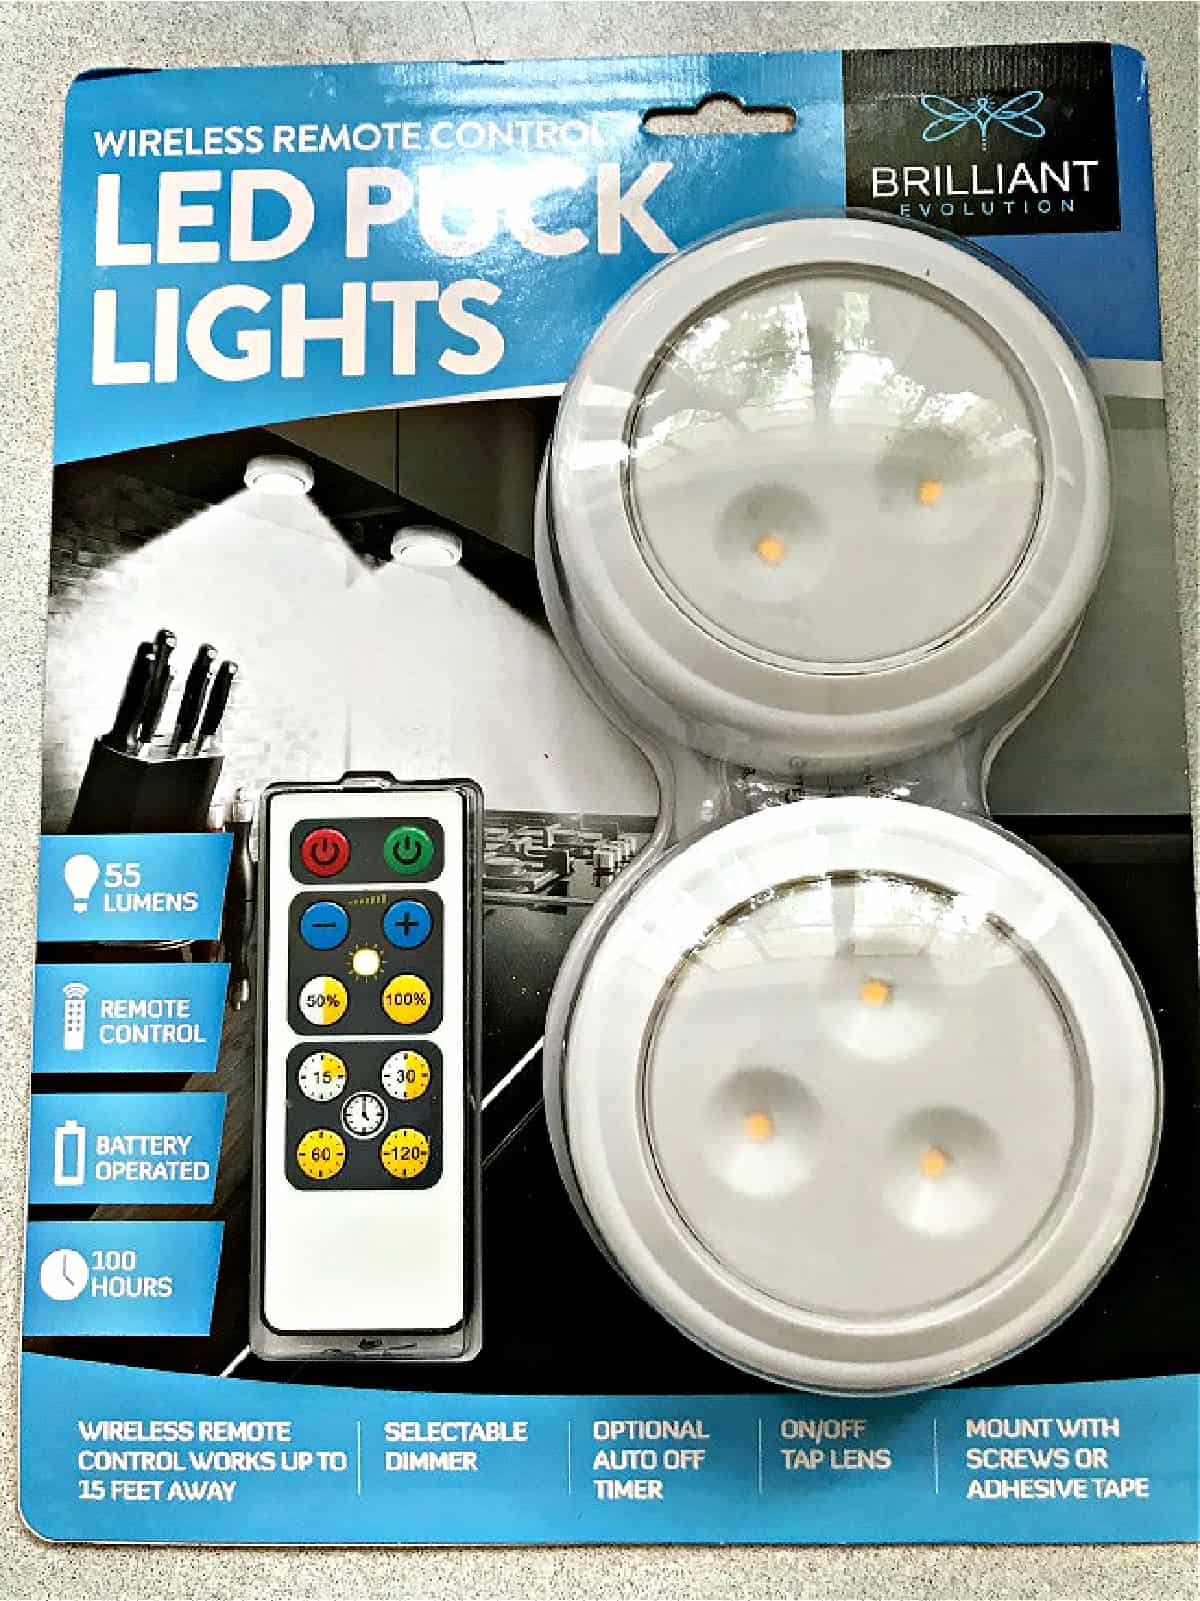
They were the perfect solution.
So, with the lighting aspect worked out, I started my search for a nice wall sconce (that wasn’t over-the-top expensive).
Once I had my wall sconce I had to figure out how I was going to make it work with my LED puck lights.
Easy enough…
Supplies
Making a DIY Wall Sconce
This little $4 gem was just what I needed.
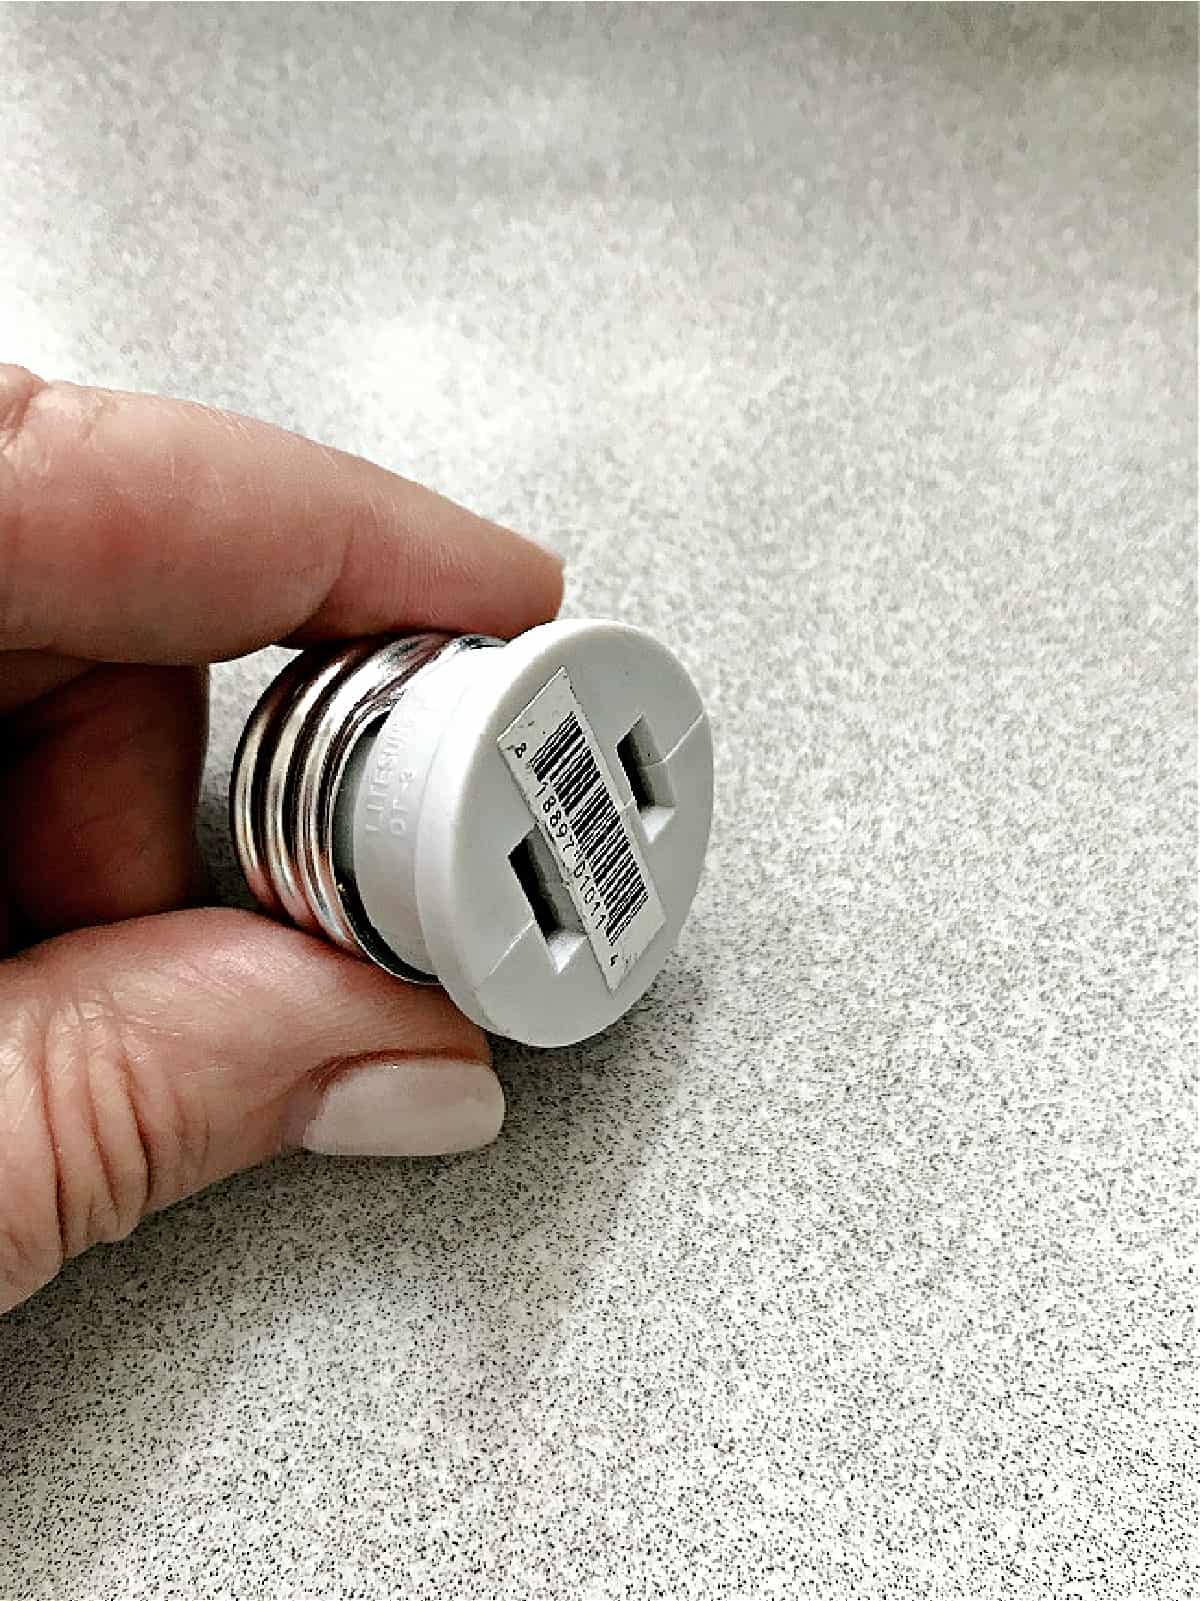
It’s a light socket adapter that you can find at any hardware store. All I had to do was “glue” a puck light to it with a little bit of caulk.
I let it sit overnight to dry.
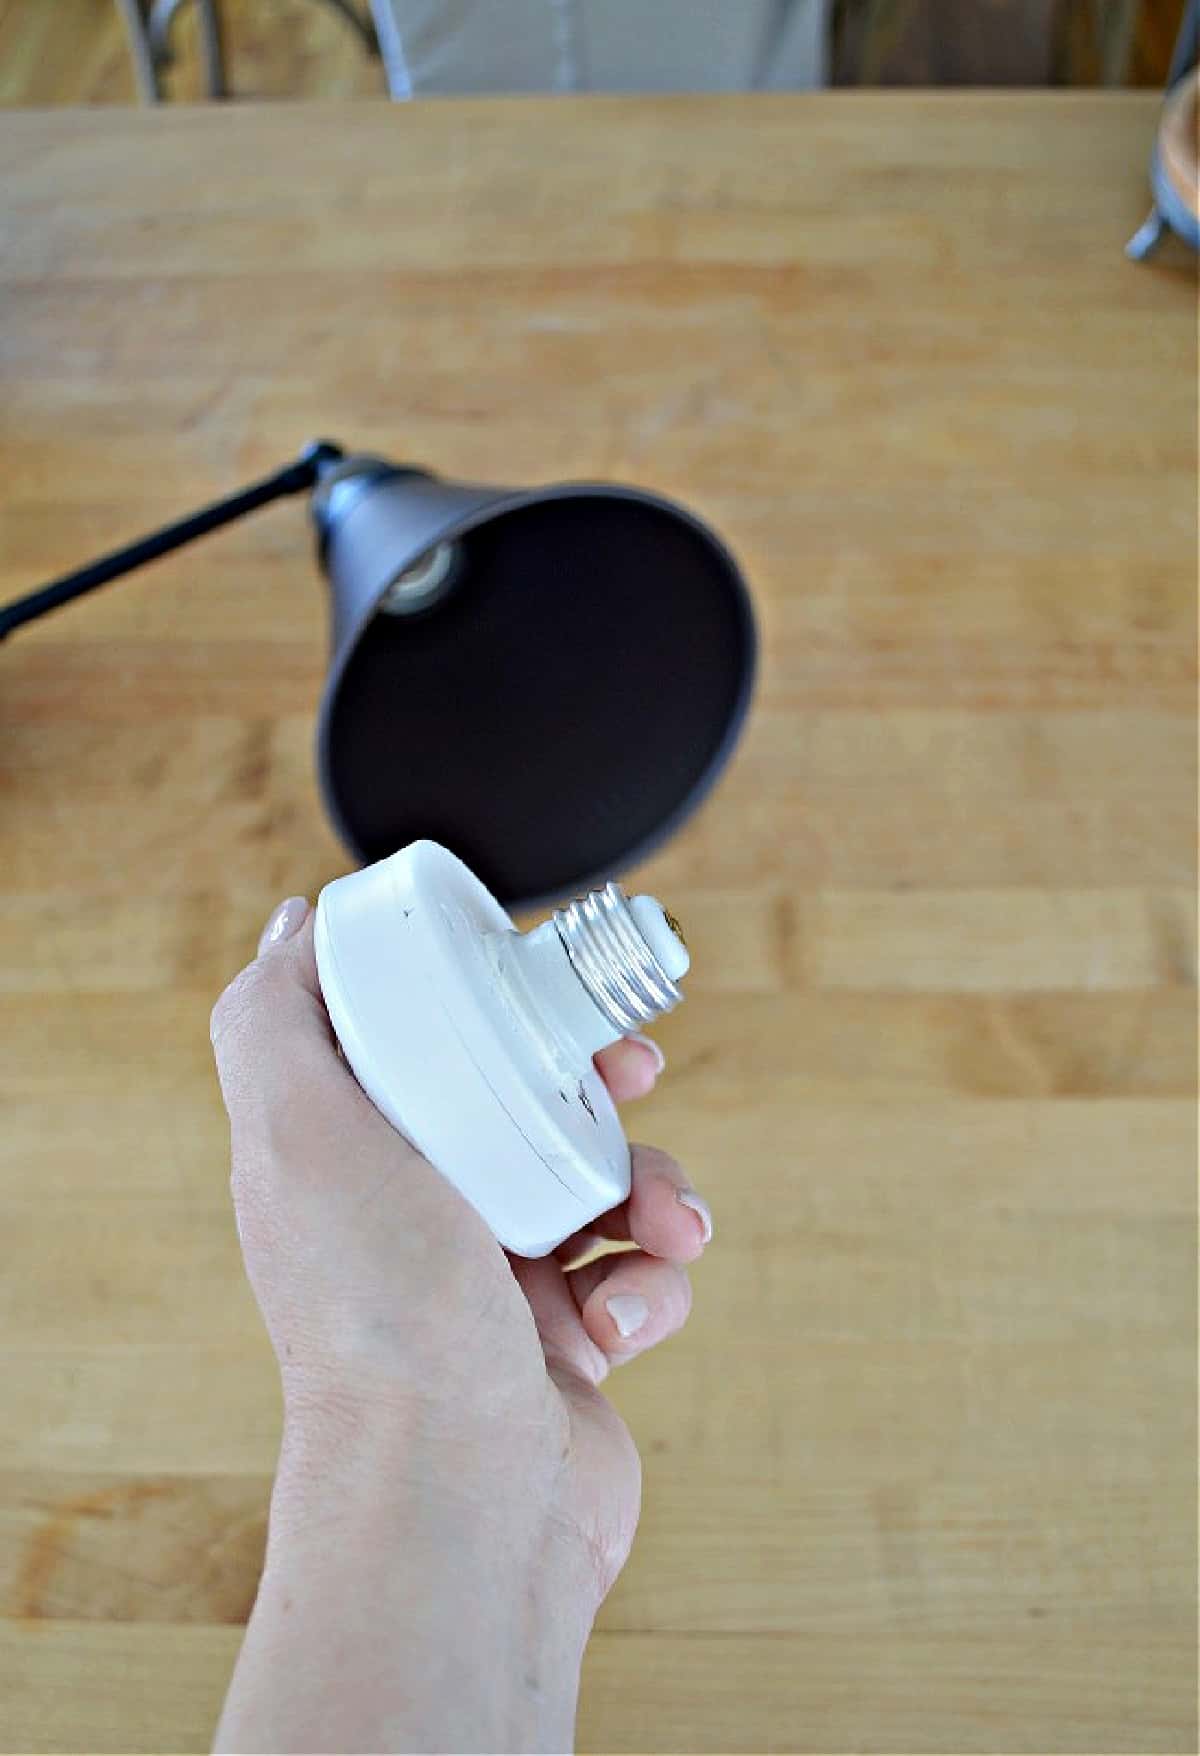
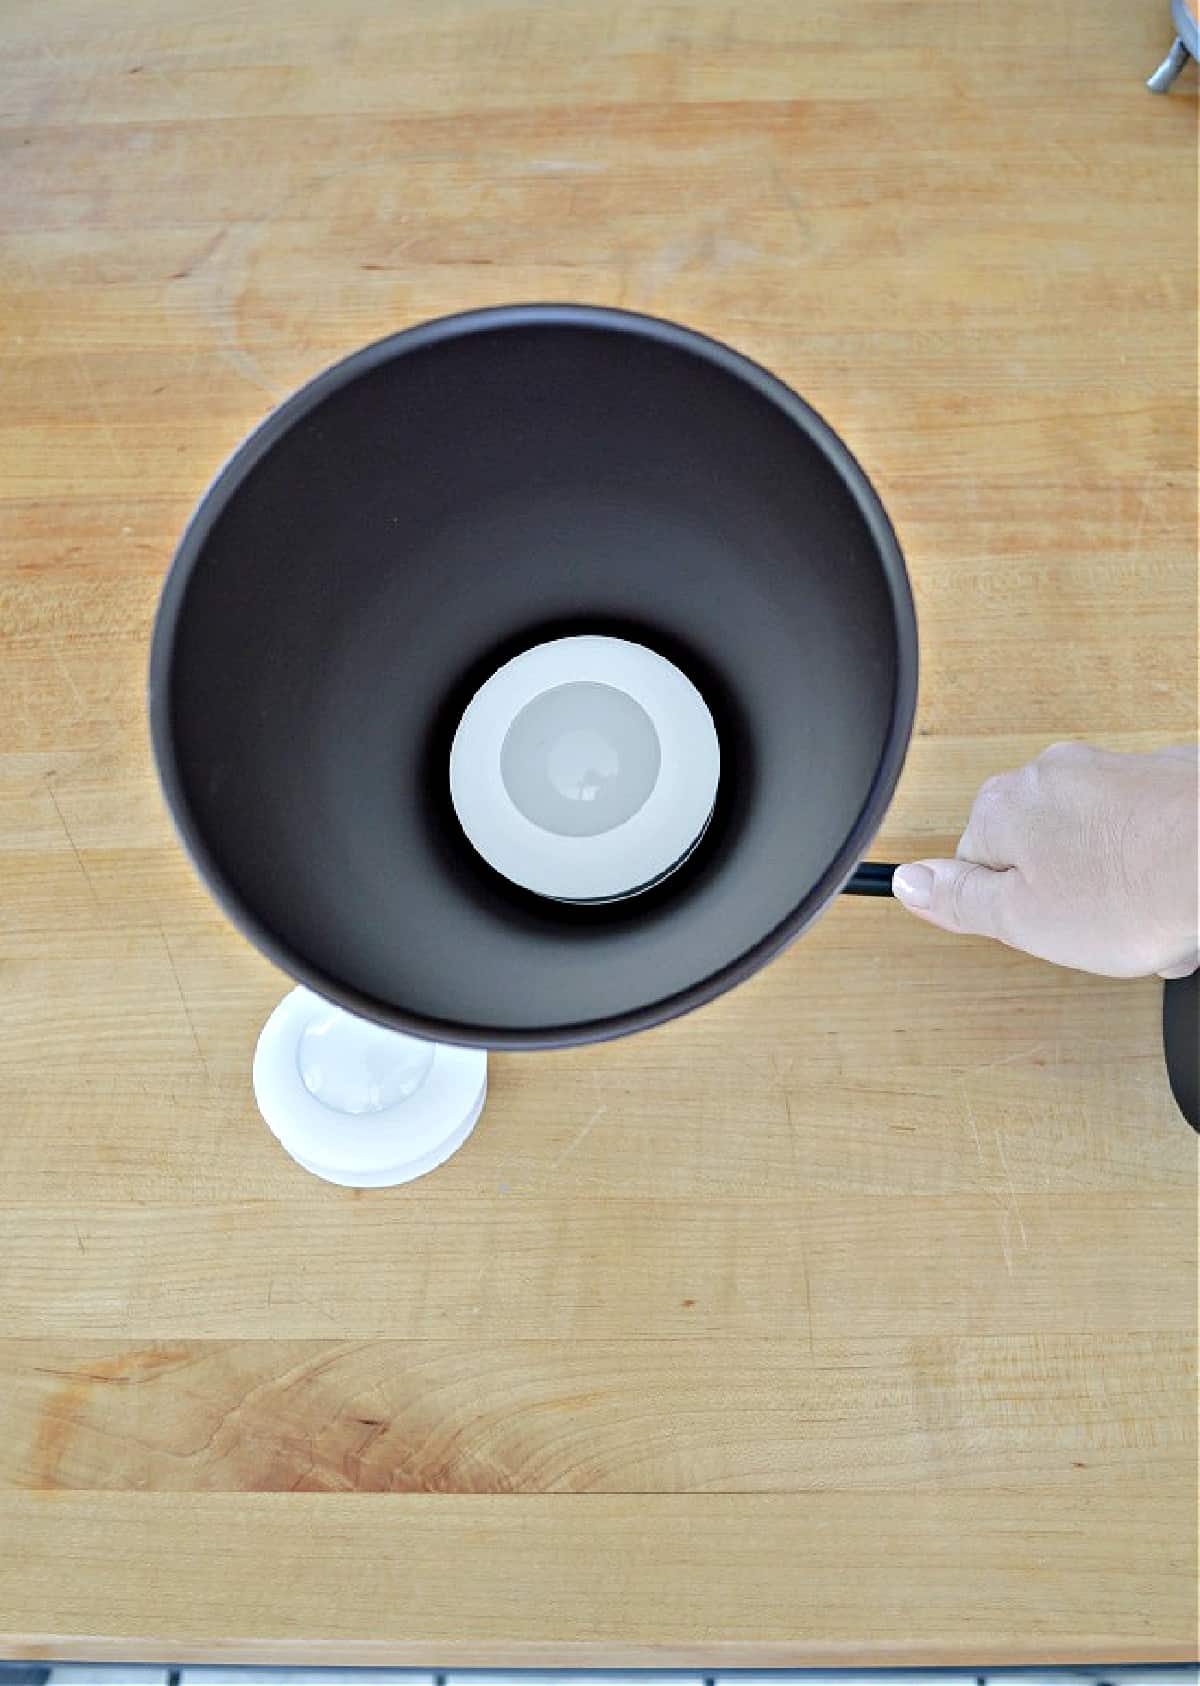
Once the caulk was dry I screwed the adapter into the light fixture, just like you would a light bulb.
Hanging the wall sconce
Once the light was put together I hung the sconce on the wall.
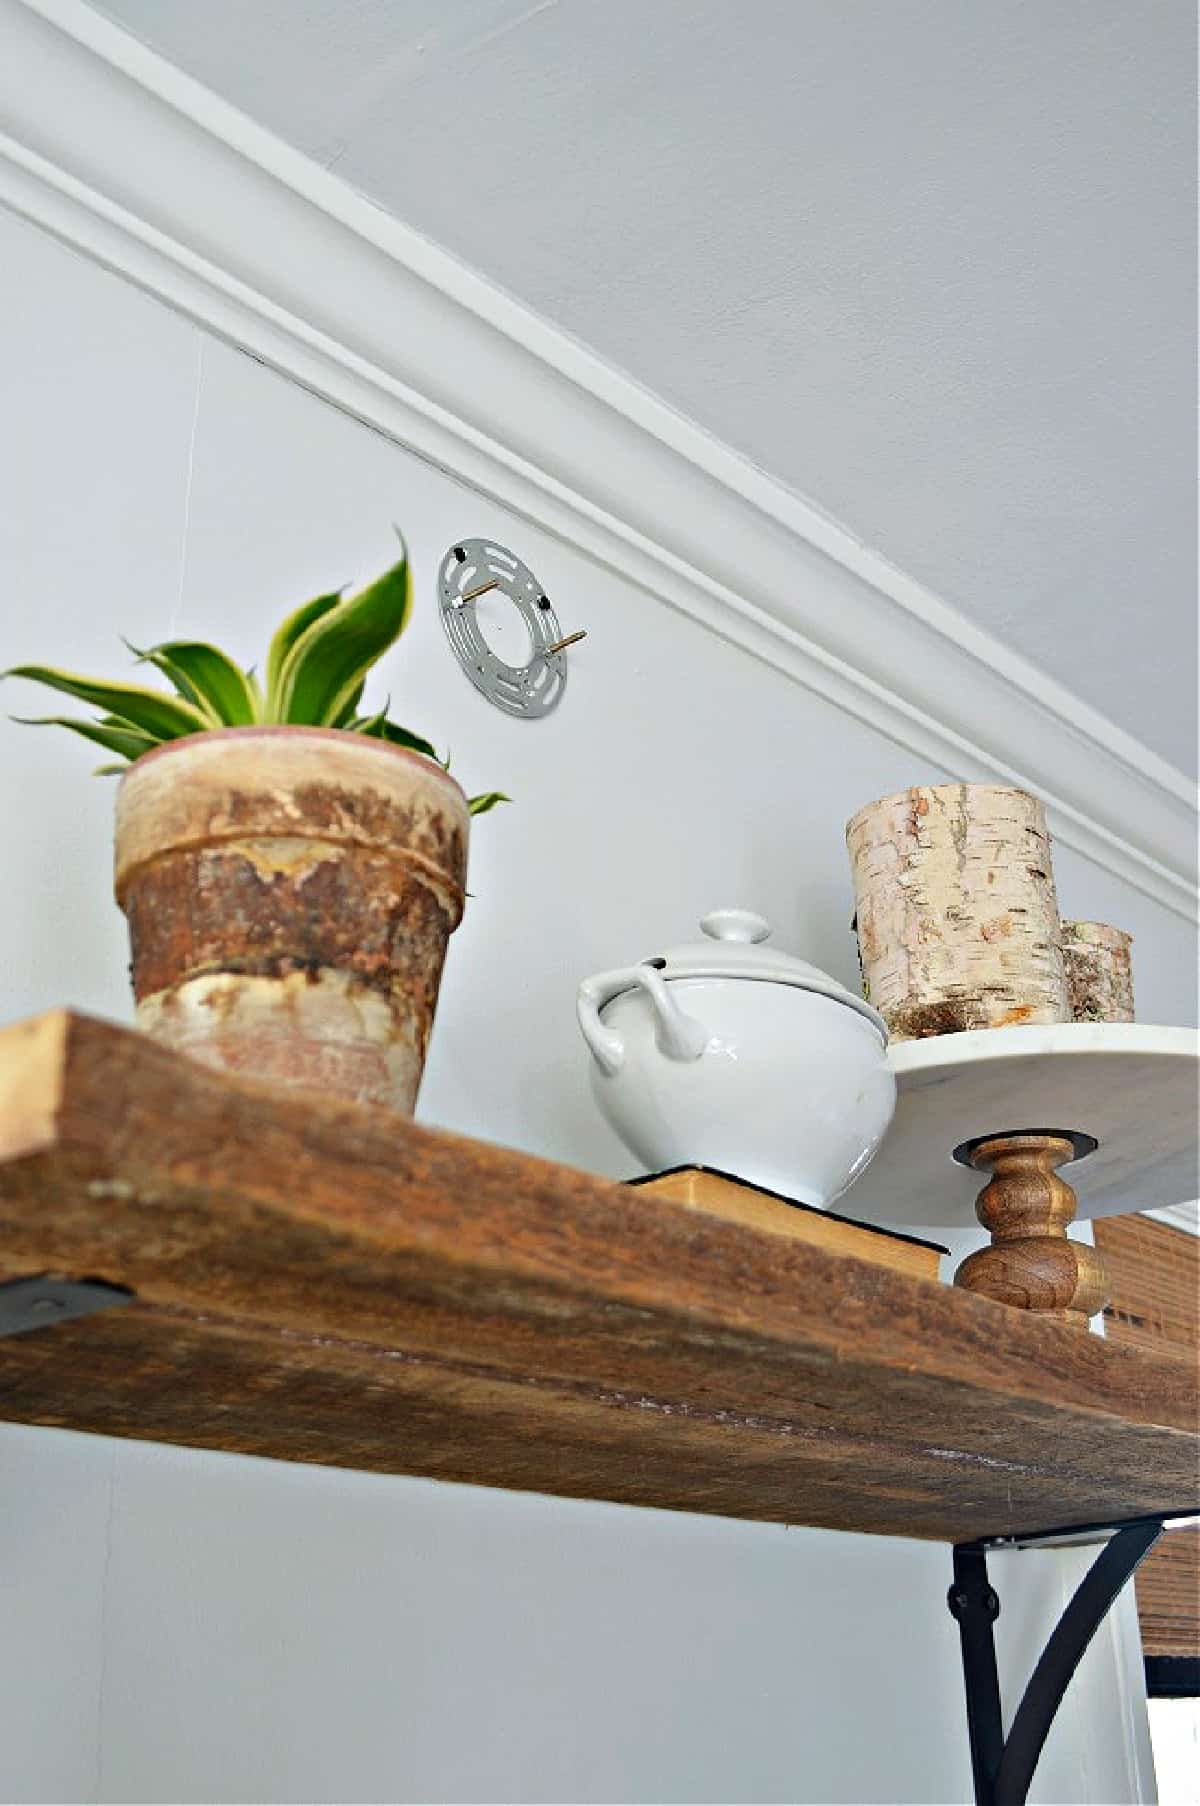
I just attached the metal fixture bracket to the wall with 2 screws. It’s best to find studs when hanging the bracket so the light is really secure.
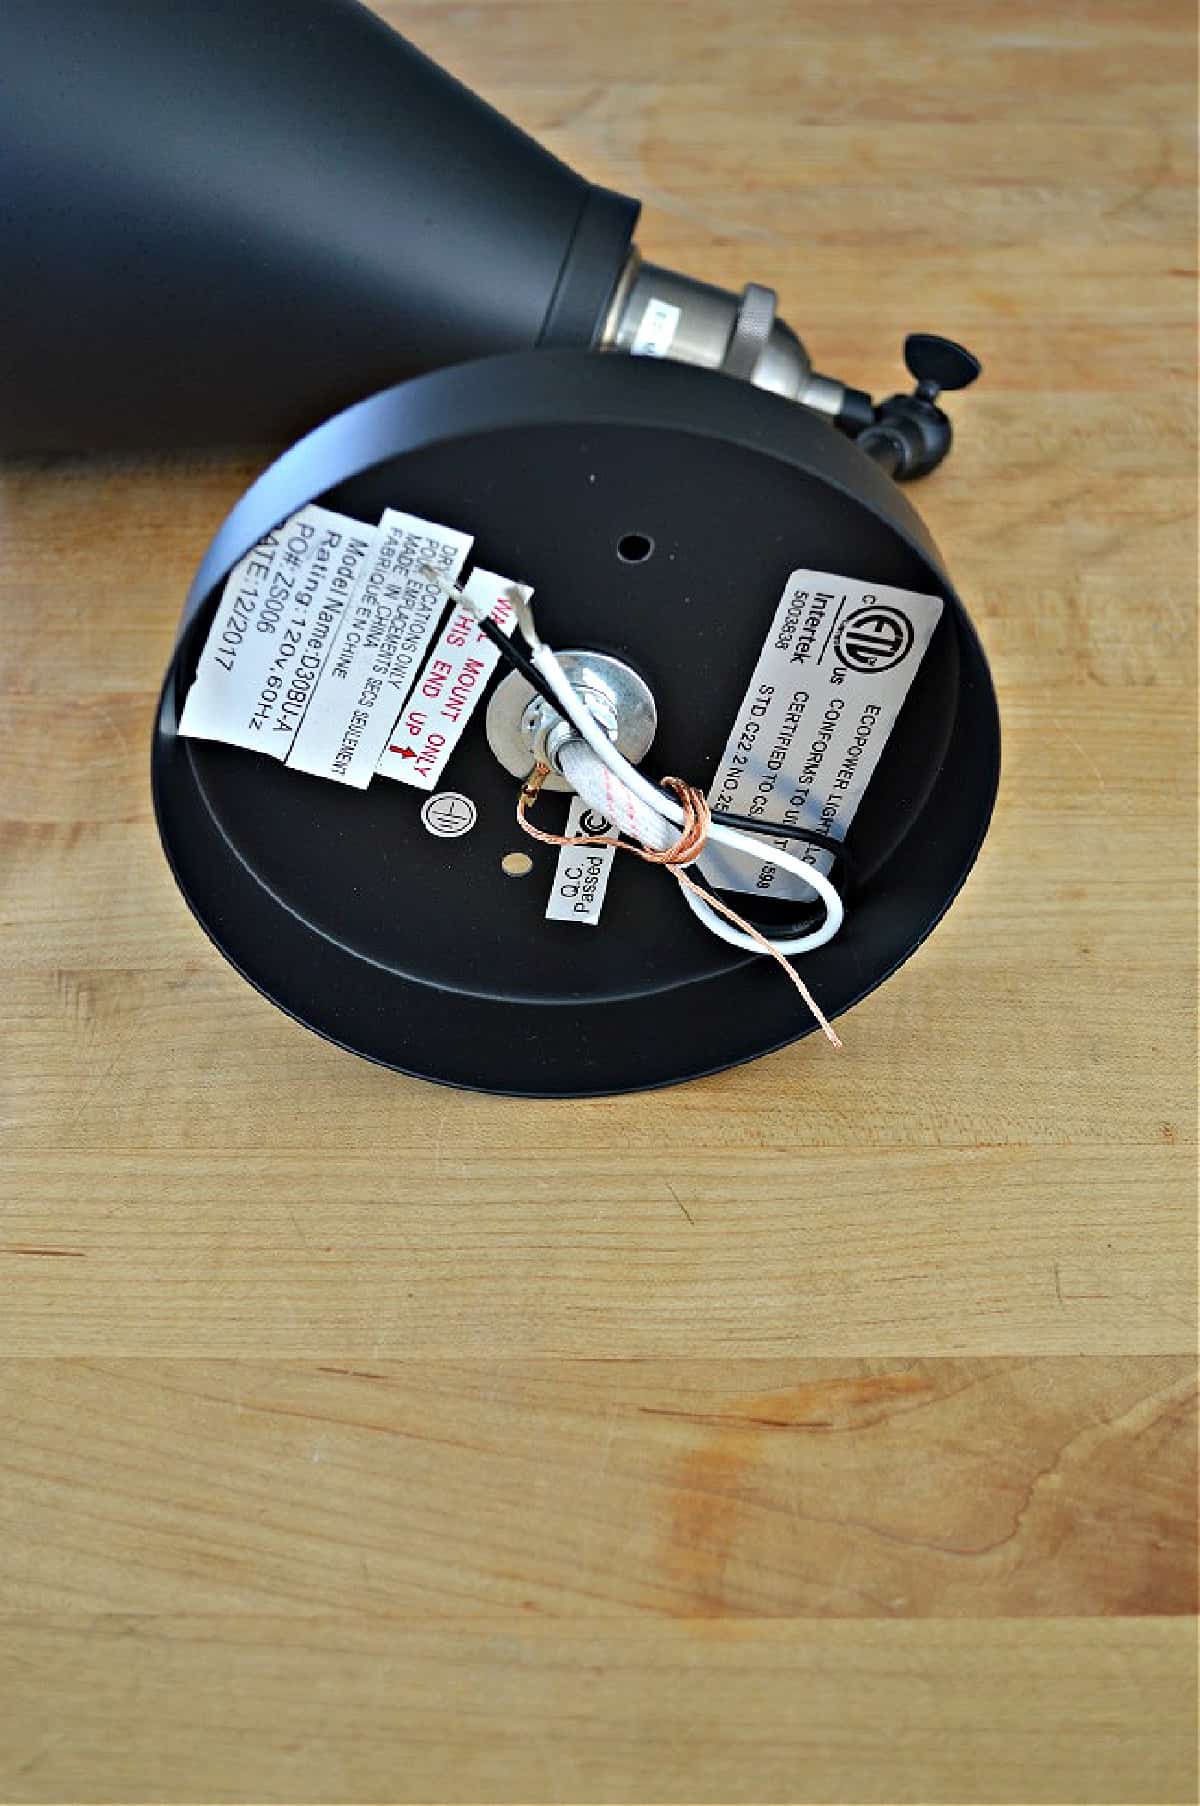
After the bracket was up I attached the sconce. I did keep all of the wires intact just in case I ever want to hook the light up to electricity.
That’s it!
An easy DIY lighting hack when you can’t run wires for electricity.
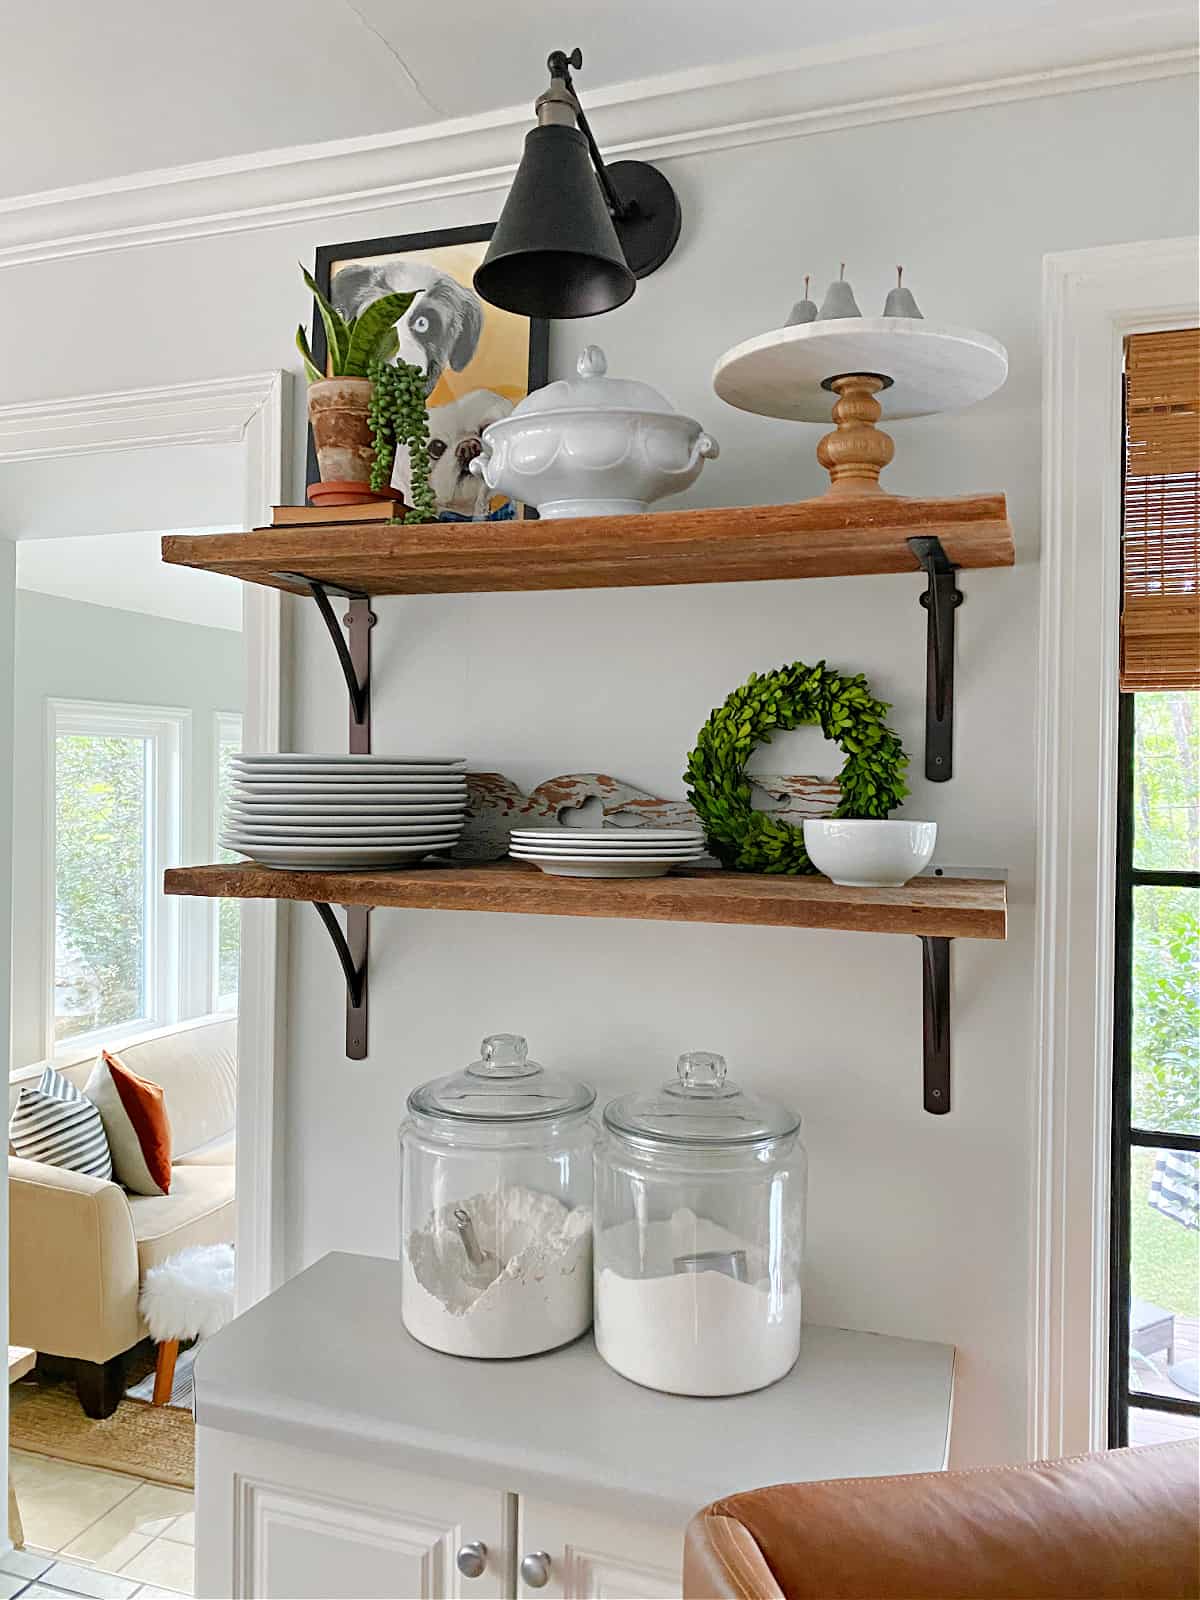
A couple important notes about puck lights
- Since the light is out of reach, I went with a puck light that came with a remote. That way I could turn it on and off without standing on a barstool (and giving my husband a heart attack).
- My puck light was a bit big for the tapered shade on my sconce. When I glued it to the adapter it wouldn’t screw into the outlet so I had to improvise. I just added a shim, by way of a wood round cut from a stick. Easy fix. The batteries for the puck light are still easily accessible.
- When you’re looking for battery operated lights you need to look for the highest number of lumens. The higher the lumens, the brighter the light.
- Remember, these are battery operated, which means they don’t last all that long. My wireless sconce is more for looks than function so it’s not something I use every day. It’s the perfect solution for my space.
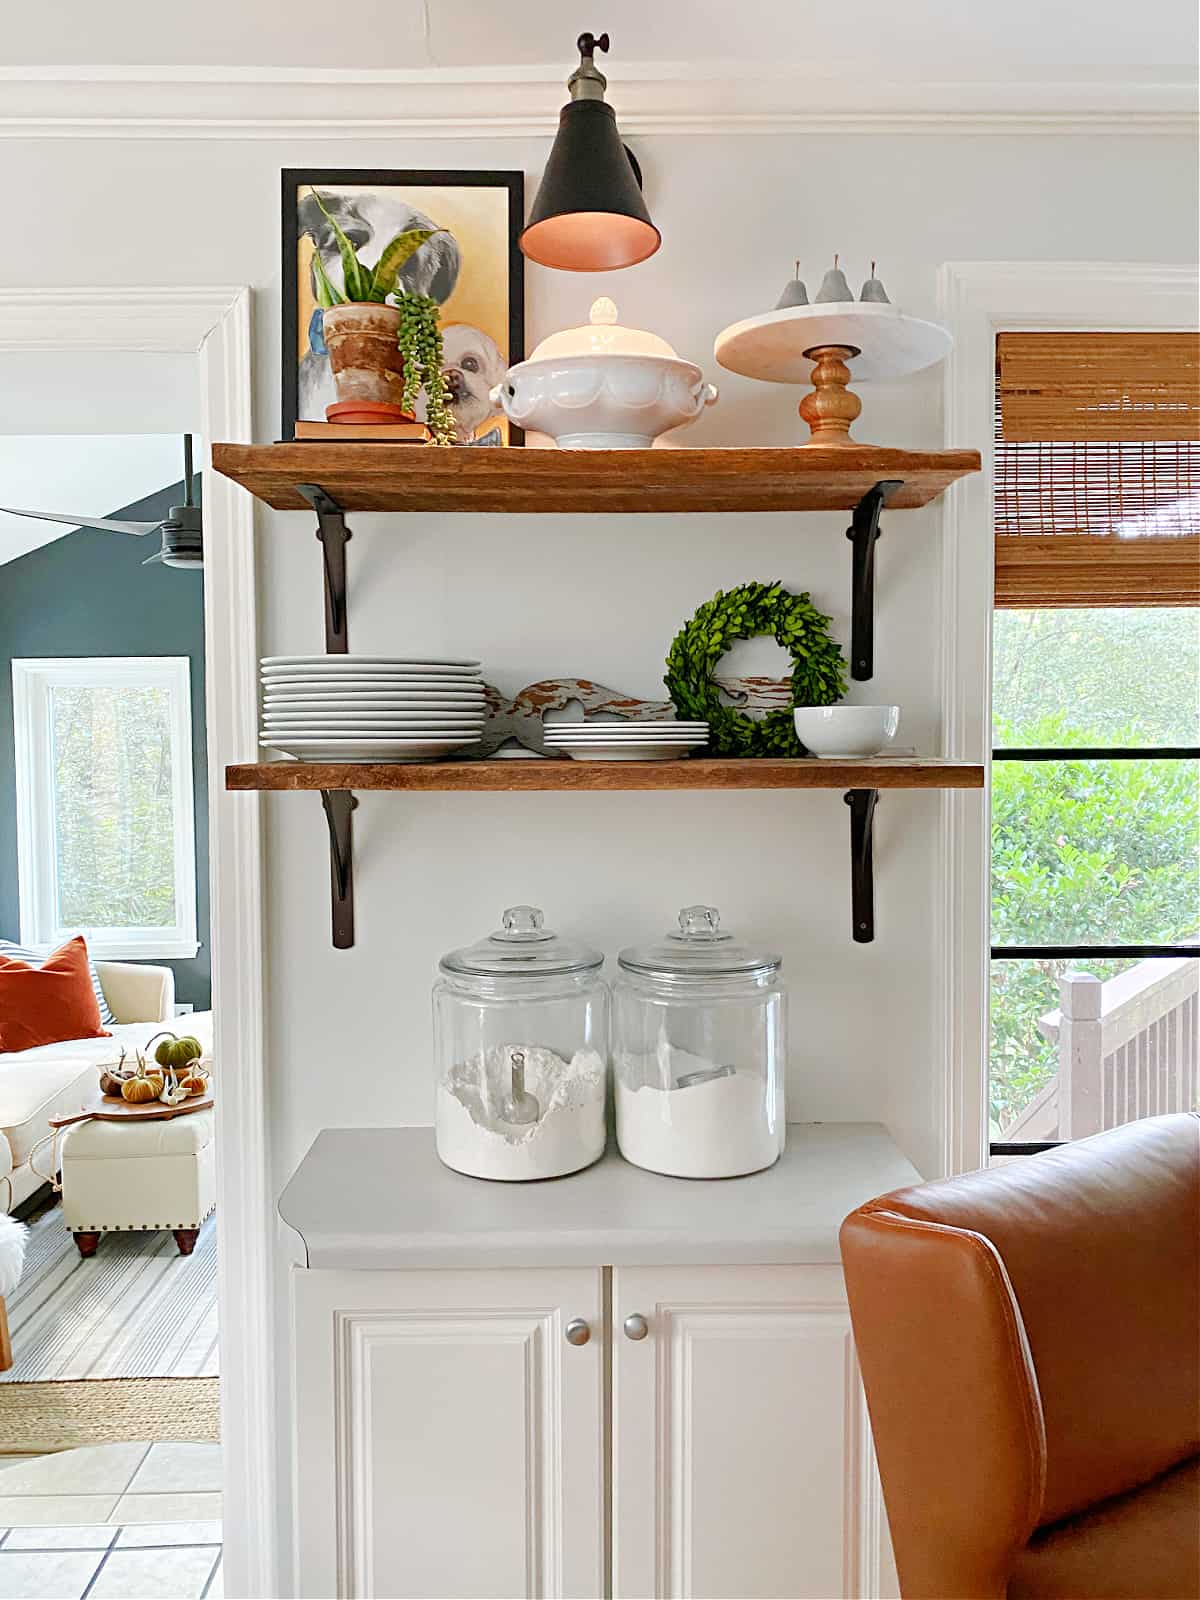
With this hack you can put a light almost anywhere you want.
We have a window seat in our guest room that’s calling for stylish wireless sconces just like this.
Check out our web story and more wireless lighting ideas…
- DIY Wall Sconce web story
How to Make a DIY Wireless Wall Sconce
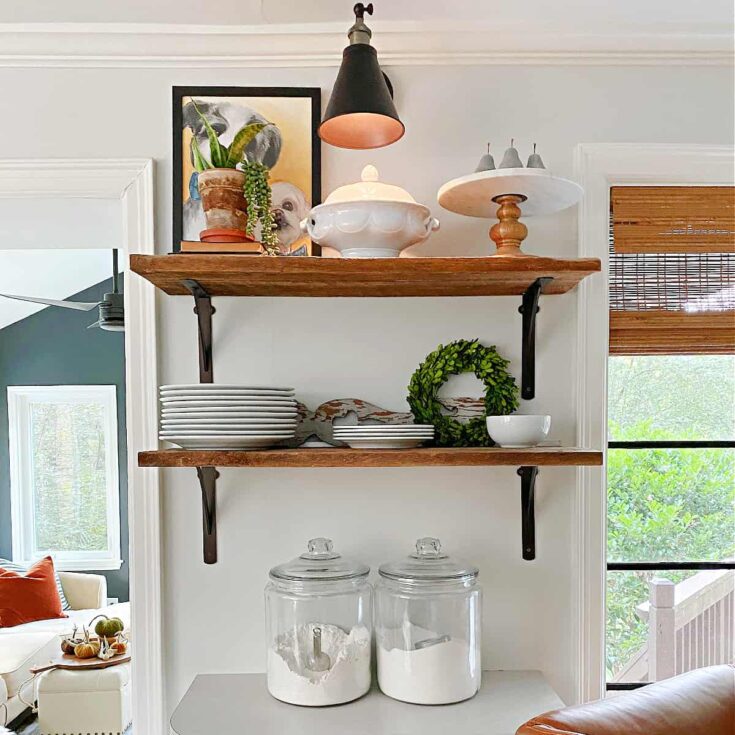
How to make this easy DIY wireless wall sconce with a battery operated light puck in minutes. No electrical wires to run or
Materials
- light socket adapter
- wall sconce
- battery operated puck light
- caulk or hot glue
- 2 wood screws
Tools
- screwdriver
Instructions
- Use caulk or hot glue to attach light socket adapter to the back of a puck light
- Let dry
- Once dry, screw light socket adapter into the light fixture, just like you would a light bulb
- Mount light fixture bracket to wall with 2 wood screws
- Hang light fixture (keep wires attached in case you ever want to use light with electricity)
Notes
- Since the light is out of reach, I went with a puck light that came with a remote. That way I could turn it on and off without standing on a barstool (and giving my husband a heart attack).
- My puck light was a bit big for the tapered shade on my sconce. When I glued it to the adapter it wouldn’t screw into the outlet so I had to improvise. I just added a shim, by way of a wood round cut from a stick. Easy fix. The batteries for the puck light are still easily accessible.
- When you’re looking for battery operated lights you need to look for the highest number of lumens. The higher the lumens, the brighter the light.
- Remember, these are battery operated, which means they don’t last all that long. My light is more for looks than function so it’s not turned on every day. It’s the perfect solution for my space.
Thank you so much for this post. I was looking for this exact hack. Brilliant!
Thanks Aimee. I’m glad you found it useful!
I’m so glad I found your blog years ago when you were featured on another blog. You are amazing. I was looking at how you styled the shelves and thinking how talented you are. Keep showing us the wonderful things you do! You are amazing!
That’s so sweet of you to say! Thanks so much, Jean! I’m so happy that you found us. We appreciate your support.
Oh my gosh! Aren’t you a smarty pants! My first thought, was I would love to incorporate this idea into my booth. Love it!!
Thanks so much, Kim! This is seriously so easy to do!
Genius! I love it.
Thanks so much, Jenny!
Hi Cousin Jenny
This is cousin Kristi
Wow… genius!!!! Thank you for sharing…. Love the wall that your new sconce is on !!!!
Thanks so much Terri! I’m thrilled that I could add the light that I’ve been wanting. 🙂
Love it, love it, LOVE it. You’re a great writer, too. Best wishes! J.
That’s so kind of you. Thanks so much, John!
A little late to this post, but do you think this would work with a wall sconce that has a fabric shade rather than the swing arm sconces I’ve seen most people using?
Hmmm, I guess it’s possible but I’m not sure how the shade would be attached to the sconce. In most cases the fabric shades are attached by the light bulb.
Thank you so much for sharing! Has your puck light ever fallen off?
Thanks! It’s still on. I hot glued it so it isn’t going anywhere.
Where exactly did you attach the wood shim to make light fit??
I attached it to the light socket adapter (the end that you would normally plug into). I have photos in the post. Hope that helps.
I’m a widow whose husband could and would accomplish any project . Example: for a birthday he bought a railroad caboose, set it up for a guest house. Therefore it is dreadful having ideas I can’t assign. In 96 y old apartment building with 14 in. thick walls and few elec. outlets and have looked for wireless sconce for dining room. I think I understand how to make the light here. I am confused about how you mounted the lamp to wall.
Hi Susan! It sounds like your husband was like mine. 🙂 Wow…a 96 year old apartment building with 14 inch thick walls does sound like a challenge. The lamp was actually very easy to hang. Mine came with a mounting bracket (you can see it hanging on the wall in my of my photos), that would usually go over the junction box. Since there is no electric, and no junction box, we just used to wood screws to screw the mounting bracket to the wall. We have thick walls to so we didn’t worry about hitting a stud or anything like that, since the lamp is so lightweight. Hope this helps.
Hi! I had this idea a year ago but I got stuck. maybe you can help. I tried this but the screw that mounted the light into an electrical box was huge. , very long and very wide. I would have had to drill a hole in my wall more than a 1/4 in. Just shy of a half inch. So I abandoned the idea. The lights were outdoor sconces so I don’t know if that’s why I had that problem
Hi Beth! I’m not sure what screw you are talking about. Is there one in the center? If you could share a photo, I’d be happy to help you figure out a way to hang it up. Thanks!
I love this idea and your instructions are so helpful. I have thought about doing sconces in my dining room but didn’t want to commit to the wiring. I love how yours turned out!
Shelley
Thanks so much, Shelley! I’m glad you found this helpful. I love my new light and it was so easy to install. 🙂
Ok! So I did this! Couple of notes…the screws which attach the decorative portion to the wall mounting portion were too long due to the lack of an underlying electric box. So I switched those out with some about 1/2 inch shorter. This prevented the threads from being visible and the mount to sit flush once the balls were in place…make sense?
I’ll see if I can get a picture up here, it looks great!
Thanks for sharing this clever idea!
J
Yay, I’m so glad you tried it! I understand what you are saying about the screws. We didn’t have that issue but that could be different from product to product. Thanks for sharing your notes and for letting us know you did this, and it worked! I’d love to see a photo!
J, maybe you can help me. I’m not sure what you mean by balls..? Also I tried this but the screw that mounted the light into an electrical box was huge. , very long and very wide. I would have had to drill a hole in my wall more than a 1/4 in. Just shy of a half inch. So I abandoned the idea. The lights were outdoor sconces so I don’t know if that’s why I had that problem
This opens a whole new world for me! A brighter one at that! So clever!!!
Yay, so glad you liked it Jane! We have stone walls so there was no way I could easily get electric there. This light has worked out great for us. Hope you can try it. 🙂
This is brilliant! I wanted a light over my breakfast nook seat and I wanted to use a lamp post outdoor light. Instead of getting an electrician to hard wire it, or even convert it and plug it in, I can use your puck idea with a remote and problem solved.
I am so impressed with your ability here! Thank you for sharing and Happy Holidays to you and yours!
Linda
Thanks so much, Linda! I’m glad that you found my lighting hack useful. It’s so much easier to do this than to cut open a wall to add electricity, and way cheaper. 😉
Thank you for stopping in!
Very clever! I love this!
Thanks so much, Carol, I appreciate it! 🙂
That’s a great solution for adding a quick little extra light. Pinning this for reference.
Pat
Thanks so much, Pat! I appreciate you pinning this easy idea. 🙂
That was a very clever solution.
Thanks Annette! I appreciate it!
You are very creative making the light you needed! Looks perfect in that spot! Job very well done!
Thanks so much, Laura, I appreciate it! 🙂
What a great idea! I have to pin this! Oh, I got the vinyl plank flooring (one box) and it went back right away. I laid it out in the doorway of my kitchen next to the existing wood floor and it looked really bad. My original floors are about 65 years old and they have aged, but still look good. I did the best with matching, but it just didn’t look right. Back to the drawing board. I originally was going to use the same flooring I have in my bathroom so I think I’m back to that.
Thanks MJ!
I’m so sorry that the flooring didn’t work out. We are going to redo our kitchen floor and I will be facing the same issue. Looking forward to how you tackle it.
Brilliant! I’m usually more about looks than practicality, so this is great for me – thanks!
I’m glad that you like it Jacki! Sometimes you need to put looks above practicality. 😉
Great idea. It looks so nice as a “nightlight” so you don’t have to turn on a bright kitchen light when you’re coming from another room.
Thanks Pat! It actually works well as a night light. I just have the remote in my room and turn it on if I go into the kitchen to sneak a snack. 😉
Thanks so much for stopping by.
That is so amazing!! I want to do this on a longer strip for my sewing closet, more puck lights but it would work if they are bright enough. What a nifty idea!
Sounds like a great idea Belinda! It took me a while to find puck lights that were bright enough but the ones are listed are great. Hope this idea works out for your sewing closet. Thanks for stopping in!
Great Idea! You are SO clever!!! ♥
Thanks Frani, I appreciate it! 🙂
Nice!
Thanks Melanie! 🙂