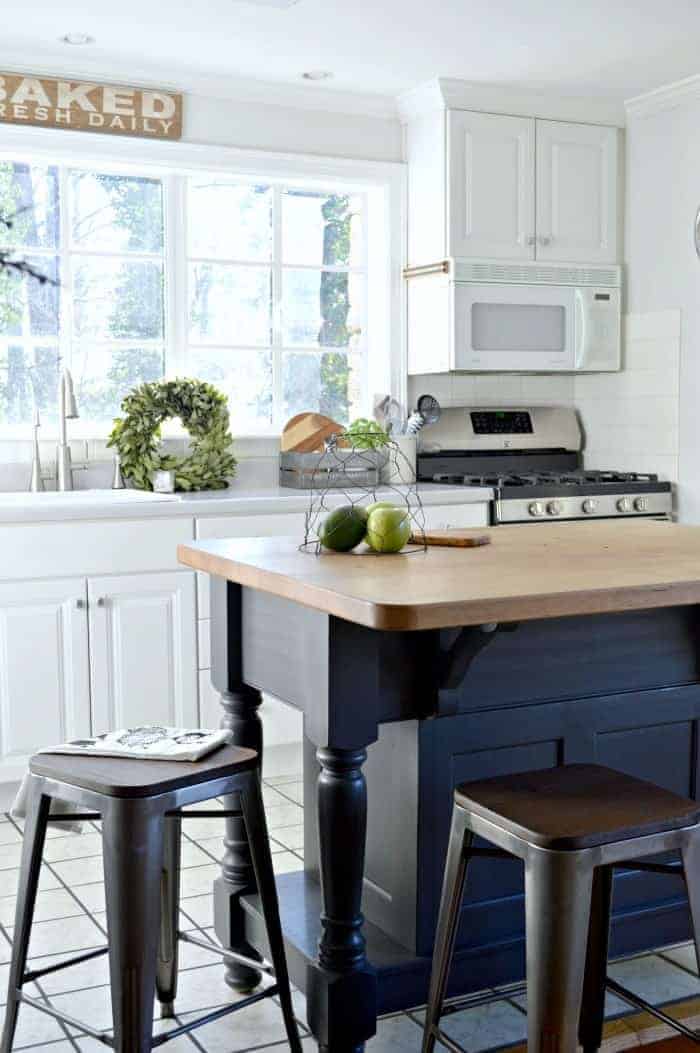
DIY Kitchen Open Shelving for Under $50
This post may contain affiliate links, please see our policy for details.
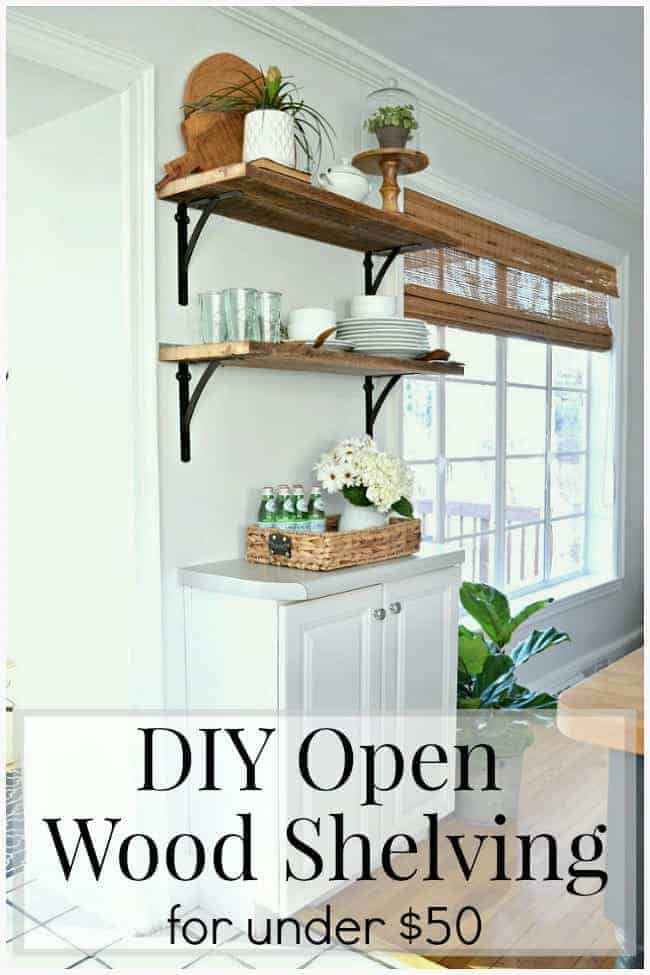
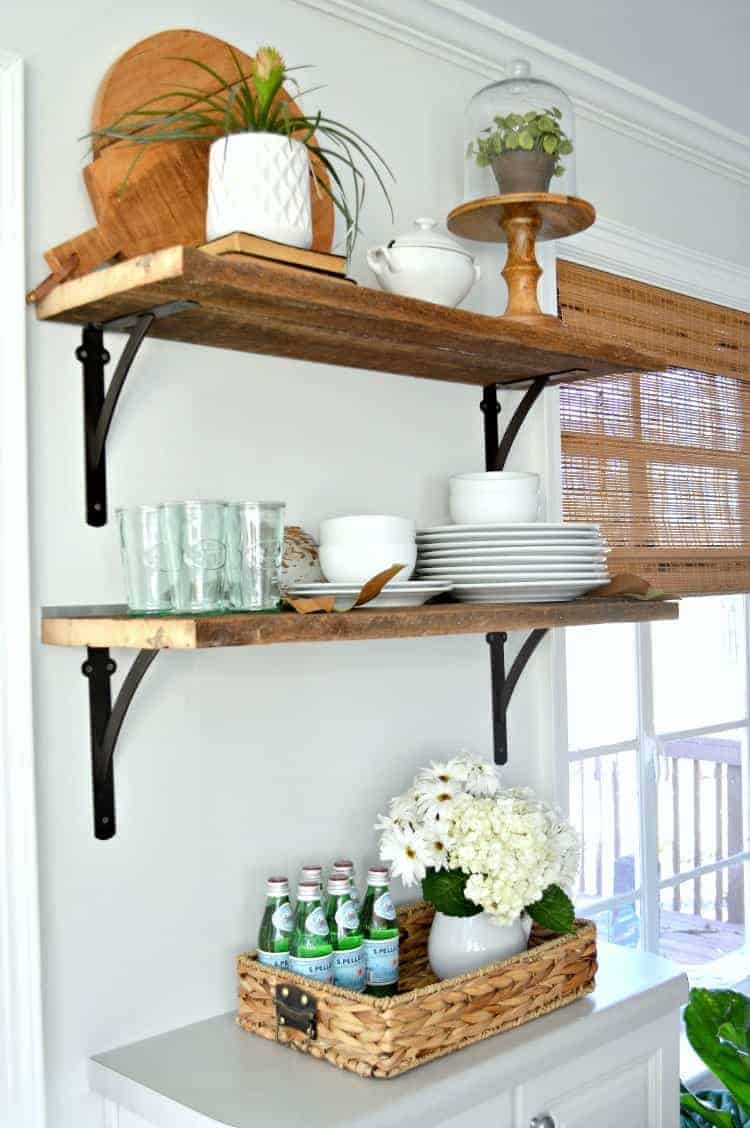
Installing DIY kitchen open shelving for under $50.
I am one of those people that would crinkle my nose and shake my head whenever I saw open shelves in a kitchen. After all, I’m a neat freak and minimalist when it comes to kitchen decor. I knew that I would never, ever have open shelving in my kitchen. How do the dishes stay clean? Who wants to see all that stuff?
It doesn’t happen often, but I can honestly say that I was so wrong about them.
I loved my shelf in our Illinois kitchen and knew when we moved in that I would have them in this house.
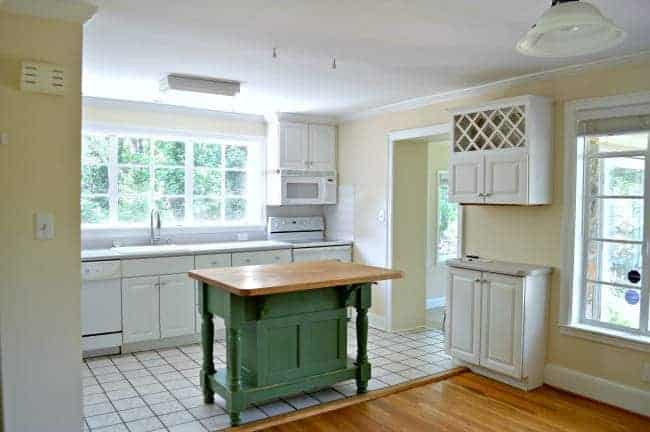
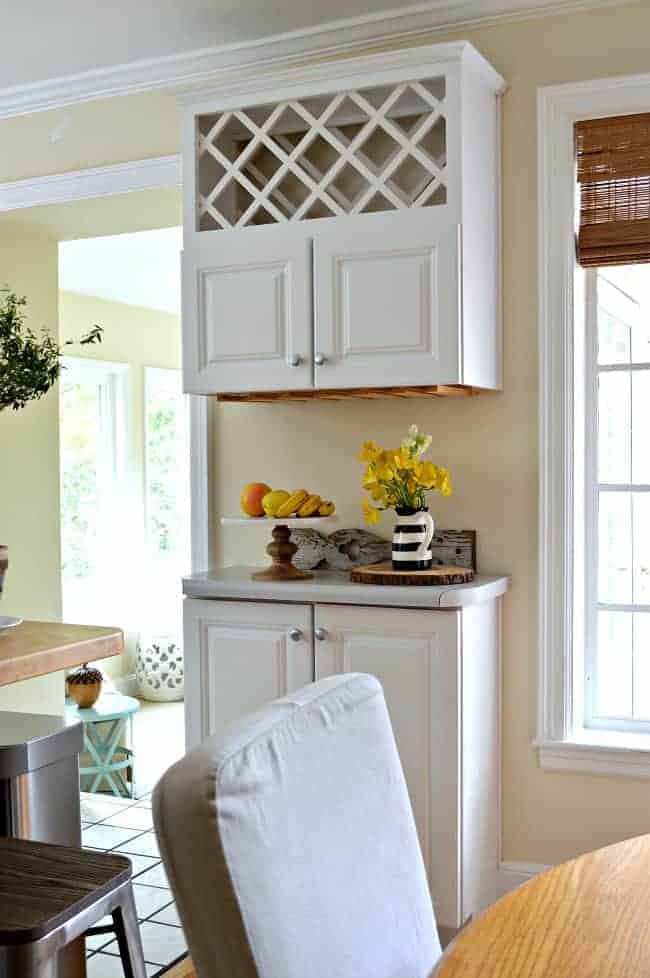
There was a wine storage cabinet on one of the walls in the kitchen that would never get utilized (talk about a dust catcher), so I decided pretty quickly that it would have to go and wood shelves would take its place.
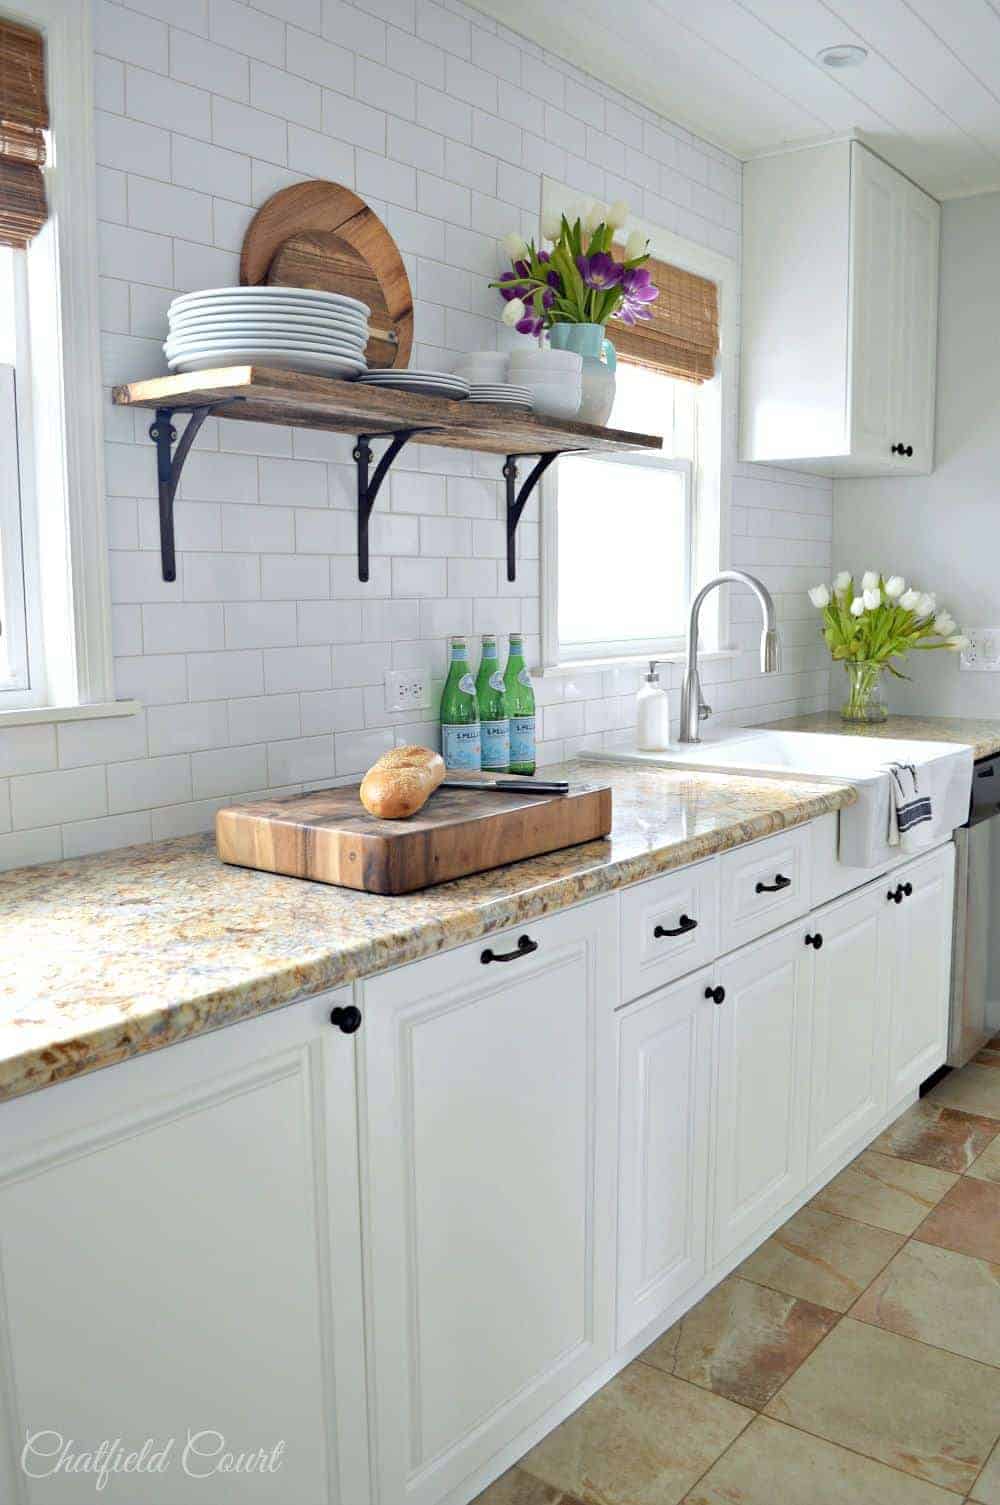
I had a barn wood shelf in our Illinois house, that we installed during our kitchen remodel. I loved how useful it was, so it wasn’t a difficult decision to do them again. This time though, we would do 2 and try to keep the budget under $50.
I love this kind of project because it’s relatively inexpensive and it’s super easy to do. The hardest part was trying to figure out how to hang the shelves so that I could put my dishes on them without everything crashing to the floor.
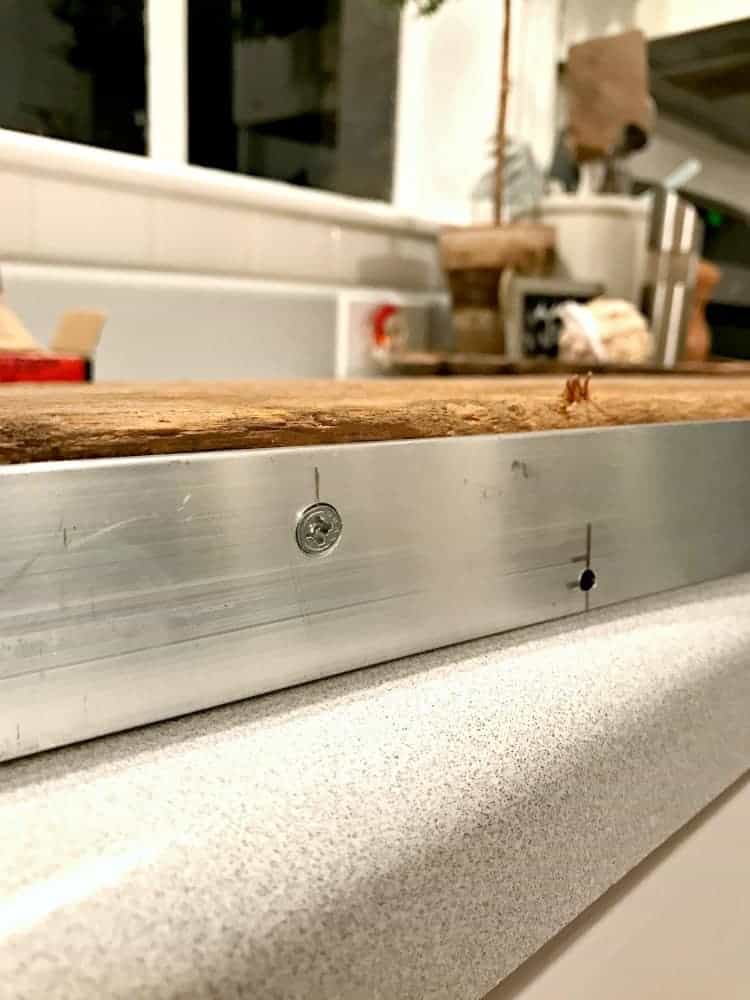
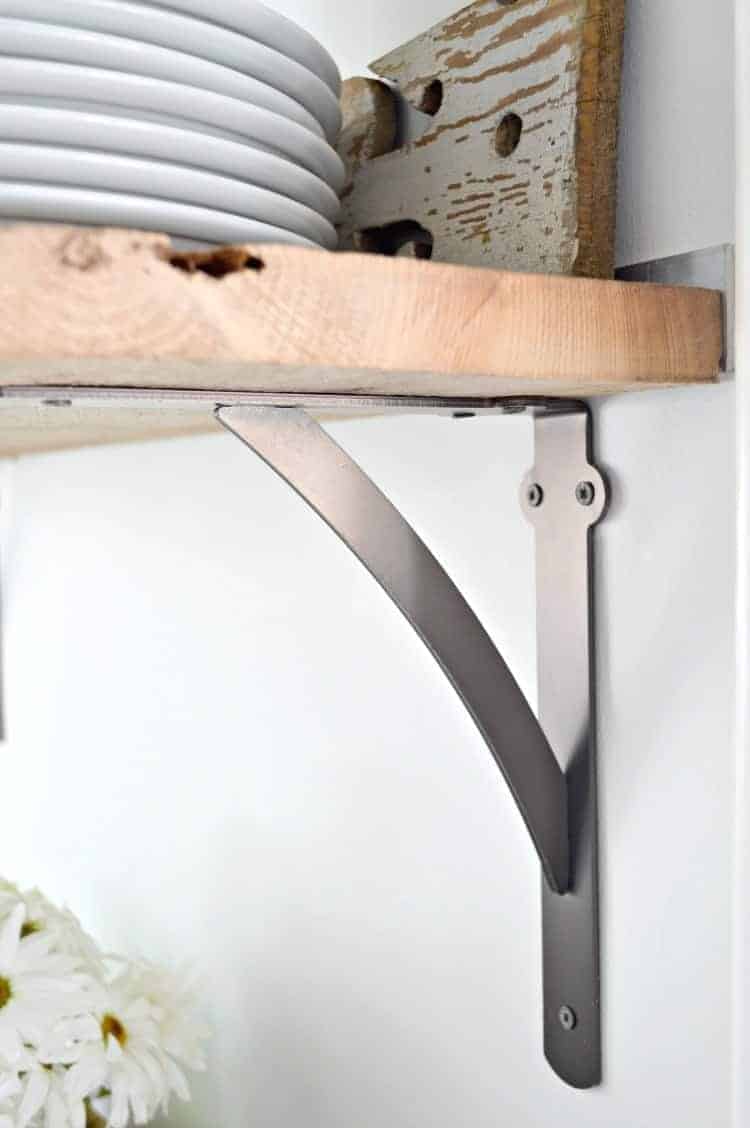
The studs didn’t line up on the wall so that we could use shelf brackets the way they are supposed to be used, so we had to improvise. There was a lot of discussion back and forth with the hubs and I, and we finally decided to hang these shelves the same way that we hung the bathroom shelves, with a metal strap on the back of the shelf.
That way we could screw it into the studs so that they were secure.
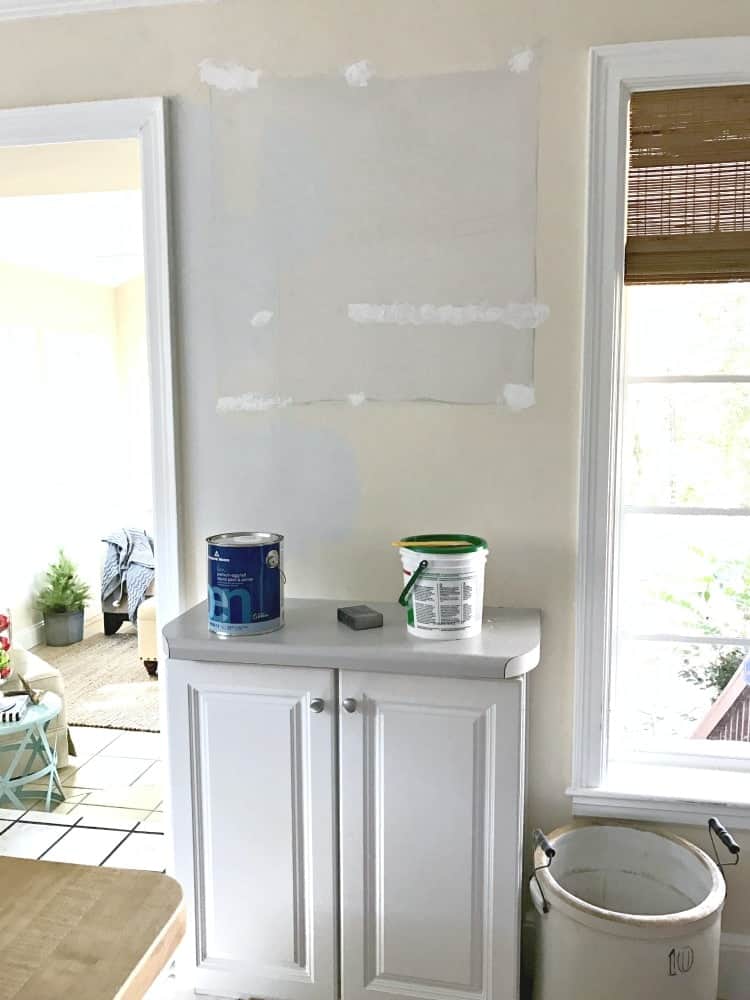
Before we hung the shelves though, I had a bit of work to do fixing the holes and painting the wall.
I went with Benjamin Moore Paper White, which is a very pale gray, and I love how it came out. So much better than the pale yellow that was on all of the walls when we moved in. We’ll talk more about the paint color when I share the whole room reveal.
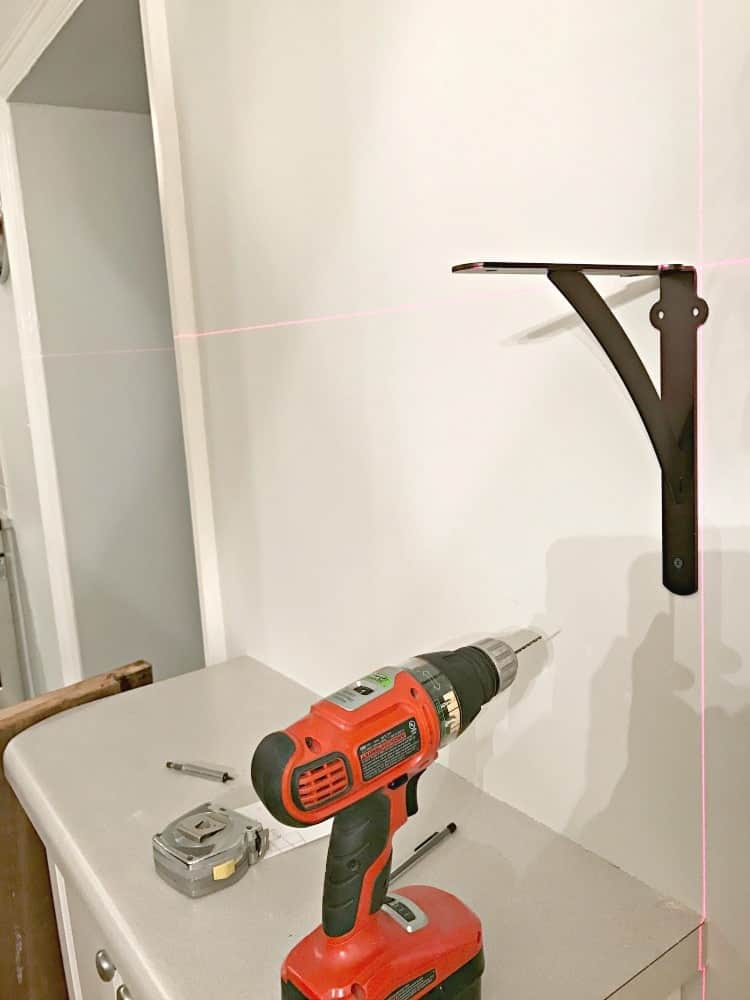
The kitchen shelves were going to hang a little different from the bathroom shelves, so we used shelf brackets to add a farmhouse touch. Since the metal straps are doing all the work, the brackets are mostly for looks.
The metal strap is barely visible behind the wood and, from across the room you can’t see it at all. .
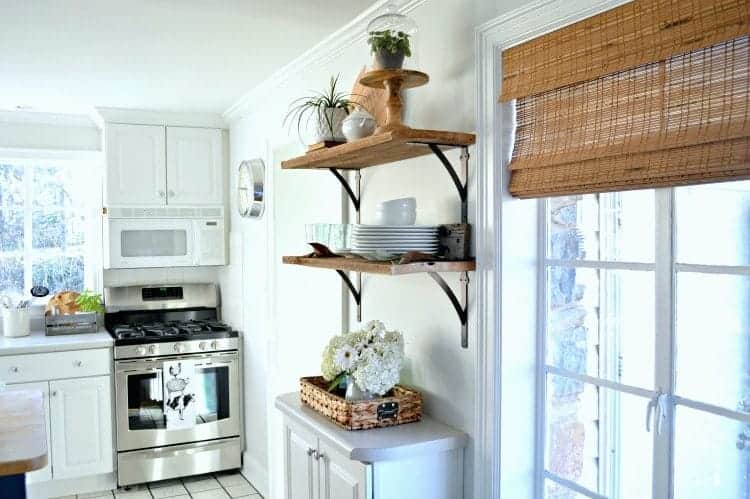
Just like the shelf in our Illinois kitchen, these hold our everyday dishes and glasses and a few plants. I didn’t want to be dusting a lot of stuff so 2 small shelves were the right choice for me.
*Affiliate link used. Please see my Privacy Policy for more info.
The barn wood moved with us from Illinois so our only expenses were the metal strap for $10 and 4 shelf brackets, which were $7.95 each. That’s a total of $42 for just the shelves. Both the metal strap and brackets were purchased from The Home Depot.
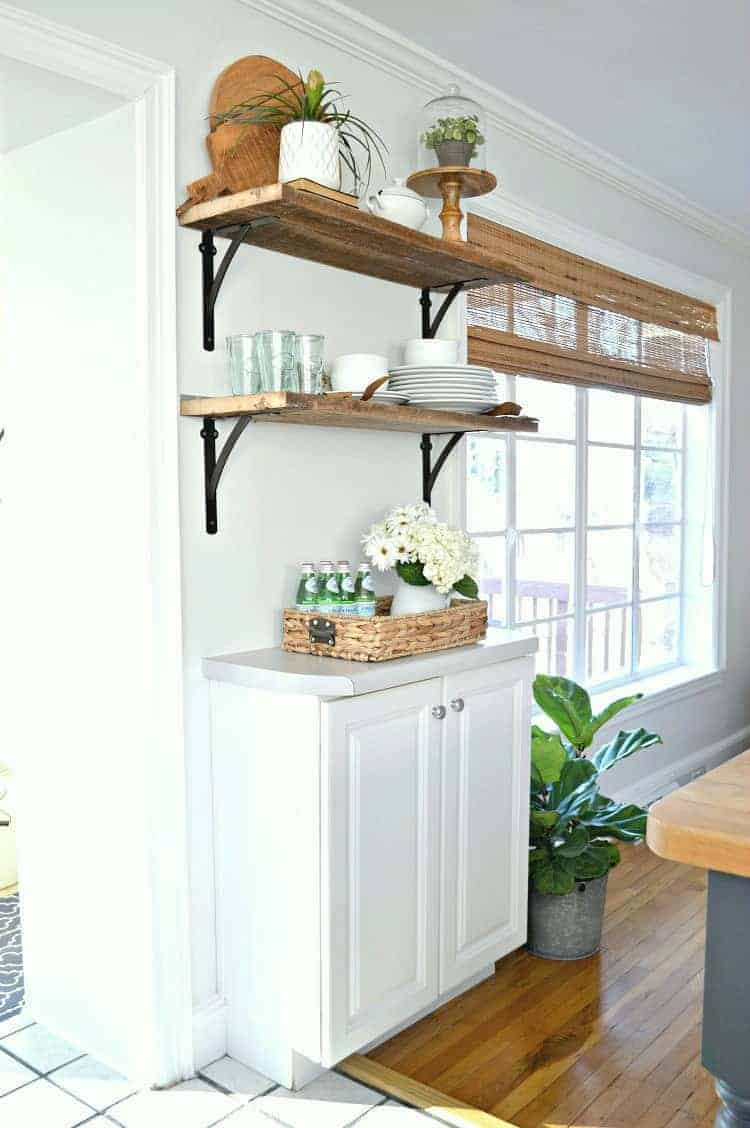
This is a super easy DIY that you can do in your own home. If you don’t have barn wood, you could easily use a piece of pine and stain or paint it.
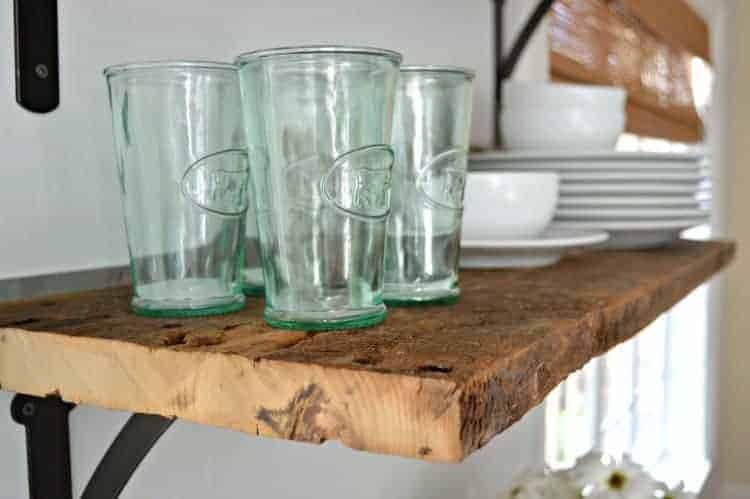
So this is it for me. I’ve almost used up my whole supply of barn wood so I won’t be building anymore shelves.
I’m almost positive. 😉
Now I have to finish painting the rest of the kitchen and dining room walls. Once all the painting is done, I’ll be ready to give you a proper tour of the space.
Thanks so much for stopping by!!!
Other projects you can check out…
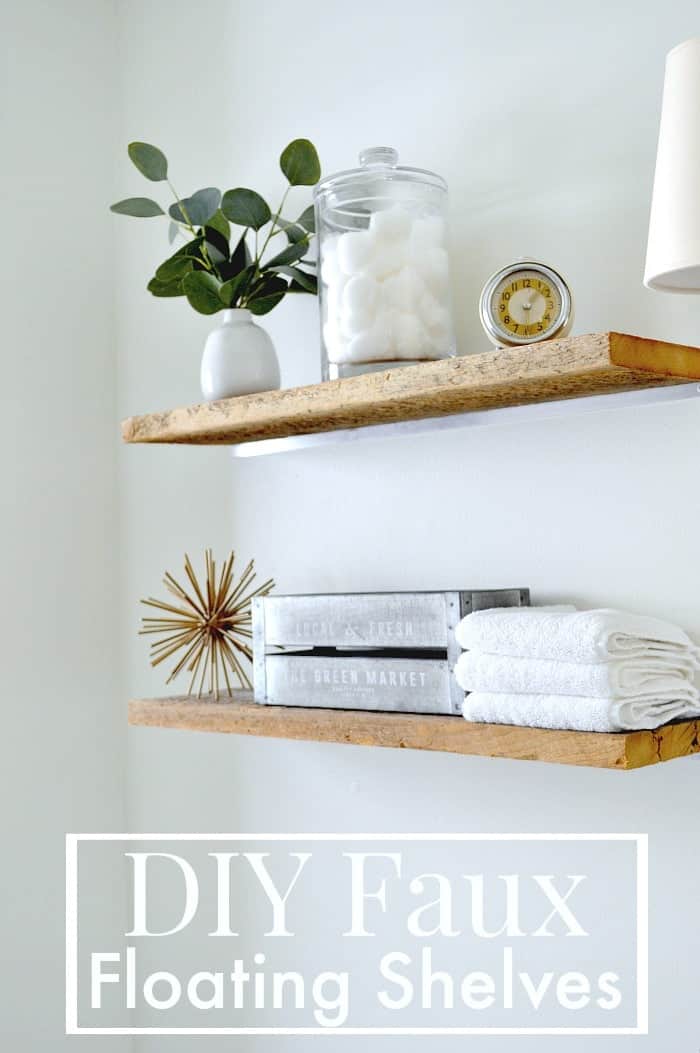
DIY Faux Floating Shelves in the Bathroom
