
Installing Crown Molding

Tips for installing crown molding in a master bedroom or and room in your house. A great way to add interest and a finishing touch to any room.
I’ve already shared the start of my master bedroom redo, the painting of the ceiling with Benjamin Moore White Dove in Pearl, so now we’ll move on to painting the master bedroom walls and installing crown molding.
After the ceiling was painted, I moved on to painting all of the trim in the whole room using Benjamin Moore White Dove Advance.
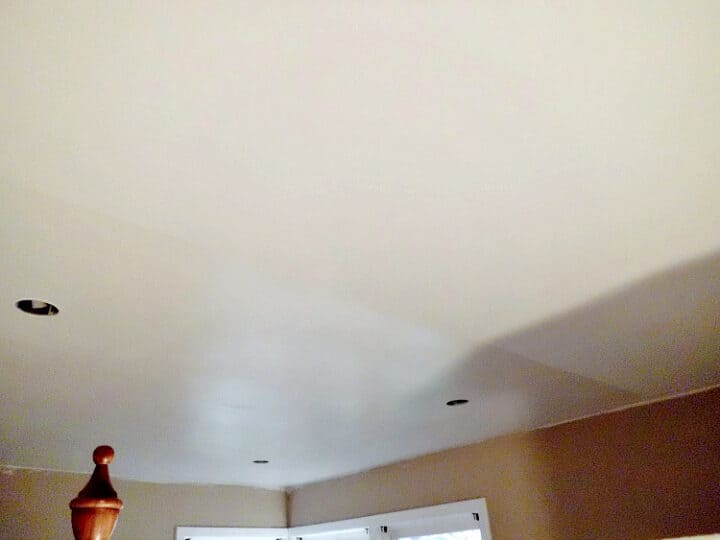
Before I could paint the walls I had to fix a few spots where the paint was puckered and loose.
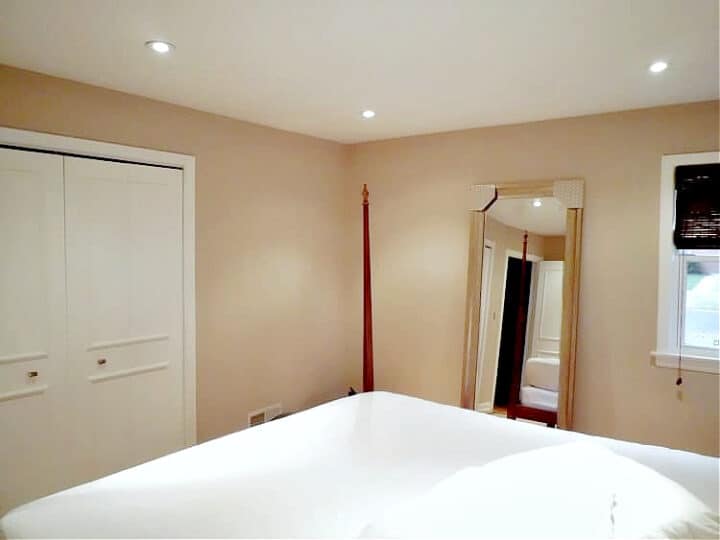
I scraped off the old paint, then I spackled and sanded and painted the walls, Benjamin Moore Hazy Skies Regal in eggshell finish.
After the walls were done we started installing the crown molding.
Is Crown Molding Hard to Install?
Not at all…once we rectified a rookie mistake.
It was our first time installing crown molding and the first try was a big fail.
We cut and tried to install the first two pieces of molding but couldn’t get the edges lined up. It took us a while but we finally figured out the we were trying to put 2 different types of crown molding together. Gah!
So our first big tip is…buy all the molding you think you’ll need, and maybe a few extra pieces, at the same store.
The first store we went to didn’t have enough so we ended up buying a few pieces at another store, thinking it was the same.
It took some time to figure out that they weren’t the same.
Once we figured out what the problem was, the second day (second attempt) was much better. Actually it all went up pretty quickly, in about 2 hours.
Supplies for installing crown molding
- piece of cardboard, or scrap piece of wood
- tape measure
- primed crown molding
- miter saw
- brad nailer
- nail set
- hammer
- wood putty
- caulk
- paint
To start the installation process we used a piece of cardboard cut to size to mark the wall where the bottom of the crown molding would sit.
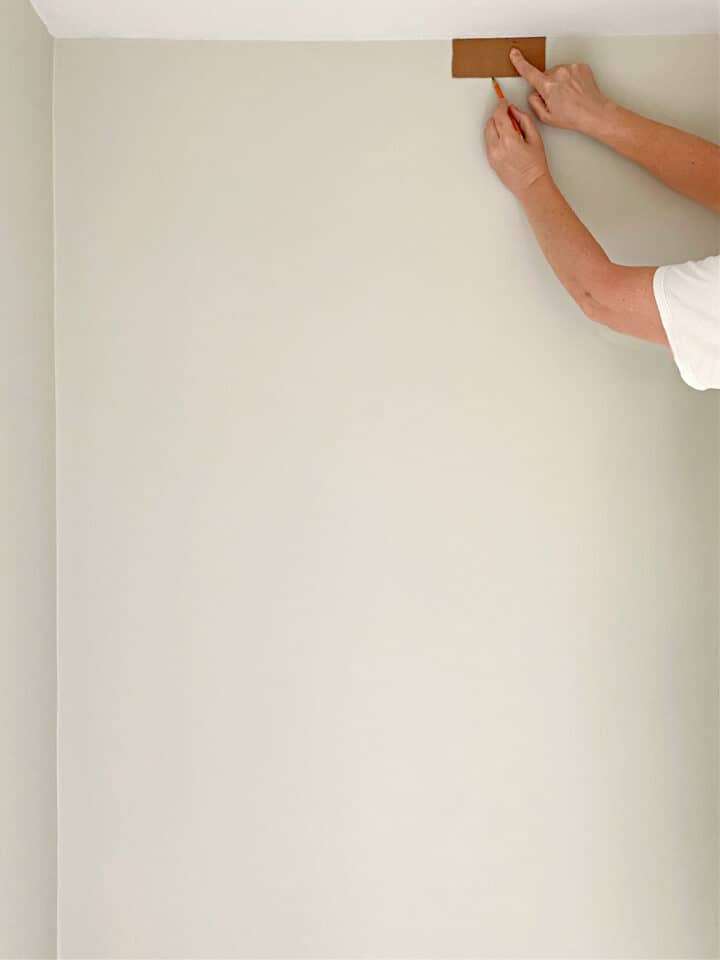
I marked the walls every two feet with a pencil around the whole room so that each piece would line up once it was on the wall.
Crown Molding Templates
We had to do inside and outside corners in our space so to keep it all straight I made a couple of templates with scrap crown before we started. I marked each one so I could refer to it when making my cuts.
They were a lifesaver and helped us save time.
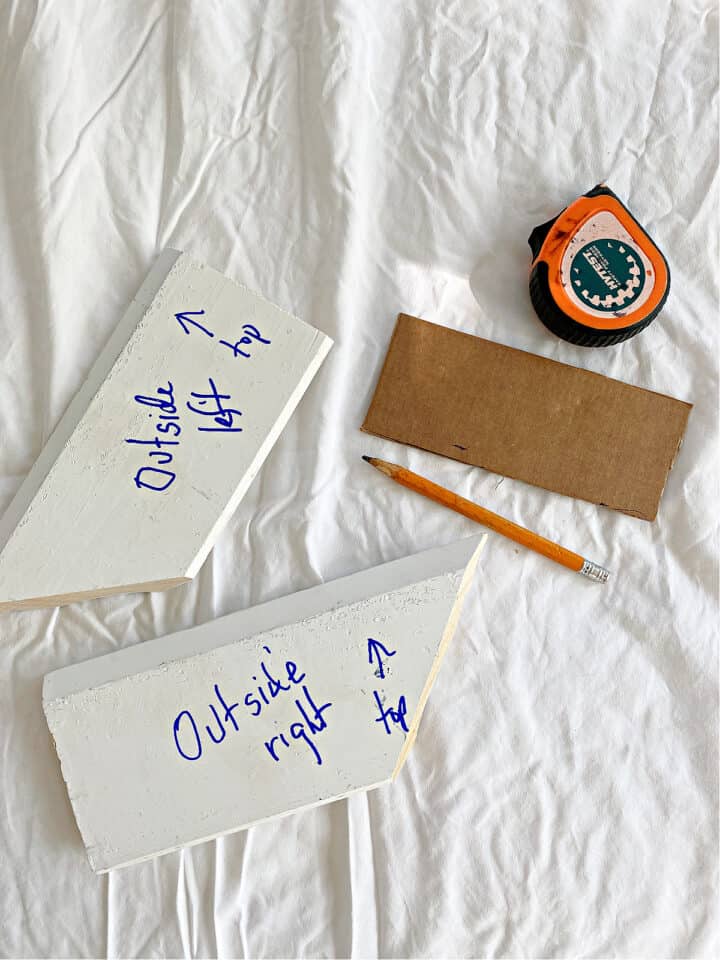
With our templates made and walls marked, it was time to cut the molding to size.
After making our cuts outside on the chop saw, we put up the molding.
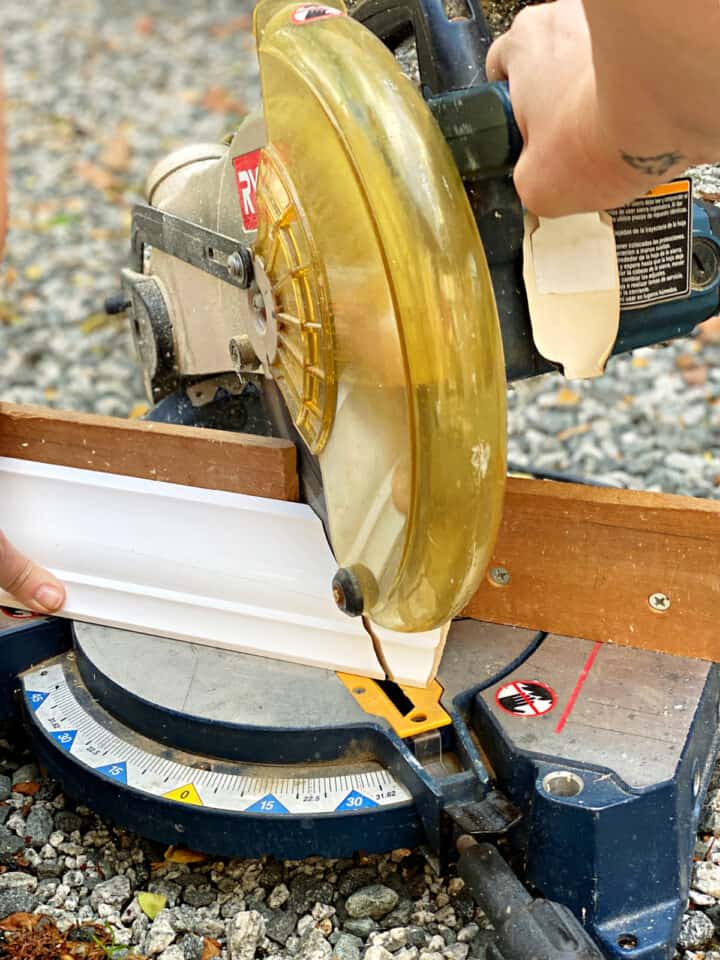
How do you nail crown molding?
We ended up buying a cordless brad nailer to make the job quicker and easier and it was definitely worth it.
Check out the side view of the molding after it went up.
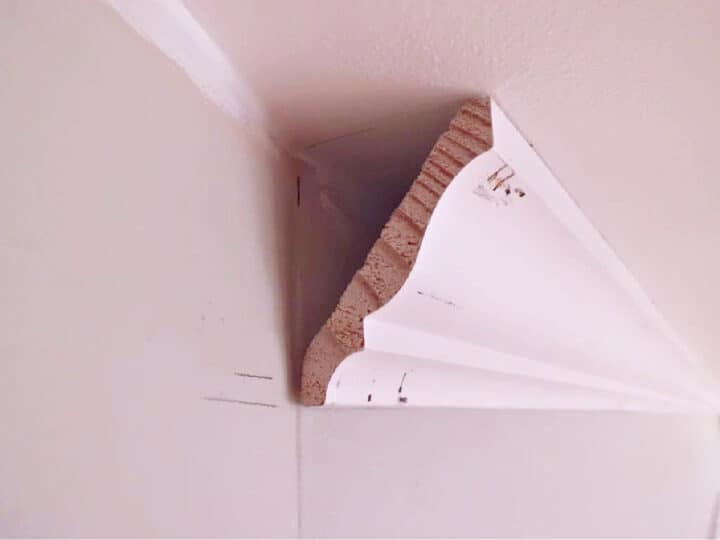
You can see the pencil marks we made with the cardboard, where the bottom of the molding needed to sit. It definitely made the job easier.
Perfect fit!
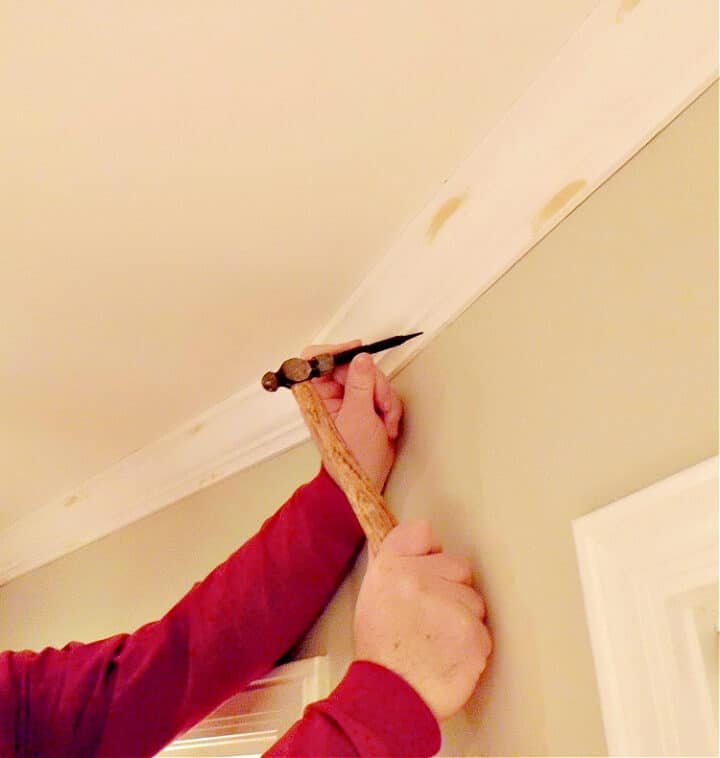
After the molding was installed, we went around to all of the nails that were sticking out and used a nail set to tap the heads in.
Caulking and Painting Crown Molding
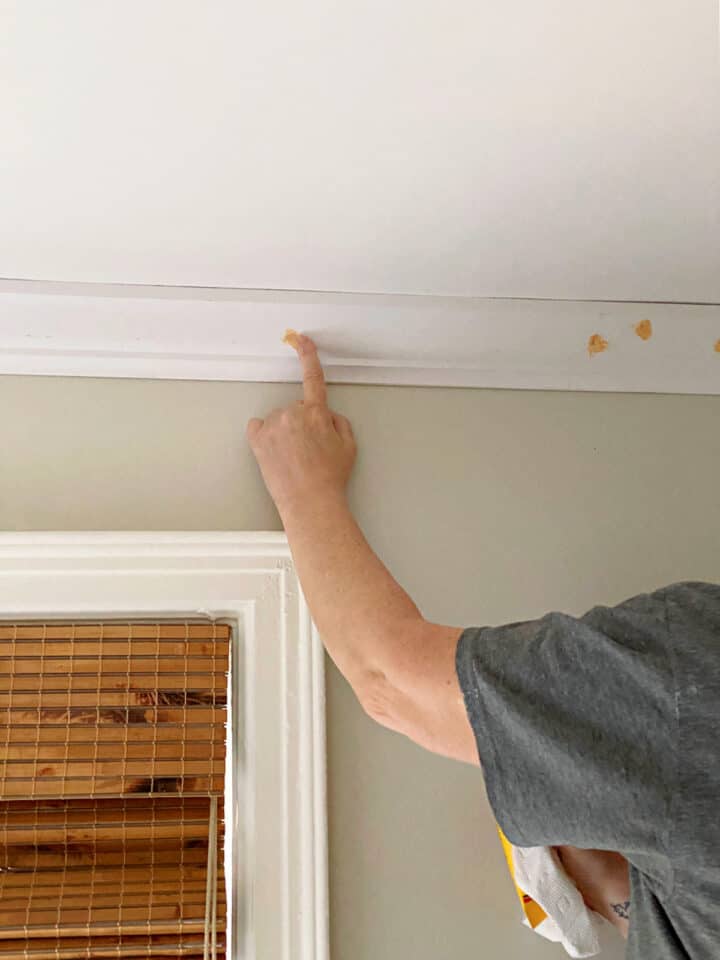
Once the nails were set it was time to caulk the joints and wood putty the nail holes.
Why use wood putty and not caulk?
We’ve learned over the years that using caulk and spackle in the nail holes can actually rust the head of the nail, which can cause a spot on your finished paint.
Not a good look, and it adds more work when you have to fix it.
Sooo…
Once the putty was dry, I sanded it smooth.
Really the caulk and wood putty part is the most tedious part of the whole project. In my humble opinion.
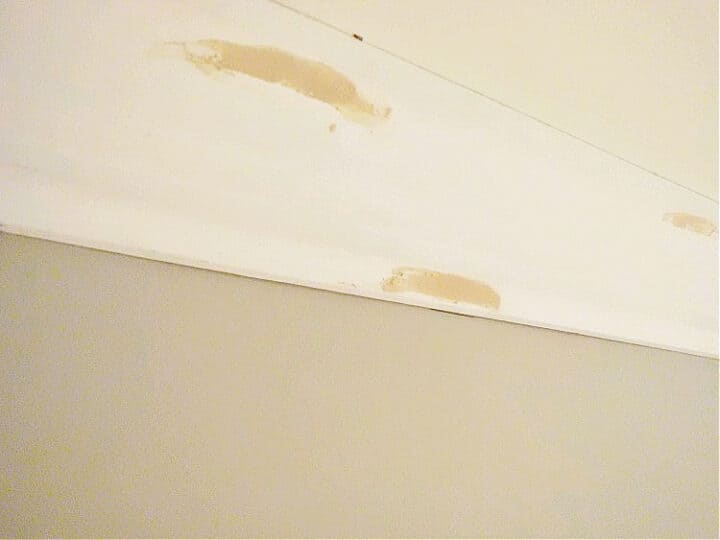
With the new crown molding sanded and caulked I got to work painting it.
I used the same BM White Dove that we used on all of the other trim in the room.
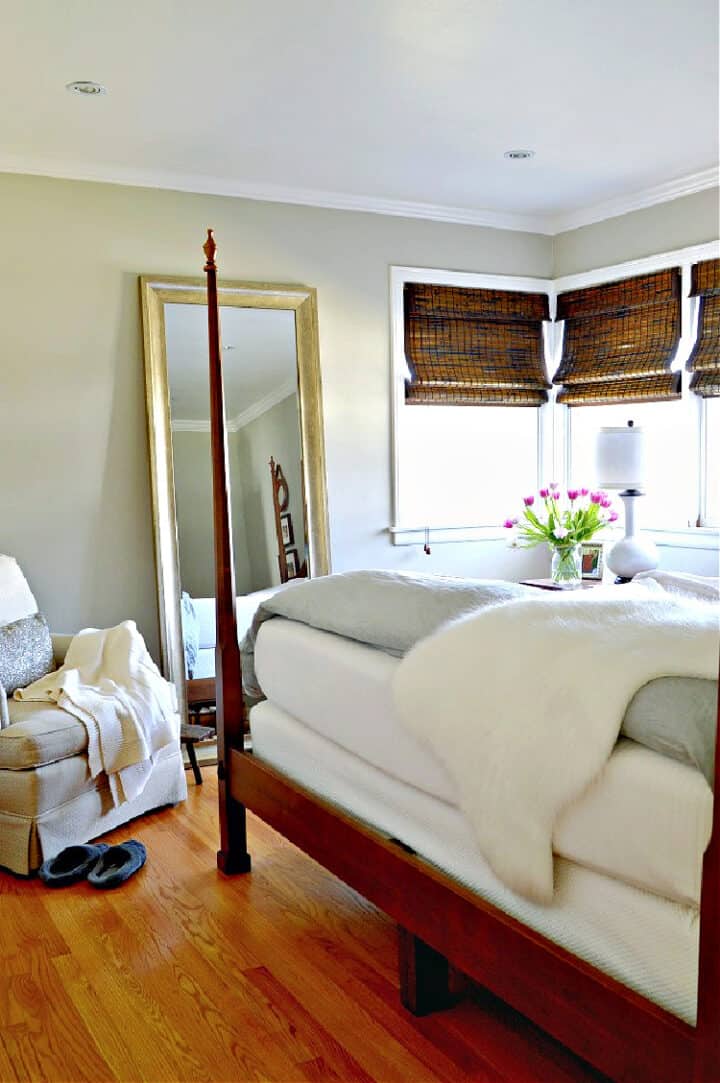
And that’s it.
It wasn’t a necessarily hard job but it did take some time to do. I’m so glad we did it though because I think it definitely makes the room look more finished.
Have you put up crown molding? What do you think is the worst part of the process?
Thank you Kristi. That’s amazing. It’d be rare, in Australia, to have a room finished with no cornicing at all. It’s just a given. It’s very easy to work with, and very cheap. They just glue it to the ceiling with big globs of plaster glue. As I say, there are many different profiles available, and you can layer them for a more interesting effect. Thanks again.
So interesting Liz. It would be great if all homes here had crown molding already installed, a lot less work. As you saw in my post, we apply crown here using nails. Do you typically paint cornicing? There are different profiles of crown here also, and there are people who layer them for different effects. Sounds like we use them similarly, just a different material. Thanks again for your input. Have a great day.
K.
Kristi, yes cornice is always painted, just as you would paint your plasterboard (I think you call it dry wall??). It’s essentially the same product. It’s usually painted the same colour as the ceiling (ordinarily ‘ceiling white’), but where more ornate cornices are used it can add dramatic effect when painted in contrasting colours. You most often see that in older buildings, or restoration properties, and is rarely used elsewhere.
My husband and I were considering why the USA would use timber instead of plaster for this purpose. The only thought is, maybe you have more timber and we have more lime! Ha ha.
Thanks for the lesson on plaster cornicing Liz. Now I am curious now to find out why you use plaster in Australia when we use wood in the U.S. I would think that plaster cornicing was used in the very old homes in the U.S. (but I’m not 100 percent sure). Houses were more ornate with beautiful moldings way back then. Off to see what I can dig up.
Thanks.
K.
Hi Kristi,
What a great blog you have. Thanks so much! I’m really interested in your crown moulding. I’m in Australia and we don’t use timber for this purpose. We have lengths of cornice plastering in different profiles. Some can be really ornate, others quite simple and clean-lined. I imagine you also have this product in The States? Can I just ask why you would use crown moulding over plaster cornice? Just curious really. Also, was there nothing at all there before? Just walls meeting ceiling? That’d be very odd, and no wonder you wanted the moulding!
Thanks Kristi,
Cheers,
Liz. 🙂
Hi Liz and welcome to Chatfield Court. Thanks so much for your comment. I have to admit that I had to look up cornice plastering. You will find wood crown molding readily available in the U.S., not sure if you can an average home improvement store and get cornice plastering. We use the wood because it is lightweight and very easy to work with, I would think it’s cheaper also. A lot of homes don’t have crown molding here. It’s usually an added decoration in the States. There was none when we started on this room, just wall meeting the ceiling. We have a couple of more rooms to add it to so we’ve got our work cut out for us. Thank you for your interest, hope I answered your questions. I will surely check the home improvement store for cornice plastering the next time I go.
Cheers,
K.