DIY Wood Slice Chalkboard
This post may contain affiliate links, please see our policy for details.
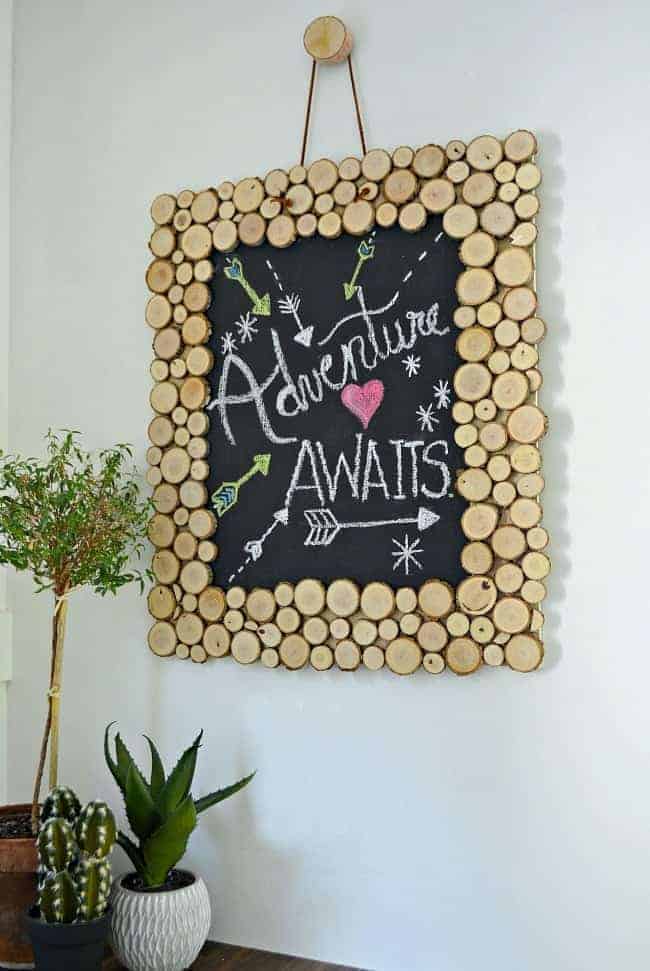
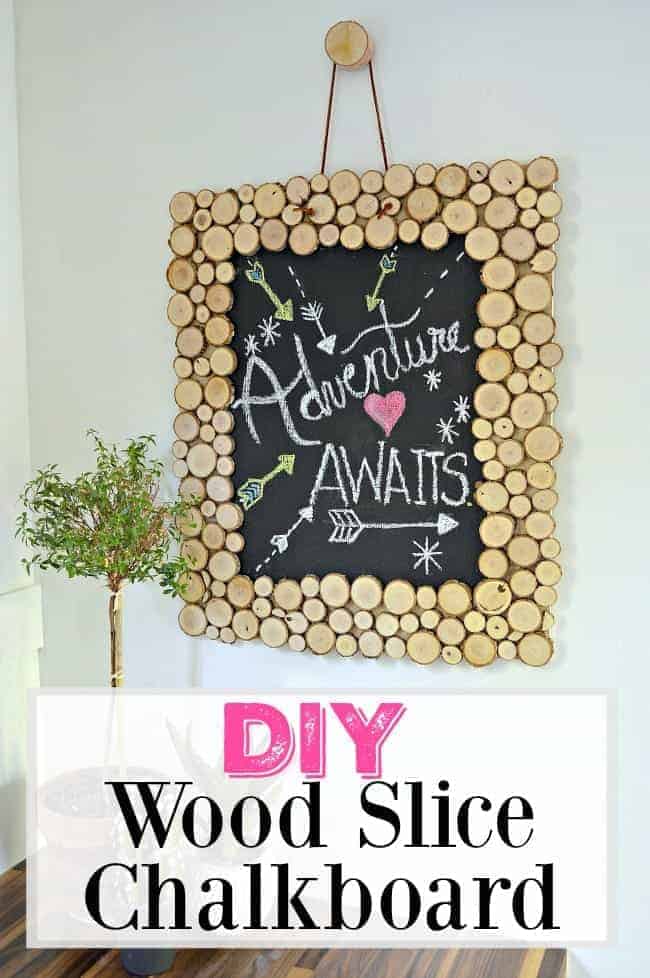
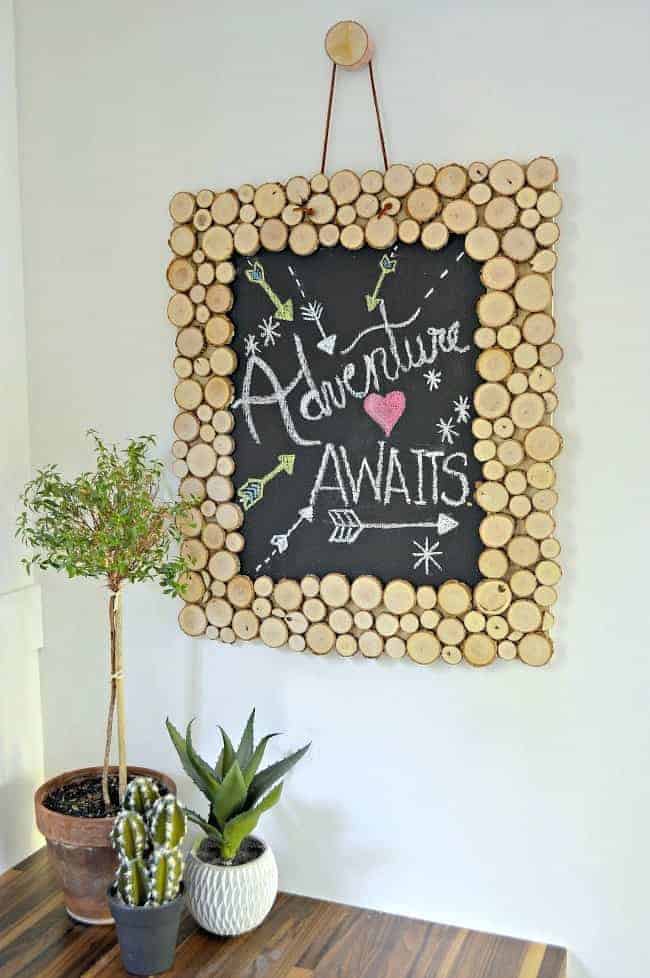
How to make a rustic DIY wood slice chalkboard to share fun messages and memos.
Big time crafting has been happening at the cottage lately. It must be the time of year because I always find myself wanting to craft like crazy.
One thing that I’ve been wanting to make for awhile was a chalkboard for our cargo trailer conversion.
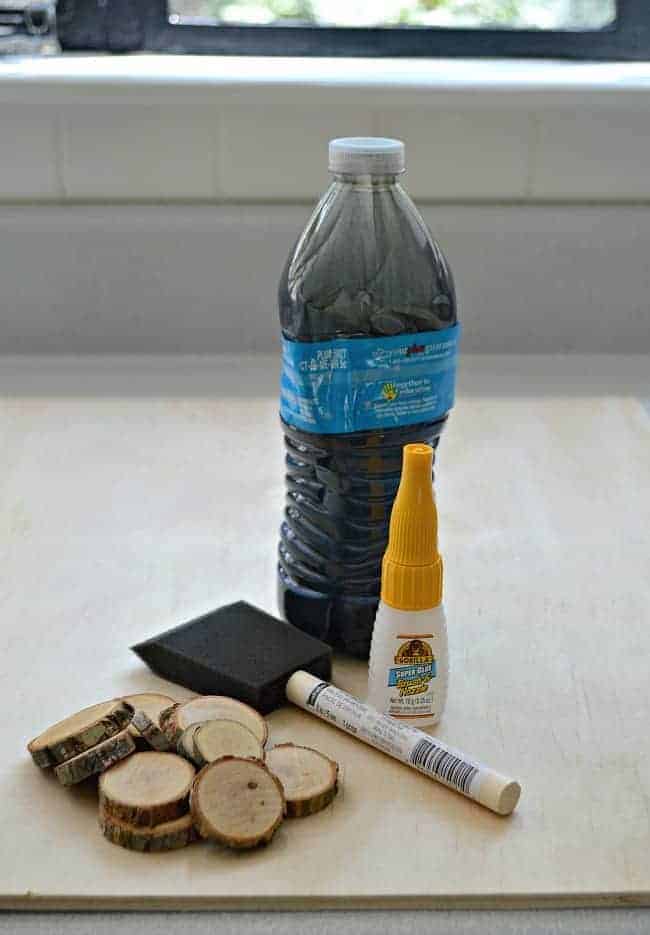
I’ve been putting it off but when Gorilla Glue challenged me to try their Brush & Nozzle Glue for a project, I knew it would be the perfect excuse to make my chalkboard.
Rustic Wood Slice Chalkboard Supplies
- Gorilla Super Glue
- different size small wood rounds
- sheet of 5mm underlayment
- chalkboard paint
- painter’s tape
- foam brush
- tape measure
- razor knife
- suede cording
The whole idea was to make this a rustic chalkboard that I could hang in our RV. I really wanted something in the camper that I could change whenever the mood struck.
You know…somewhere that I could display our next destination or fun memos.
As is the norm for me, this was a super simple project to do. It took some time, because the chalkboard paint had to dry and cure, but it was really easy.
To start this project, the first thing I did was to cut my underlayment to size using a sharp razor knife.
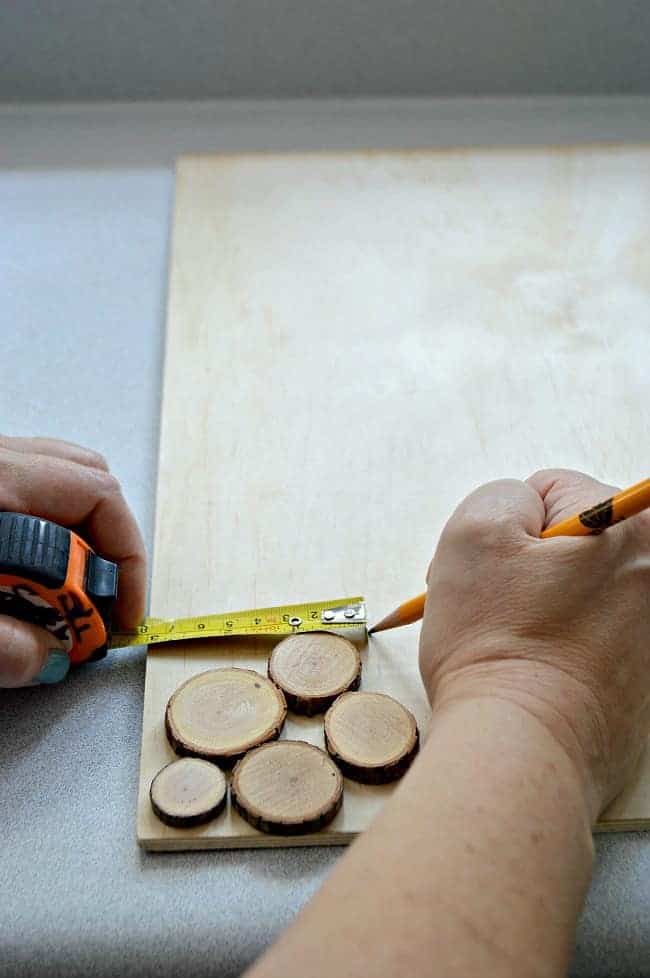
Next, I measured and marked the board to determine where the chalkboard would go. I only wanted to paint the middle with chalkboard paint so I laid a few wood rounds out to determine the best size and placement of the border.
With the border figured out, I taped off the area to be painted with painter’s tape and then painted the middle with chalkboard paint.
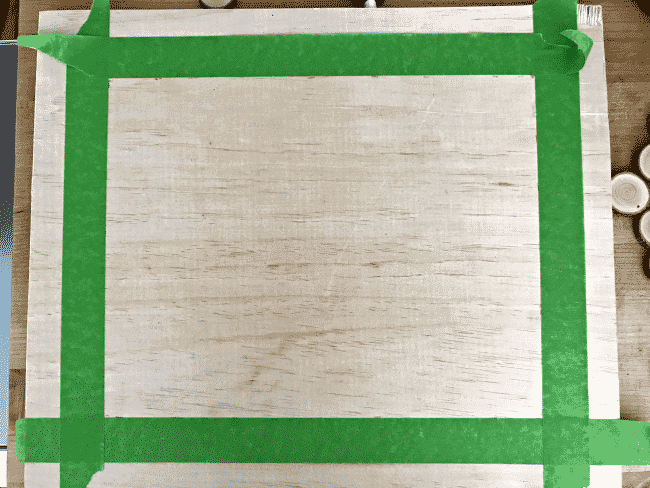
4 coats, each painted in a different direction (and 4 hours between coats).
After the last coat, I removed the painter’s tape and let the chalkboard paint cure for 3 days (as per the instructions).
While I waited for the paint to cure, I started attaching the wood rounds with the Gorilla Glue.
There was no rhyme or reason to the placement of the wood rounds. I just tried mix up the sizes.
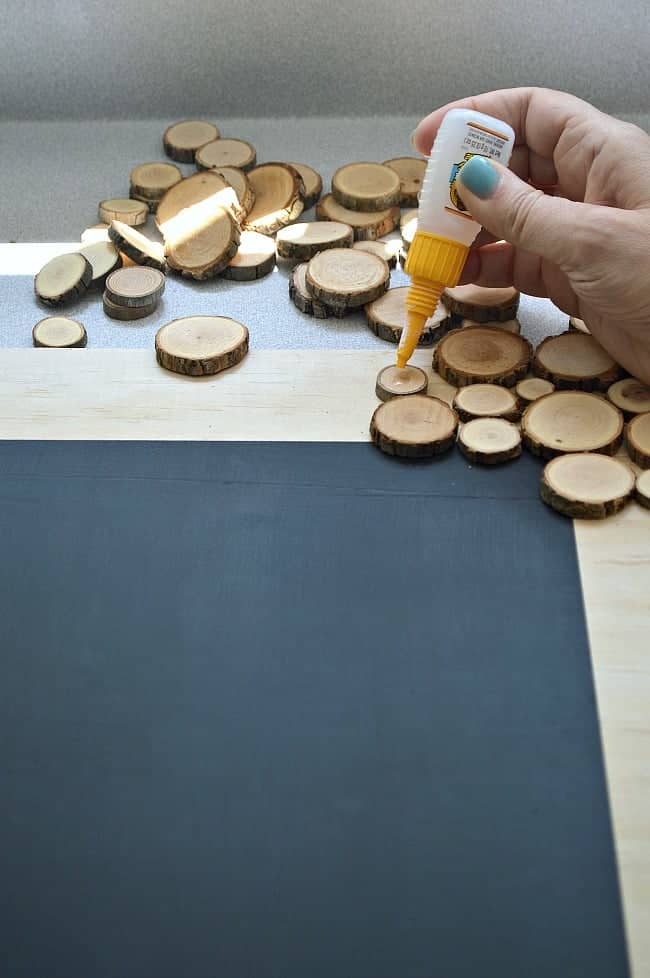
As hard as I tried to not have any gaps between wood rounds, I did end up with a few.
For the really big holes, I filled them with pieces of wood rounds that I just snipped off, and attached with a little bit of glue.
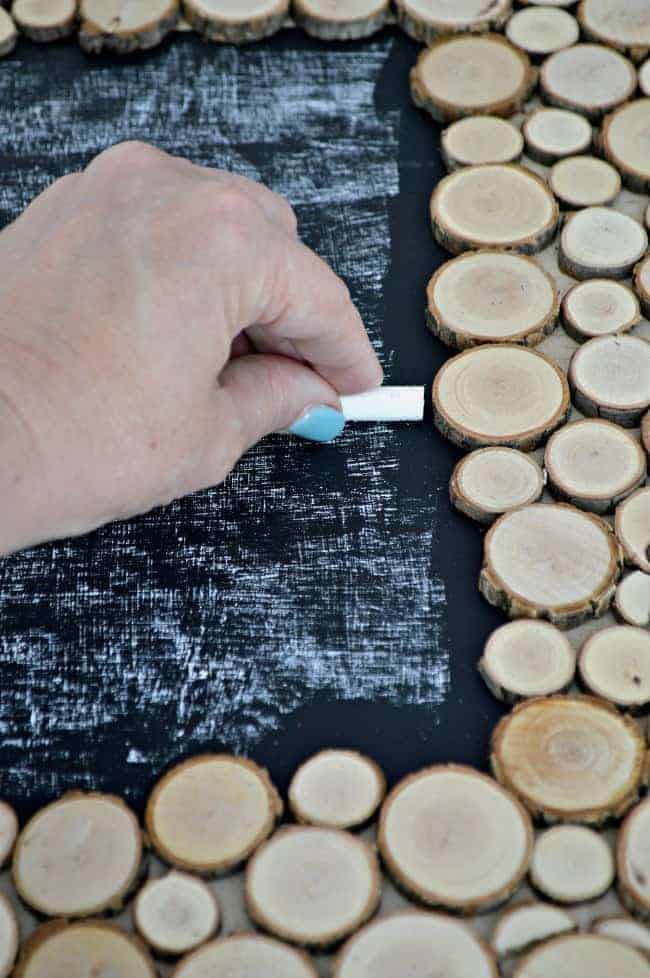
After my frame was complete, I was able to season my chalkboard. I’m sure you all know by now how to do this. You need to use the side of the chalk to cover the whole chalkboard, first with vertical strokes and then horizontal.
With the board covered, I used a clean, damp rag to clean off the chalk to reveal my seasoned chalkboard.
I wanted to be able to hang my chalkboard, and take it down when we are traveling, so I drilled two small holes in the top and knotted on a piece of suede cording.
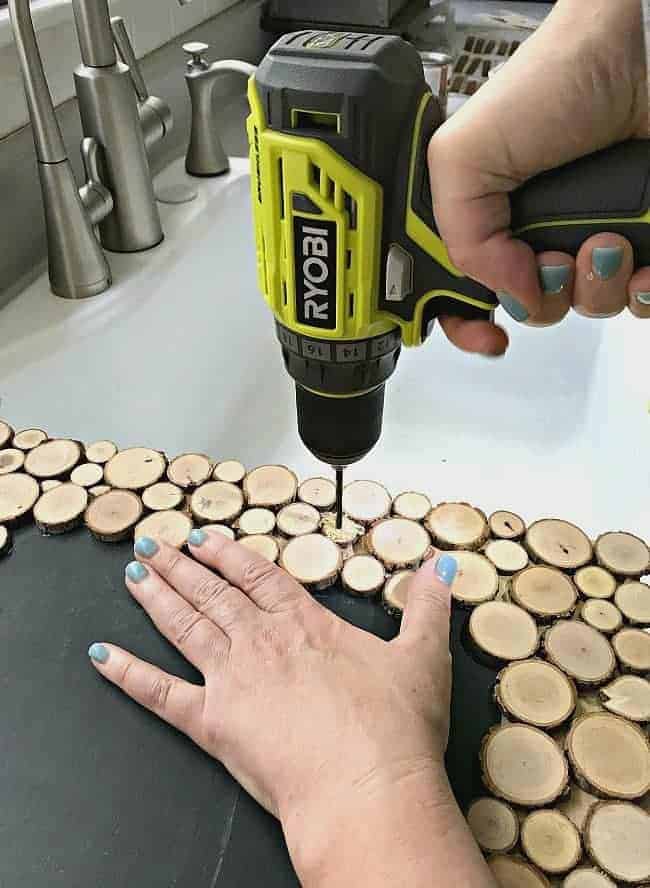
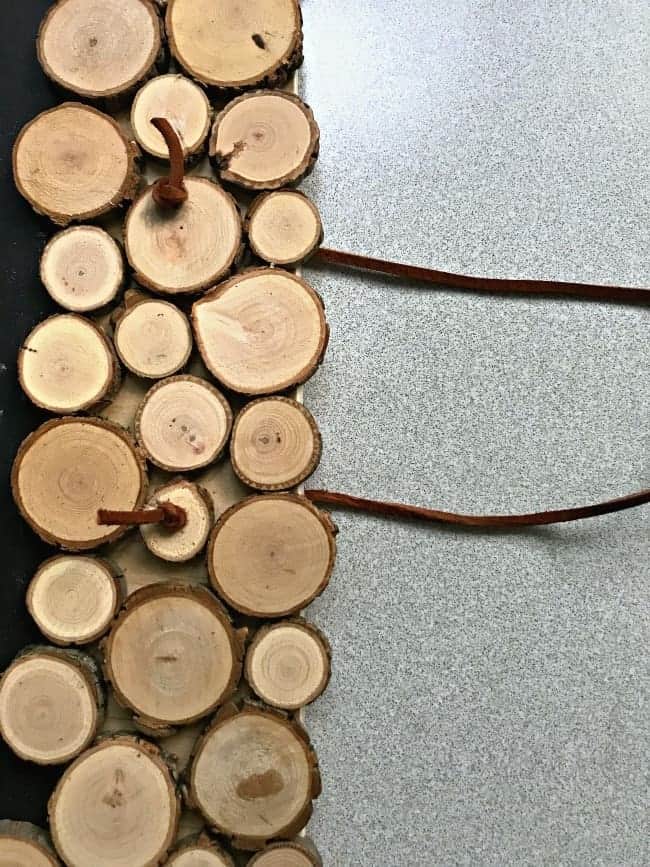
The chalkboard was done and ready to hang but I needed a hook.
I wanted something rustic to go with the look of the chalkboard, so I decided to whip up my own creation.
Supplies For Wood Round Hook
- 2 wood rounds, 1 small and 1 medium
- wood screw
- drill
- Gorilla Glue Brush & Nozzle
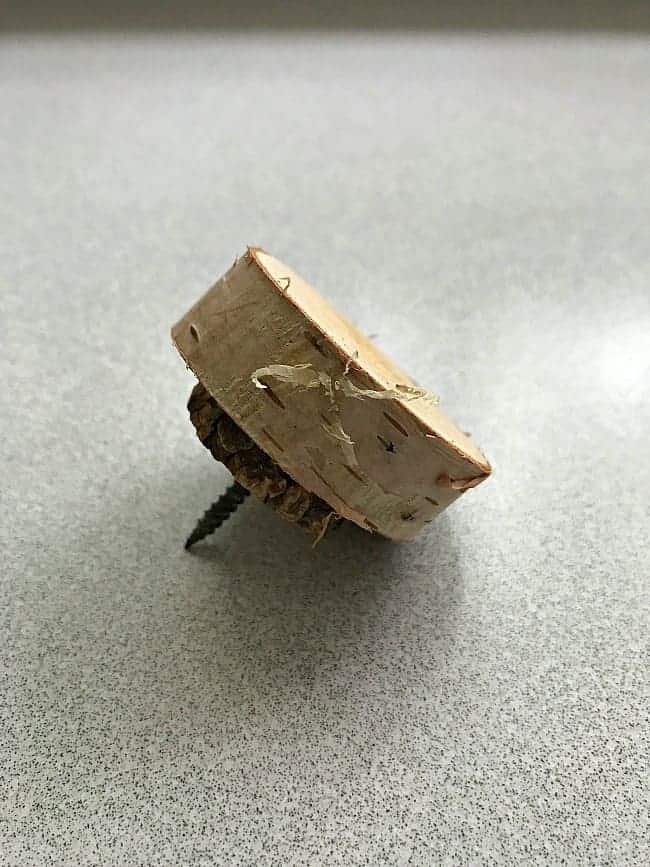
Instead of using a store bought hook or, Heaven forbid, a plain, old screw, I decided to make my own rustic hook.
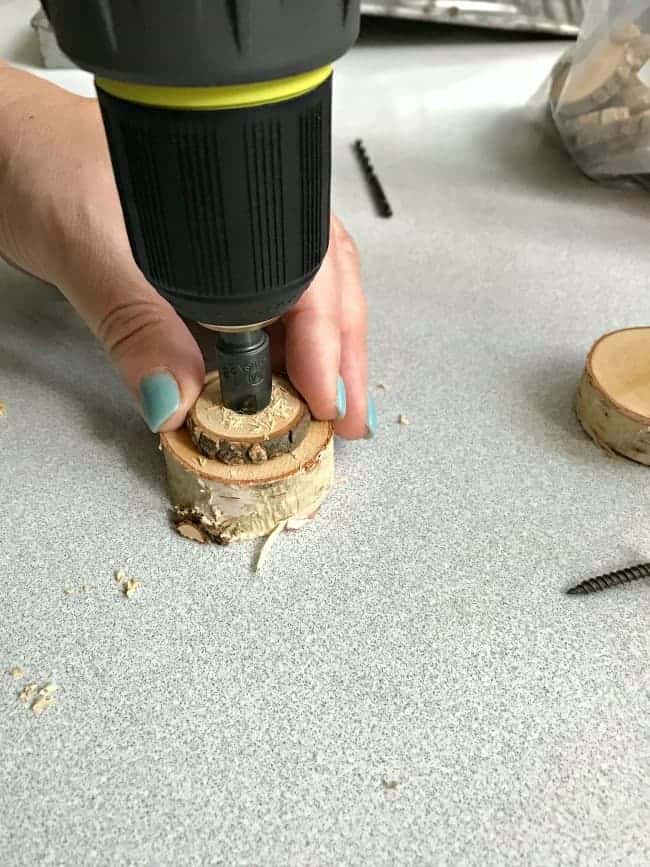
I went with the supplies I already had and used 2 wood rounds and a screw. I didn’t want to be able to see the screw so I predrilled a hole in the wood round.
Then I used a countersink bit so that the screw head was flush with the wood round.
Next, I used the handy brush applicator to apply a generous amount of glue around and on top of the screw and smallest wood round.
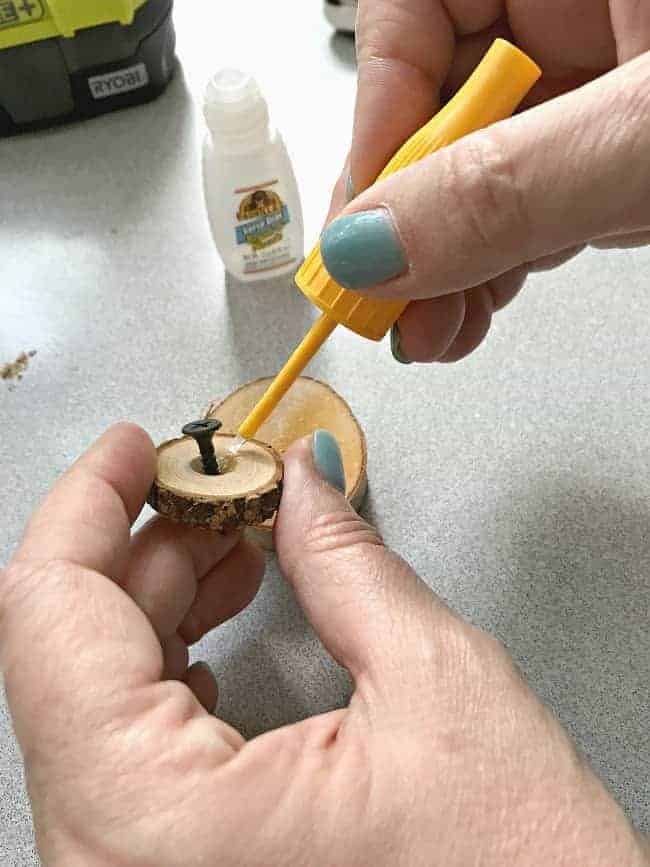
After that, I centered the big bigger wood round on the smaller wood round (hiding the screw head).
Voila! A one-of-a-kind wall hook.
I had so much fun doing this project and I’m excited to change out the chalkboard when we’re out on the road.
