
Tips on Caulking
Easy tips on caulking holes and cracks in your walls.
Until we moved into this house, my husband was the one that usually did the caulking. In this house though, I’ve done it all and I’ve learned how to do it without making a major mess. I did make some big messes in the beginning, but with some instruction from Roger, and some practice, I’ve gotten better so I thought I’d share some of my tips.
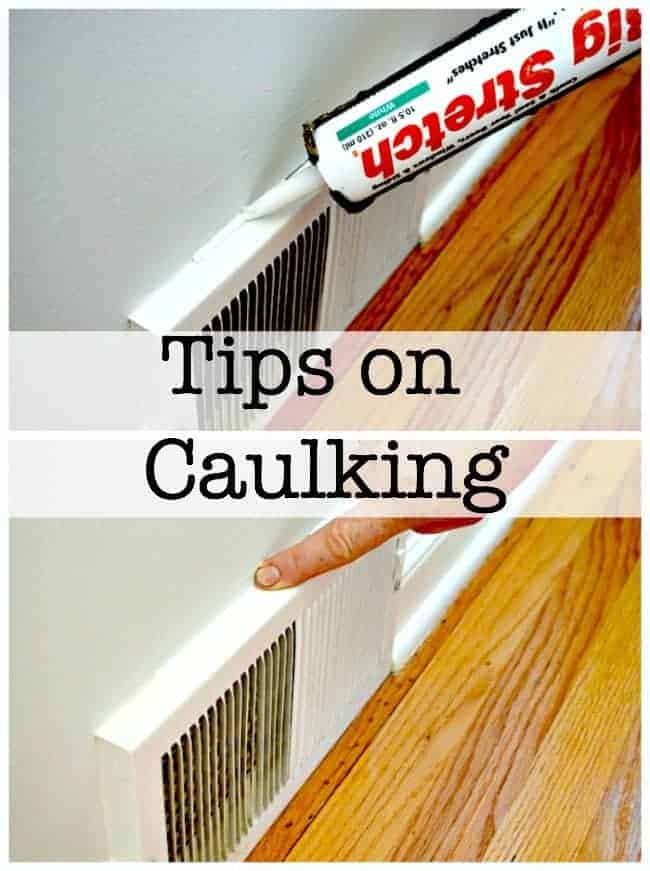
The first room I redid when we moved in last year was our bathroom, which had dark trim and woodwork that I painted white. When you paint something that’s dark a light color you see every hole and seam, so caulk becomes an important tool. I think I ended up using 3 tubes in that tiny room, and I’m sure that I wasted a lot, but I’ve gotten better with each room I’ve redone.
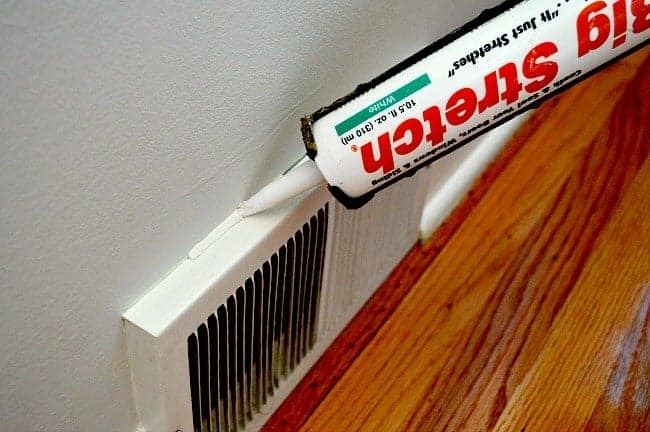
You can buy caulk in small squeeze tubes, which are good for small jobs, or you can get big tubes and a caulk gun. I like the big tubes and caulk gun because we are always using it for something. There are so many different types of caulk out there and right now I’m liking Big Stretch, I am not affiliated with Big Stretch, I just like it!
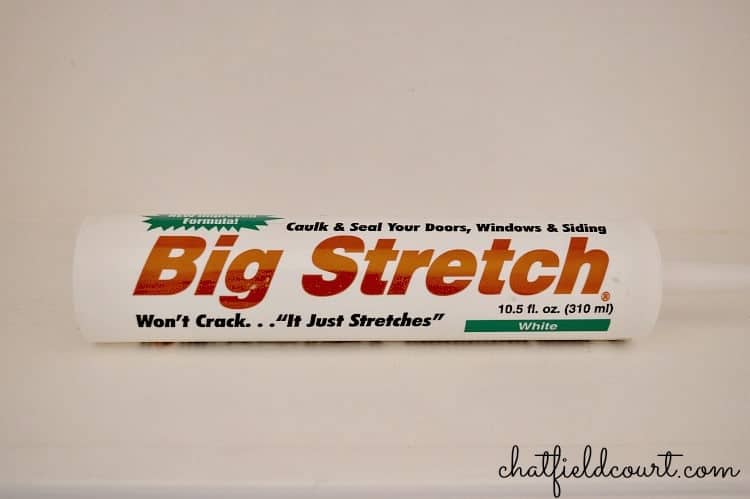
It’s a great general purpose, easy to use and easy to clean up caulk that I use to fill holes, seams and cracks. We had a lot of trouble with splitting, shrinking caulk this winter and scraping out old caulk to recaulk is no fun, so after some research, I found BS and I’m hoping it will last. So far so good. I’ll let you know if that changes.
OK…to start, you need your caulk of choice and a caulk gun. You want to make sure the caulk gun plunger is pulled all of the way out, I use on older caulk gun but newer ones have a release button for the plunger. Then simply place your tube of caulk into your caulk gun and push the plunger back into the tube, nice and tight.
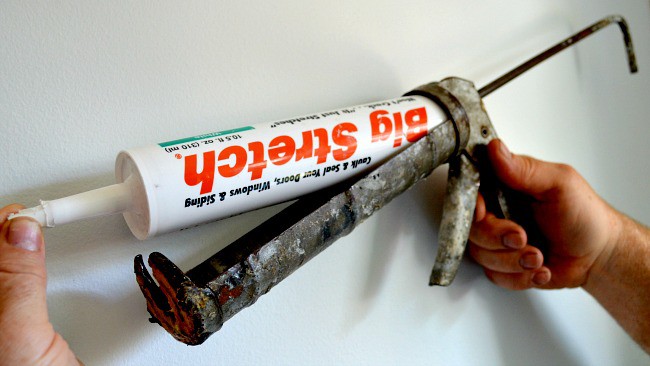
Use a sharp utility knife and cut the tip off. You don’t want the hole in the tip to be too large or too much caulk will come out. Now you are ready to caulk. My older gun has a ribbed plunger that you turn to release the caulk.
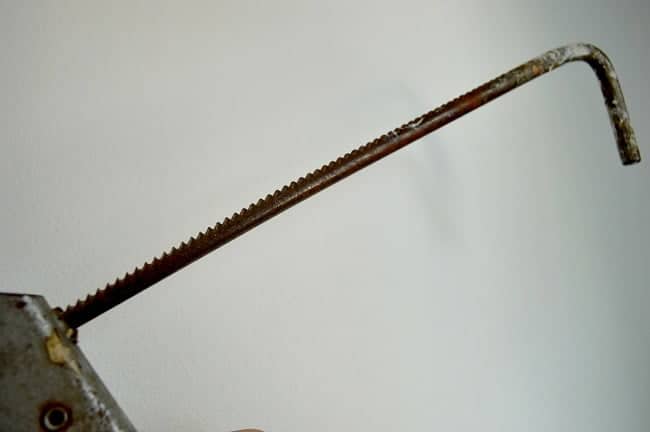
For my older gun I turn the plunger so that the ridges are facing down toward the floor. Hold your gun right on the area you want to caulk at a 45 degree angle. Squeeze the trigger a few times to get the caulk moving and slowly work your way along your crack.
When you’ve reached the end, release the trigger and turn your plunger the opposite way so that the ridges face the ceiling. If you don’t spin the plunger so that the ribs are facing up, the caulk will continue to ooze out of your tube.
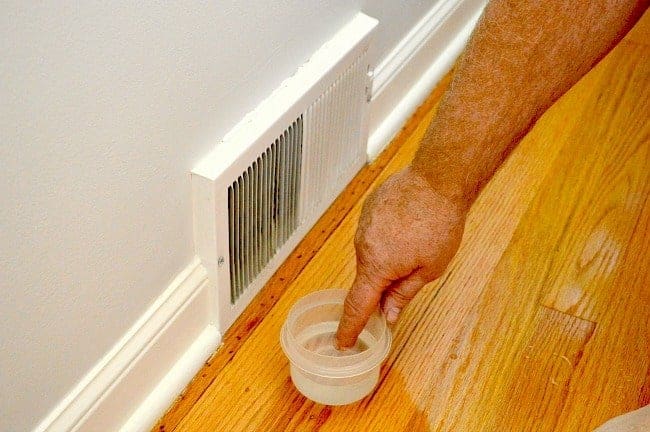
You should have a nice thin bead of caulk over your crack. I then take a small bowl of water, dip my finger in it and run it along the bead to smooth it out.
Please excuse Roger’s not so clean fingernails. He was working hard in the yard right before I asked him to model for my pictures. 🙂
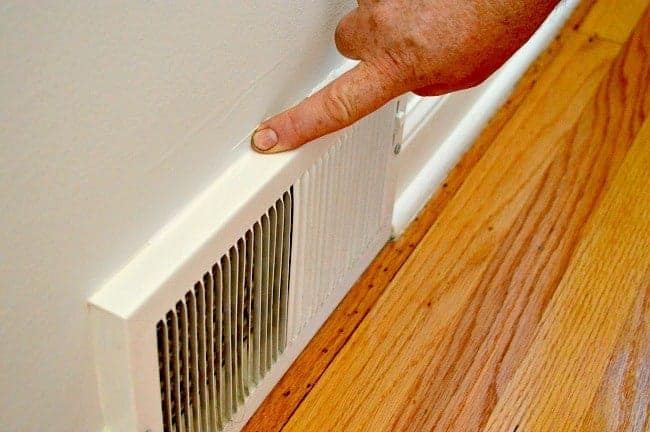
The water really helps your finger to move along the caulk smoothly. I find that when I use water I have less of a mess and it’s easier to work with the caulk.
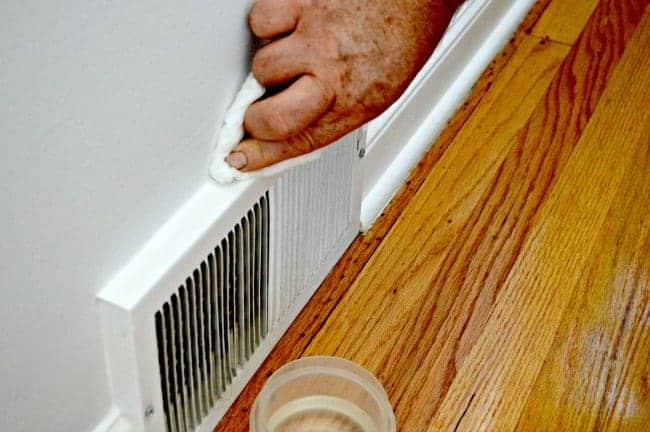
Next I take a wet towel and lightly wipe along the smoothed out bead to clean up any extra caulk.
That’s it.
Caulk is great for hiding all kinds of flaws and mistakes, like when I painted the bathroom vanity.
Just make sure it’s completely dry before you paint.
To keep the caulk from drying out, we usually put a nail in the hole in the tip until we are ready to use it again. Something that has a head on it that’s bigger than the hole.
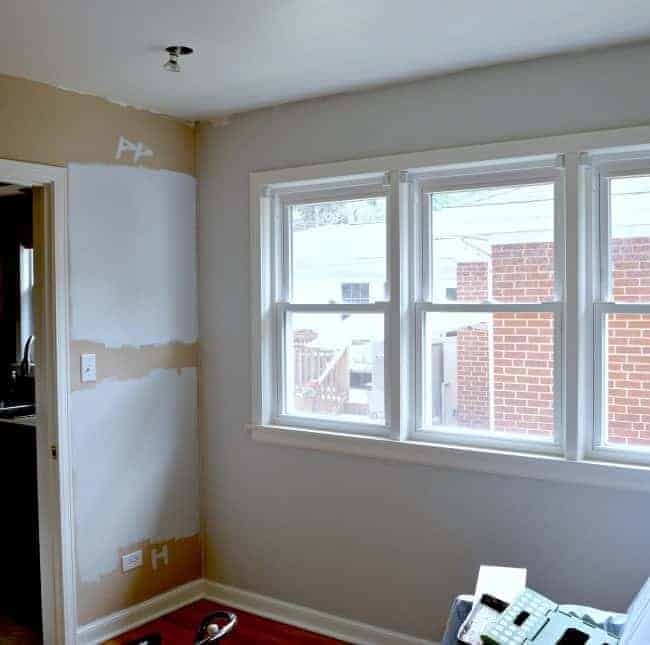
Besides caulking, I have been busy doing some other projects in the guest bedroom…painting the ceiling, painting all of the trim and painting 3 doors (front and back).
I also painted a coat of BM Gray Owl on the wall where the planks will go and I put up 2 paint samples. The top one is BM Palest Pistachio and the bottom one is BM Horizon.
The open windows washes out the color so it’s hard to see the difference between the two in this picture.
While trying to decide what color to paint the walls, I bought wood and had it cut into planks for the water damaged wall. The next job is to install the crown molding and then we can work on the plank wall. I also have something planned to replace the futon.
I’ll need Roger’s help, who is really busy at work right now, so who knows how long it will take to get it done. A lot to do yet, but we’re moving along.
Do you have any caulking tips to share? Do you find it as difficult as I do to pick a paint color?