How to Build a Knee Wall Cap
This post may contain affiliate links, please see our policy for details.
How to build a knee wall cap to cover the top of a half wall that doesn’t match your decor. Whether it’s in an entryway, living room or kitchen, you can easily transform it.
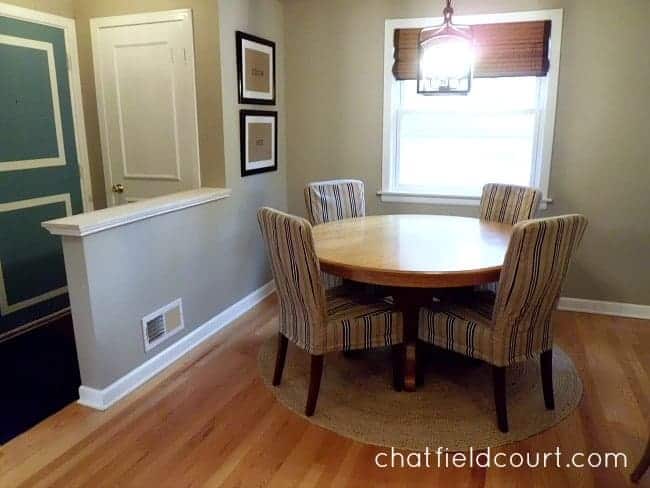
We’re in the middle of the living/dining and entryway makeover but there was something about the entryway that was bugging me.
The walls are painted gray, the woodwork white, and the front door is painted with Benjamin Moore Blue Lake.
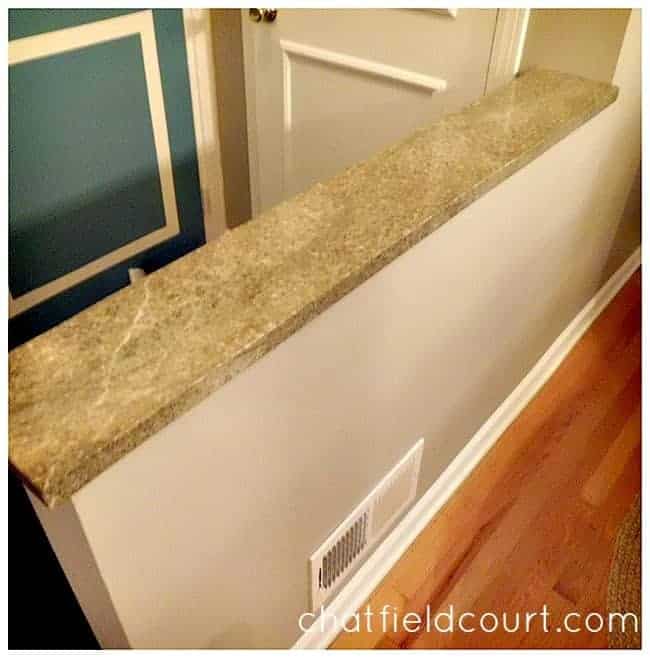
Something didn’t seem right in the entryway though, and then it hit me.
It was the piece of granite on the knee wall, or pony wall, separating the dining area from the entryway. It’s nice and there’s nothing wrong with it, but it’s green.
Now don’t get me wrong, I love green. The problem is that it doesn’t really go with the colors of my room.
We knew that ripping it out would be a bigger job than we were looking for, and could leave a hole in the wall, so we decided to build a half wall topper to go over the green granite.
This actually turned out to be a much easier project than we thought and it cost us less than $35 for supplies.
Supplies for knee wall cap
We started with the chop saw to cut the piece of pine to length and the molding into three pieces.
After all of our wood was cut, we put the pieces together.
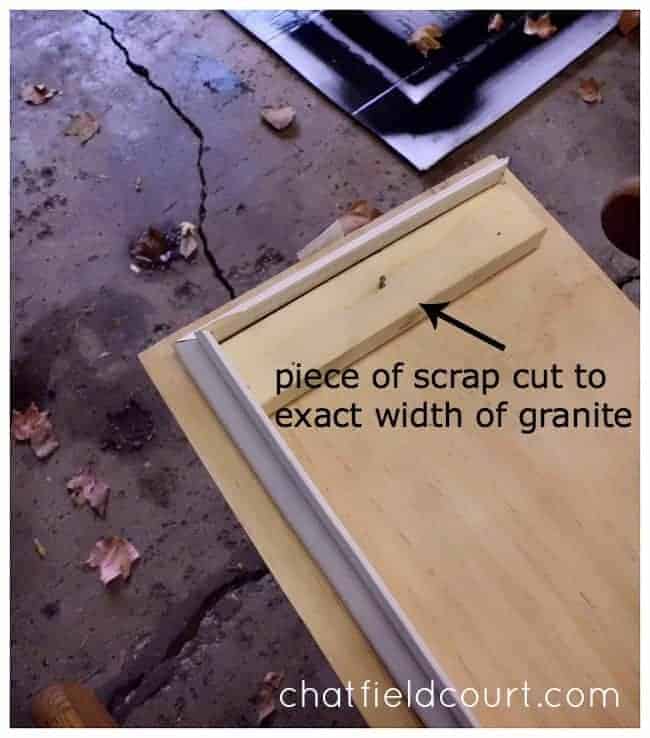
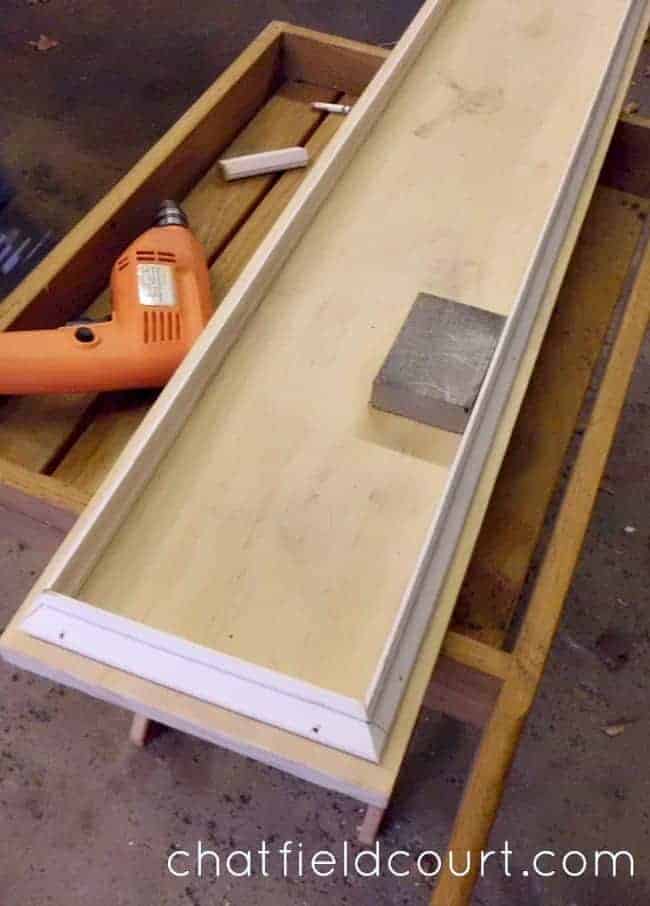
We used a piece of scrap wood, that he had cut to the exact width of the green granite, as a guide for the molding placement.
We simply nailed it into the pine plank and then placed the molding around it.
The wall cap had to be a perfect fit, without the chance of having it shift around, and this trick guaranteed that it would be snug.
After the molding was in place, we drilled small pilot holes into it so that the wood wouldn’t split when he put the nails in.
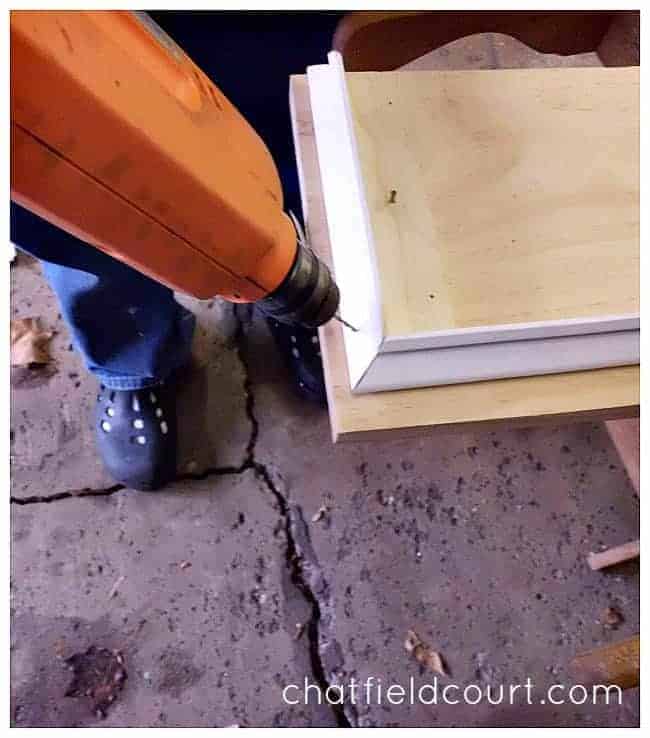
We didn’t go all the way into the pine plank itself because it wasn’t necessary.
Next, we nailed the molding to the pine plank and set the nails using a larger nail (we did this because we didn’t want the hammer to make dents on the wood while hammering the nails in).
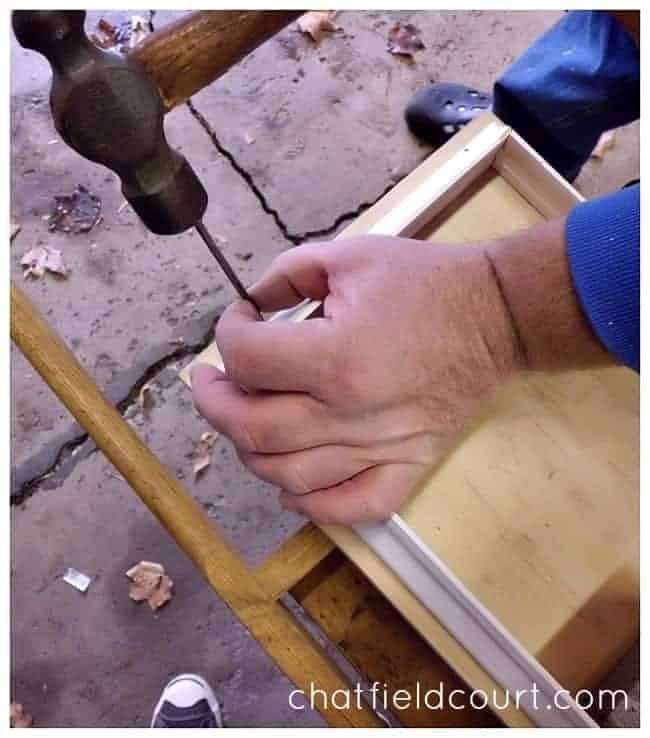
Once all the nails were set, we removed the scrap piece of wood that was our spacing guide, and sanded the molding and the plank.
Now it was ready for primer and paint.
First I caulked all of the nail holes. Then I primed the pine plank and the molding.
Once the primer was dry I sanded them and then painted everything with my white trim paint.
I lightly sanded again, and then painted one more coat of white.
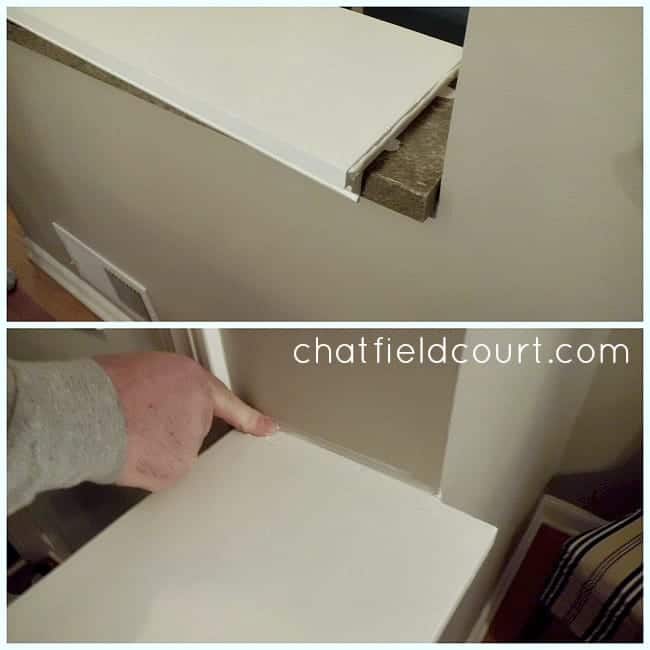
Once it was dry, we used caulk to put four quarter sized dabs on the top of the green granite.
We used caulk so that if we ever want to remove the cap, it should come off without damaging anything.
Then I laid a bead of caulk on the end that went against the wall.
Once it was pressed into place, we wiped up the caulk that squished out, and we were done.
It only took us about an hour to build the half wall cap, and it took me about an hour to paint and sand it (not including drying time).
It took us about 10 minutes to caulk it and place it on the wall.
It’s a nice, snug fit, and now it matches the color of my woodwork in the house.
This was an easy and cheap project that’s the perfect finishing touch in our entryway.
Speaking of entryway, check out all of our updates on this small, hard-working space.
Have you ever tackled this kind of project?
Let’s hear your knee wall ideas.
