DIY Rustic Nightstand Makeover
This post may contain affiliate links, please see our policy for details.
An easy and inexpensive DIY rustic nightstand makeover for a thrifted piece of furniture.
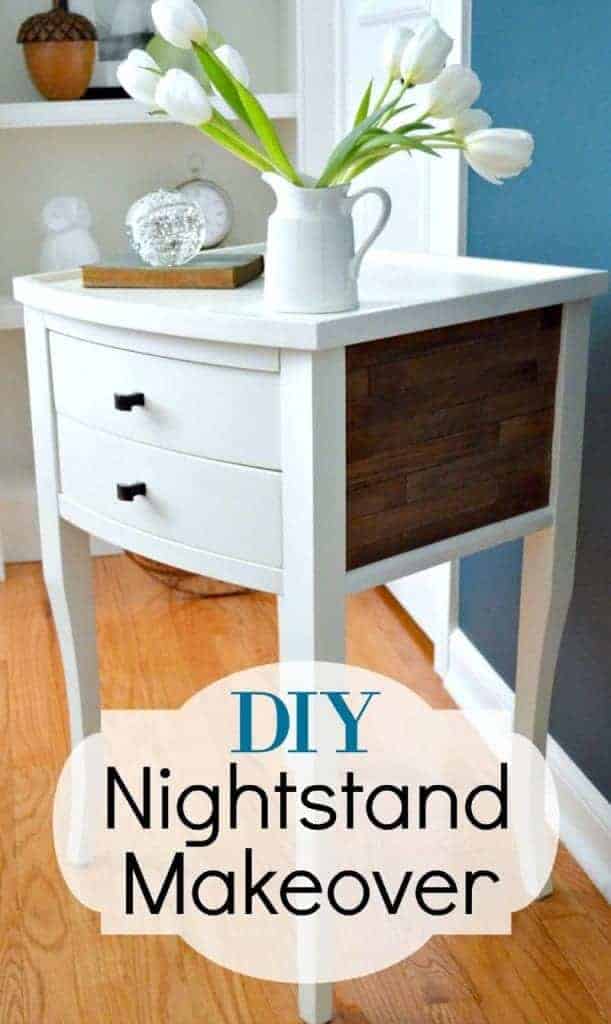
We just started a guest bedroom makeover which includes bold new paint and a few new furniture pieces. One of the new acquisitions for this space was going to be a nightstand from West Elm.
After starting the redo and assessing my needs and wants for the room, I decided to stick with what I had and to try to give our old nightstand a new look.
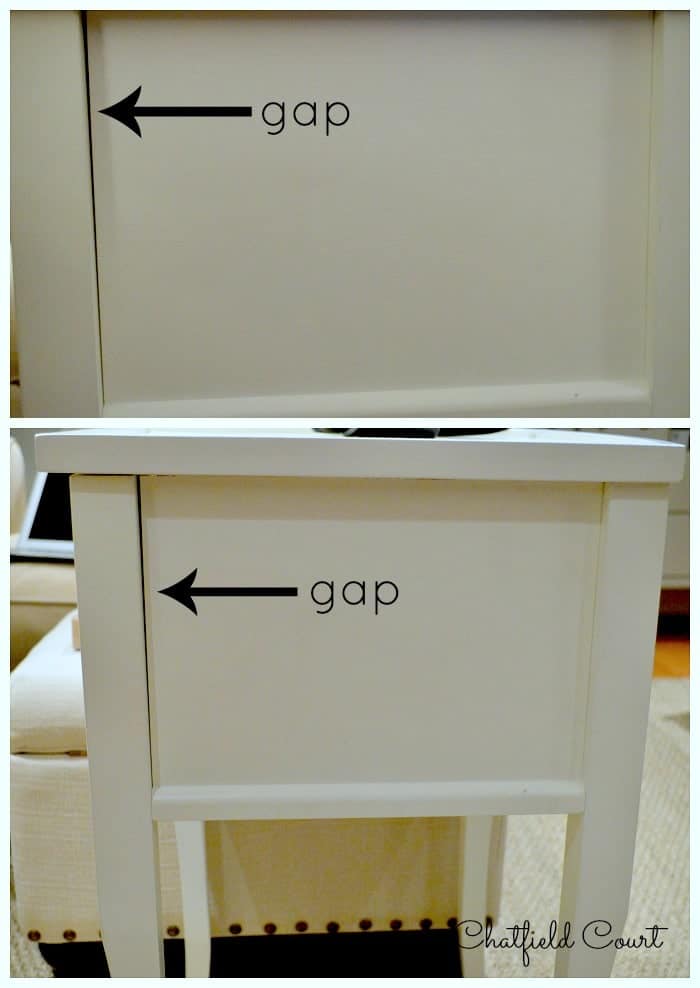
I bought this piece years ago at a thrift store. It was really inexpensive but the problem was that you could tell.
How do you revamp a nightstand?
Although it’s made of wood there was a big gap on both sides that I wanted to try to disguise with trim. Instead of trim though, I came up with another idea.
I decided to try to use paint sticks that I got from the paint store to give it a different look and to cover up the gaps.
Because I love the look of planked walls, I thought I would try that idea but on a much smaller scale (and on an old nightstand).
I figured that I had nothing to lose by trying and dove right in.
Supplies for DIY rustic nightstand makeover
- paint sticks (I used about 25)
- wood stain
- wood glue
- sand paper
- utility knife
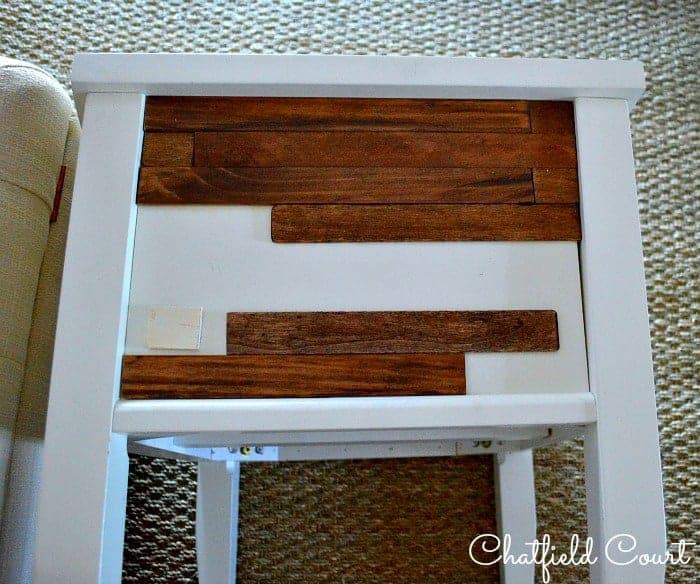
First, I laid a few of the paint sticks on the nightstand so I could see where the seams would lay.
Once I had an idea of what I wanted, I used the utility knife to cut the notched handle off, so that I had straight pieces.
Next, the rough edges were lightly sanded smooth. Since one stick wasn’t long enough to fill a whole row, I ended up using a small piece of another stick.
I also staggered the seams to keep the rustic feel.
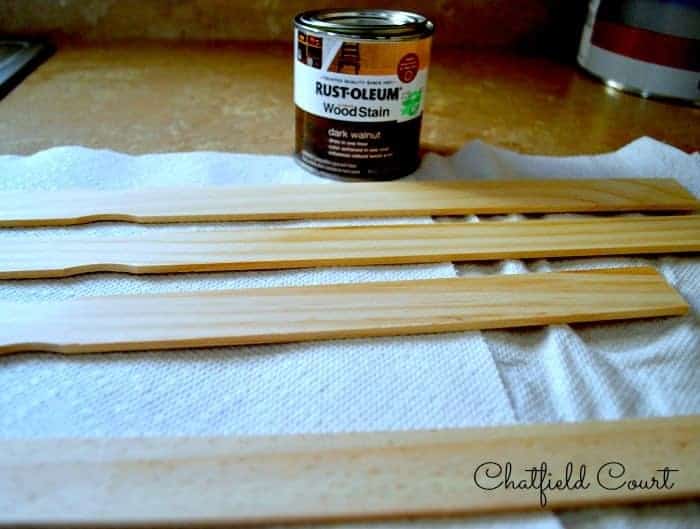
Next, I used a paper towel and rubbed dark walnut wood stain on each paint stick.
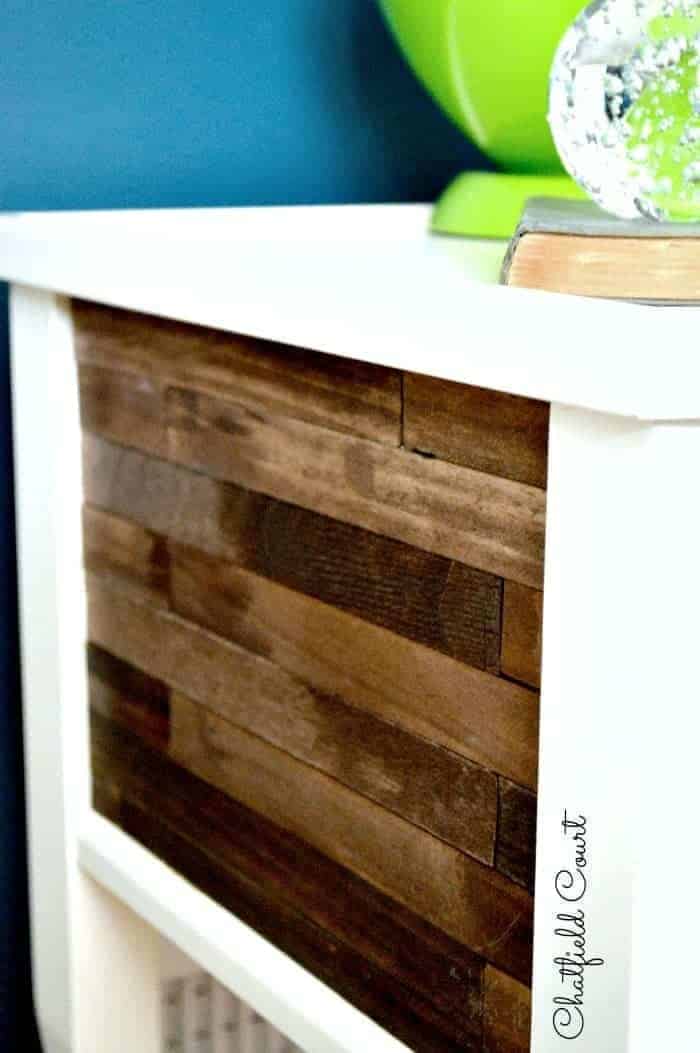
The paint sticks I got were all made from different wood, so that really added to the rustic look. I wasn’t sure if I would like it but I really loved the differences in the wood tones.
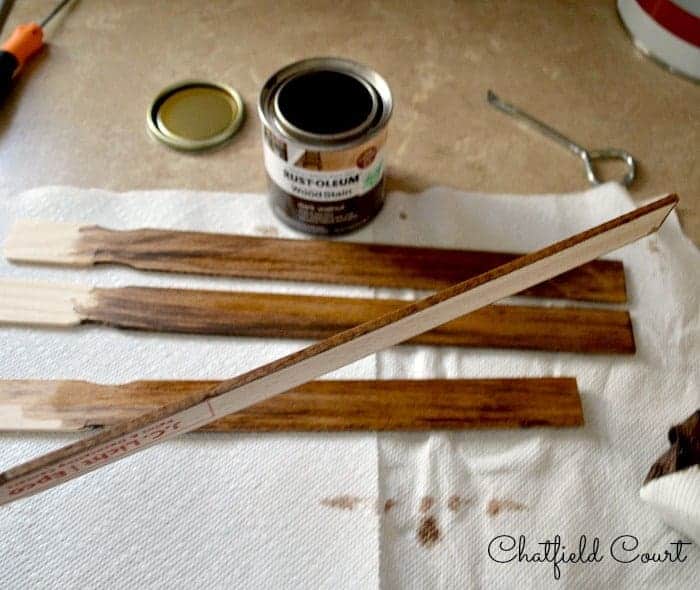
After they were dry, which didn’t take long, I glued each piece to the side of the nightstand with wood glue.
To ensure that my sticks stuck, I ended up using a heavy weight and some canned beans to weigh them down until they dried.
Once I finished one side of the nightstand, I flipped it over and glued down the other side.
That’s it.
This project really was so easy but it did take me take me some time to complete because I had to let the glue dry before I could remove the weights and move on to the next row.
You can really see the difference in the wood tones in this pic.
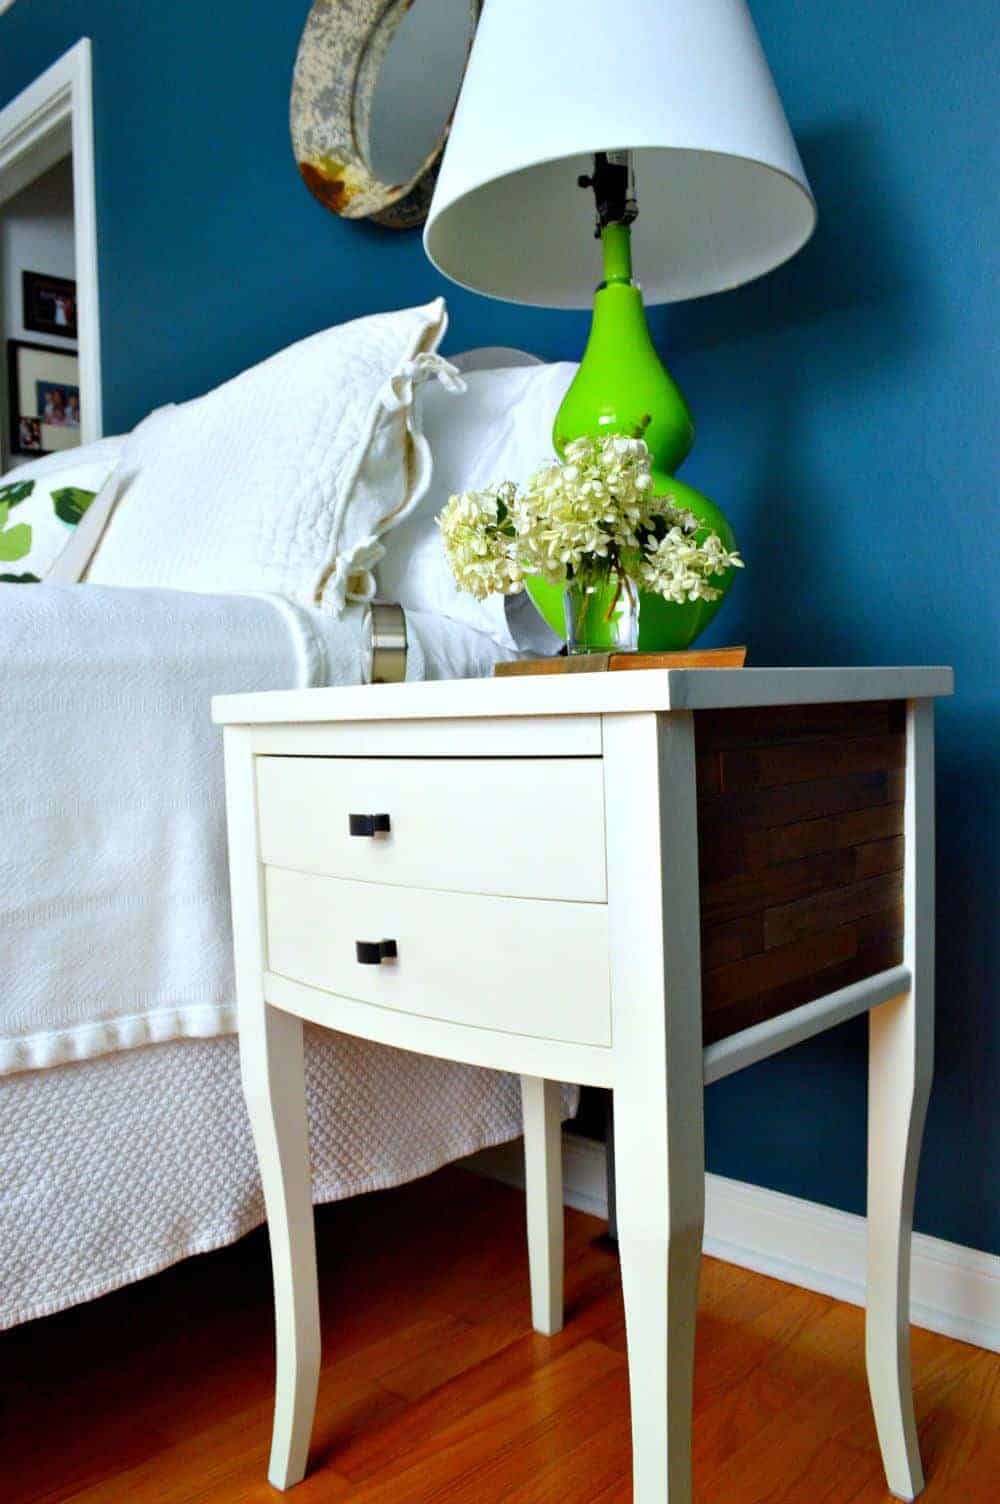
To add to the rustic look, I also replaced the glass knobs with oil-rubbed bronze knobs that I already had.
So what do you think? Is this nightstand makeover something you would try? I like that it was practically free to do.
I already had the glue and the stain on hand and the paint sticks were free. There’s nothing better than free!
Now I have a more modern nightstand that has a rustic twist.
As always, thanks so much for stopping by!
