DIY Moss Covered Easter Eggs
This post may contain affiliate links, please see our policy for details.
How to make DIY moss covered Easter eggs for Spring and Easter. This is an easy and kid-friendly project that only requires a few supplies.
Happy Spring!
It’s that wonderful time of year when the flowers are blooming, the grass is turning green and the trees are popping.
It’s also the time of year when we’re decorating our houses for spring and thinking about Easter.

Our girls are grown and out of the house so we don’t dye Easter eggs like we used to. I really wanted to do something with eggs though, and I wanted the option to keep them out for several weeks.
Real eggs were out so I came up with a quick and easy rustic Easter egg, using moss.
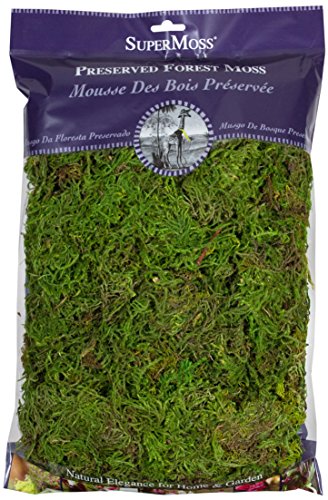
Supplies to make moss covered Easter eggs

This is seriously so easy to do and it would be a great project to do with kids.
Creating moss covered Easter eggs
I started by squirting the Tacky Glue on one side of the paper maché egg, that I laid on top of an upside down bowl to prevent it from rolling.

Next I grabbed a small bunch of moss and pressed it on the glue, making sure the paper egg was covered. After I covered one side, I turned it over to do the other side.
Once the egg was covered in moss I worked my way around it, pressing the moss so it stuck to the egg. If I found any bare spots I just put a dab of glue on it and a small piece of moss

When I was sure that the moss was sticking and all of the paper was covered, I used scissors to trim the wild pieces that were sticking out. You can leave it as wild as you want but I wanted my eggs to be neat and trim.

That’s it!
In less than 20 minutes you can make 3 rustic Easter eggs covered in moss.

This was so different from coloring Easter eggs naturally with red cabbage that we made a few Easters ago. It actually took less time to make these and because they aren’t real, I can keep them out all Spring.

One tip that I will pass along to you…
Don’t put these where your dog can reach them. I had mine in the sunroom on the ottoman. Apparently Finn found them and decided to play with them. I think the smell of the moss is what got his attention.
Anyway, learn from my mistake and keep them out of your pet’s reach.
Lesson learned.

Luckily I had enough moss left over so I just made a few more (and placed them where the pups can’t reach).
Happy Spring!!!

DIY Moss Covered Easter Eggs

How to make moss covered Easter eggs with paper mache eggs, tacky glue and moss. An easy DIY project that's also kid friendly.
Materials
- Tacky Glue
- 1 bag Moss
- package of paper mache Easter Eggs
- scissors
Instructions
- Squeeze glue on one side of egg
- Press moss on glue
- When 1 side is covered in moss turn over and add to to other side
- Press moss on glue on the egg
- Once egg is covered in moss, keep pressing moss so that it sticks to glue
- If you find any bare spots, add a dab of glue and piece of moss
- Press firmly to make sure sure moss sticks to glue
- After egg is completely covered in moss, use scissors to trim moss and add shape (trim as little or as much as you want)
- Let glue dry
- That's it! Decorate with your DIY rustic moss Easter Eggs
Recommended Products
As an Amazon Associate and member of other affiliate programs, I earn from qualifying purchases.