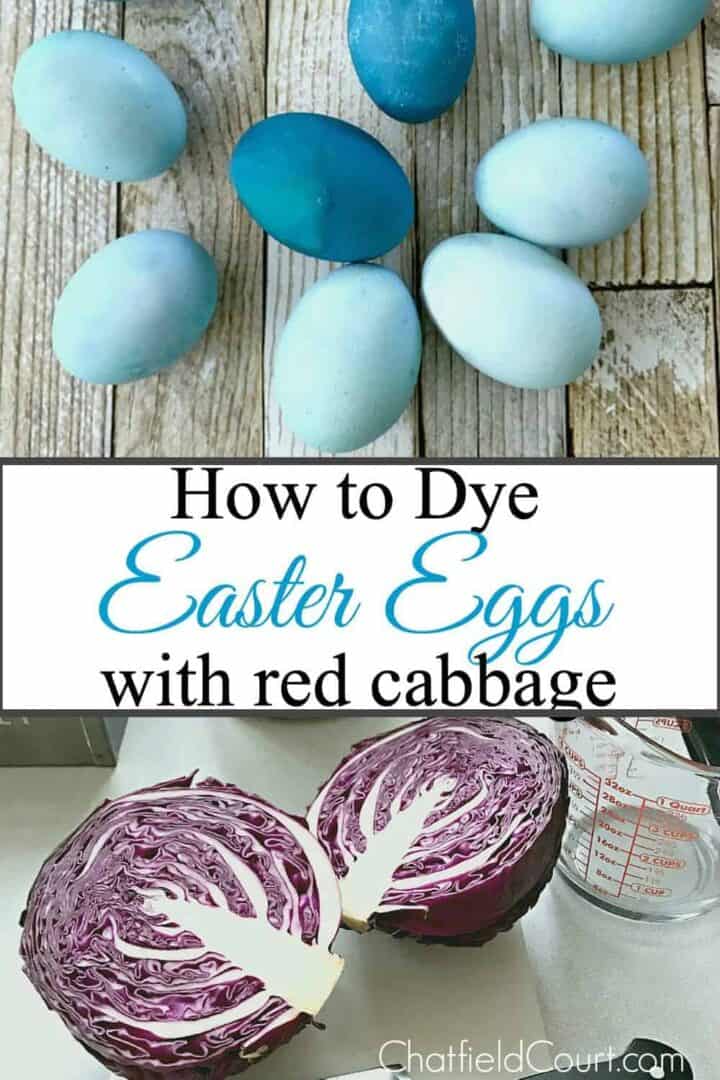
Coloring Easter Eggs Naturally with Red Cabbage
This post may contain affiliate links, please see our policy for details.
Coloring Easter eggs naturally and easily with red cabbage.
We used to enjoy the tradition of dyeing Easter eggs with our girls when they were growing up.
Without fail, the Saturday before Easter we would grab our store bought kit and all sit down for an hour of dip dyeing fun.
The girls are out on their own now so it’s been years since we dyed Easter eggs.
I’ve missed our tradition of dyeing eggs, so this year I set out to do a dozen just for fun.
No store bought kit for me this time though, I wanted to try doing it the natural way.
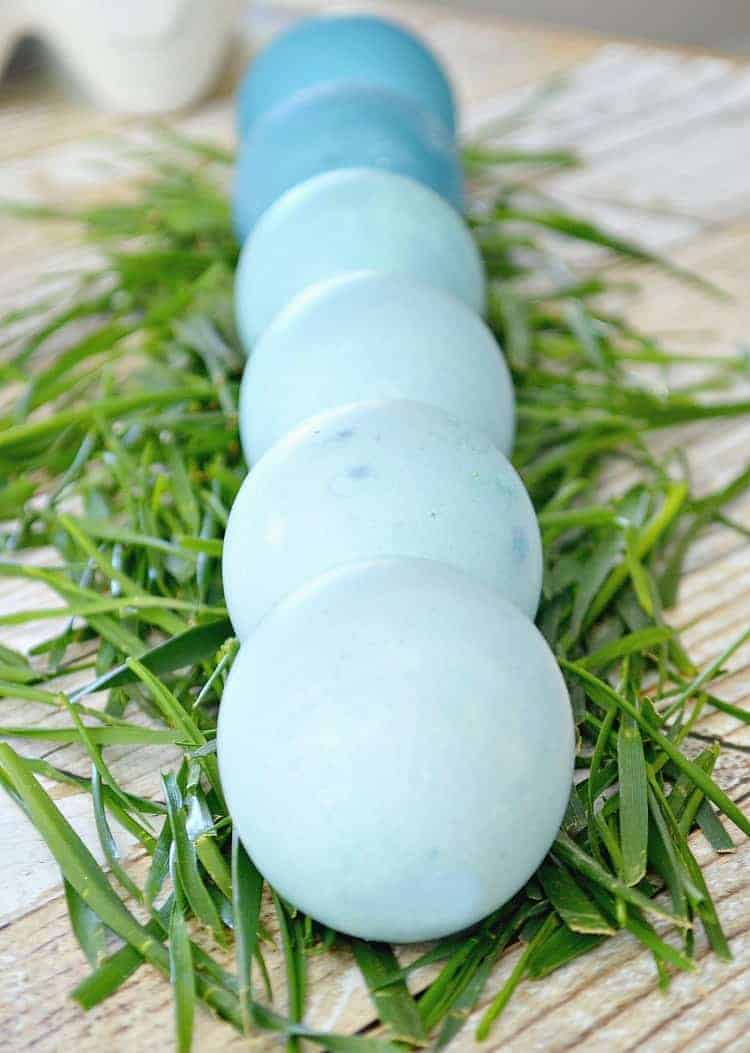
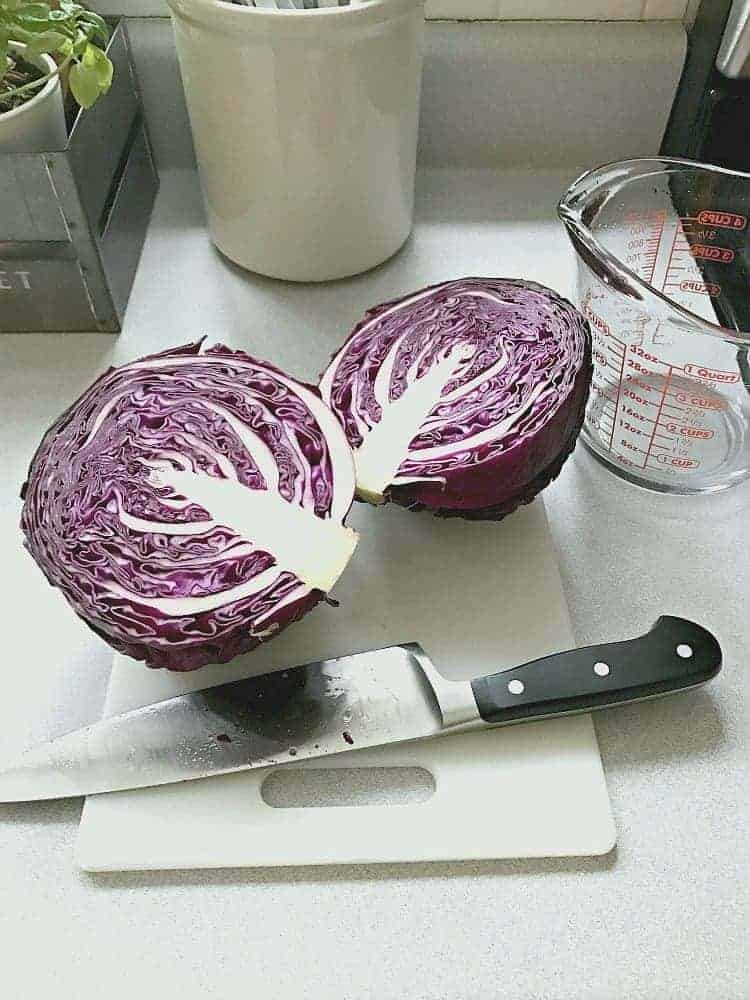
Years ago I’d read about using red cabbage to dye eggs, so I picked up a dozen white eggs and a large head of cabbage from the grocery store and got cooking.
There are so many foods and spices that you can use to naturally dye eggs but I was going for a simple and well, natural process.
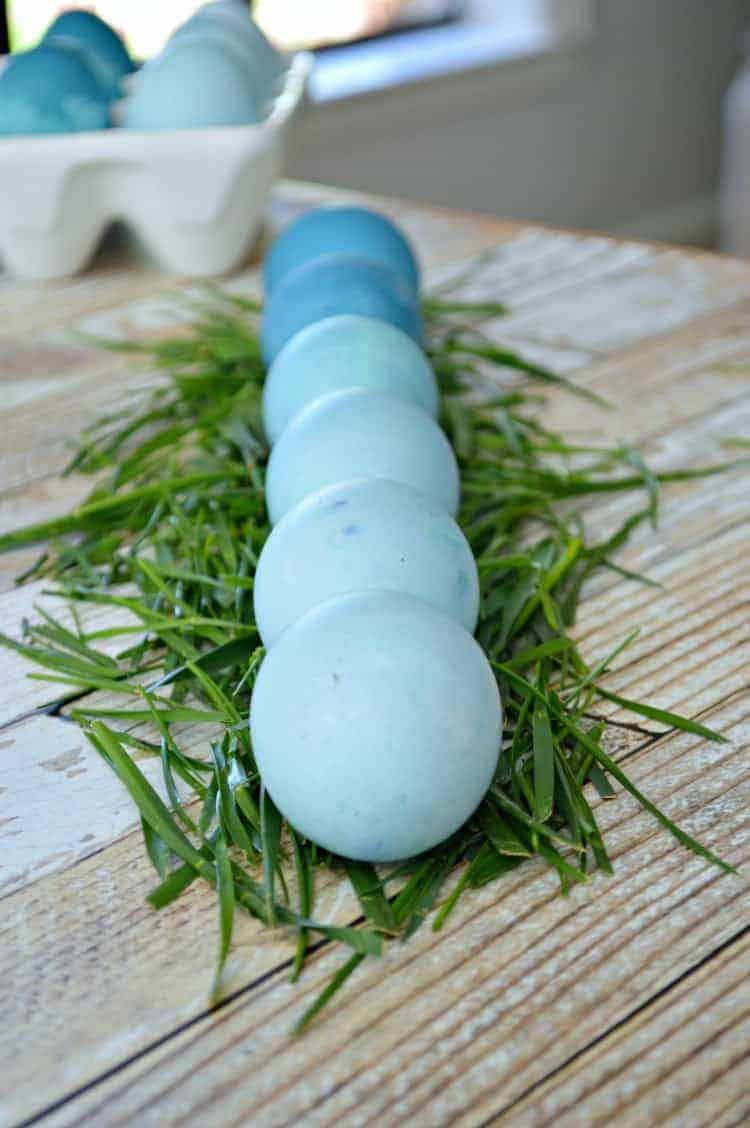
I also really wanted robin’s egg blue Easter eggs so I chose to color mine with red cabbage.
Natural Dye Easter Eggs Supplies
- large head red cabbage
- dozen hard boiled eggs
- 4 cups water
- 2 tbsp. white vinegar
- pinch baking soda (optional)
Making Natural Egg Dye
The first thing you need to do is to make the hard boiled eggs. Everybody has their own tried-and-true method of doing this so we won’t cover that this time.
While the eggs are cooking, prepare the red cabbage by chopping it up and putting it in a large pot with 4 cups of water.
Bring the water to a boil and let it simmer for 15 minutes.
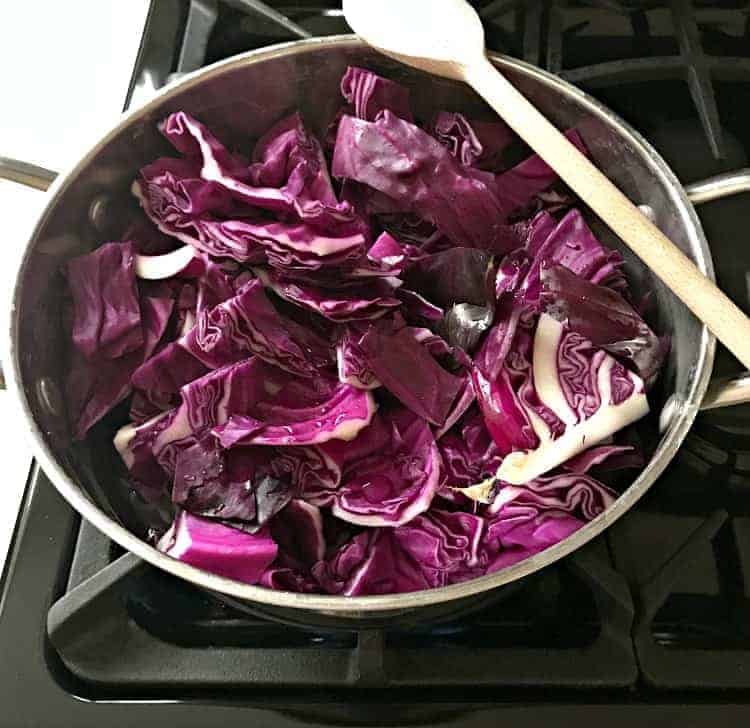
After 15 minutes, I took it off the stove and let it cool. Once the cabbage was cool, I took it all out, leaving only the liquid behind.
Next I added 2 tablespoons of white vinegar to the strained liquid.
I filled two glasses with dye, and I was ready to color my Easter eggs.
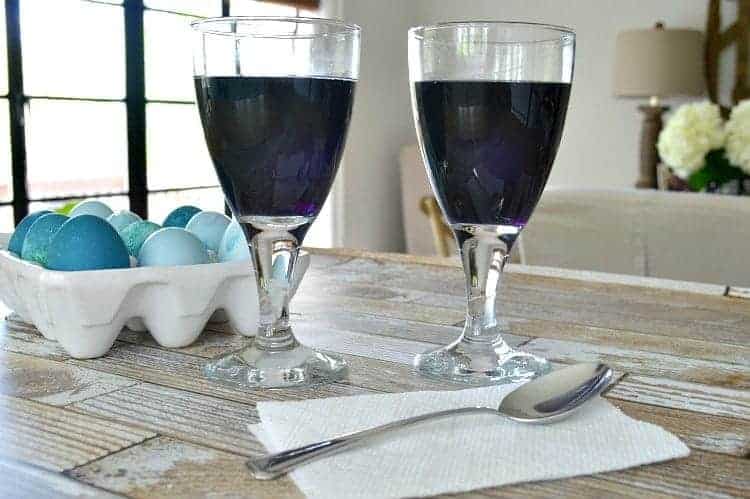
I’d never colored Easter eggs this way before so I did a bit of testing to see how long the eggs needed to stay in the dye.
In using red cabbage, I found that it takes a while for the eggs to turn color.
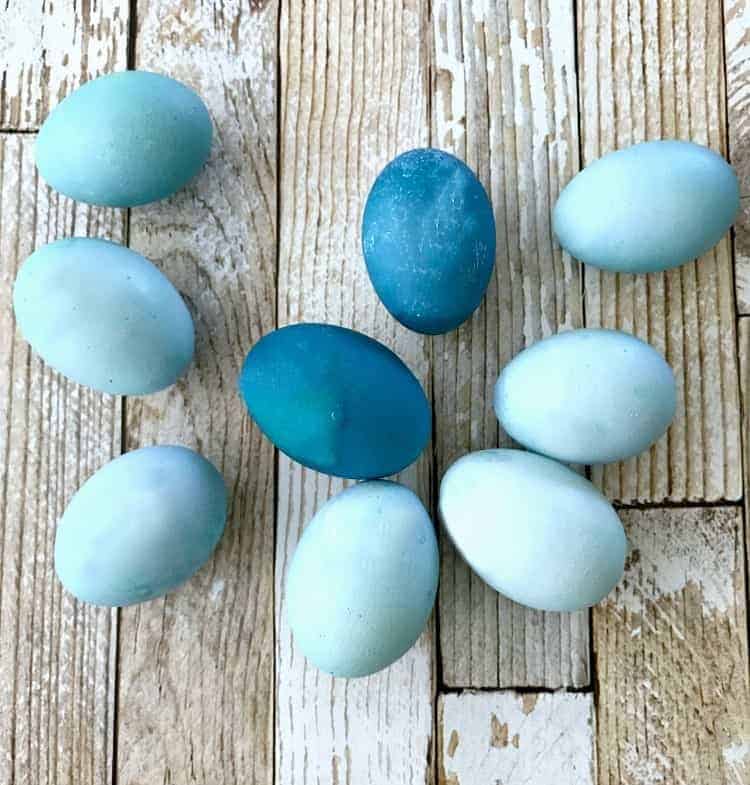
I left the eggs in the dye for as little as 30 minutes and for as long as 12 hours to get different shades of blue.
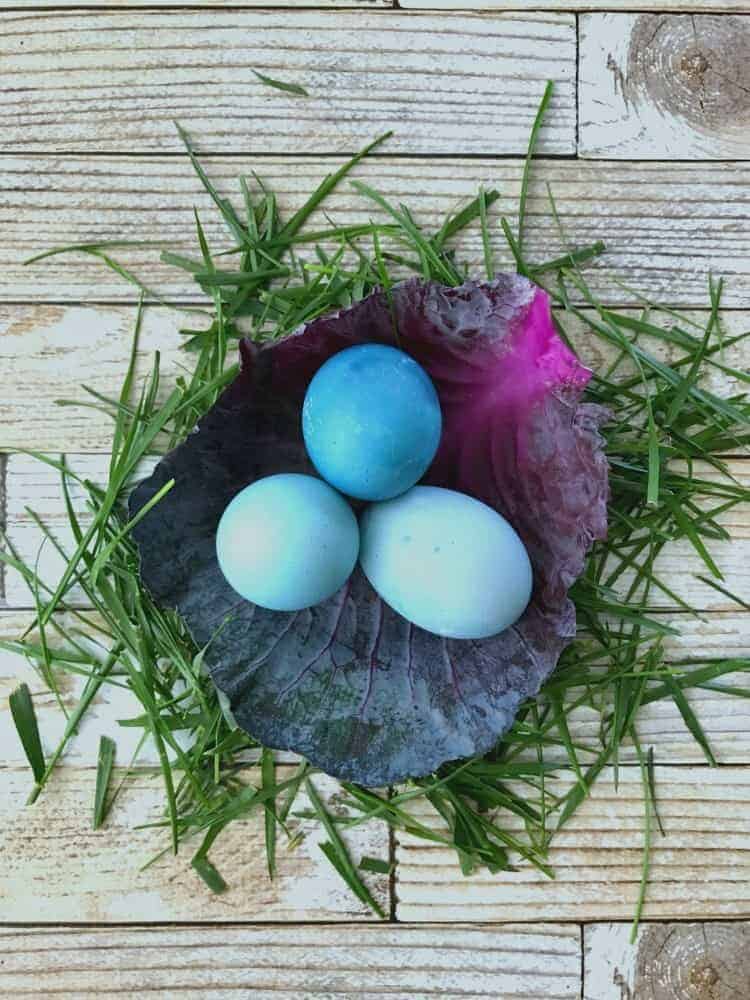
I loved the variation in the colors that I got. The robin’s egg blue was just what I was going for.
Natural Egg Dye Experiment
Because I can’t leave well enough alone, I did a little experiment with baking soda. I’d read somewhere online that adding a pinch could help the egg turn color faster and change the intensity.
You can see the difference in the color of the dye in the glasses.
The glass on the left, with the lighter liquid, doesn’t have baking soda in it, and the glass on the right, which is darker, had a pinch or two of baking soda.
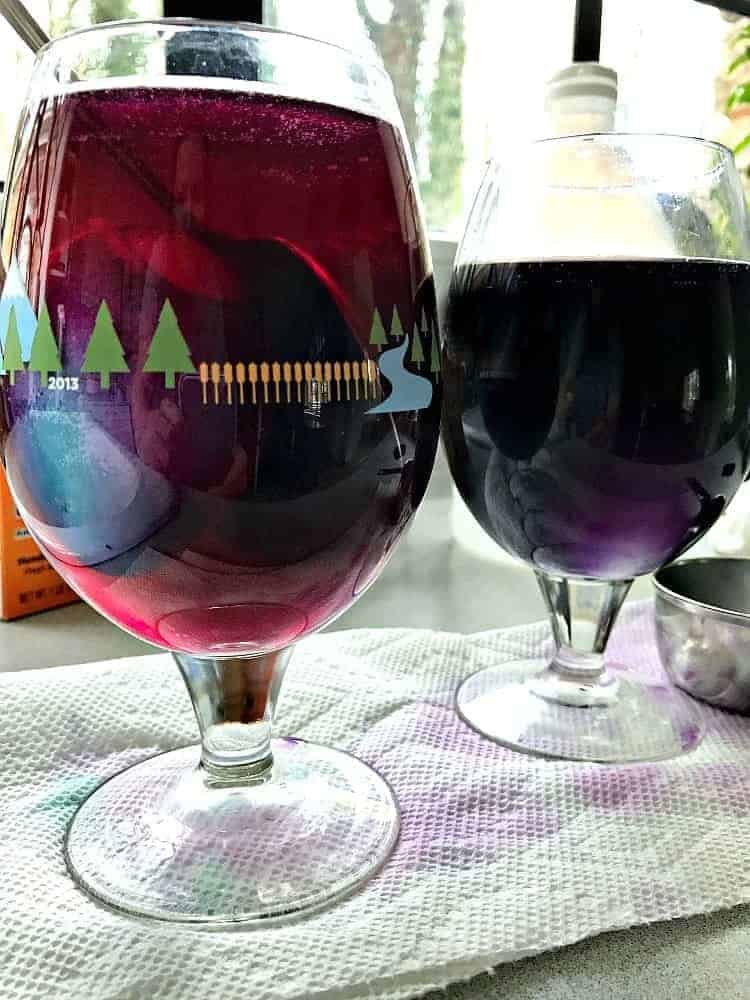
I kept one egg in each glass for the same amount of time but didn’t see any difference in the color.
Either way, they are beautiful.
It was really fun coloring Easter eggs again and it brought back wonderful memories of spending the holiday with our girls.
Have you ever used food to color Easter eggs?
Thanks so much for stopping in.
Happy Easter!!!
Make sure to check out our Web Story.
See more of our easy spring crafts

