DIY Wood Obelisk for the Garden
This post may contain affiliate links, please see our policy for details.
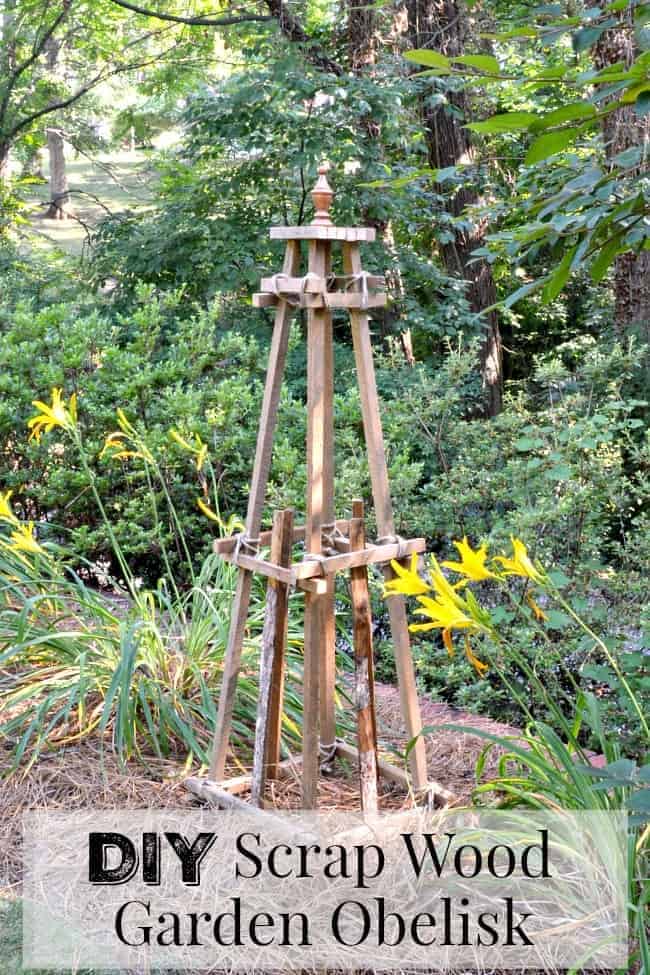
How to make a rustic DIY wood obelisk for the garden from scrap wood.
Working in the garden has always been a hobby of mine.
I’m not super serious about it but I do enjoy transforming a pile of dirt and weeds into a pretty garden with lots of color.
One accessory I’ve always wanted among the flowers in my garden (besides a bird feeder, that I just made) was an obelisk.
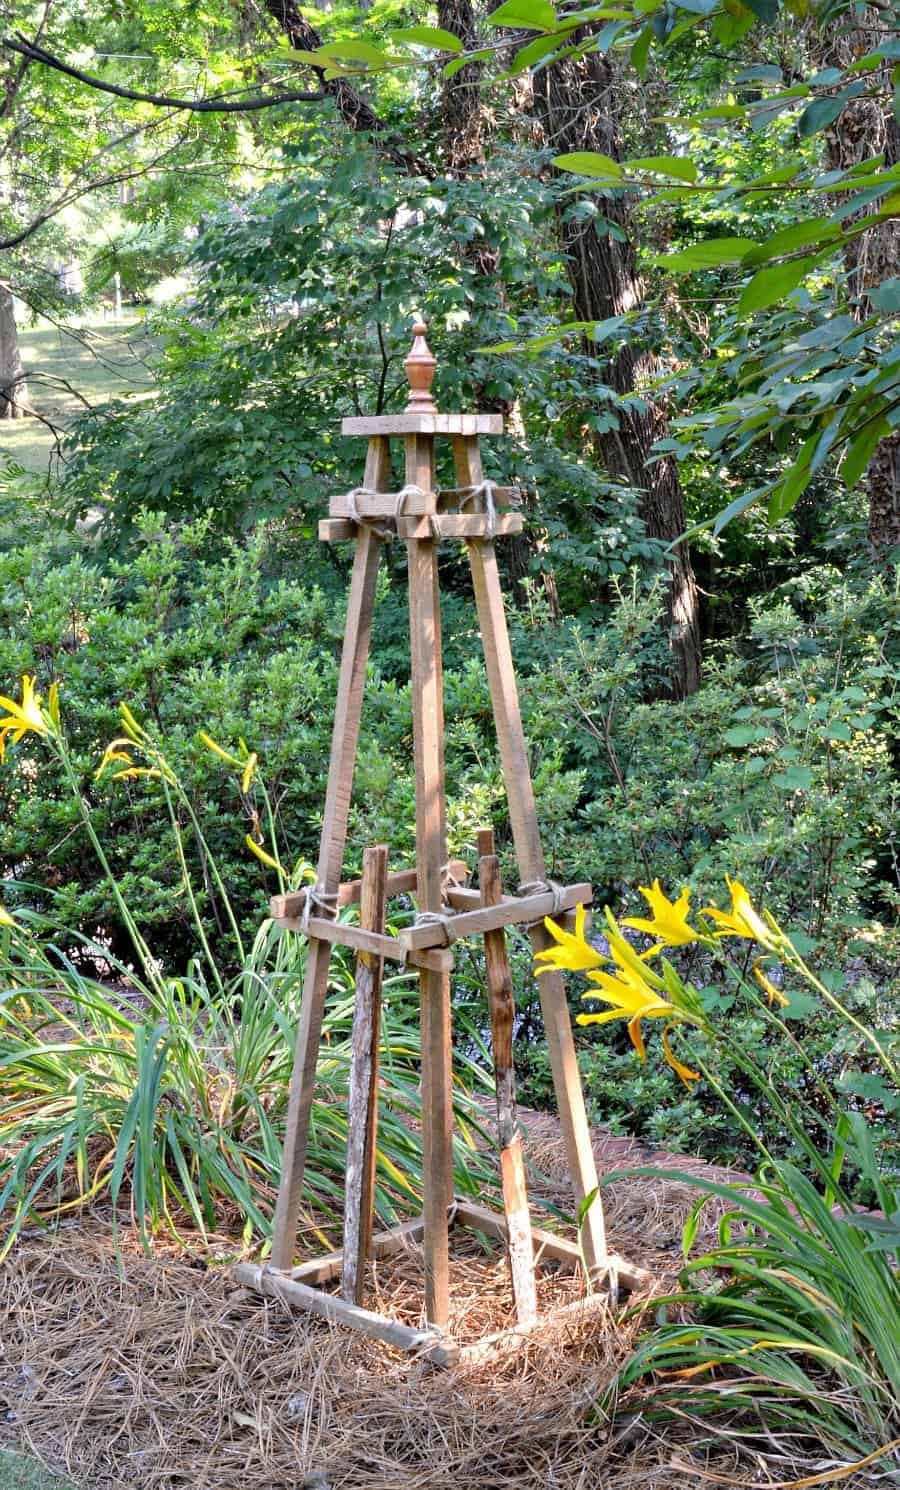
I know…of all the things you could have in the garden, that’s what I want? A neighbor had one several years ago in their flower garden and I’ve wanted one ever since. I tried to talk the hubs into buying one for our veggie garden in Illinois but he wouldn’t go for it. Granted, they cost more than I was willing to spend so I never really pursued it.
That dream never died though, and then this scrap wood challenge came along. As soon as I heard about it I knew what I was going to make and I had the perfect scrap wood to do it.
There was just one rule for this challenge…each project had to be made out of scrap wood.
No problem there because we had a whole pile in the garage. My project would need a certain kind of scrap wood for what I had in mind and I just happen to have some left over from another project. A bundle of old, rustic tobacco stick scraps just waiting for the perfect project…a DIY wooden garden obelisk.
I know that most people don’t have a scrap bundle of tobacco sticks hanging around their garage. You can really use any kind of wood for this project to make your own unique obelisk, in the perfect size and shape for your garden.
Garden Obelisk Supplies:
- scrap bedpost finial
- scrap tobacco sticks
- jute twine
- spray paint
- 1 ¾” brads
- nail gun
- chop saw
- tape measure
So the beauty of this kind of project, besides the fact that I’m finally getting a garden obelisk, is that it’s free. It’s scrap wood so I didn’t have to buy anything. No last minute trips to the home improvement store for this one. I already had everything I needed.
Among the tobacco sticks is one of the posts that we cut off of our king bed 2 years ago. It would make the perfect topper.
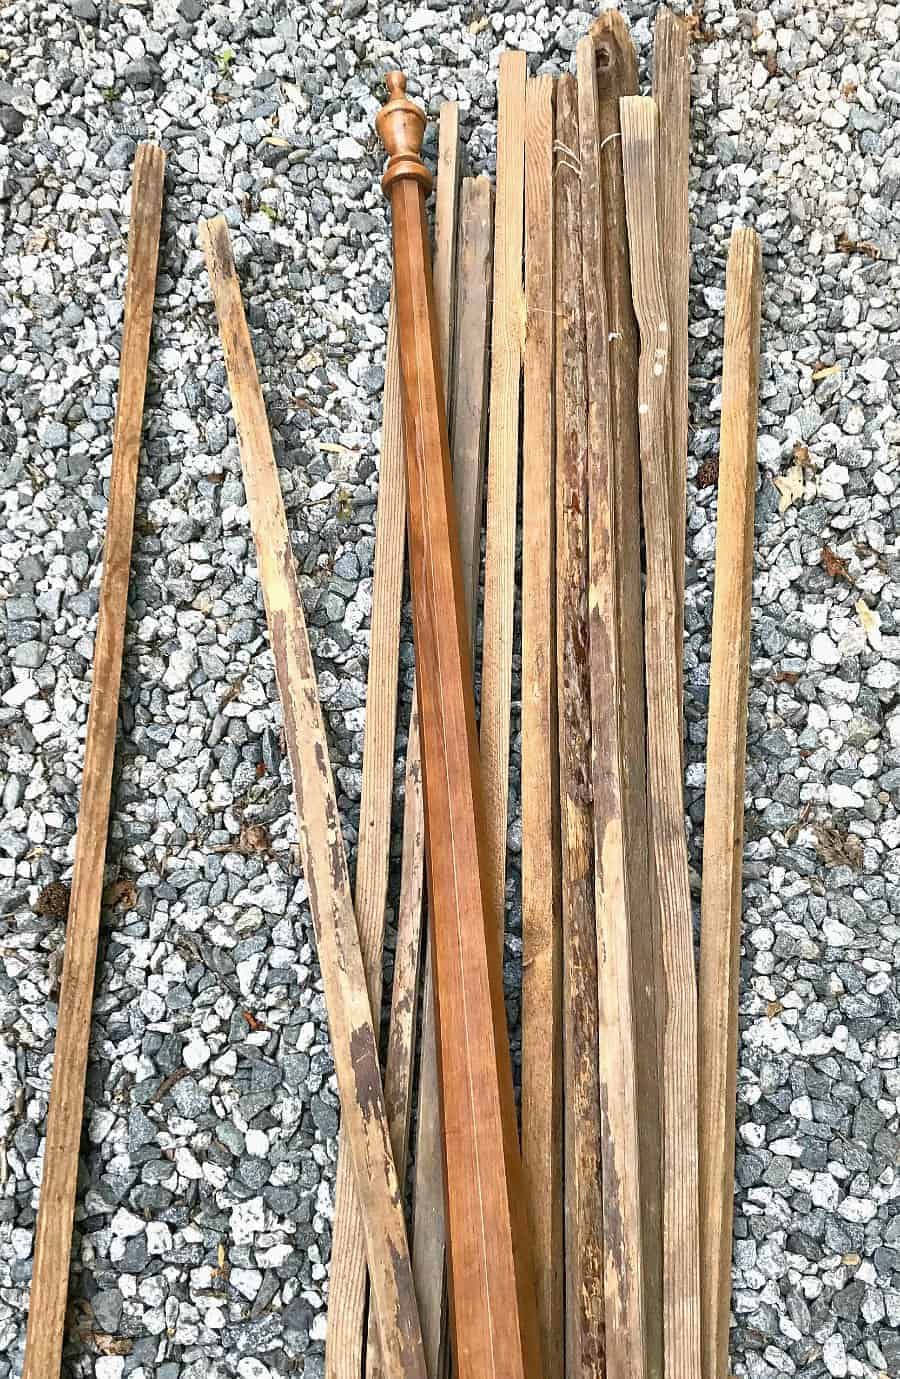
I kept this project super simple and kind of made it up as I went along. I knew how I wanted it to look but, because the tobacco sticks are all different sizes and thicknesses, I wasn’t sure how it would turn out.
Cut List
- 8″ pieces x4, for top supports
- 13″ pieces x4, for middle supports
- 6″ pieces x6, for topper
- 17″ pieces x4, for bottom supports
- 51 ½” pieces x4, for legs
- 26″ pieces x4, for middle pieces between legs
To keep this easy, I used the four tallest sticks to determine the height of my obelisk. All I had to do was trim a little off the ends with the chop saw so that they were the same length.
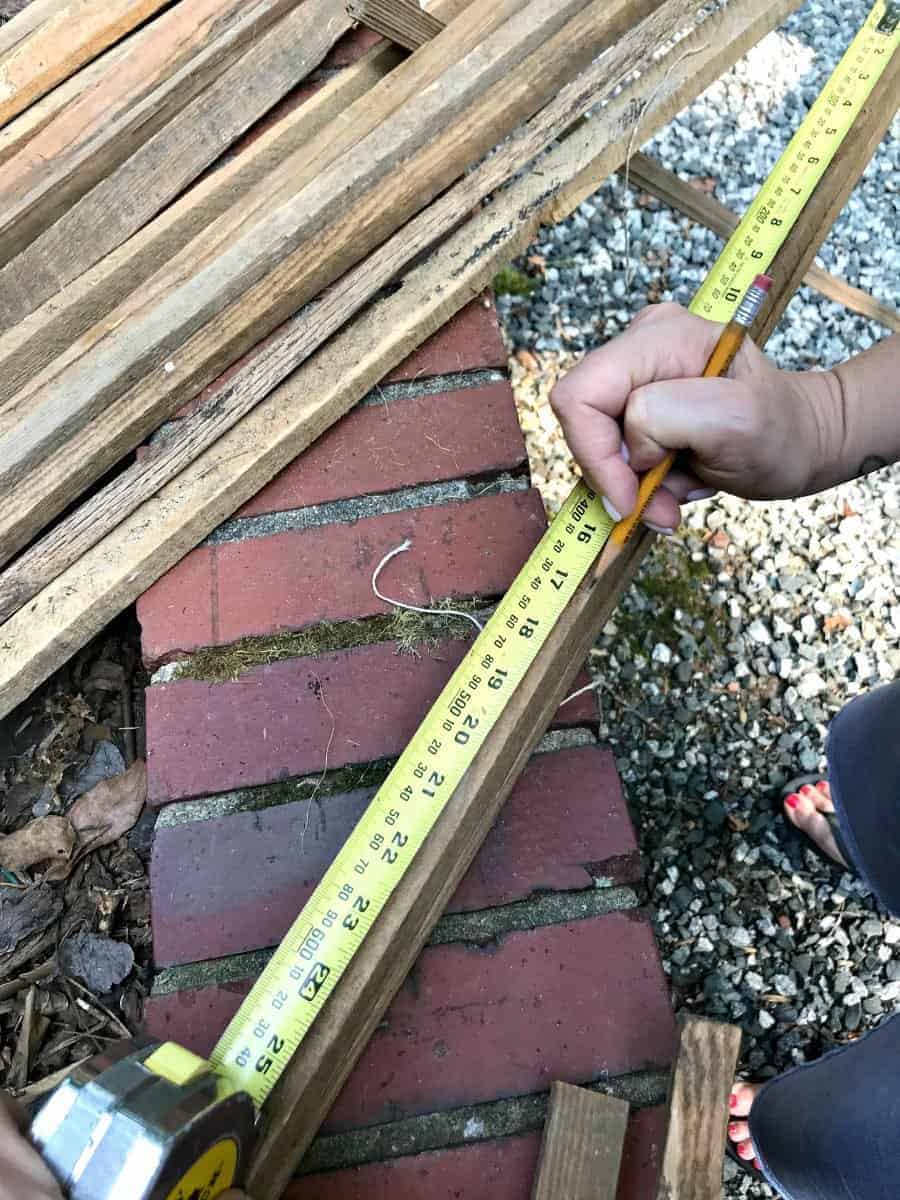
After the height was determined, I worked on the shape and how far out the legs (the four main pieces) would be from each other.
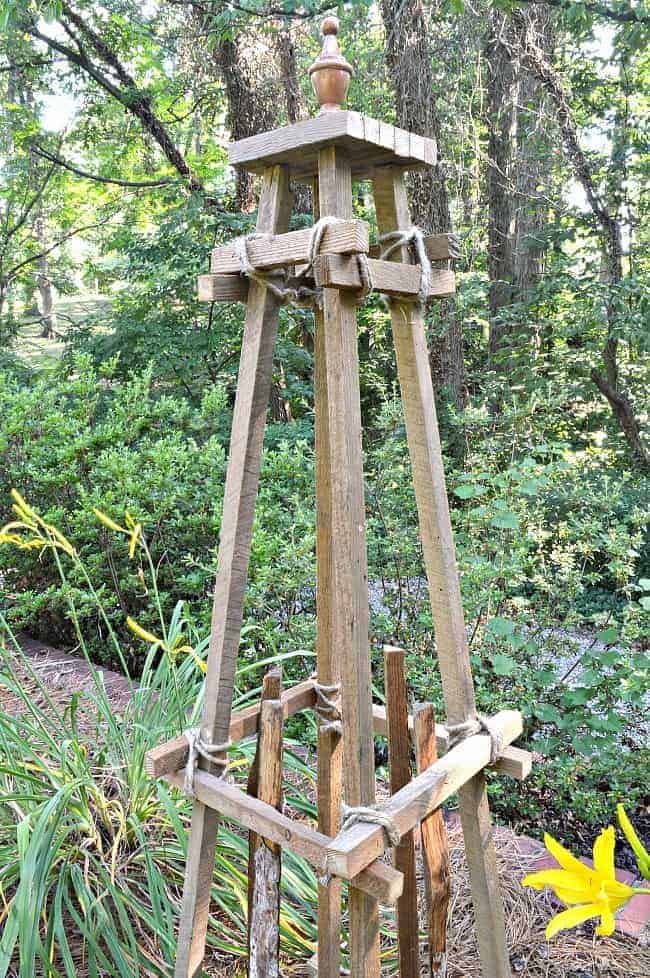
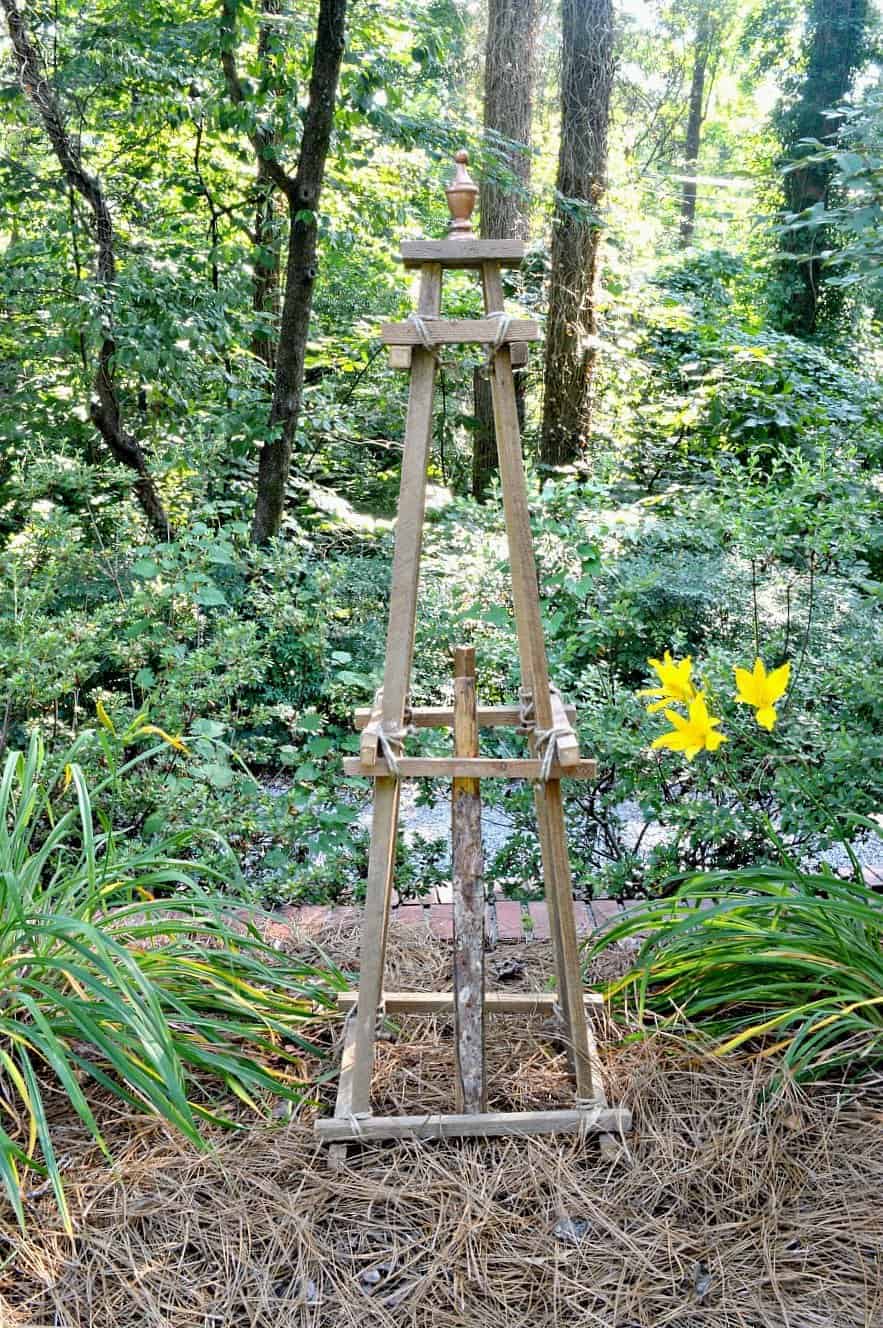
Once I was satisfied with the placement of the legs, I measured three different places for the supports. I would use 4 pieces down at the bottom, 4 in the middle and 4 at the top. Again, keeping it simple I crisscrossed the support pieces instead of cutting mitered corners.
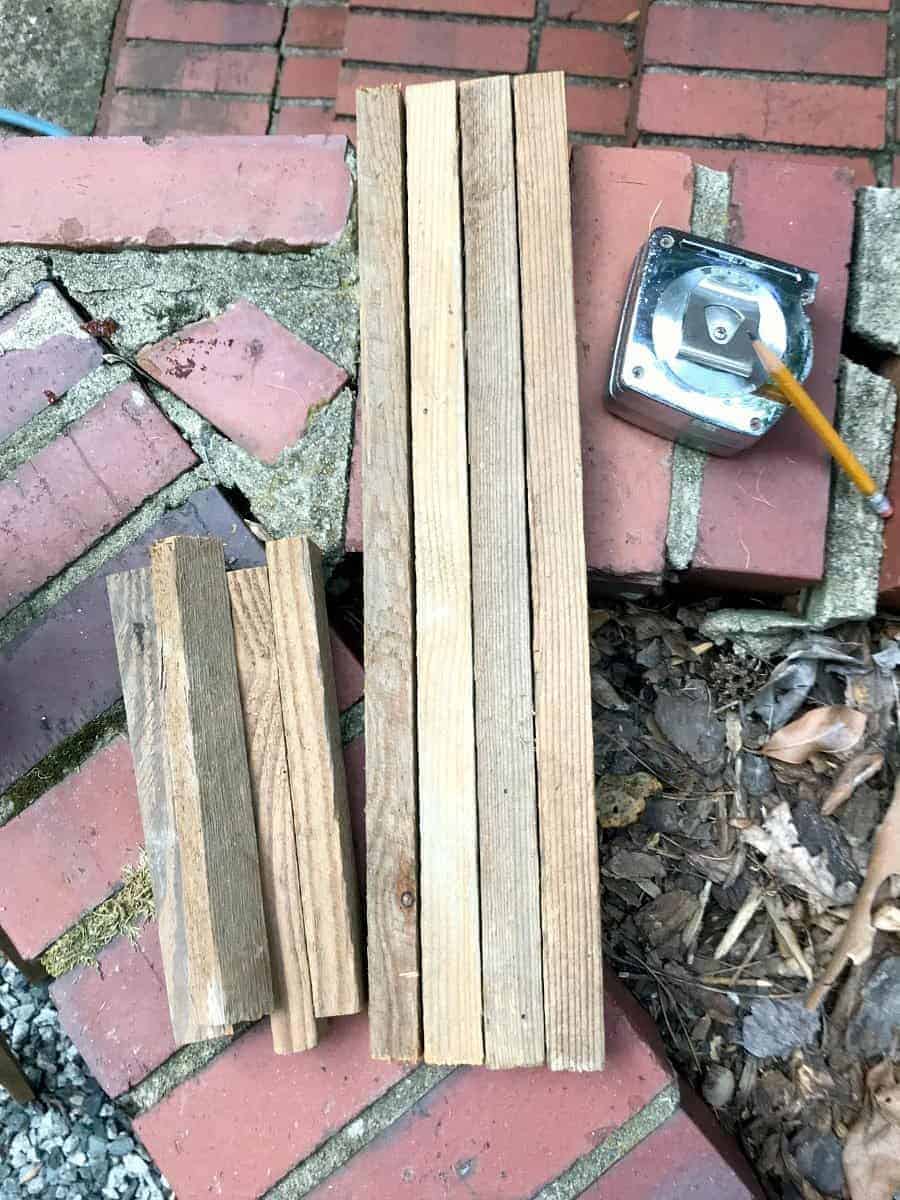
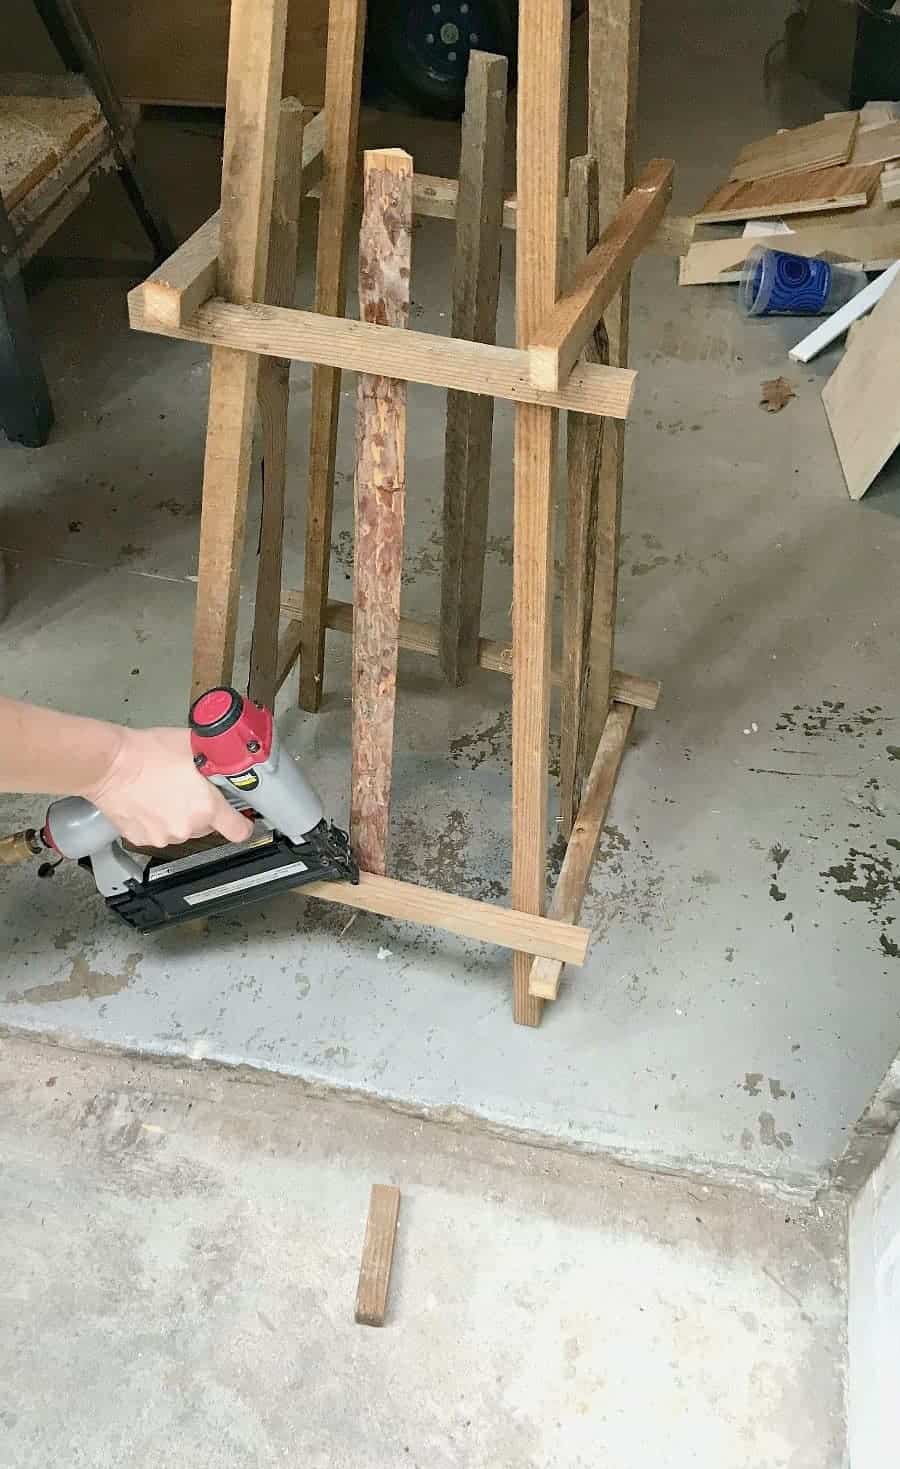
Once my supports were measured and cut, I attached them to the bottom of the legs first, using 1 ¾” brads. After the bottom supports were attached, I worked on the top and then did the middle.
Tobacco sticks are cut in all different shapes and sizes so it was a bit challenging getting my obelisk to sit level and square. I wasn’t able to get it perfect but this is a rustic piece. It’s not supposed to be perfect, right?
With all 3 tiers attached, I began to work on the center pieces. I used the most rustic sticks for this part, the pieces that still had bark on them. A couple of brads to secure them and we were ready to finish the top.
I was going to build a fancy topper with mitered ends but decided to keep it simple. I just cut 6 sticks the same size, from all of the scraps, and nailed them together.
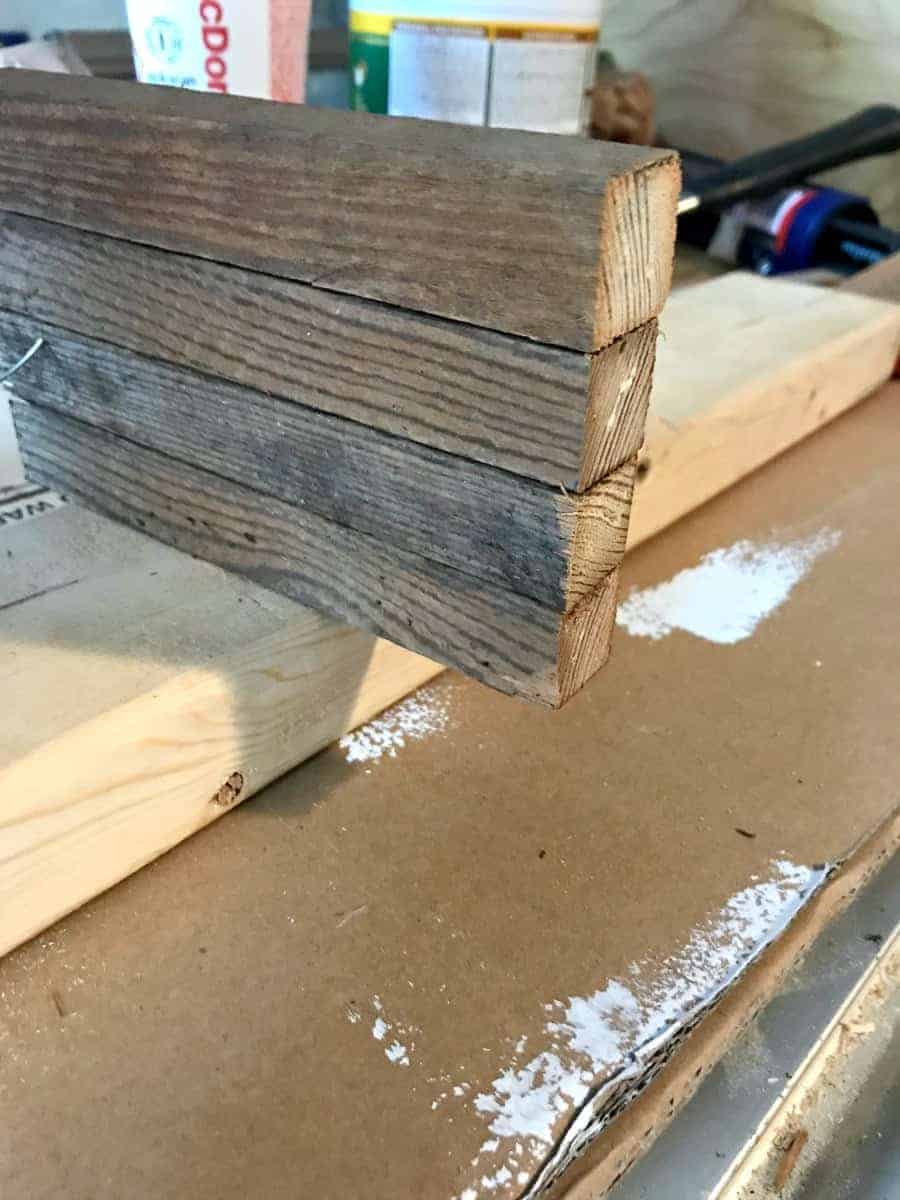
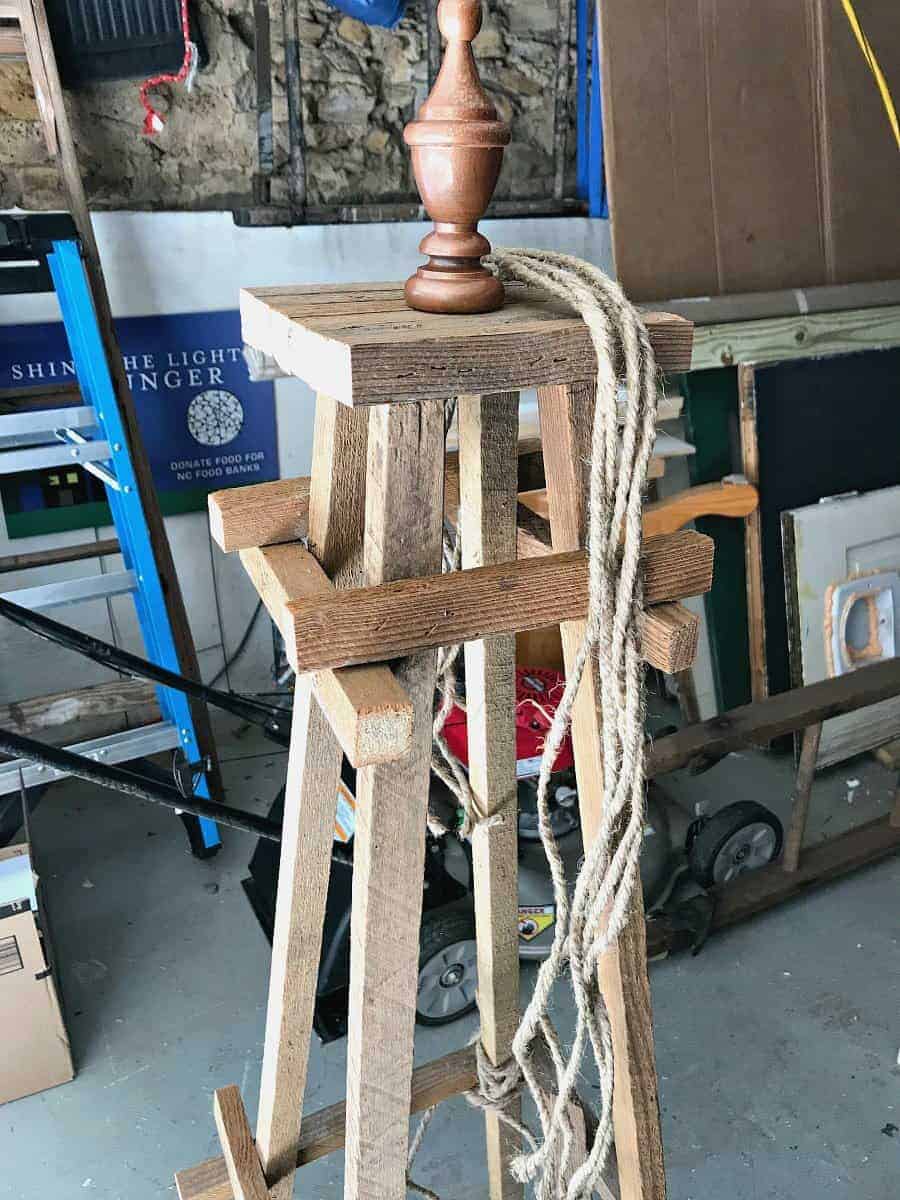
Next, I drilled a hole in the center, for my finial, and nailed it to the posts of the obelisk.
I wanted to add a tiny bit of shine to my rustic obelisk so the scrap bed finial got a coat of bronze paint before I screwed it into the hole.
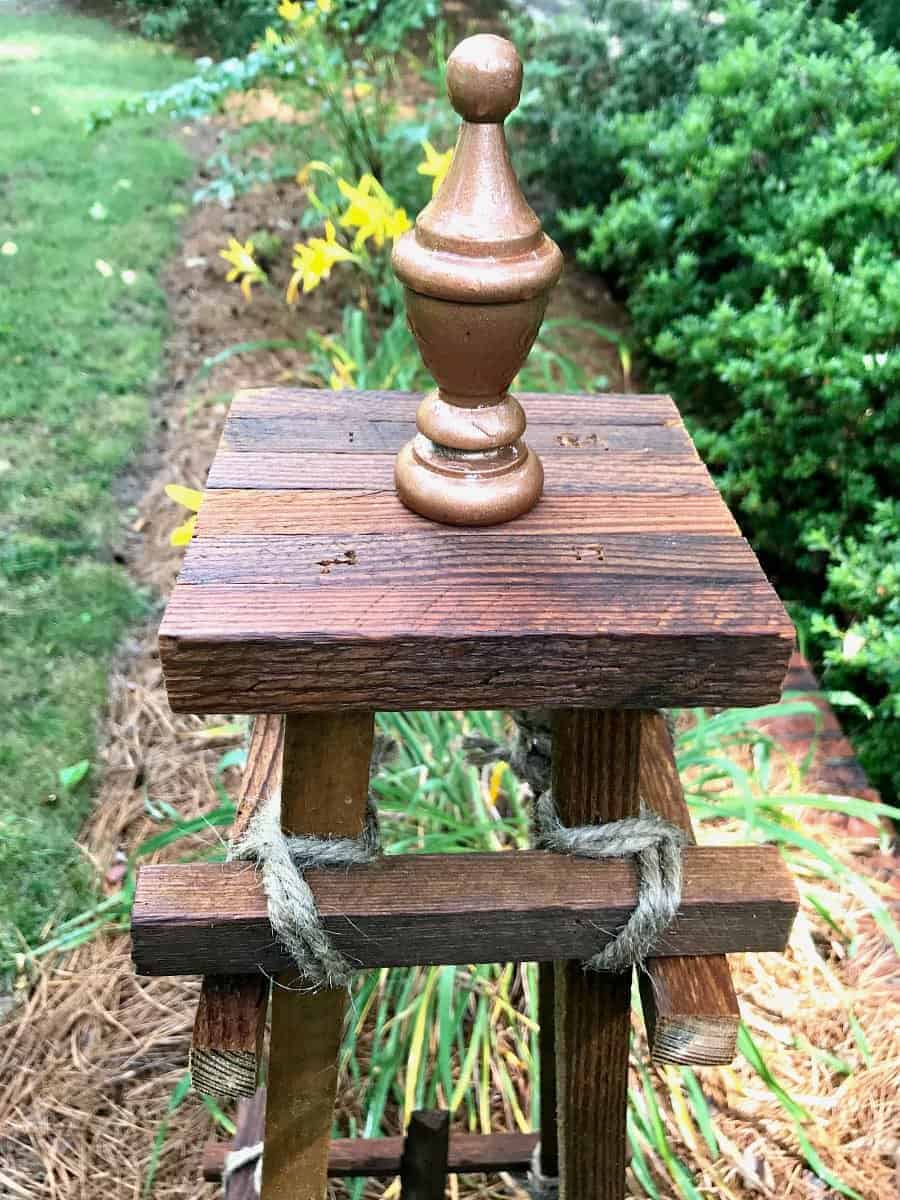
One more touch and our garden obelisk was complete. I couldn’t paint the tobacco sticks (and ruin all of that patina) so I decided to wrap some jute twine on each corner of each level. Just to add another rustic touch.
I love that it’s rustic and fits perfectly in our wooded cottage garden. The best part is that I made it myself and it was FREE!
I love it so much that I may just have to make another one out of the rest of my scrap sticks.
I’m going to have fun moving it around in my gardens to find the perfect spot.
Make sure you check out all of the other awesome scrap wood projects. Hopefully you’ll see something that will inspire you to dig through your own scrap wood so you can build something awesome.
Check out these other awesome Scrap Wood projects:
- The House of Wood – DIY Bunk Buddy
- 3×3 Custom – Scrap Wood Trivets
- Ugly Duckling House – Mini Garden Deck
- The Created Home – Animal Coin Banks
- Her Toolbelt – 3D Pixel Art
- The Kim Six Fix – Outdoor Drink Stakes
- DIY Huntress – Scrap Wood Coasters
- Mr. Build It & Mrs. Style It – Bent Plywood Headphone Stand
- At Charlotte’s House – Buffalo Check Tray
- Sawdust 2 Stitches – Scrap Wood Wall Decor
- Bower Power – Pallet Baseball Hat Rack
- Pneumatic Addict – Table with Epoxy Resin
- Anika’s DIY Life – DIY Spice Rack
- 100 Things 2 Do – DIY Can Crusher
- Hazel + Gold Designs – Patio Table Drink Holder
- Reality Daydream – Scrap Wood Shoe Cabinet
- House Becoming Home – Modern DIY Clock
- Chatfield Court – Wooden Garden Obelisk
