How to Install a Tongue and Groove Ceiling
This post may contain affiliate links, please see our policy for details.
How to install a tongue and groove ceiling in the kitchen using primed white tongue and groove ceiling planks.
A new white tongue and groove ceiling was at the top of my wish list when we were planning our kitchen remodel. There were many discussions about it, and it took a lot of planning, but we worked out all the details and started the installation. I’m loving the way it’s turning out.
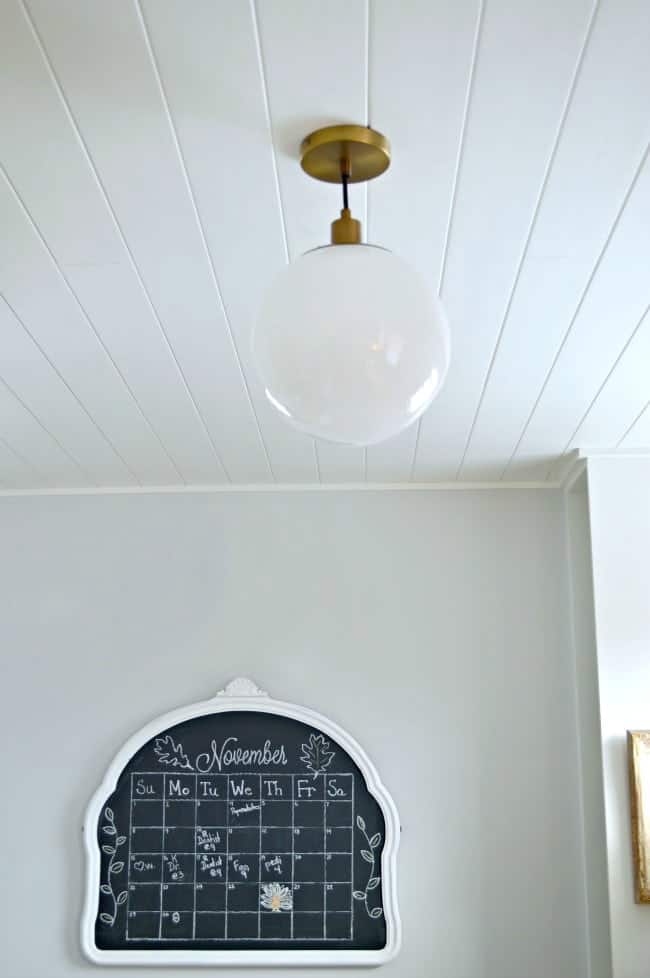
Installing a tongue and groove ceiling is one of the biggest projects in the kitchen renovation, so let’s get to the details.
Before you install a tongue and groove ceiling
As an Amazon Associate and member of other affiliate programs, I earn from qualifying purchases.
Our first job was to measure the square footage of the ceiling to see how many wood planks we needed. Then we located the studs in the ceiling so that we could attach the planks to the studs as we put the ceiling up.
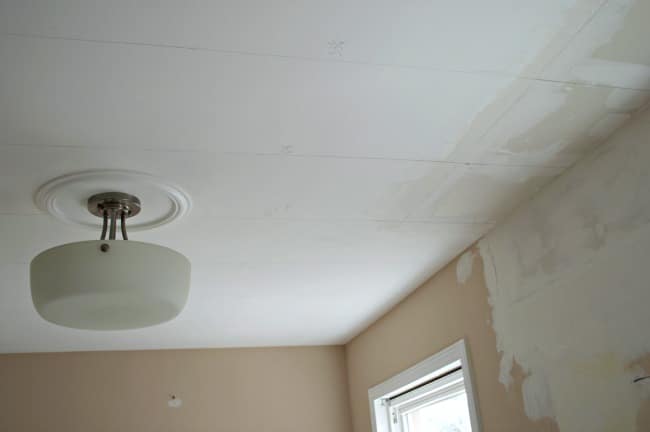
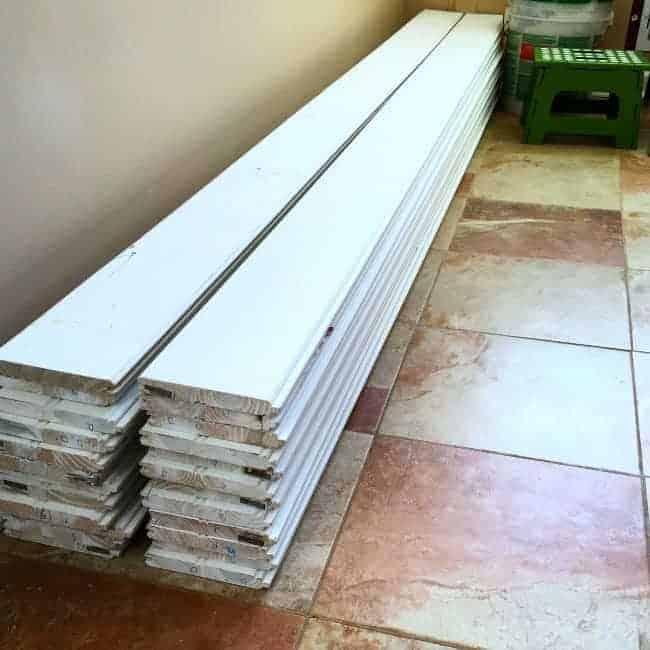
Armed with our square footage, we searched our local Home Depot store and found primed tongue and groove planks in 8 foot and 12 foot lengths.
We brought them home and left them sit in the house for about a week. This allowed them to acclimate to our indoor temps and humidity so there would be minimal expansion and shrinkage.
The tongue and groove ceiling planks that we ended up buying had two different sides to them.
One side had a groove/seam down the middle that made it look like two planks in one.
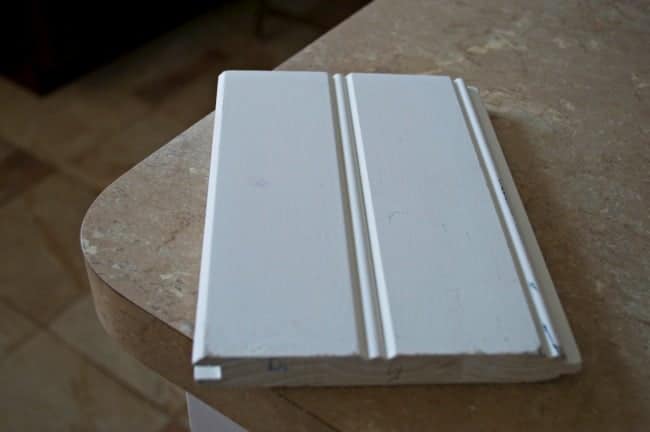
The other side was just a plain plank.
I decided to go with the plain side so that we had less seams showing.
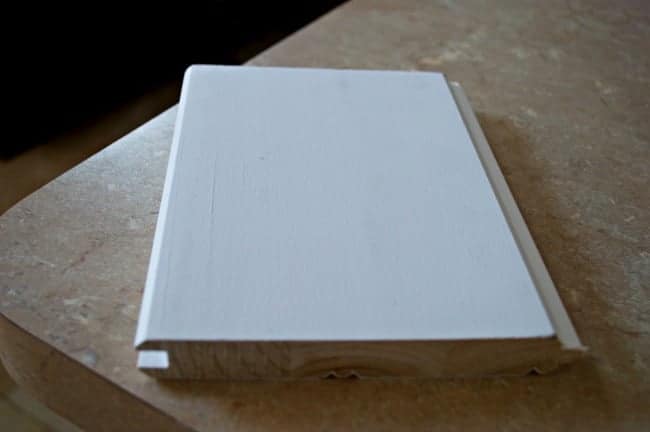
After all of the prep, we were finally able to start the installation process. I say we in most of these steps because this is definitely a 2 person job.
Installing tongue and groove ceiling planks
We started the ceiling with one of the 12 foot planks.
Before attaching it to the ceiling we applied beads of paintable silicone caulk to the back of the plank.
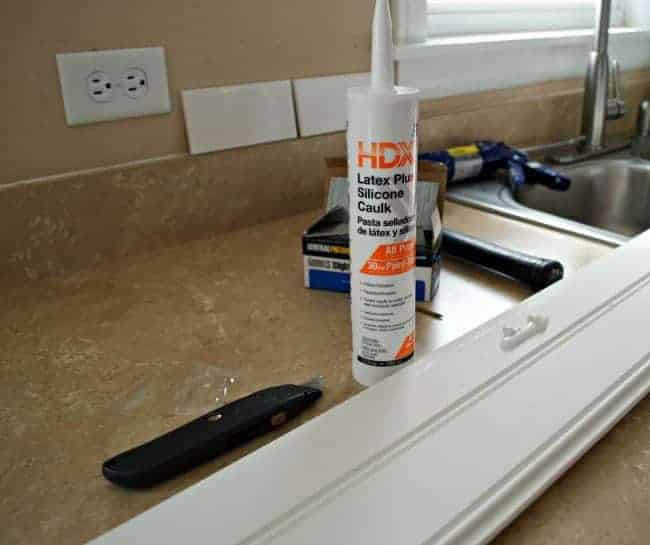
We put the plank against the ceiling leaving a 3/8 inch gap along the wall for expansion, which we did around the whole room.
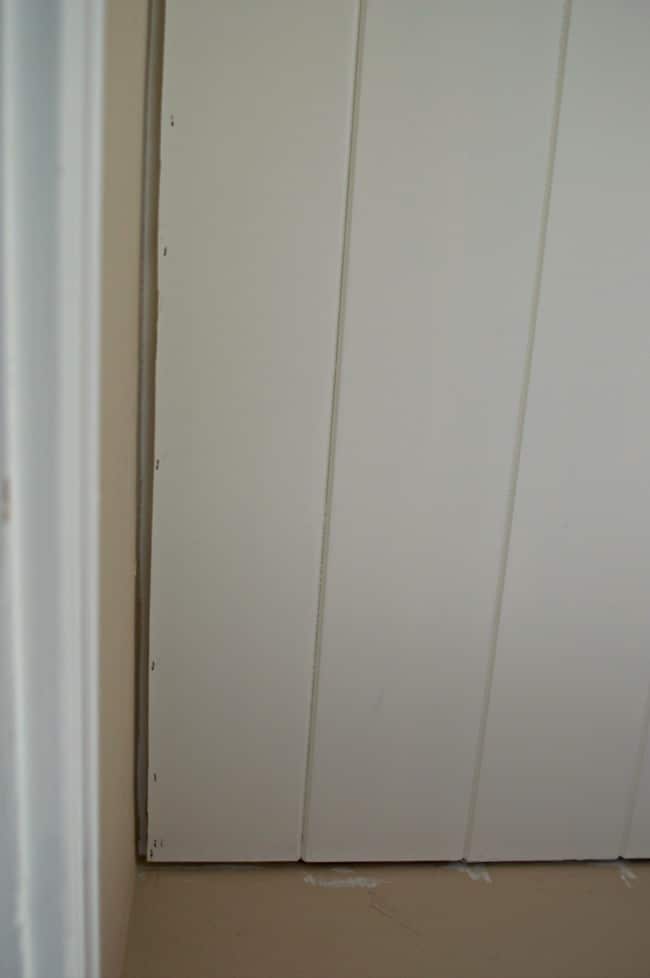
Next, we used a pneumatic nailer to put a brad at each stud marking on the ceiling to hold the plank up. We put the brads in the tongue of the planks so that you couldn’t see them when the ceiling was complete.
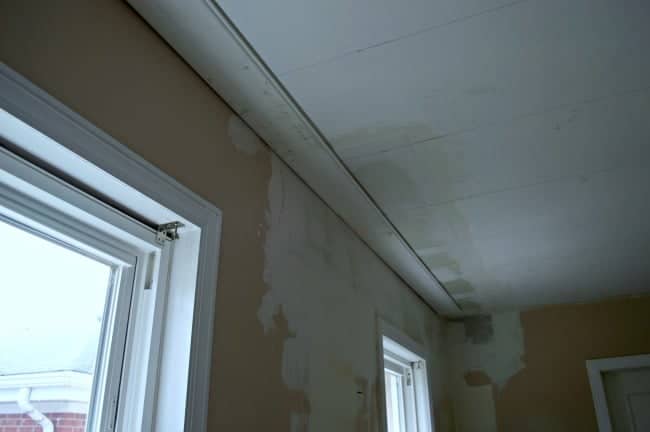
On the first board, we did use 3″ construction screws at each end to make sure that it was completely secure. The upper cabinets would hide the screws so no one will ever know they were there.
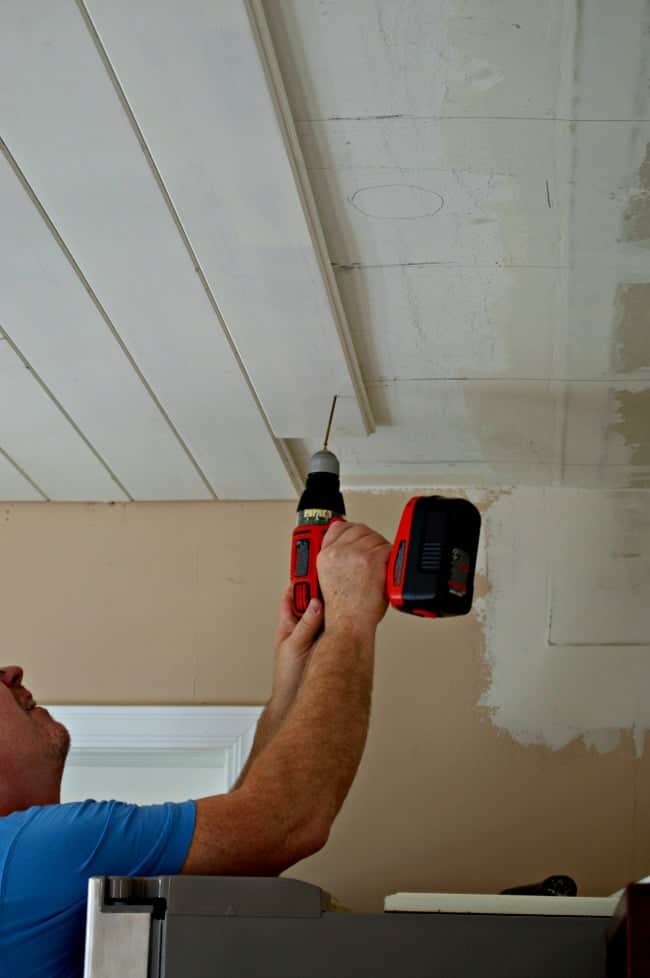
The next plank to go up was also a 12 footer.
We had to marry the tongue of plank #1 to the groove of plank #2 together so we tapped a block of wood against the tongue of plank #2 to get a tight seam.
Next, we secured plank #2 to the ceiling with a pneumatic nailer and brads.
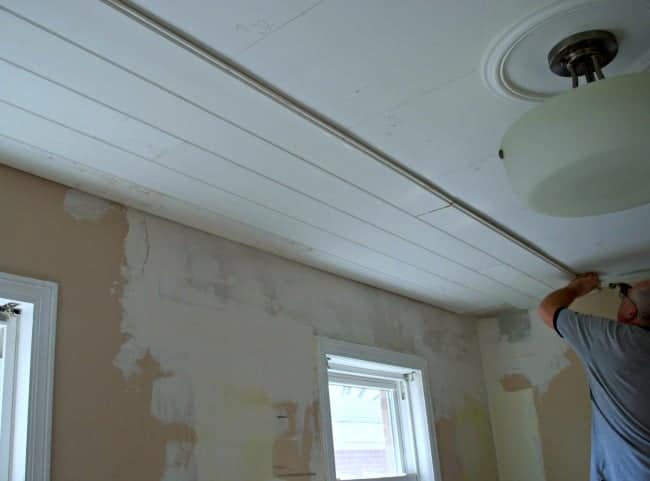
We continued this process for the rest of the ceiling.
In some areas, the 12 foot plank wasn’t long enough so we did end up with seams. To make it look intentional, we staggered them (the seams).
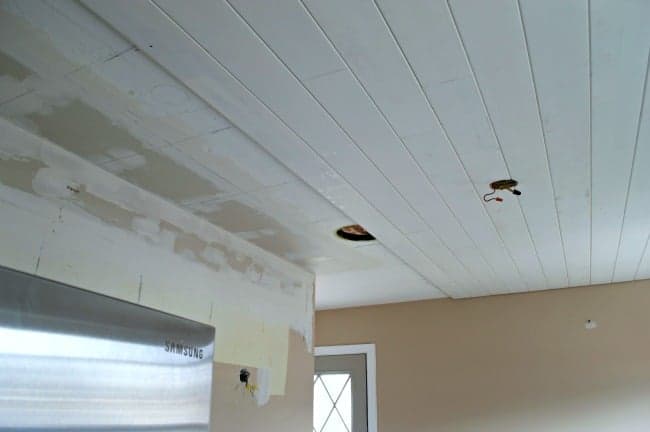
In the middle of the kitchen ceiling there is a light box that we had to work around.
We used a coping saw to cut the wood planks around the box. This will allow us to have access when it comes time to install our new ceiling light fixture.
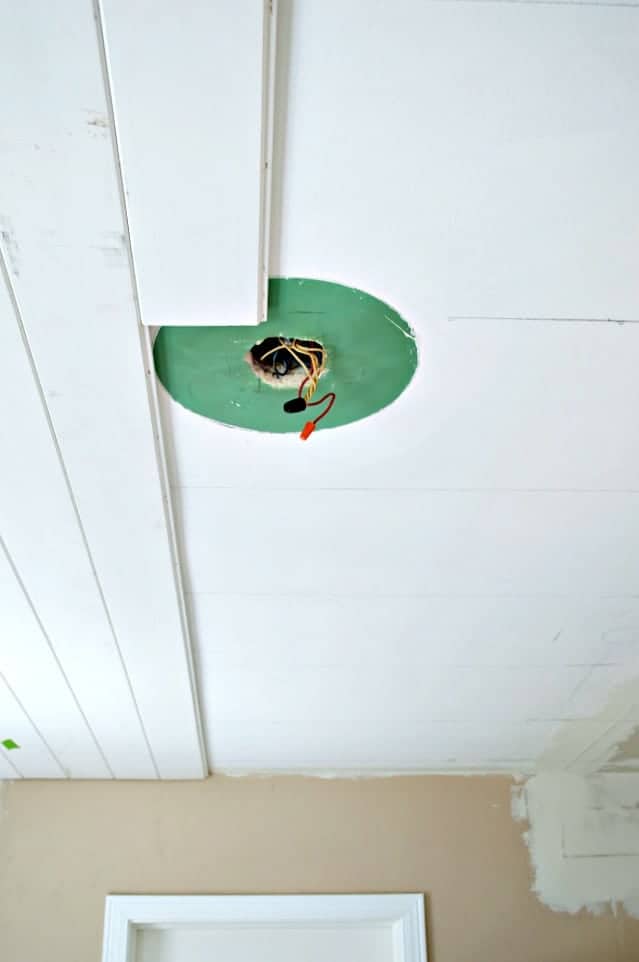
Once we reached the other side of the room, we used the table saw to cut down the width of the planks. Then we just followed the same process of attaching them to the ceiling.
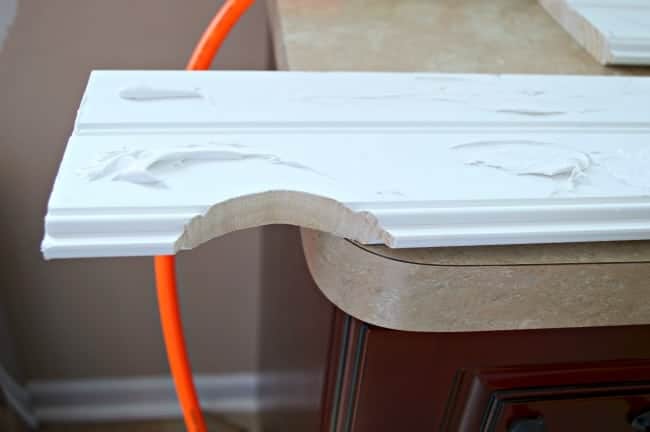
We did skip planking a few spots near the walls, which saved us some time and money. The kitchen cabinets were installed against ceiling so we didn’t think it was necessary to have planks in those areas.
After all of the planks were installed, we caulked the seams to give the ceiling more of a finished look.
The last thing we did was to paint all of the planks with Benjamin Moore White Dove, in the pearl formula.
After we painted the planks and hung the cabinets, we installed the trim. It’s the finishing touch and it will cover the 3/8 inch gap we created for expansion purposes.
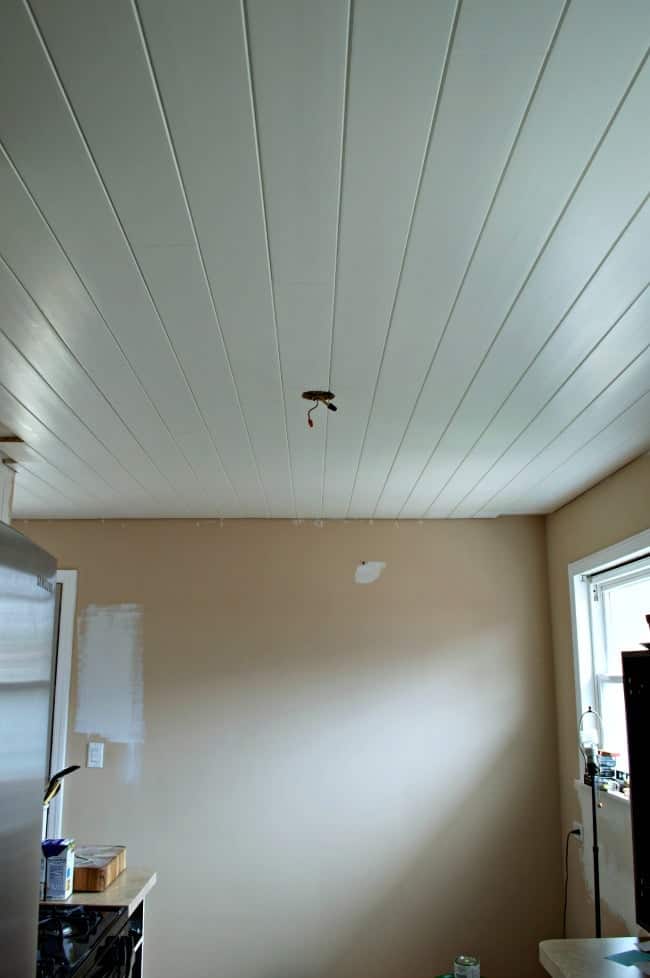
Our total cost for the new plank ceiling ended up at around $320. We already had most of the supplies, including the ceiling paint, so our money went into caulk and wood planks.
I’m loving how our new tongue and groove ceiling turned out.
Now I’m ready for the cabinets to go up.
Next up, though, is building a cabinet around the refrigerator. Wait until you see…it looks awesome.
Because we’ve gotten a ton of emails asking where we got the planks, I wrote a separate post and shared where to find primed tongue and groove ceiling planks.
We installed a tongue and groove ceiling in our tiny RV. We used the same kind of planks but installed it with the grooved side showing. Same method but a totally different look!

