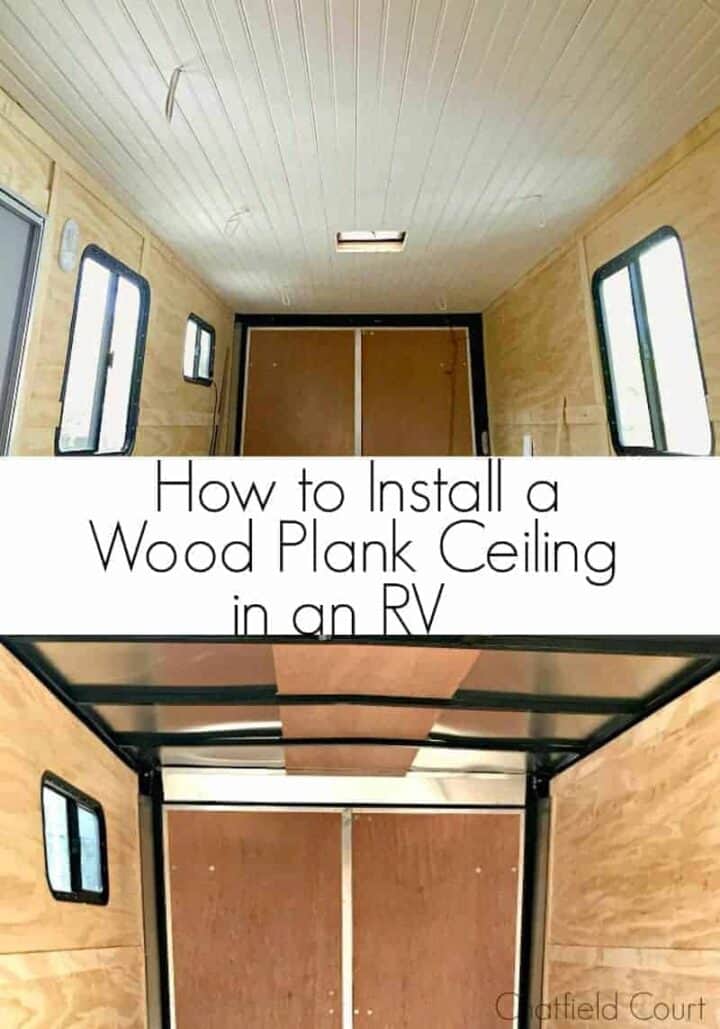
White Tongue and Groove Ceiling Installation in an RV
This post may contain affiliate links, please see our policy for details.
How we installed a white tongue and groove ceiling in a cargo trailer conversion
I’m so excited to finally share an update on Minnie, our tiny RV. We’ve been hard at work since our last cargo trailer conversion update on her and it’s time to reveal our first completed project…the white tongue and groove plank ceiling.
If you’ve followed us for awhile then you know that we installed a tongue and groove plank ceiling during a kitchen remodel a couple of years ago.
I loved the results and couldn’t wait to plank a ceiling it again.
I thought we’d be doing it in our cottage kitchen but it happened in our RV, our tiny home away from home.
That’s ok though, I still get to enjoy it and take it on the road when we travel. How many people can say that?
We knew early on in the planning stages that we would do this kind of treatment on the ceiling. It needed something to warm up the space and this seemed like the best solution.
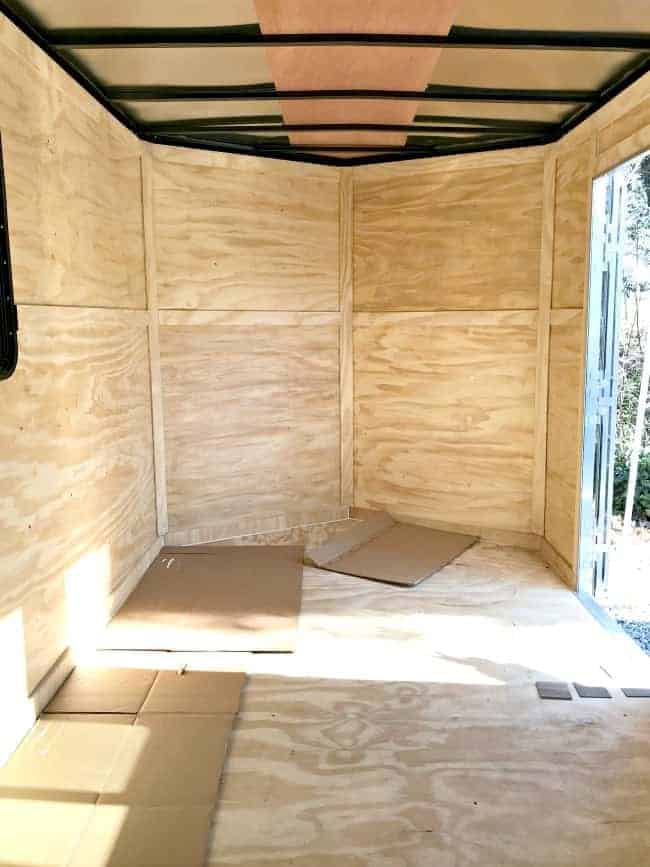
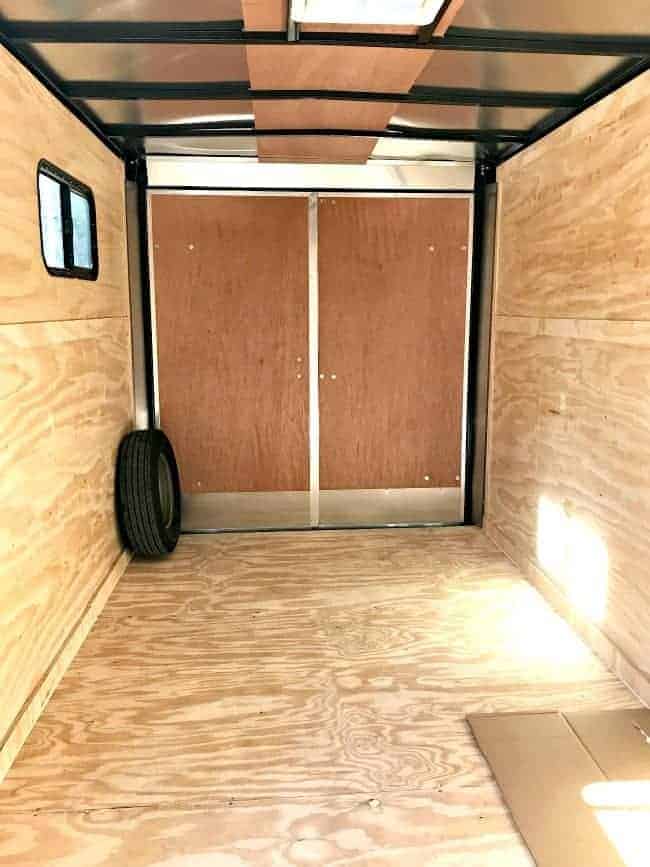
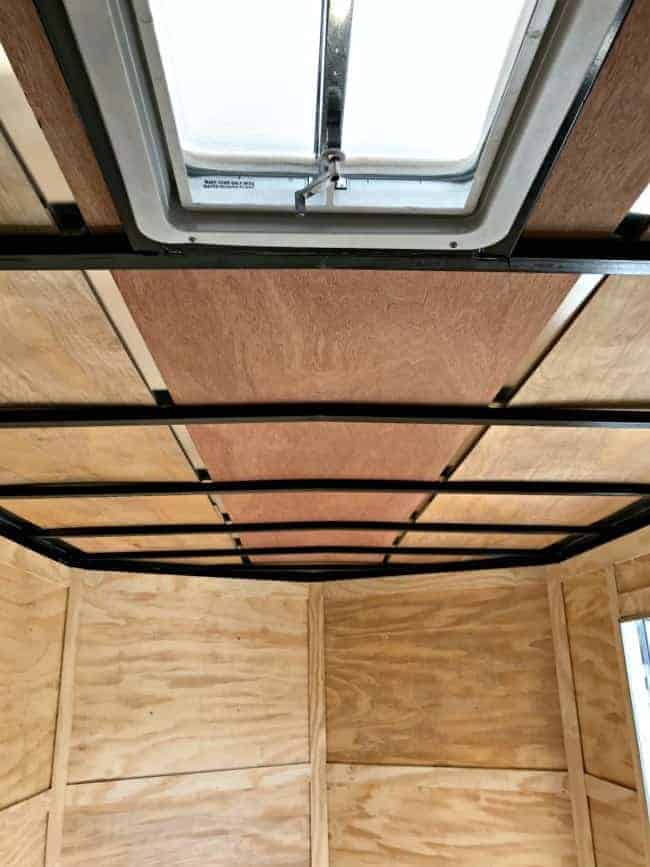
This RV is actually a landscape trailer and was completely empty inside when we brought it home. Although it had wood walls, the ceiling was just metal and black beams.
*Affiliate links used. Please see my Privacy Policy for more info.
We used tongue and groove planks during the Illinois kitchen remodel so we stuck with what worked and used them again.
I did a post a few years ago about where we found them. It’s one of my popular posts and I still get so many questions about it.
I’m happy to say that you can still get them at Home Depot. I think they’re available in a lot of home improvement stores now but I really like the ones from Home Depot.
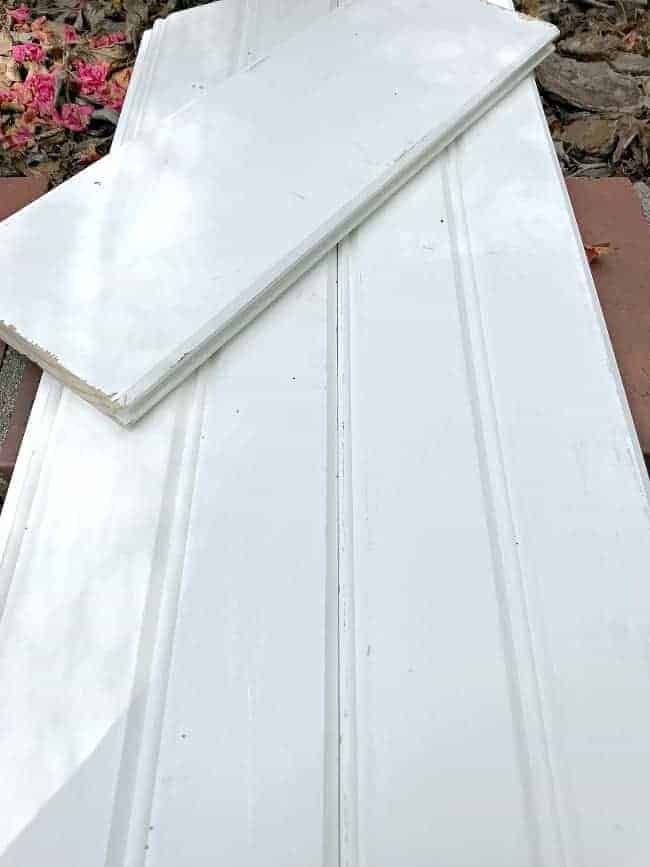
They were the same two-sided, primed tongue and groove ceiling planks that we used in our kitchen remodel.
One side is plain and the other looks like beadboard.
I used the plain side for the kitchen remodel and wanted to use it again but this time there was a big sticker on every plank.
It was almost impossible to remove without damaging the wood so we went with the beadboard side. Not really what I wanted but it is what it is.
Before we could install the tongue and groove planks we had to do some work on the ceiling.
First we addd thin pieces of underlayment between the ceiling and the metal beams. The plan was to insulate the ceiling and strengthen the beams so that the planks had a good foundation.
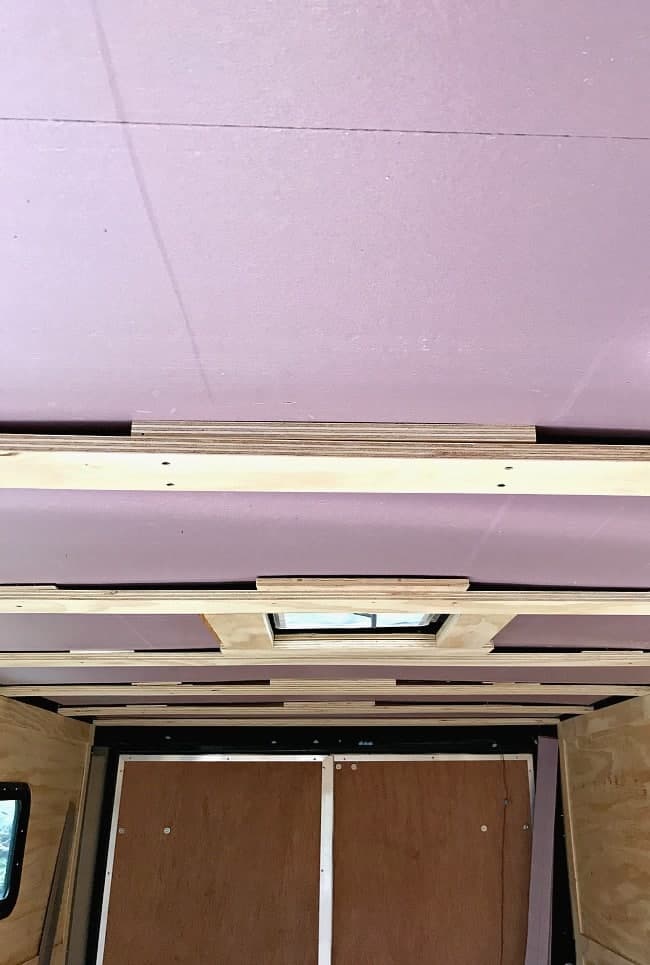
Next we added 1″ thick rigid insulation to help with sound, heat and cold. Then we added wood supports, as well as shims, across the beams to make the ceiling level and to attach our planks.
We took extra care to level the ceiling so that the tongue and groove planks fit snugly together.
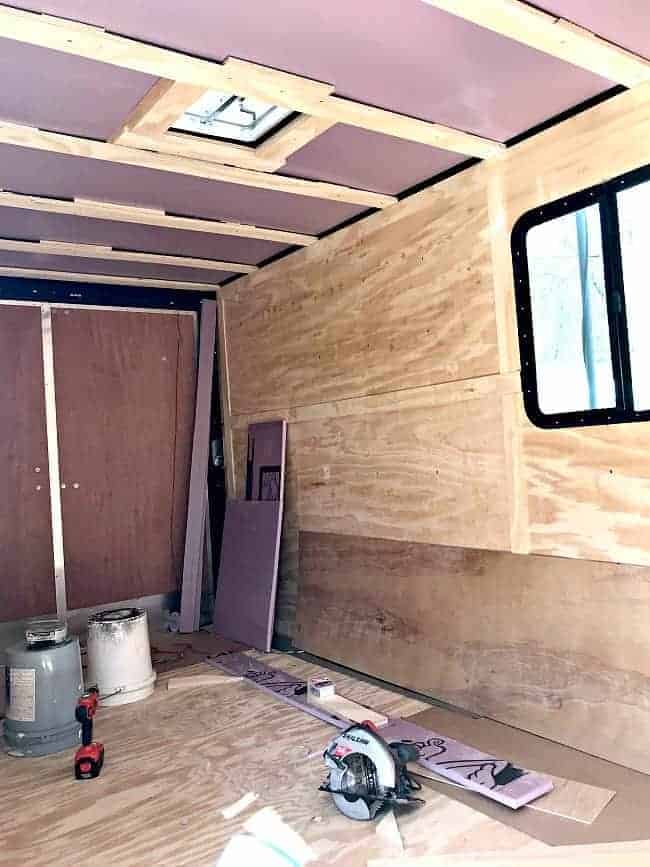
Once the insulation was up, the hubs added the wiring for the ceiling lights.
We’ll have 6 flush-mount ceiling lights and a light over the kitchen sink.
Finally we were ready to start installing the planks. The first one is always the hardest because it has to be level and straight.
It took two tries, and a few choice words from Roger, but we finally got it right.
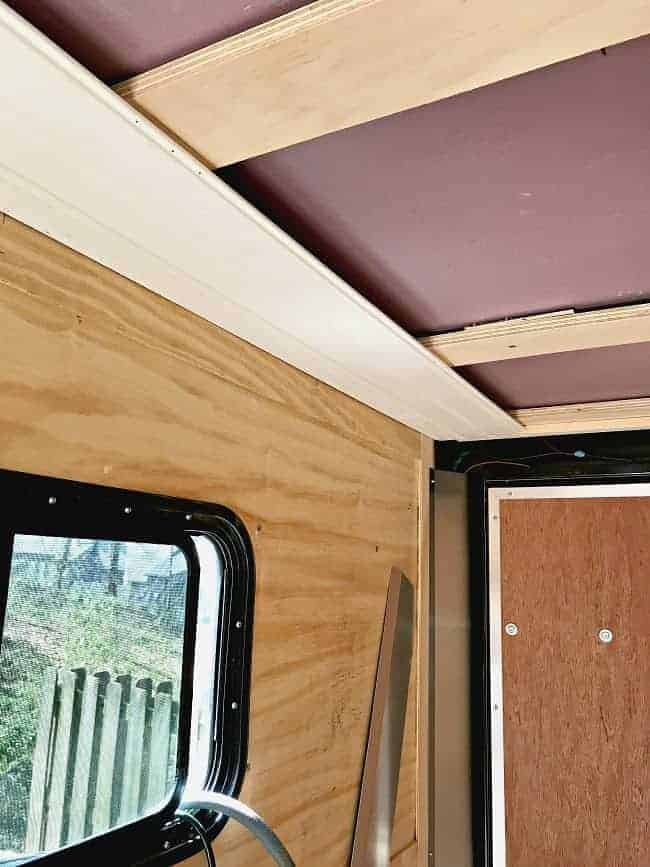
Our RV moves, obviously, so we have to always think about securing everything we build.
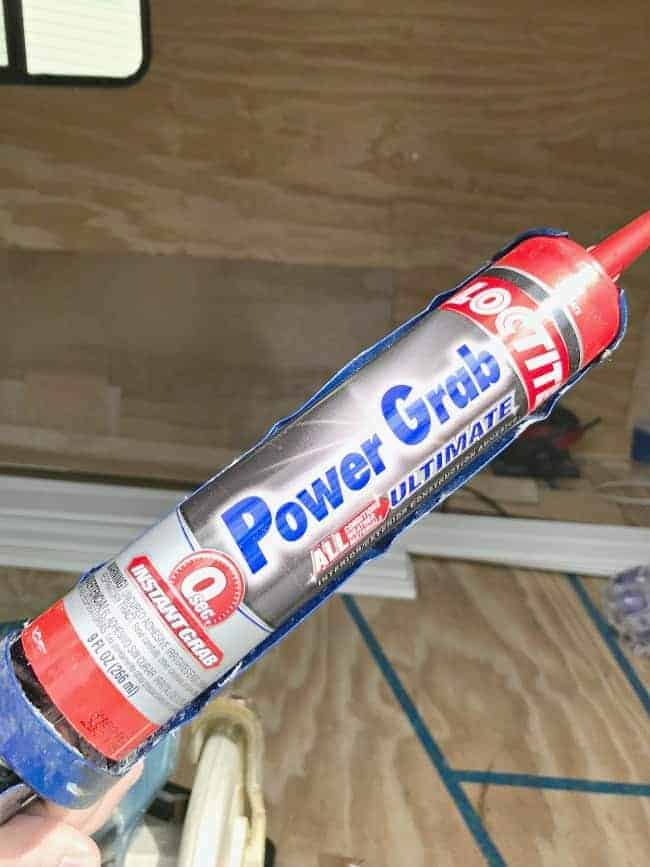
We glued and nailed the planks as usual but we used screws whenever we could in inconspicuous spots.
The construction adhesive we used is the bomb. We tested it before using it in the trailer and it held exceptionally well.
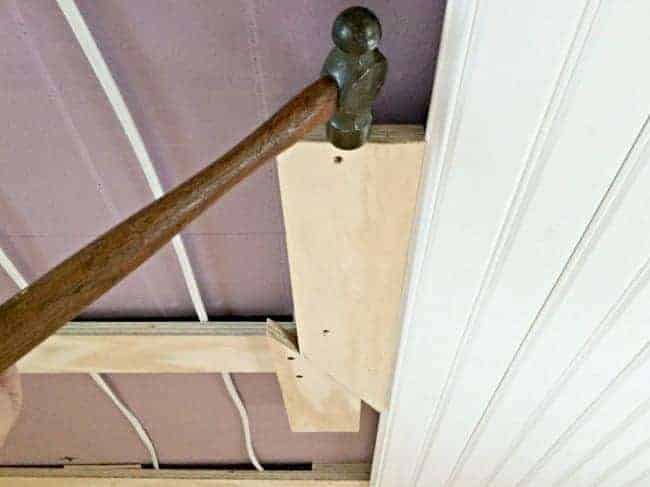
Making sure the tongue and groove planks fit snug was difficult in some spots so we had to use a block of wood to hammer them in place.
While we were putting up the planks we had to be aware of our light placement.
We marked the location of the electrical wires before we started the install so we knew where each of the seven fixtures would go.
As we planked the spot where the light would be installed, we cut a hole in the plank and pulled the wire through.
Once we got into a rhythm, the planks went up fairly quickly.
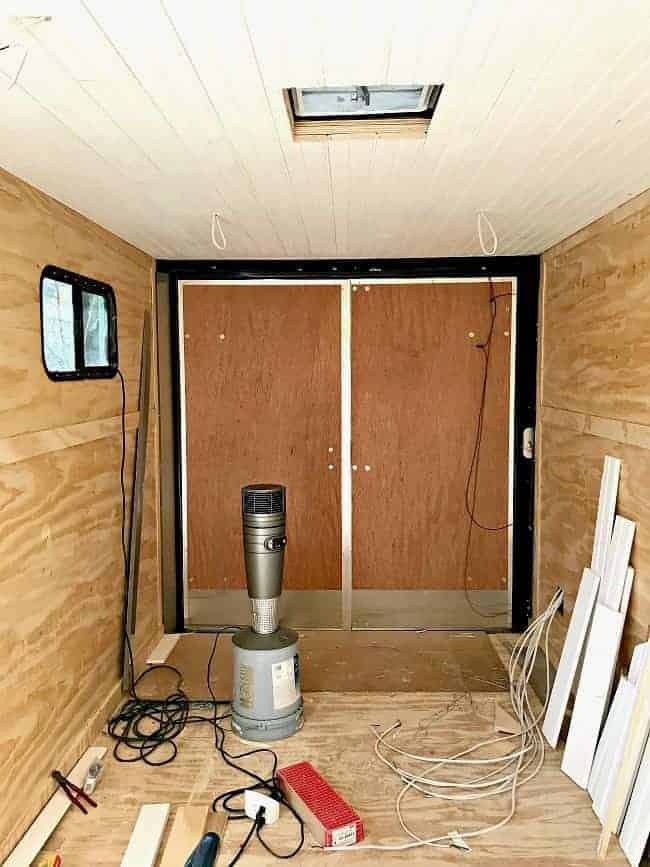
Painting the Tongue and Groove RV Ceiling
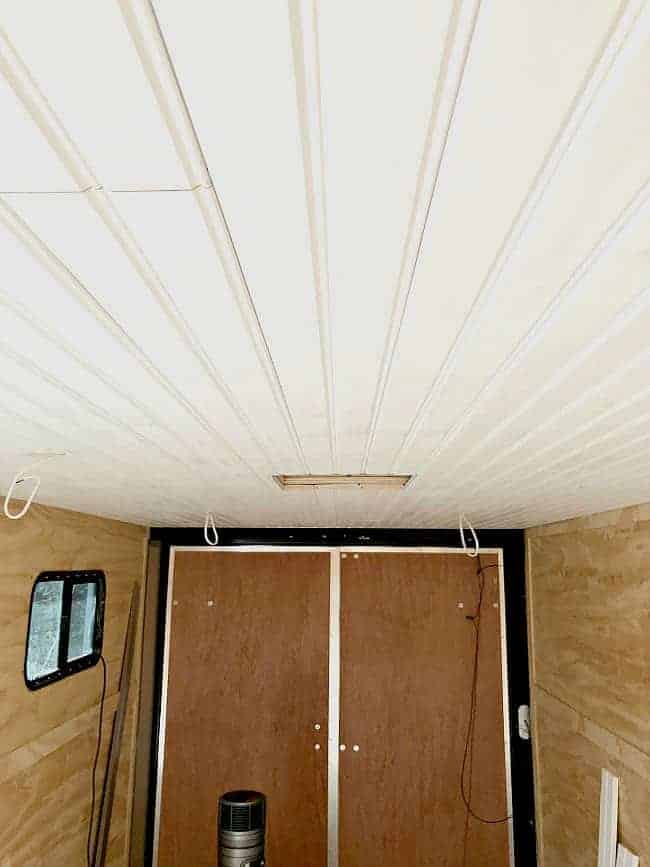
Once we were done it was time to make it look pretty. I caulked the seams and got the ceiling ready for paint.
I went with the same paint I used for the Illinois kitchen ceiling, Benjamin Moore Advance, White Dove, Satin.
It’s my favorite paint, hand’s down. I can’t recommend it enough.
I tried to roll it but brushing the paint looked better. Because we bought the pine primed planks again, I was able to cover the ceiling with one coat.
The primed planks do cost a little more but it’s so worth it when you’re twisted like a pretzel painting a ceiling.
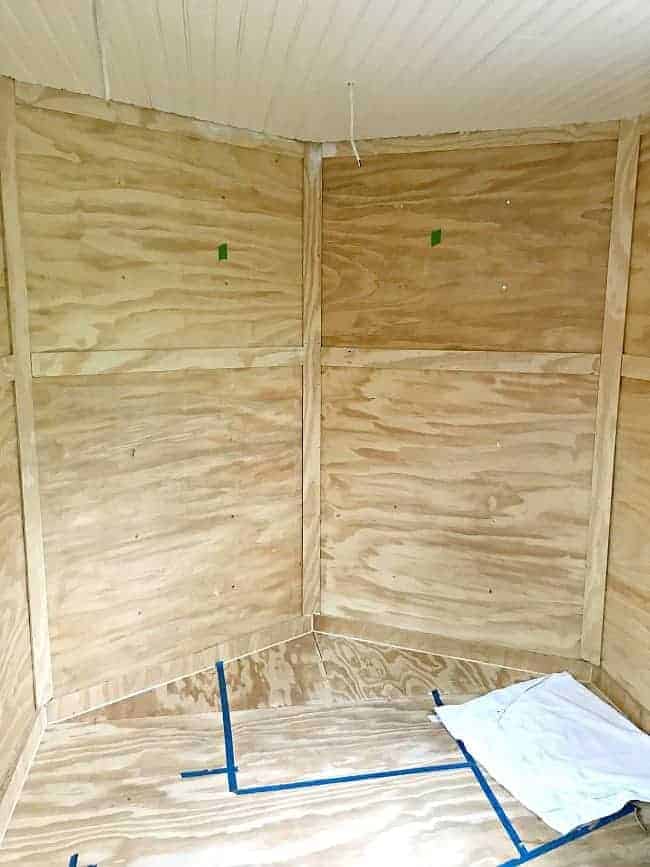
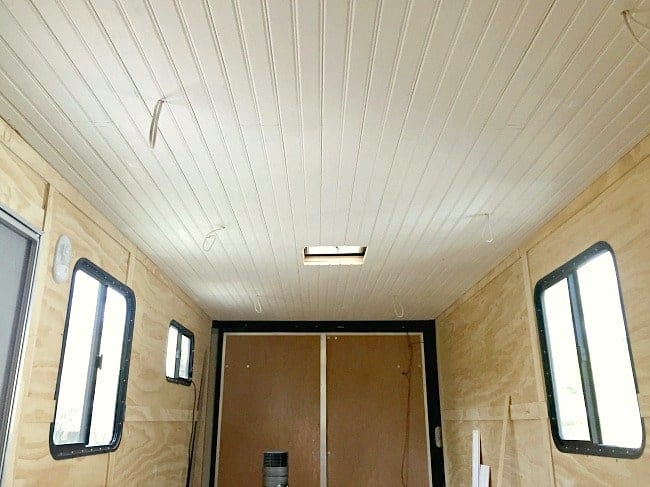
It’s not the prettiest RV ceiling yet because nothing else is done, and we have electrical wires hanging down, but it looks so much better than before.


Things are moving along quickly.
They have to be because we’re taking her out for a test run in 3 short weeks.
We won’t have her completely ready to live in, obviously, but we will have a bed to sleep in, lights and A/C (I hope).
Make sure you check out all of the progress we’ve made in our cargo trailer conversion over the past few months.
In case you want to know where to get the best deal on primed white tongue and groove ceiling planks.
