How to Make Copper and Wood Wall Art
This post may contain affiliate links, please see our policy for details.
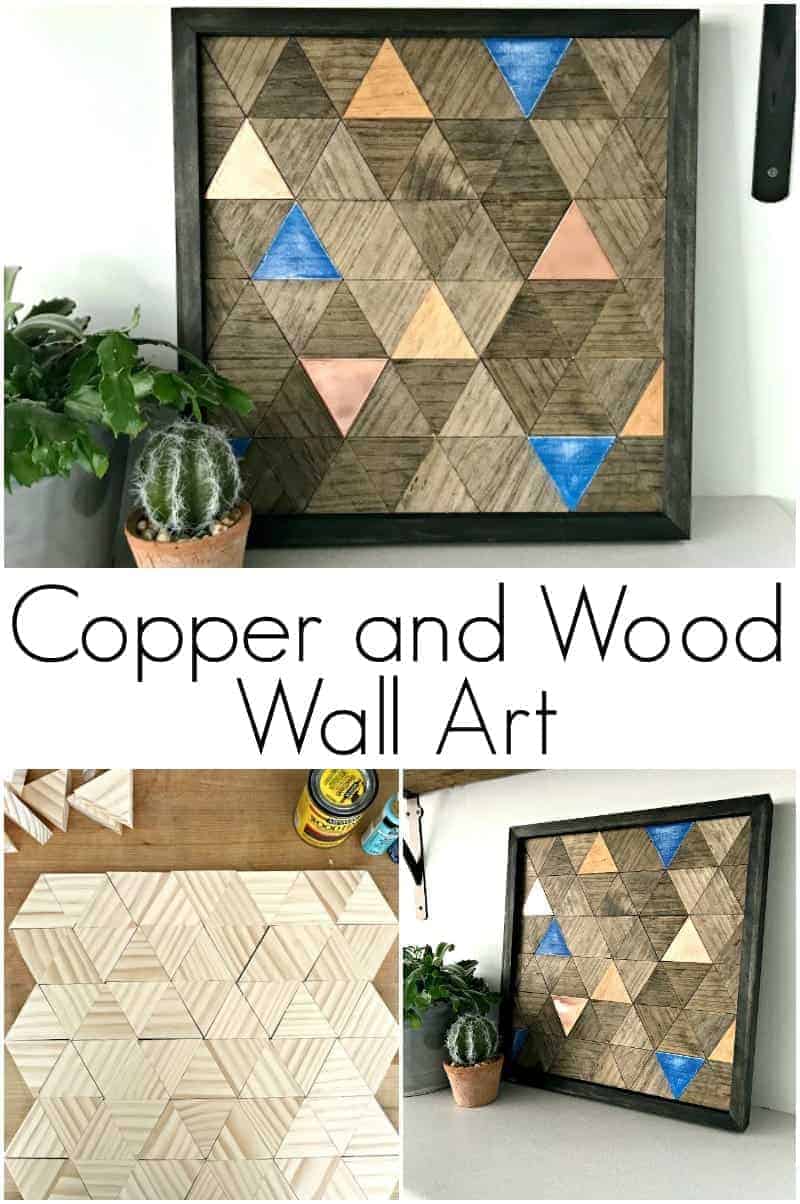
How to make a copper and wood wall art piece for your home.
What do you do when you’re asked if you want to participate with a group of wildly talented DIY bloggers for a wood wall art challenge?
Well, if you’re me you panic.
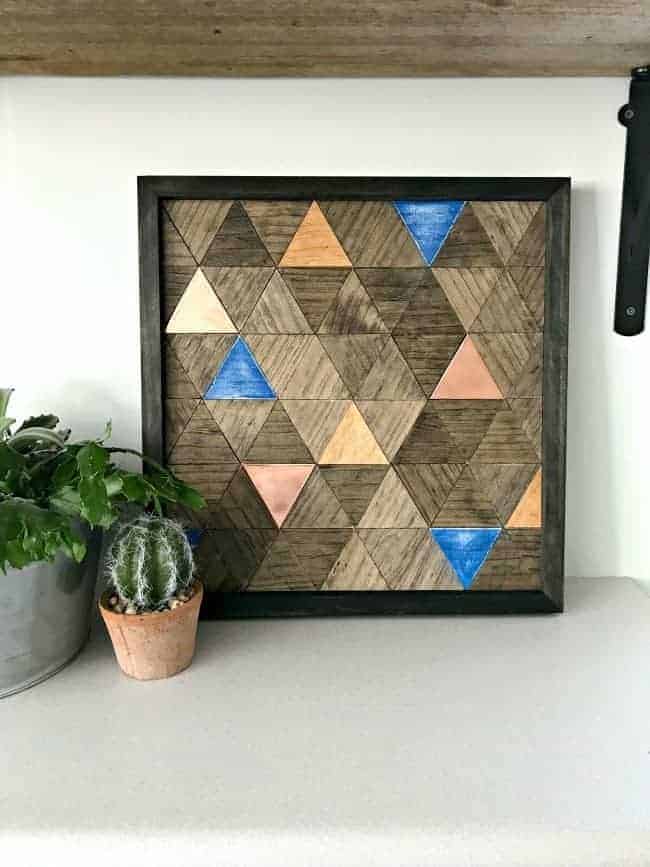
I mean, I’ve never made wood wall art before and the bloggers participating are serious about building. Their beautiful projects speak for themselves.
To say I was intimidated is an understatement but I gathered my courage and accepted the challenge.
The only rules we were given for this challenge was that our wood wall art had to be square and made mostly of wood.
With the rules in mind, I searched the internet for inspiration so I could come up with a plan.
I didn’t know exactly what I would end up with but I did know that I wanted to use copper in it somewhere and I wanted to keep it as simple as possible. I finally settled on triangles.
They seemed like an easy shape to work with so that’s where I started.
The idea was to make my wood wall art out of small triangles with a simple wood frame to finish it up.
A little copper, some paint and stain, and we had the makings for a simple but custom wood wall art piece.
Make sure you also check out my video at the end of the post.
Tools I used to make copper and wood wall art:
- chop saw
- pneumatic staple gun
- table saw
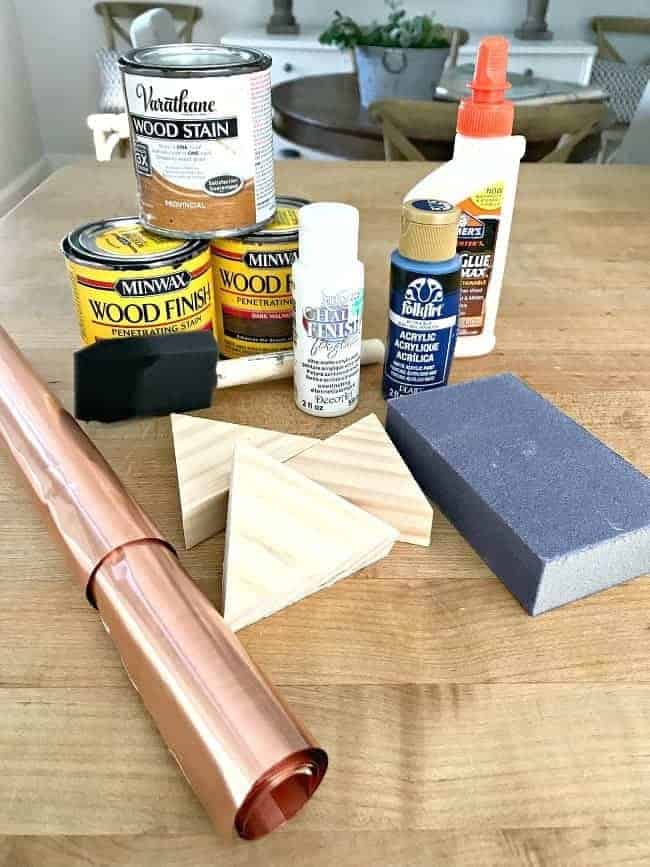
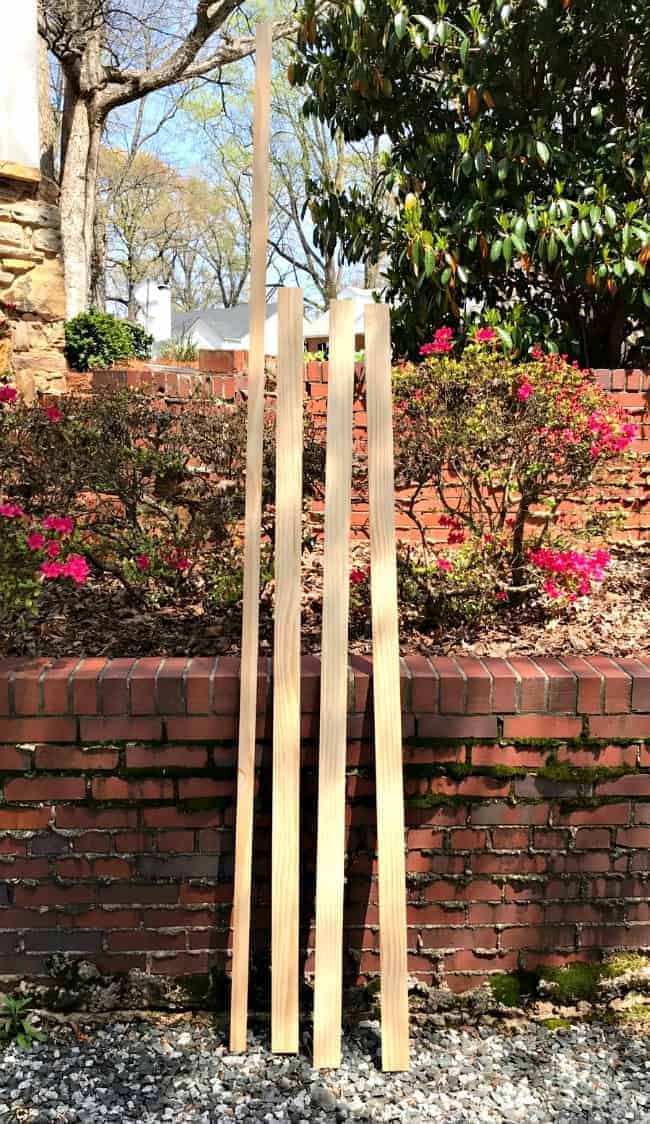
Supplies:
- 1 piece of 1×2 pine, 8 ft.
- 3 pieces of 1×3 pine, 6 ft.
- 1 piece underlayment for back of art
- wood stain
- wood glue
- paint
- foam brush
- paint brush
- sand paper
- copper sheet
- scissors
Step 1: Cutting the wood
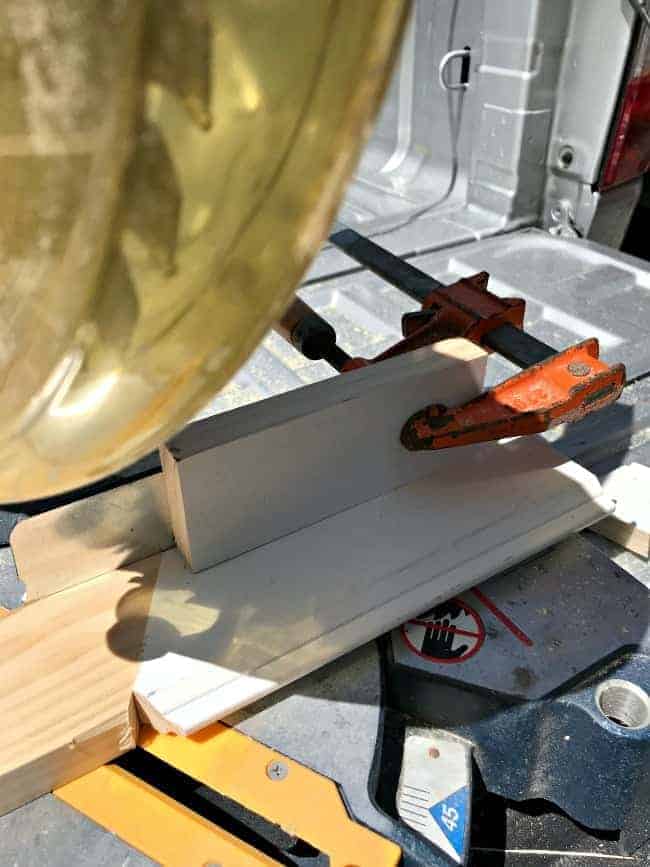
The first step was to calculate the size of my art piece so I could figure out the size of my triangles.
Next, I made a jig out of two pieces of scrap wood. This was a lifesaver and helped me keep all of the wood triangles nice and straight, and the same size.
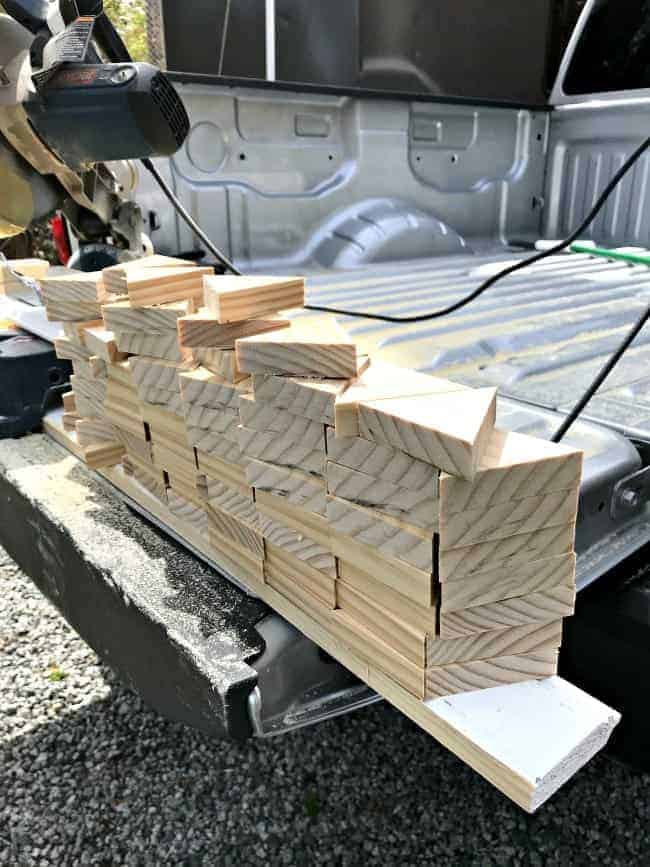
Then I went to town and cut up the 1×3 pine into 66 perfect triangles. I went a little crazy with the chop saw and ended up cutting 20 extra pieces.
It was all good though because it gave me a few extra to test finishes.
Step 2: Cutting the underlayment
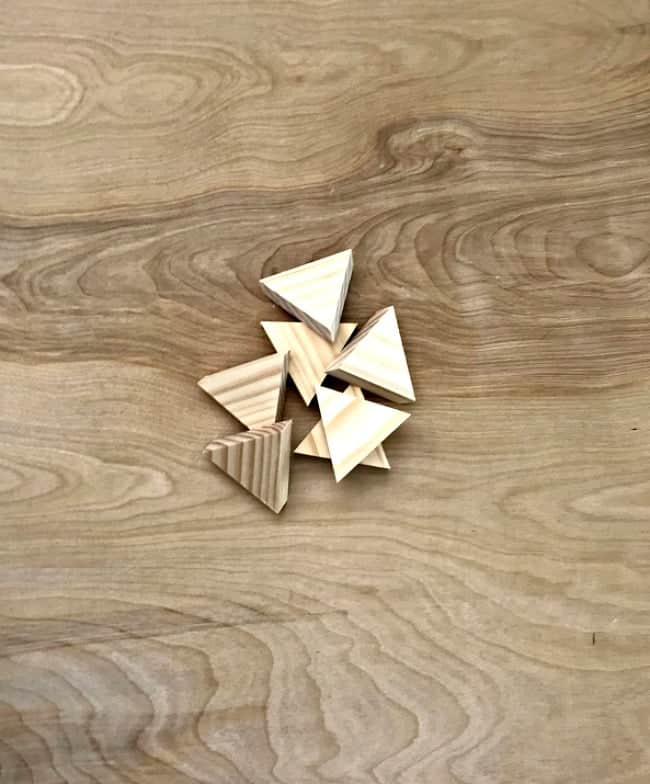
After all of my wood triangles were done I cut a piece of underlayment to use as the base of my art.
The plan was to glue the triangles to the underlayment and then frame it.
Step 3: Laying it out
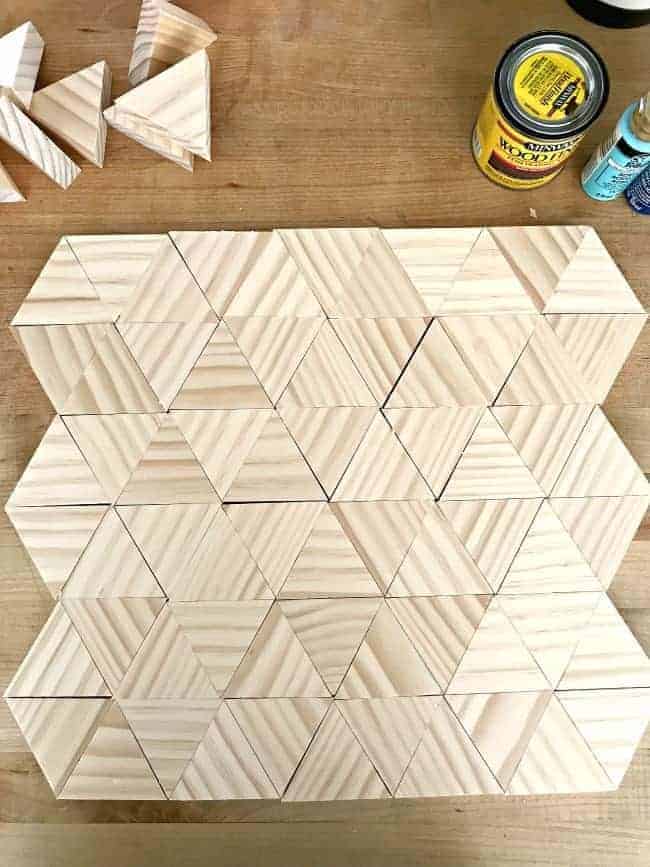
With all of the wood cut, it was time to lay out the triangles. Remember, our artwork has to be square so I fit the triangles next to each other in 6 rows of 11.
Check out the wood grain in this simple design.
Step 4: Paint and stain
Now that the base was laid out, it was time to have fun with paint and stain.
I knew I wanted a hint of blue, as well as a touch of copper, so I started experimenting with blue paint first. I tried aqua and a darker blue, with white paint as a base.
After the paint dried I used the sandpaper to give it a distressed look.
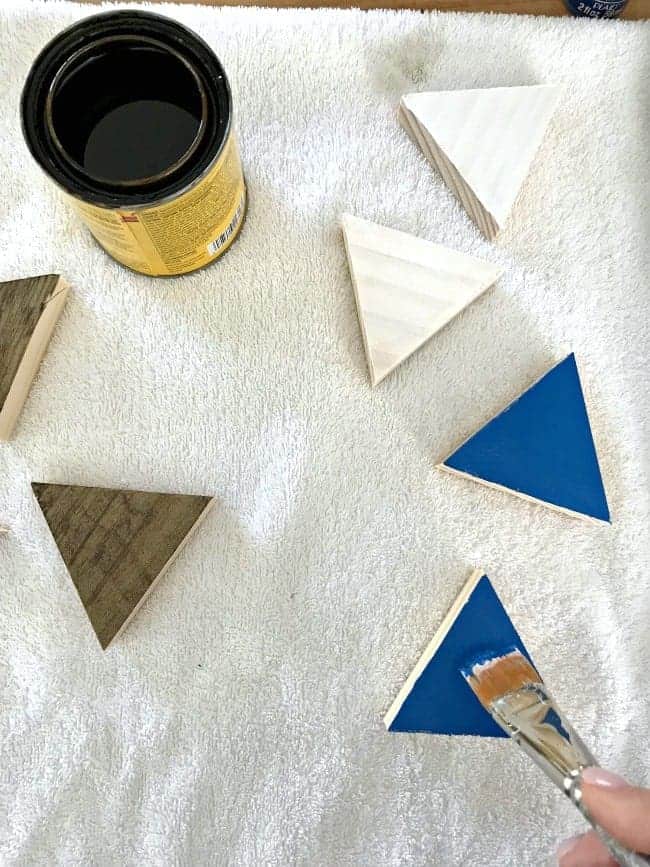
Next, I experimented with a light and dark stain. The dark stain won out but I kept a few of the light stained triangles to break up the dark.
Step 4: Wrapping it in copper
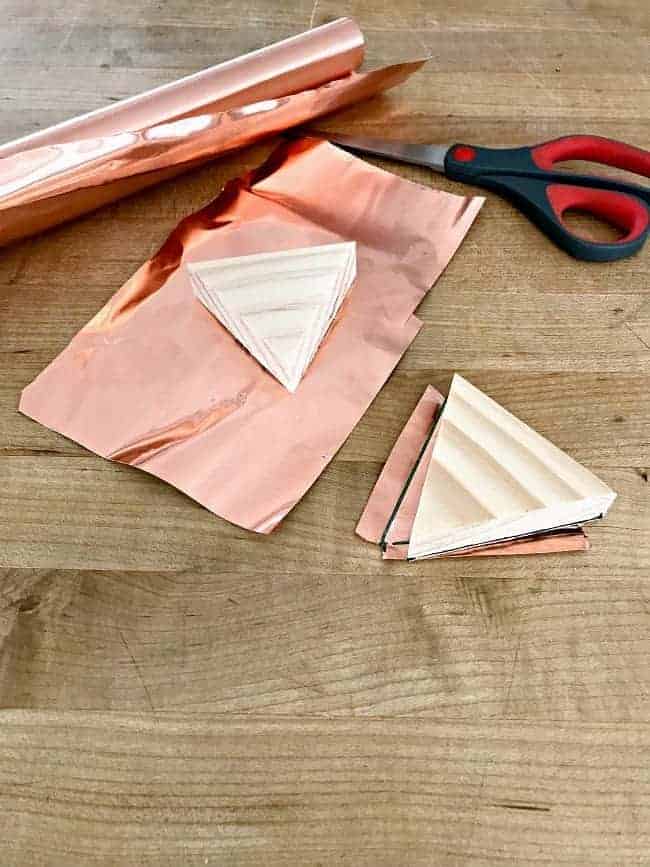
This project was all about wood and a little bit of copper, so my next step to wrap a couple of triangles with the copper sheeting. I just cut a piece of copper out that was a little bit bigger than the wood triangle, so I could wrap it around the sides.
There was no measuring involved, I just eyeballed it. Once it was cut it out, I wrapped it around the sides of the triangle, pressed all my corners down tight and snipped off the ends.
A little wood glue to keep the copper in place, and we were ready to put the puzzle together.
Step 5: Putting it all together
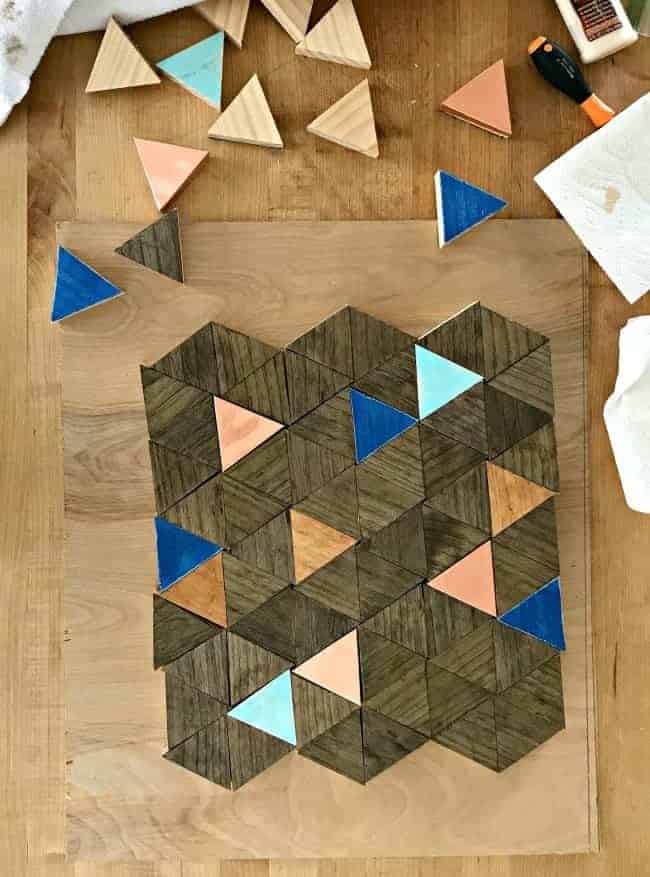
It really was like a puzzle. I moved the colors around, adding some and subtracting others, until I found a look that I liked. In the end, I kept it simple and went totally random with my design.
I used a few dark blue, a few of the light stained and a few copper, along with the dark stained triangles. Two ends will need to be trimmed to keep my artwork square so I was careful to not put the copper pieces in the cut zone.
Step 6: Glue it all down
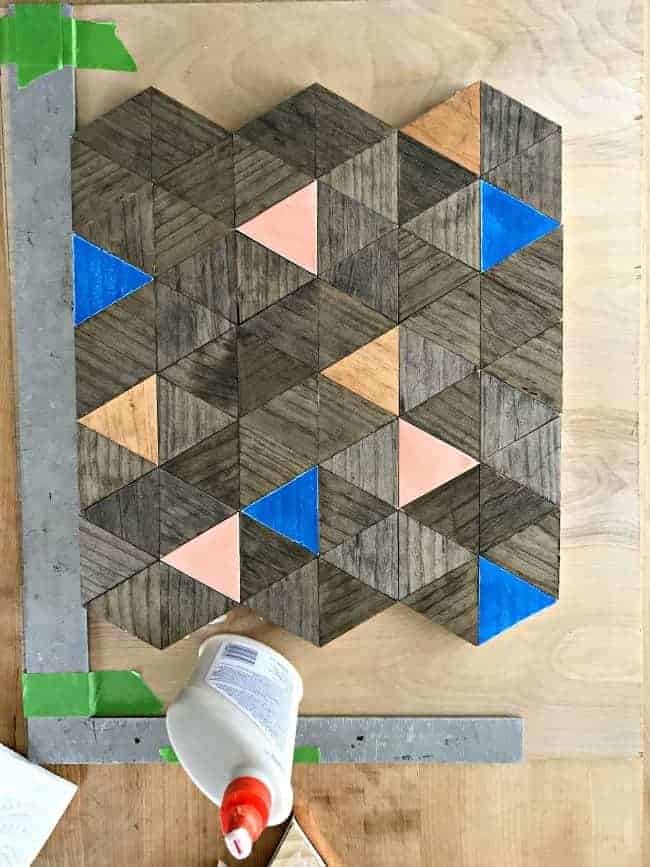
Once I was happy with my color placement, I started the process of glueing the wood triangles down to the underlayment.
Because I needed a straight light to keep my square straight, I used a square.
Step 7: Cutting the edge
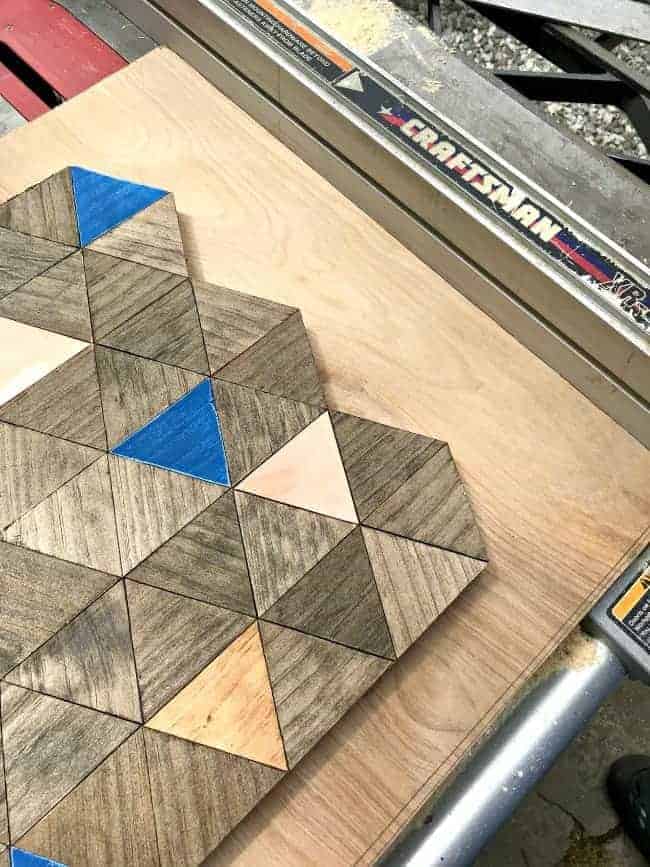
After the glue was dry, it was time to trim the underlayment and the edges of my artwork.
The goal was to get it square so the triangles on 2 of the sides needed to be cut in half. This was a job for the table saw.
Step 8: Cutting and staining the wood for the frame
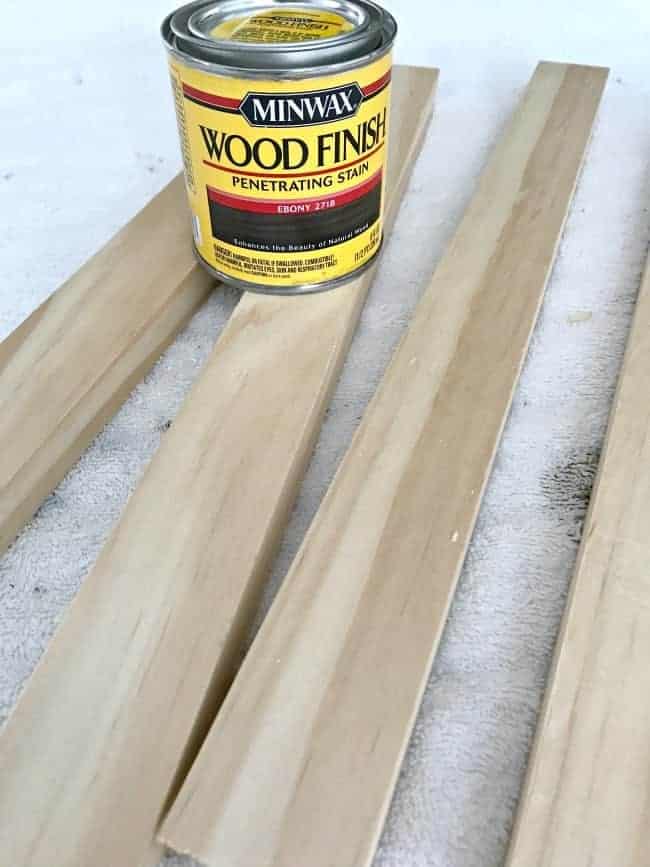
With the artwork complete, it’s time to frame it. I measured my completed piece and marked a 1×2 piece of pine to cut for the frame. I used the chop saw again and cut each end at a 45° angle.
A little ebony wood stain and the frame was ready to be attached.
Step 9: Framing it
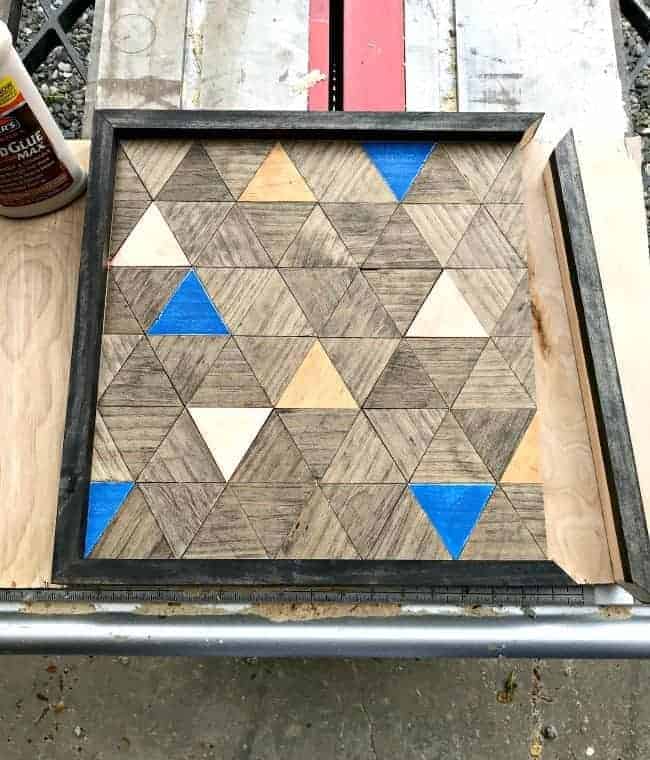
Once the stain was dry, it was time to finish up this project. I used wood glue on each piece of the frame and then stapled it on using the staple gun.
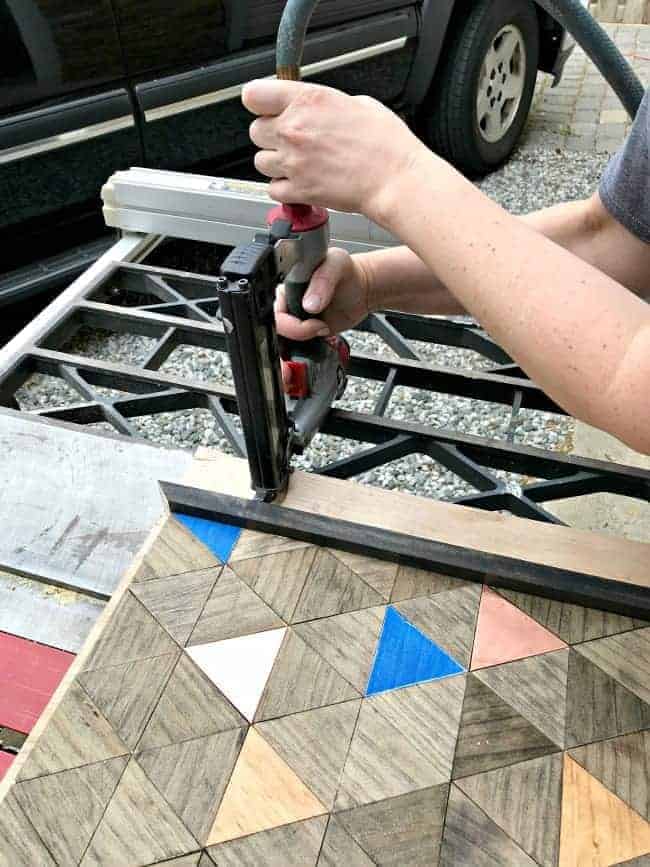
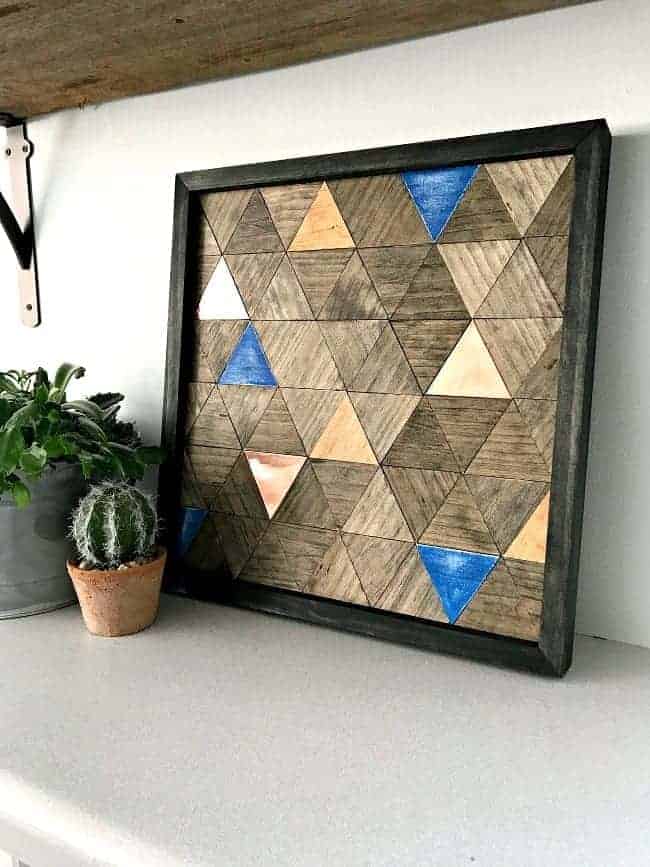
I wasn’t so sure about this project in the beginning but I’m really loving the way it turned out. The wood grain, the pop of color, the shine of the copper…I love it all.
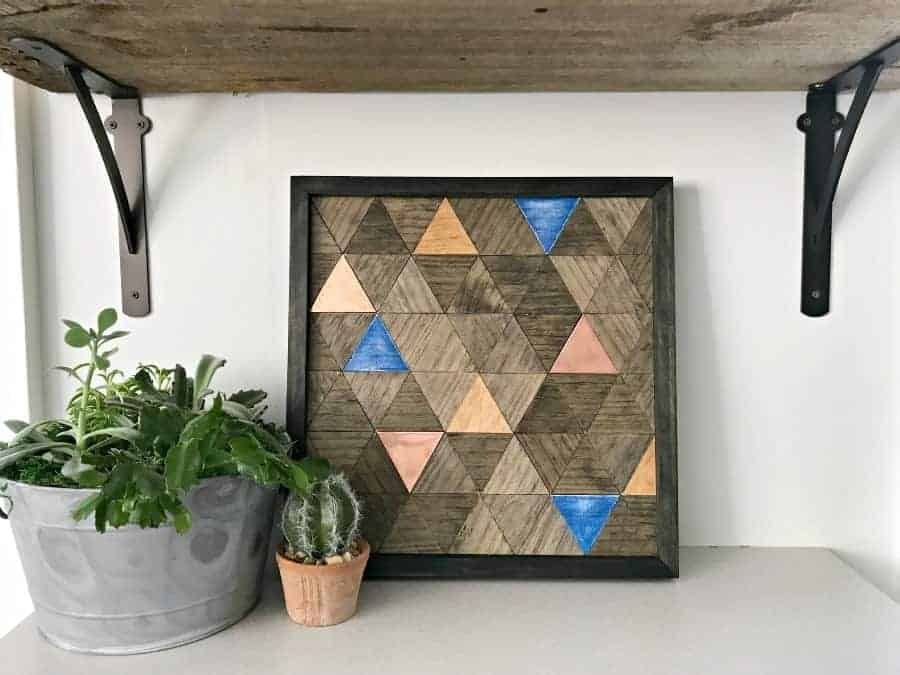
Plus, it was so much fun to build. It will be the perfect touch in my new studio space. If I ever finish it.
Check out more fun wood projects
Remember that I said this was a challenge with a group of talented DIY bloggers? Now’s your chance to check out their creative wood wall art projects. Prepare to be amazed.
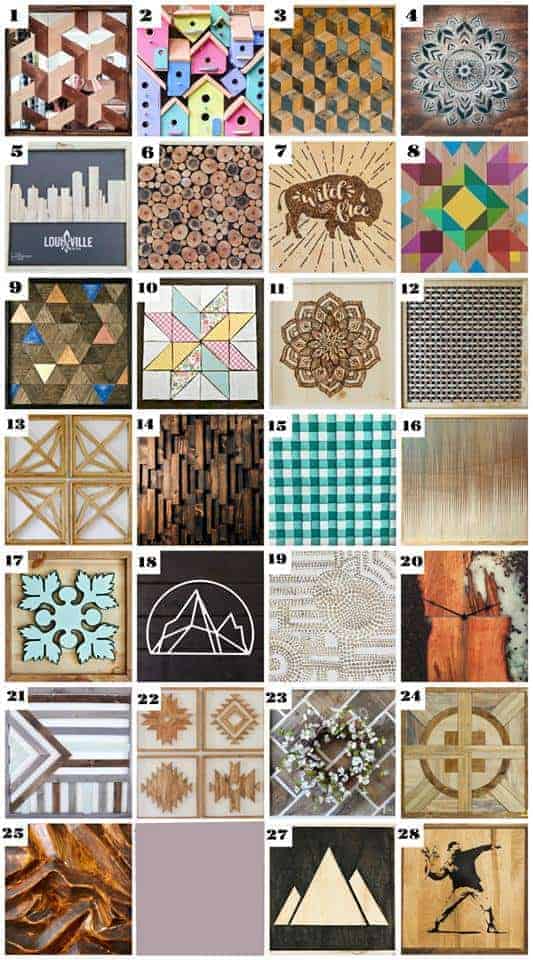
1) Reality Daydream / 2) 100 Things 2 Do / 3) House Becoming Home / 4) Anika’s DIY Life / 5) My Repurposed Life / 6) 3×3 Custom / 7) One Project Closer / 8) Merrypad / 9) Chatfield Court / 10) Create & Babble / 11) Hazel & Gold / 12) Jen Woodhouse / 13) Sawdust 2 Stitches / 14) Wood Work Life / 15) Remodelaholic / 16) Evan & Katelyn / 17) Jaime Costigio / 18) Pneumatic Addict / 19) Bower Power / 20) Lazy Guy DIY / 21) My Love 2 Create / 22) Addicted 2 DIY / 23) Her ToolBelt / 24) Shades of Blue / 25) Ugly Duckling House / 27) DIY Huntress / 28) Mr Fix It DIY
Don’t forget to check out my video!
