Replacing Old Door Knobs and Hinges
This post may contain affiliate links, please see our policy for details.
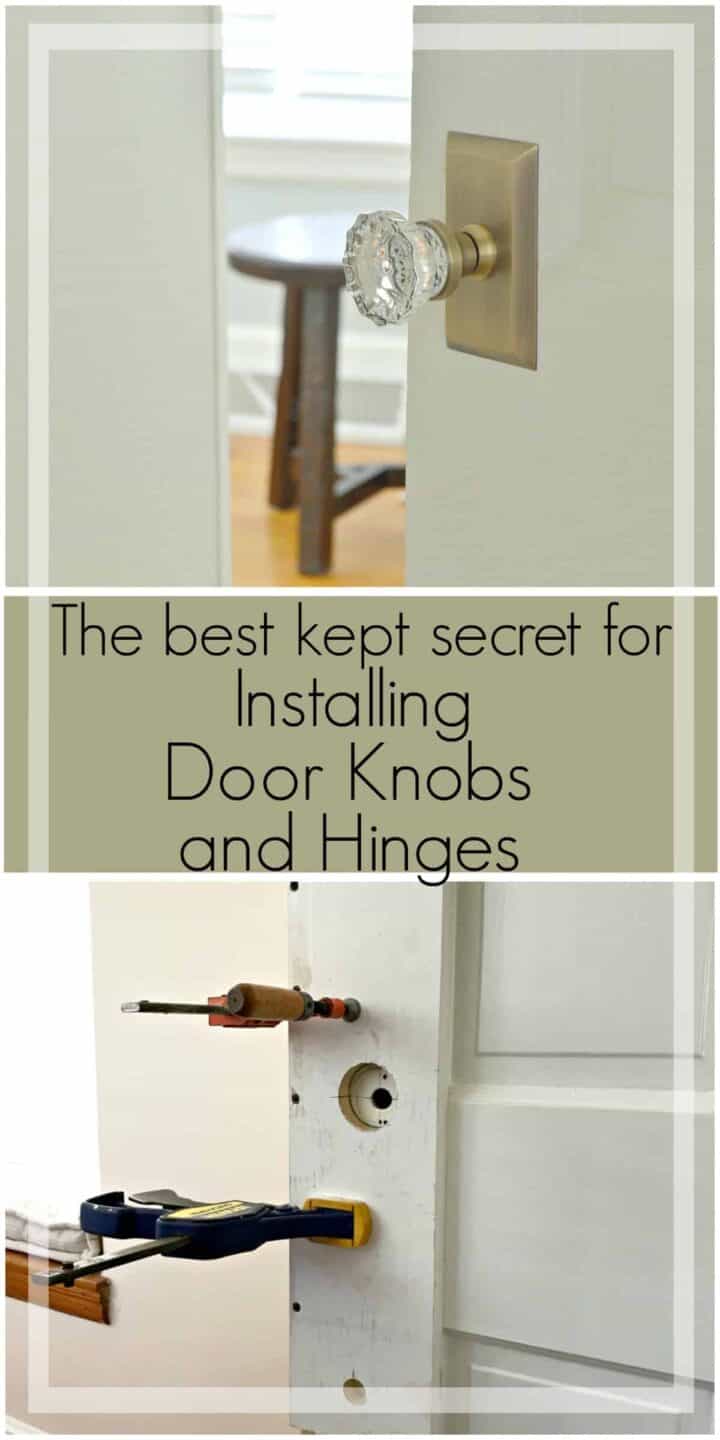
Replacing old door knobs and hinges in an older home, and the best kept secret to help you do it.
Oh the joys of living in an old home (she says sarcastically).
Don’t get me wrong, I love living in our old cottage home but it does come with certain challenges.
I could write a list for you (a very long list) but let’s concentrate on the interior doors, and the reason why we had to install new door knobs and door hinges.
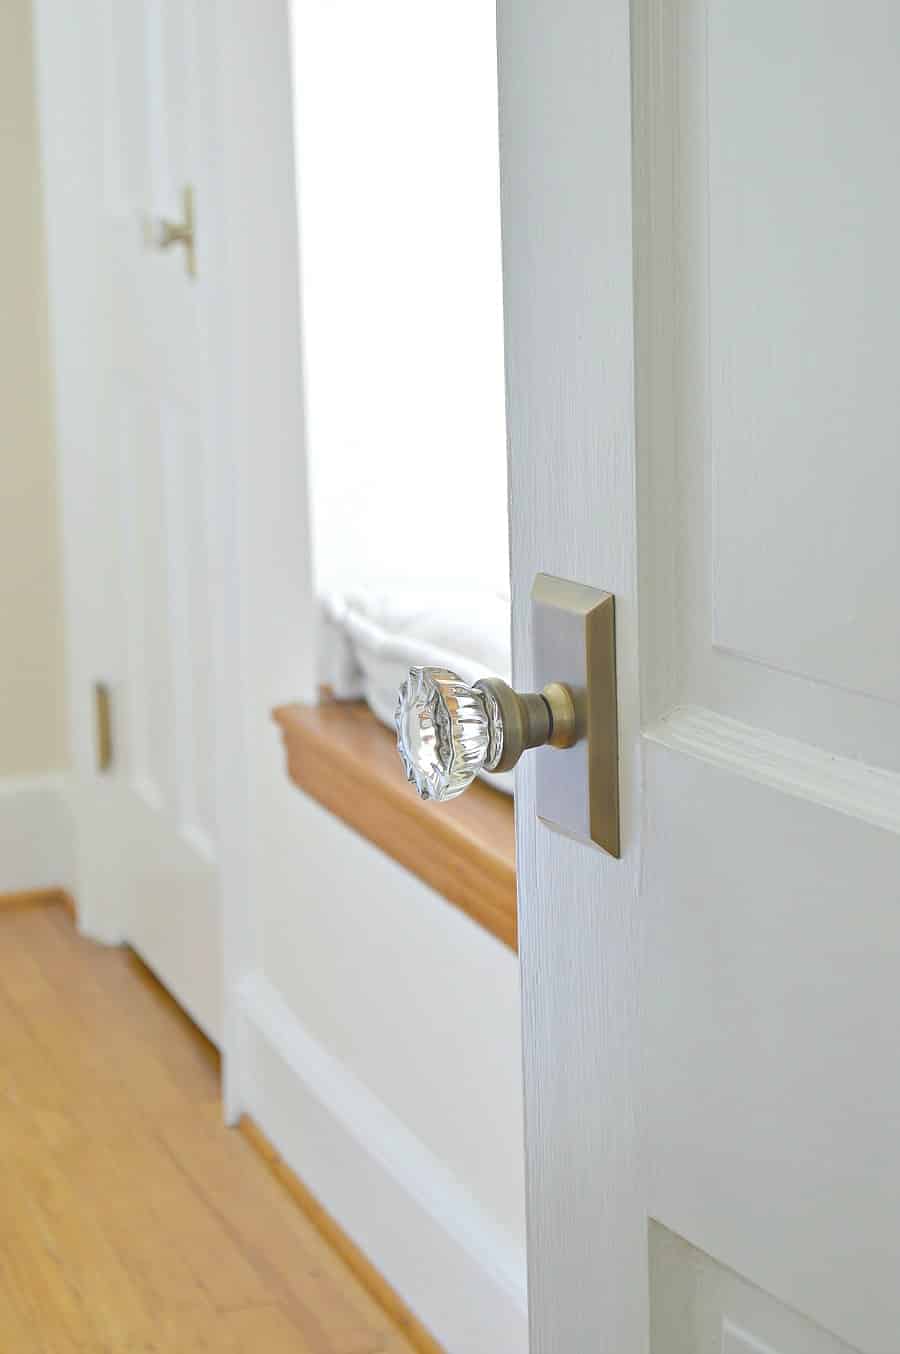
I love the idea of the old glass door knobs that we had on all the doors but ours had several issues.
The first issue was that most of the door knob parts were MIA and one of the bedroom doors didn’t have a latch, face plate or rose.
There wasn’t even a strike plate, or a hole for the strike plate, on the door jamb. In other words…we couldn’t close the door tight.
This is a sponsored post by Nostalgic Warehouse. I did receive product but all opinions are my own.
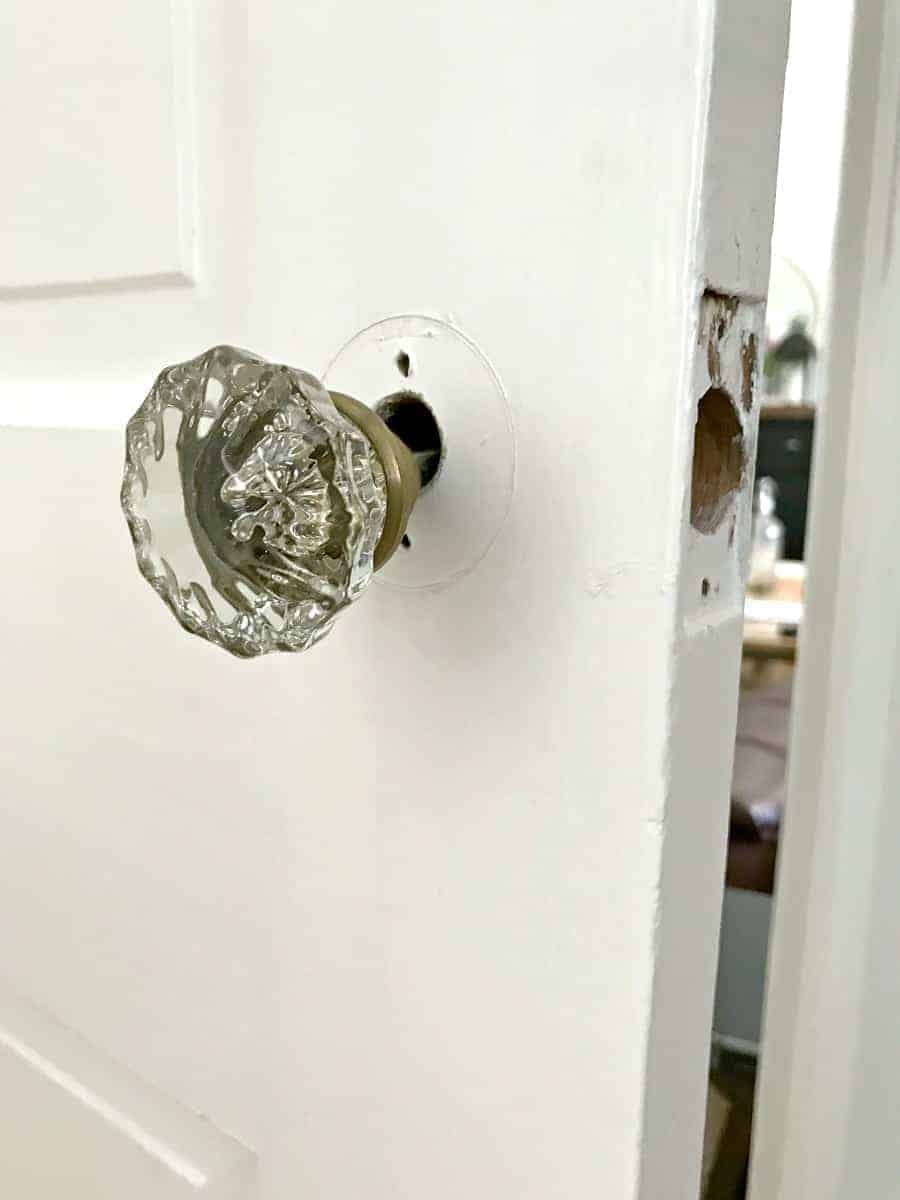
We could’ve tried to fix each door knob but finding parts that fit wasn’t an easy task (we did look).
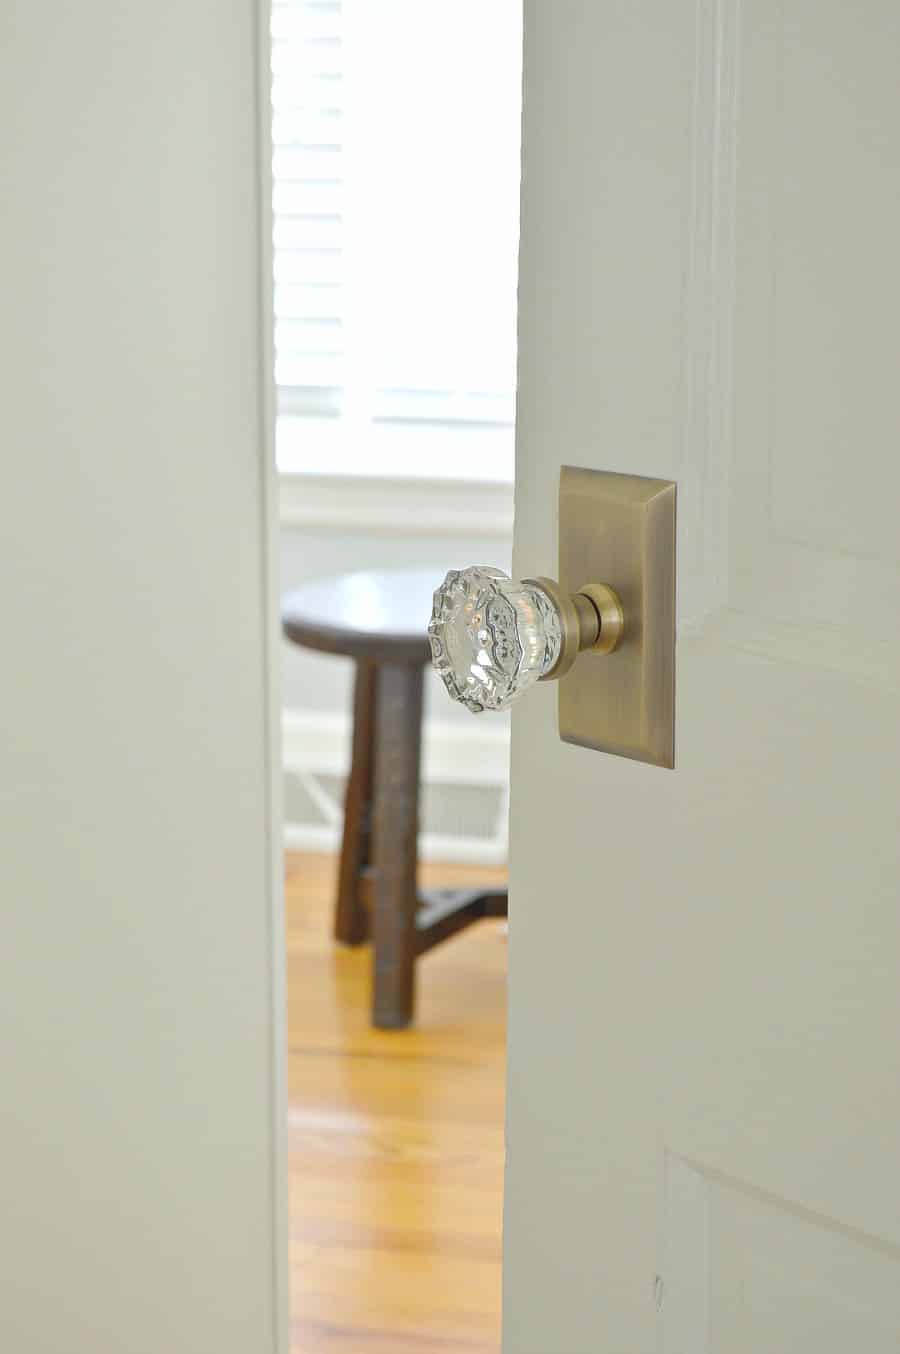
Instead we went with new modern glass door knobs for our two guest bedrooms and a closet.
In the bathroom we updated the old doors with new glass door knobs and when we replaced the basement door, for free, we did the same.
We worked with Nostalgic Warehouse when we replaced the bathroom door knobs and I loved everything about that experience.
Our beautiful new knobs were the perfect touch in our bathroom so our decision to go with them again was a no-brainer.
To keep everything looking cohesive, we went with the Antique Brass Studio Short Plate Crystal Knobs again.
We also changed out the old painted door hinges for new antique brass ball hinges, and even added antique brass doorstops.
Supplies to change door knobs and hinges
As an Amazon Associate and member of other affiliate programs, I earn from qualifying purchases.
- door knobs
- door hinges
- Phillips head screwdriver
- hammer
- chisel
- toothpicks
- wood glue
- cardboard
- small nippers
- tape measure
- jig
- clamps
- hole saw
- utility knife
Installing the door hinges was our first order of business for this project.
I had every intention of stripping the old hinges and rehanging them, thinking they were brass, but they turned out to be metal.
Actually they were 2 different colored metals. Not the best look so we ended up getting new.
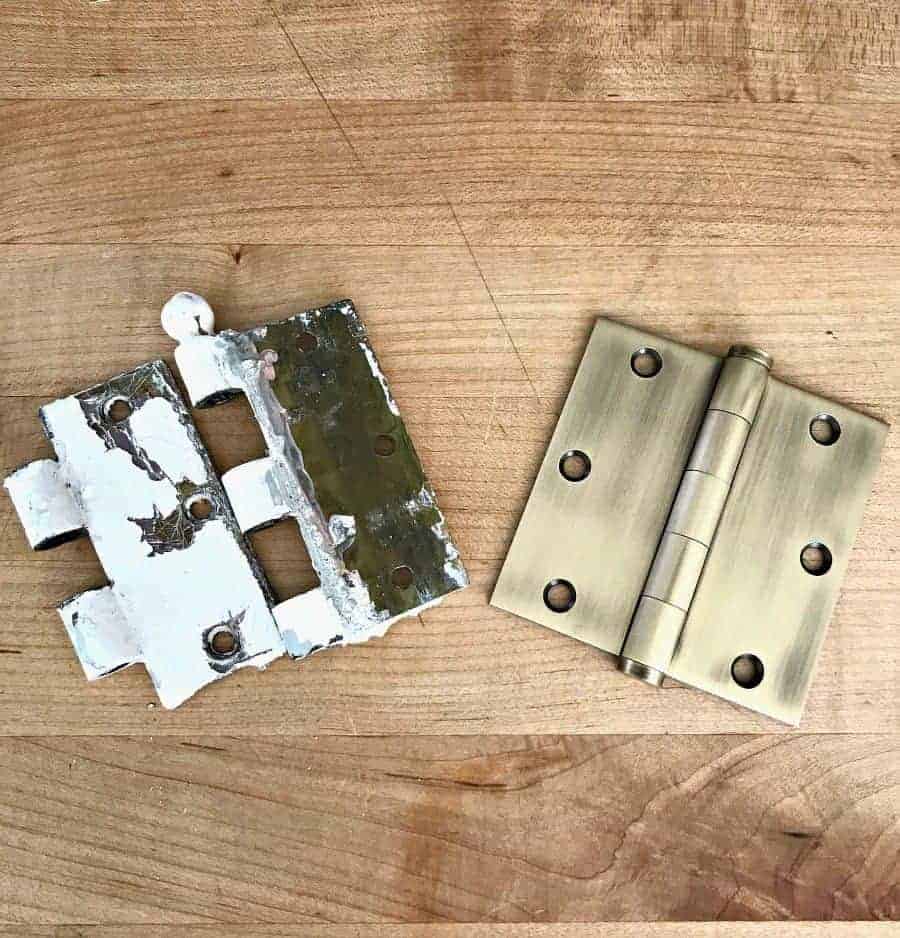
The first thing we did was remove the door, the old hinges and door knob. There was a ton of old paint covering all the hinges so getting them off wasn’t easy.
Once they were off though, I was able to clean up the area and prep it for the new hinges.
So what’s our best kept secret for installing door hinges?
Toothpicks!
Yup…toothpicks.
We’re replacing an old door hinge, which means there are existing screw holes. To quickly fill them in, so our new screws would hold, we used our old toothpick trick.
Remember this one?
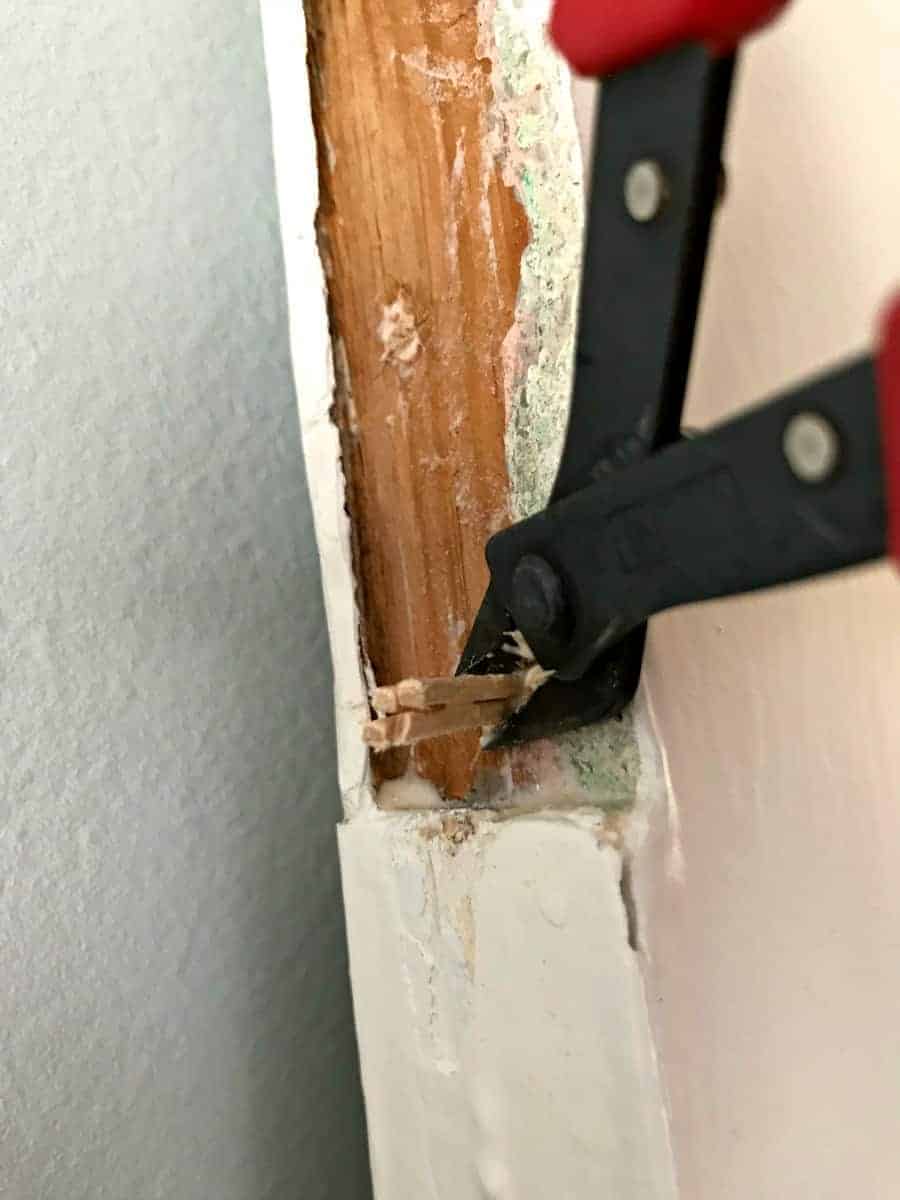
Just rub a few toothpicks in wood glue and stick them in the old screw holes, filling the hole completely. Tap gently with a hammer.
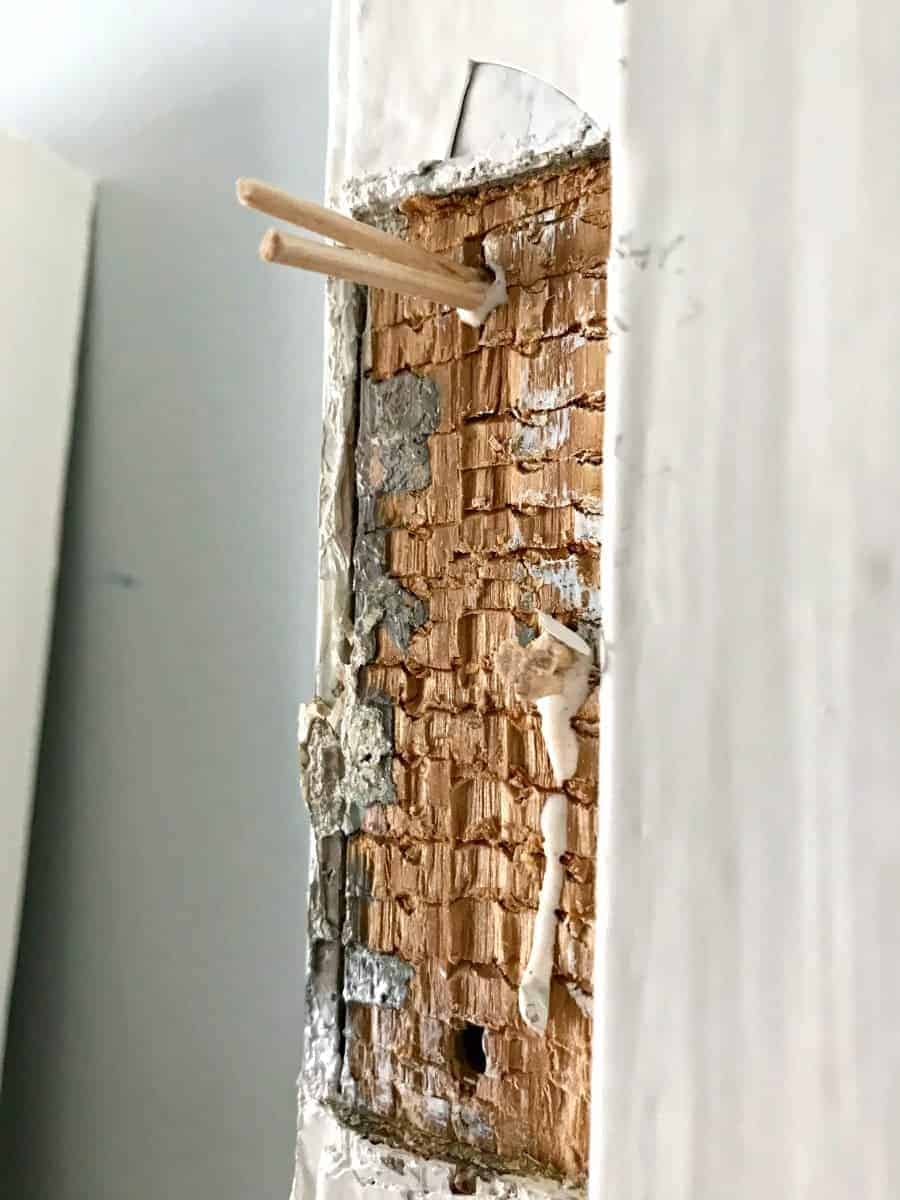
Wipe any extra glue off and cut off the end of the toothpicks with your nippers. Your holes are ready for screws…no need to wait for them to dry.
Love this trick!
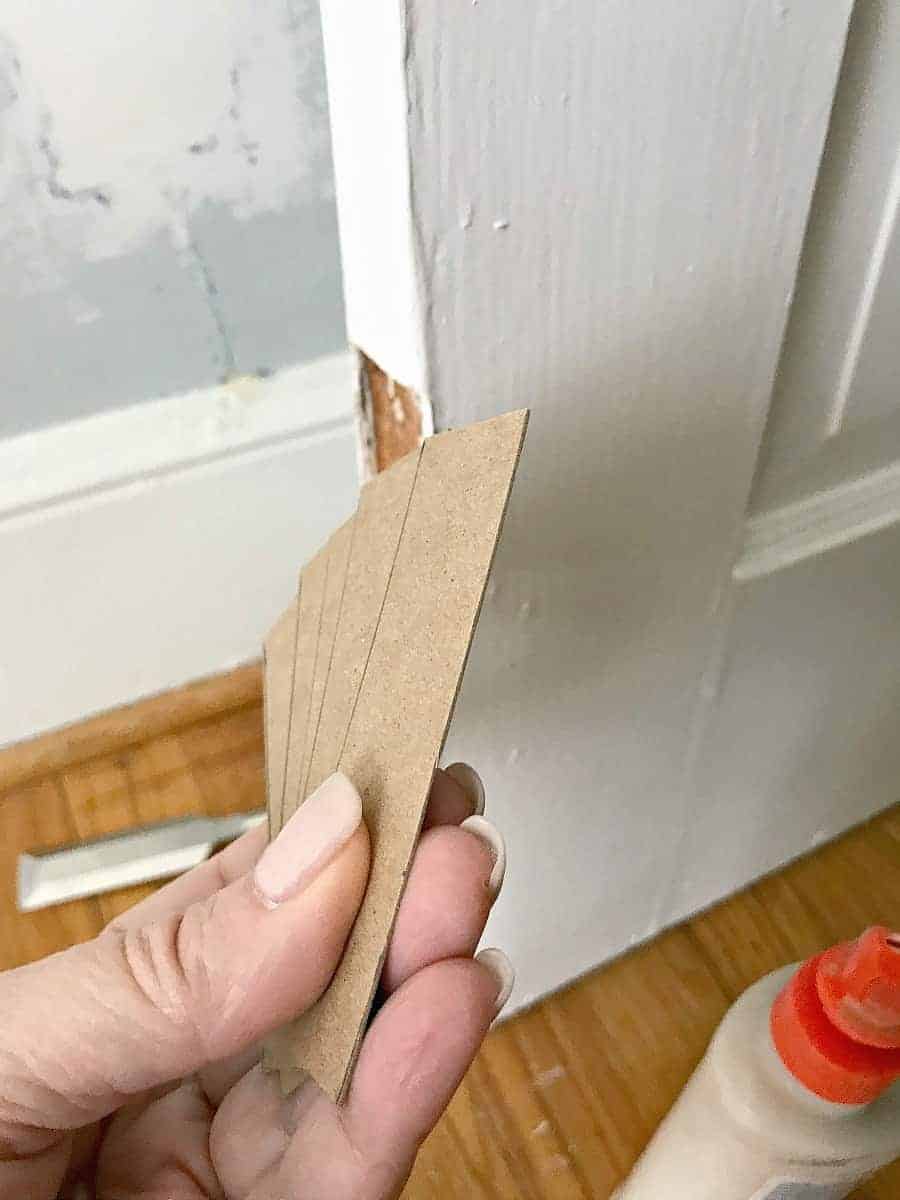
One other trick we tried was to use spacers. Getting old doors to hang straight, and close all the way, is tough when you’re hanging new door hinges.
We used cardboard as a spacer and placed it under the door jamb side of the hinge.
It took a few tries, and a couple pieces of cardboard, but we were finally able to get them to open and close.
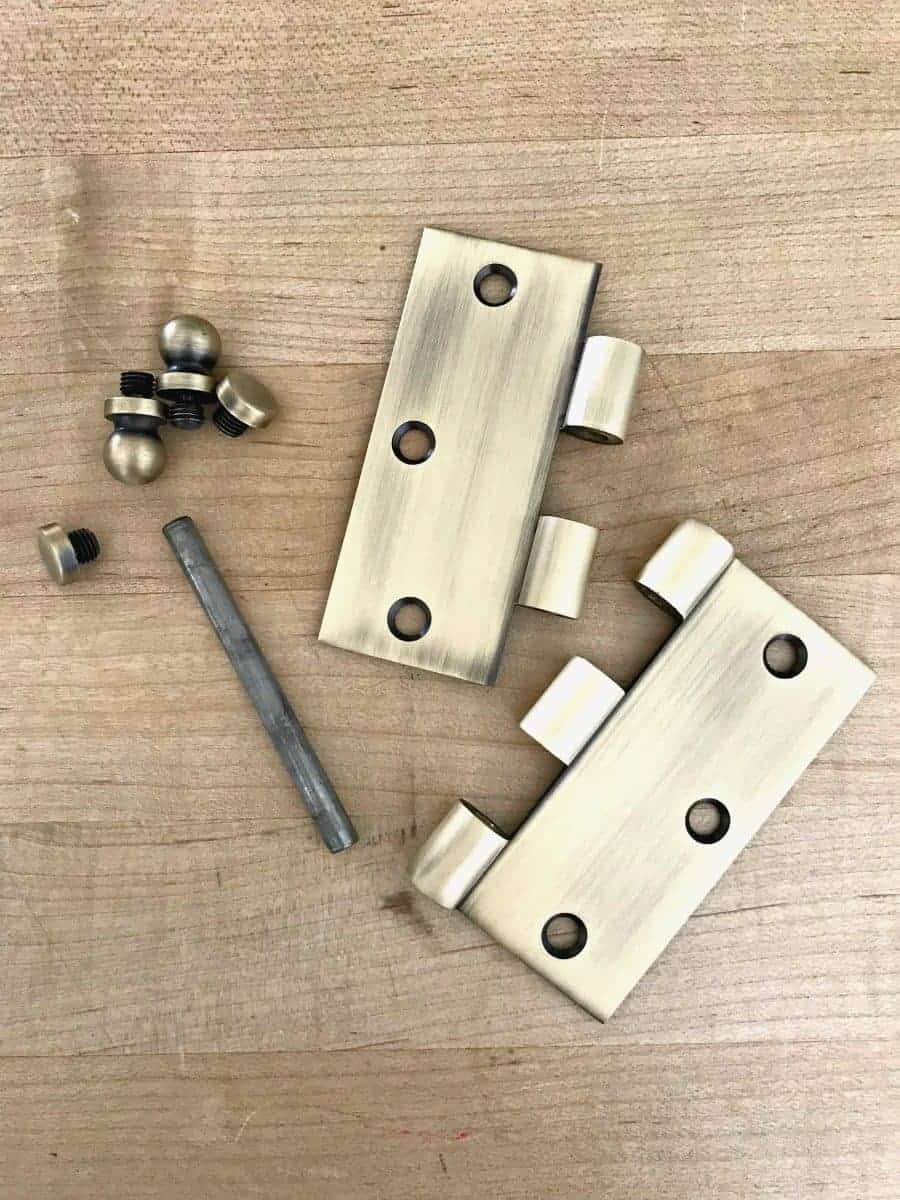
One of the great things we discovered about our new ball tip hinges from Nostalgic Warehouse is that they can easily be taken apart.
The ball tips can be removed (and replaced with a button tip) as well as the pin. It makes the job of hanging the door so much easier.
Roger was really impressed, and that doesn’t happen often.
With the door hinges done, and the door hung, it was time to tackle the door knobs.
We knew that we needed to drill a hole for the new door knob but first we had to fit the latch and faceplate.
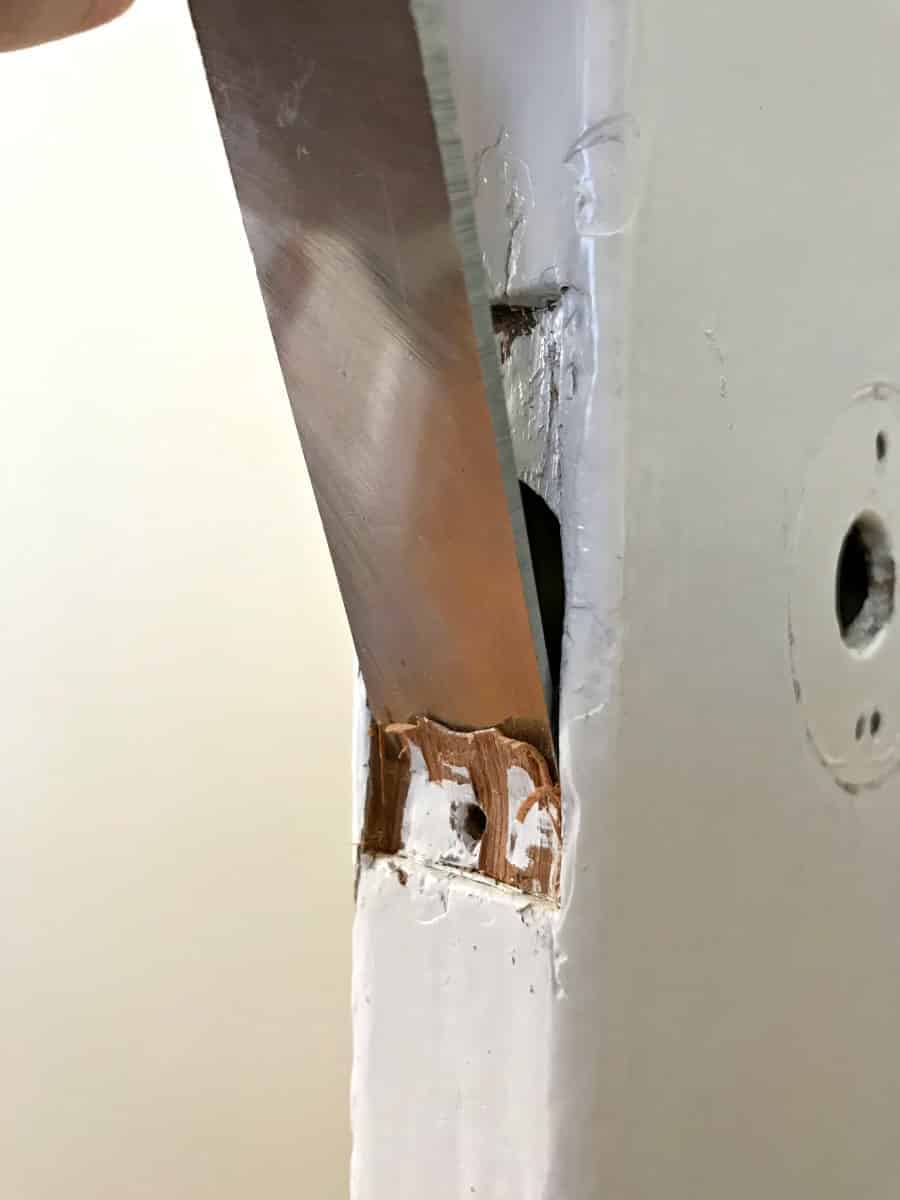
The old knob didn’t even have a latch but the hole was there. I just had to chisel it out so the faceplate was flush.
Once we were sure the latch would fit it was time to measure for the placement of the door knob.
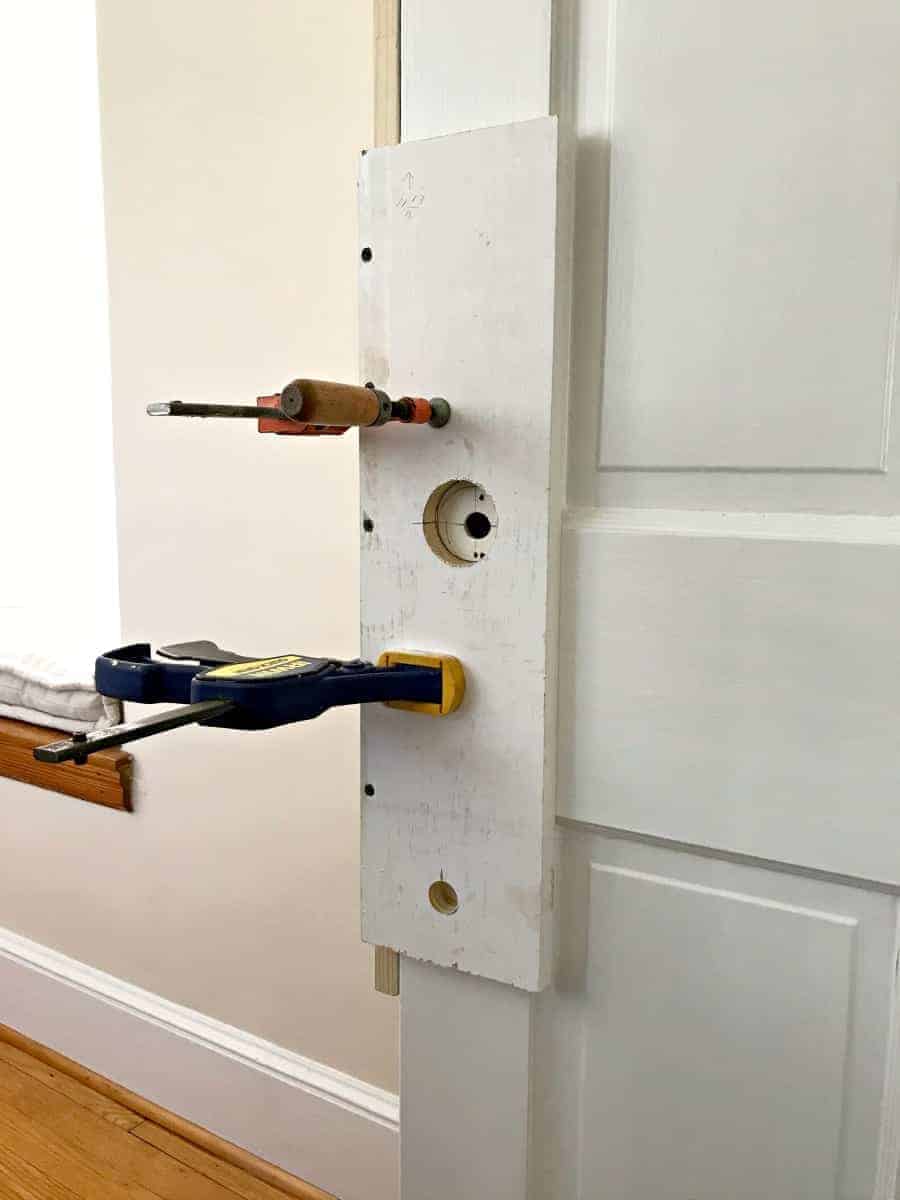
Worried about drilling the hole in the right spot for the new door knob, I quickly built a jig to use as a guide.
A few minutes with the hole saw and we had a perfectly placed hole for our new door knob.
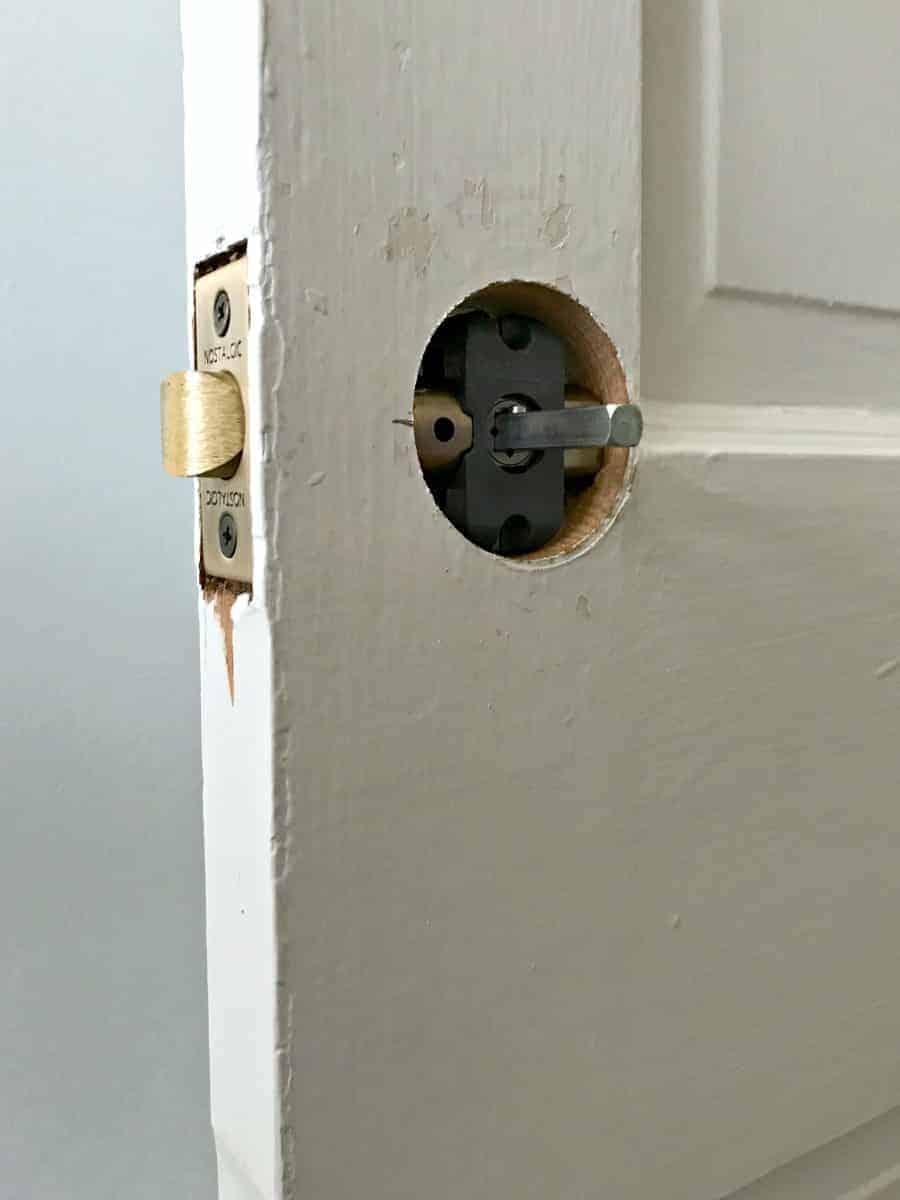
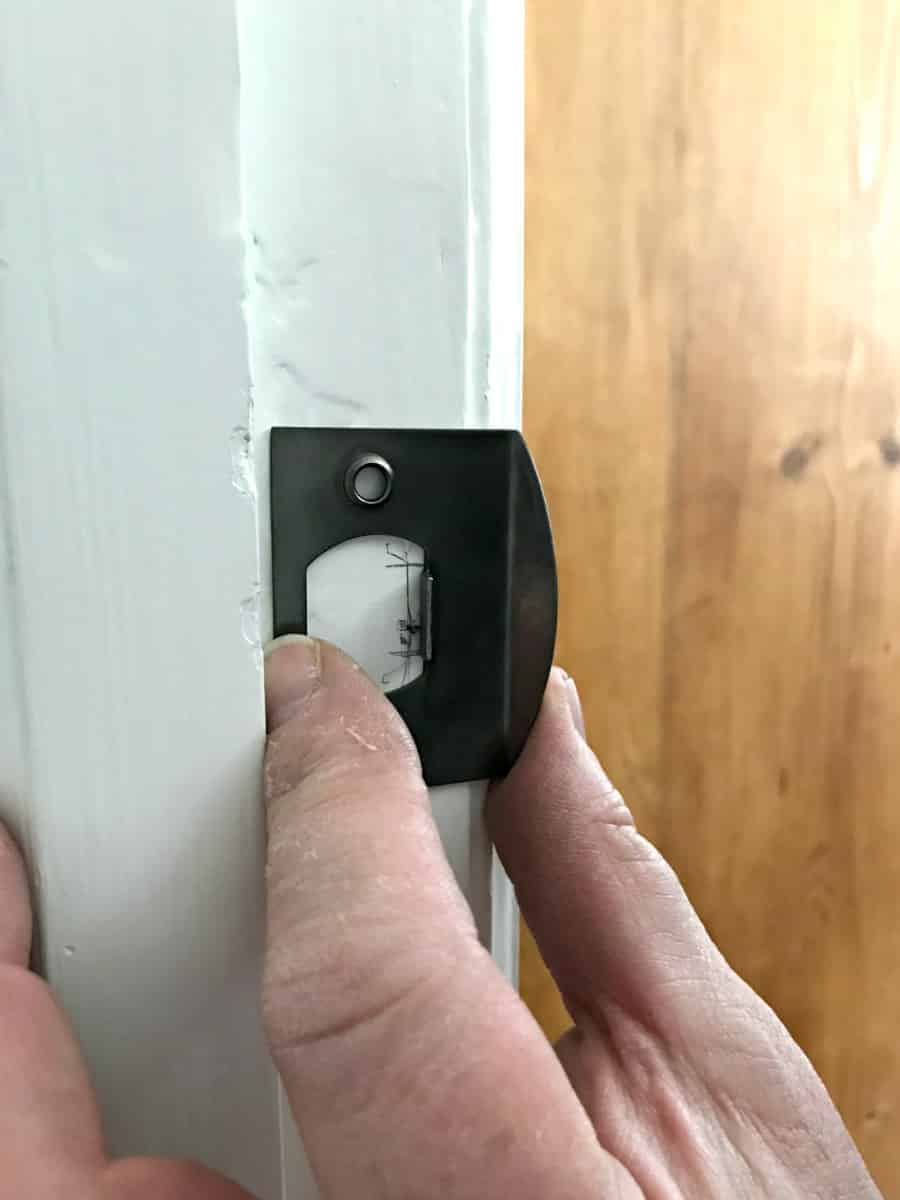
After the door knob was on, we finished up by installing the strike plate.
One door jam in the guest bedroom didn’t even have a hole for a strike plate so we started from scratch.
The other two doors just needed a bit of tweaking.
I have a little touching up to do with paint but the doors already look so much better.
The best part is that they all close, and stay closed. We’ve never been able to do that.
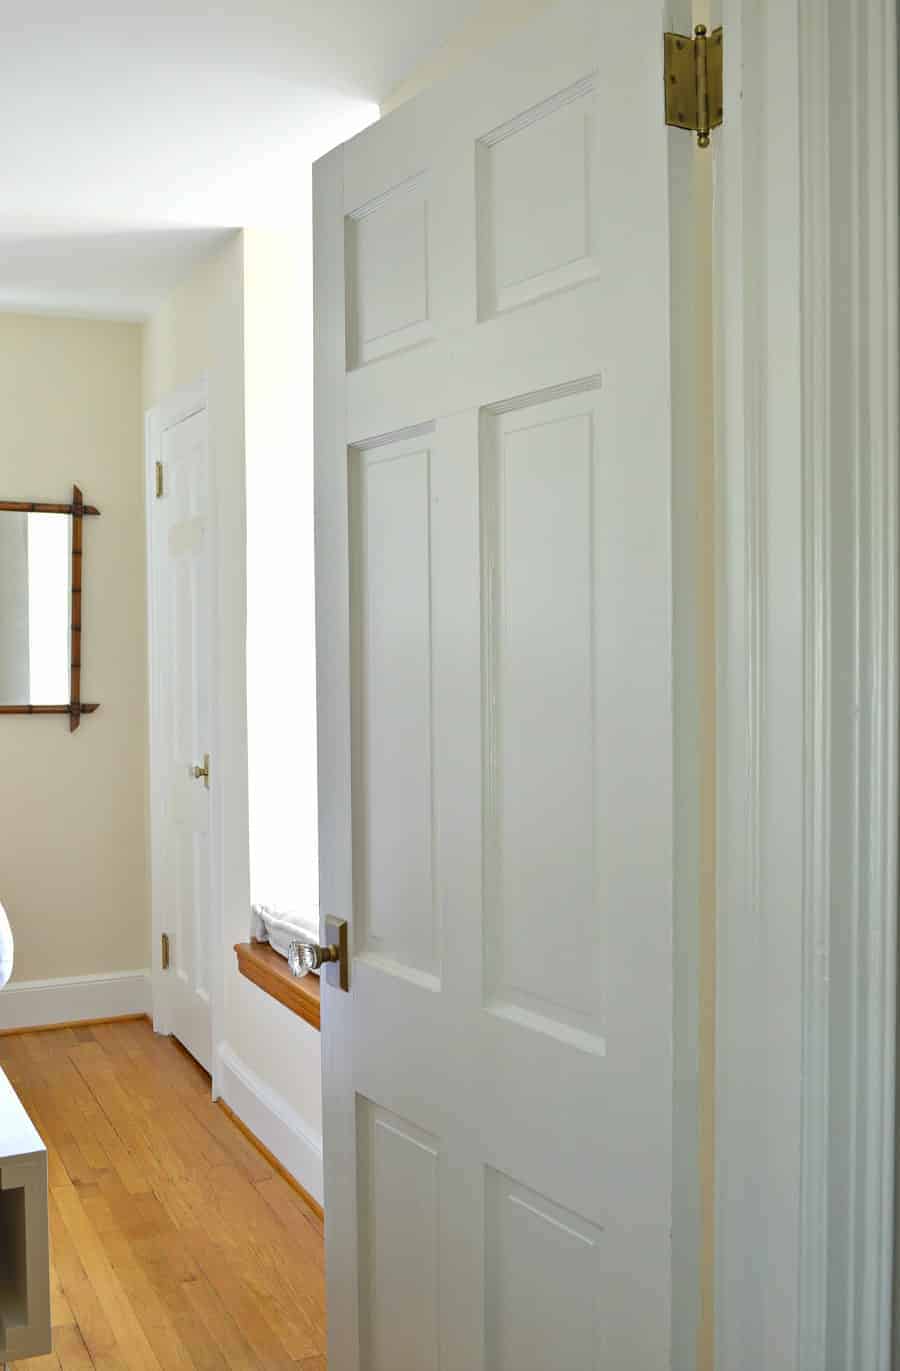
Replacing old door knobs and hinges isn’t difficult but it did take us a fair amount of time, and we only did 3 doors.
Using our secret tricks definitely made the process easier.
One more project ticked off the guest bedroom redo list.

