
Easy DIY Floating Shelves
This post may contain affiliate links, please see our policy for details.
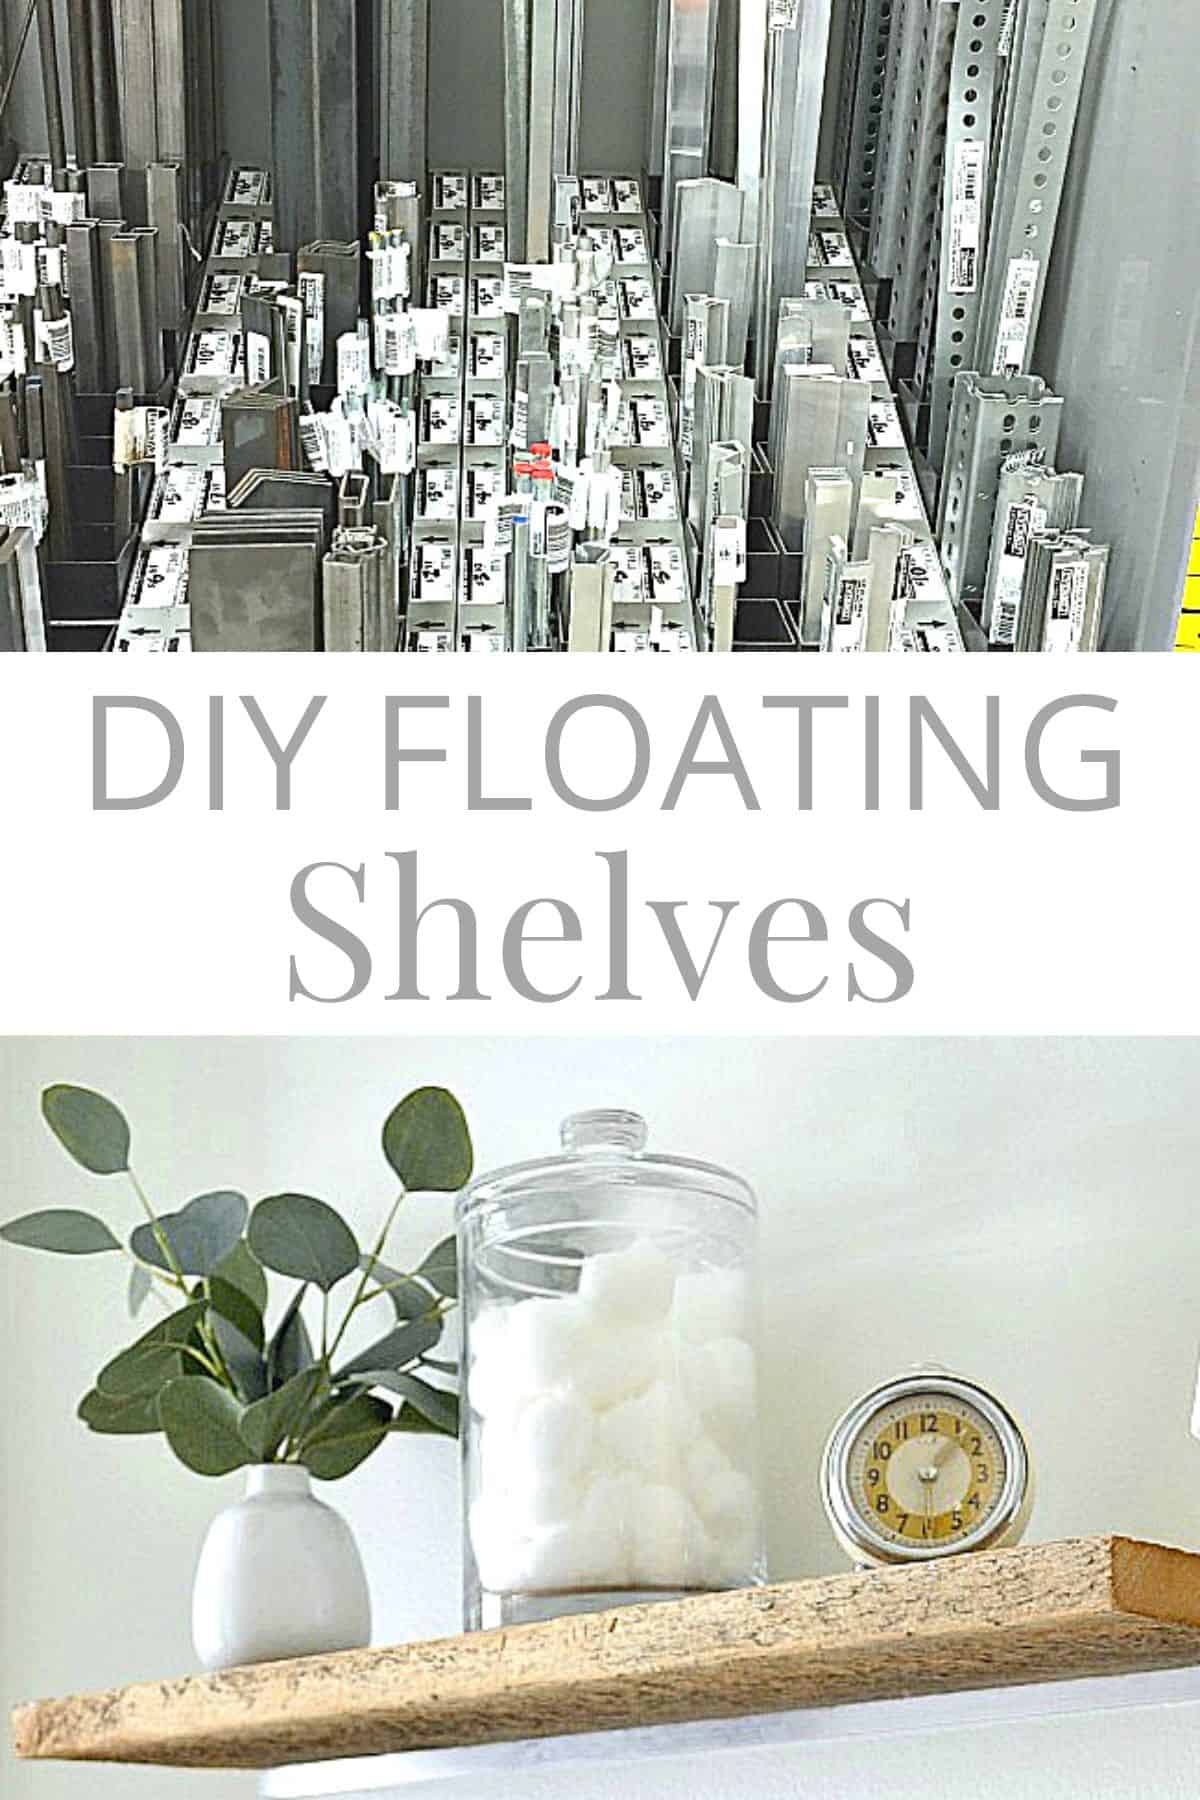
How to make easy DIY floating shelves from old barn wood and an aluminum strip for extra storage in a small bathroom.
One thing that every bathroom needs is extra storage. Especially a very small bathroom with a small linen closet and pedestal sink.
If you can find some open wall space then shelving might be a good option for you.
We had a bit of space above our toilet so we installed a couple of DIY floating shelves for some much needed storage. They are similar to our DIY kitchen shelves but with a twist.

Is it cheaper to build your own shelves?
Budget is always a consideration when I do a project and this one was no different.
After looking at several options, we ditched the idea of buying pre-made shelves and went with something we could DIY.
It turned out to be way cheaper to build our own shelves using scrap wood and an $11 piece of aluminum.

How to make floating shelves from scratch
I had a couple of scrap pieces of old barn wood leftover from our Illinois kitchen remodel, so we decided to use that.
The biggest issue we had was how to attach the wood to the wall so that they would be sturdy enough to hold decor and bathroom necessities.
My first thought was to use shelf brackets.
The only problem was that the studs were in odd places behind the sheetrock, and we needed to hit them in order to keep the shelves from falling down.
We had no idea what to use so the project stalled until I found aluminum flat bars in Home Depot.
They were sturdy and the perfect size, plus it gave us just enough room to add holes so we could attach the shelf to the wall and hit 2 studs.
One strip was all we needed to hang both shelves.

Supplies
- tape measure
- stud finder
- aluminum strip
- drill
- barn wood
- laser level
- wood screws
Making DIY floating shelves
The first, and most important step is to measure for the shelves.
It probably took us longer to measure everything but it was important to identify the location of the studs so we could drill the holes in the aluminum strip.
Once all the measurements were taken and we knew where the studs were, it was time to get the shelves ready to hang.
To attach the aluminum strip to our precut wood, we drilled 3 holes in the strip and 3 holes in the wood, evenly spaced.
Then we drilled the 2 holes in the strip that lined up with the studs.
The idea was to have the screws hit the studs.

With all the holes drilled into the strip, we attached it to the wood.
We did this by lining up the 3 holes across the wood with the 3 holes in the strip.
Hanging DIY shelves
After the strip was attached to the wood, the shelf was ready to be attached to the wall.

All that measuring (and…let’s be honest…a little bit of arguing) paid off.
We were able to get them up, level and secure on the first shot.
It sounds complicated but it wasn’t, and it actually worked very well.

I wouldn’t put anything super heavy on the shelf, but they are very sturdy. There is just enough space to add a little bit of decor among a few necessities.
I also love that the old wood adds some warmth to the room.

Check out our other DIY shelves
They look really pretty, and even nicer that it is recycled wood.
Gotta love recycled wood! Thanks so much, Anita! 🙂
Love you floating shelves with the reclaimed wood. They turned out really nice! Sometimes I think about taking down the cabinets in the bathroom and putting up floating shelves. I really love how they look!
Thanks so much, Linda, I appreciate it! I never thought I’d be one to do open shelves, I was worried about dust, but I really love having them.
Very cute & rustic, which I love!
Thanks so much Florence! It’s amazing how old, rustic wood is “in” but I do love it. 🙂
Maybe I missed it but how did you cut the aluminum to size?
Hi Carie. We used a hacksaw to cut the aluminum to size. Very easy to do. Hope that helps.
Awesome job! Are those bars anything like french cleats? Or did you drill through the bars to hang? Thanks!
Thanks so much, Jo. We talked about using french cleats but did this instead (it was easier). So, no french cleats. We just drilled through the aluminum strap and screwed the shelf into the wall studs. They’re very secure. Hope that helps.
The is AMAZING and awesome good job
Thanks Lorena, I really appreciate it! 🙂
Ian having trouble seeing how you attached the flat bar to the wood. Do you have any photos of that part?
I’m sorry Mary, I don’t. I couldn’t get a clear closeup of the hubs drilling the holes. We just took the measurement of the length of the board and divided it into three. Then we drilled three holes in the wood, evenly spaced, and three holes in the aluminum strip, so they line up. Then we drilled 2 different holes in the strip where the studs would fall. That’s where we would screw it onto the wall, into the studs. If you look at the one pic with the strap on the wood, you can see the hole for the stud screws and the hole with the screw in it to attach the strap to the wood.
Hope all this makes sense. It sounds complicated but it’s really not. Let me know if you have any other questions.
Great idea. Thanks for sharing at the Monday Funday Party. – Emily
Thanks so much, Emily! 🙂
Great idea! and it looks great too.
Thanks so much, Liz, I love the way they turned out. 🙂
Really nice, thanks for sharing on craft schooling Sunday!
Thanks so much!
The shelves look great, I had not thought of doing them that way. I love your styling too!
Thanks so much, Sam, I really appreciate it! 🙂
I had no idea that was how the floating shelves were done. It makes for all kinds of possibilities ! They look great in your bathroom. Looking forward to seeing the whole room done.
Thanks Leigh! I think floating shelves are done a little bit differently than my version, but I really wanted to use that wood (and not spend a lot of money), so we had to improvise. 😉
Great idea and look good too.
Thanks Debbie. Hope you’re doing well, my friend.
This is great, I’ve never seen the floating style done with reclaimed wood before.
Thanks so much, Tracey. I’ll find any excuse to reclaimed wood in a project. 😉
Looks awesome dear! You guys did a great job!
Thanks Vel, I’m thrilled with the way they turned out.