
Stool Makeover
This post may contain affiliate links, please see our policy for details.
 I’m supposed to be working on painting the 2nd guest bedroom walls but I got a little side tracked by another project…again. I’ve had this little white stool since my girls were young and it’s been hanging out in my kitchen lately. I wasn’t looking for another project to do but I glanced at it and knew that it was time for a little stool makeover. Just one little, bitty glance was all it took. 😉
 My plan was to use the handful of paint sticks left from my nightstand makeover, thinking it would be fun to try something similar on the stool. The only thing I was certain about was how I would cover the top of the stool. I figured that once the top was done, I would come up with a plan for the rest.
To start, I stained my sticks with dark walnut stain and laid them down on the top of the stool, starting in the center, to see what pattern I would go with. You can see that I was left with a space on each end that was not as wide as a paint stick, so I had to cut them down a little more than the others to get the shape I needed.
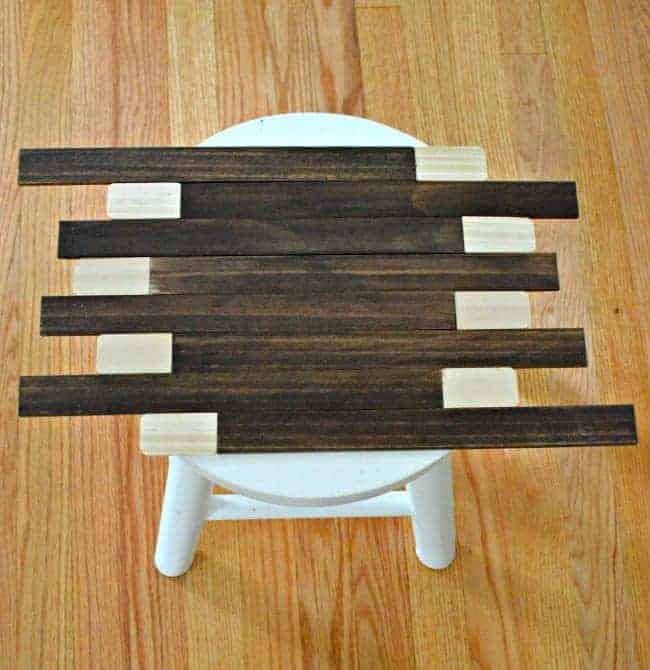 I wanted it to be rustic, similar to my nightstand, so I pieced sticks together to make seams, which were staggered. To trim the sticks I marked the underside with a pencil and cut them with the razor knife. Once the first row was down, the rest went on smoothly. After each row I would use Frog Tape and weights to make sure the sticks laid flat. The two small ends were the last to be done.
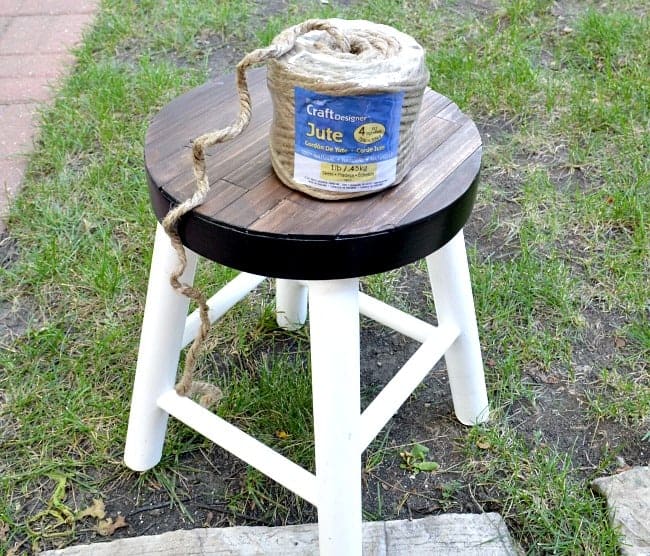
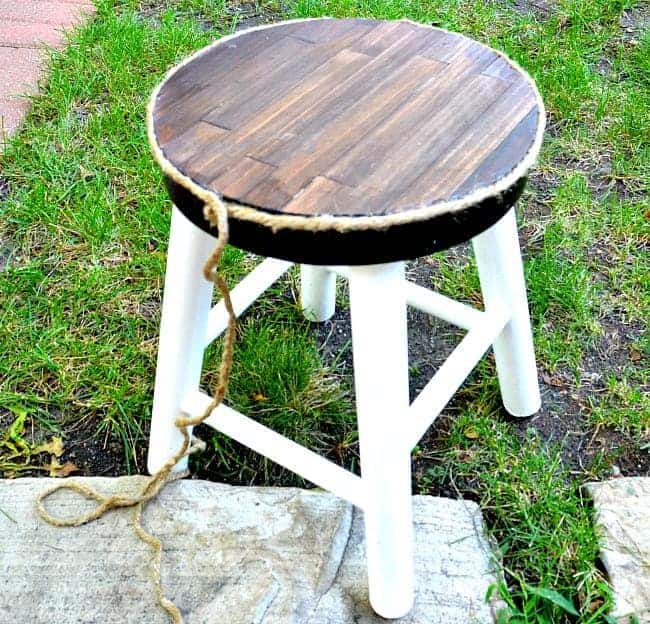
 Because I didn’t think this project through before I started, I noticed some white peeking through some of the seams. I probably should have painted the top a darker color so there wouldn’t be any white showing but it’s not terribly noticeable and it doesn’t bother me. Since the edges weren’t perfect, I decided to use some jute string to wrap around the stool to hide them. I ended up using charcoal colored paint that I had on hand to paint the side where my string would go so you wouldn’t see white. Using my hot glue gun I wrapped the painted side with the jute string.
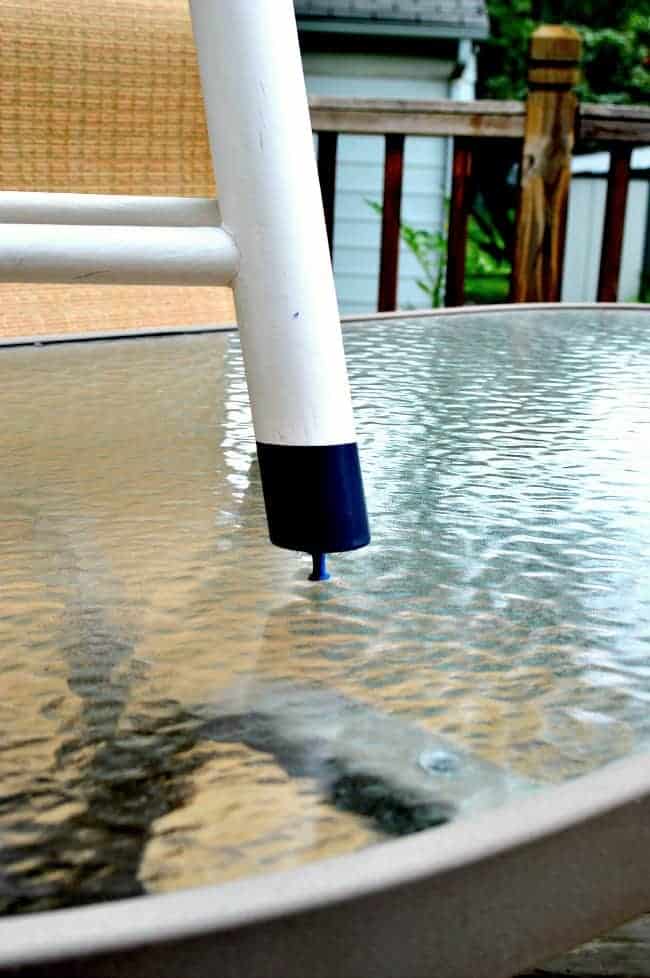
 Once the top and sides were done I decided to do a little something to the legs. I was going to try to paint a few stripes near the bottom of each leg but it turned out to be too much work to measure and tape, so I decided to dip-dye each leg. I simply put a push-pin on the bottom of each leg and dipped them, one at a time, into the Ben Moore Hale Navy that I used on my media cabinet. Then I stood the stool on some cardboard to drip dry. So easy…and fun.
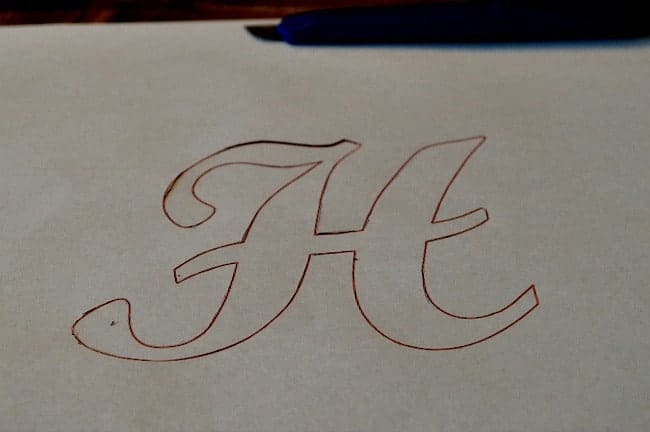
 Because I couldn’t leave well enough alone, I thought I’d try to put a monogram on the seat of the stool. I printed a free letter I found on the internet, cut it out and very lightly stippled some charcoal paint in the stencil I made. Once it was dry I lightly sanded it.
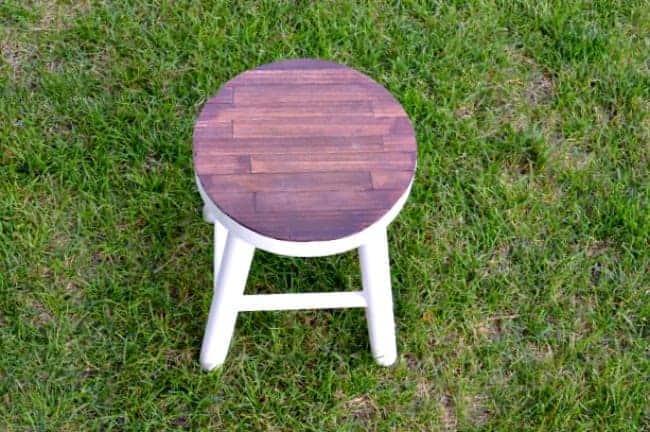
 I was satisfied that I had done enough to it to change it up. Should we look at the result?
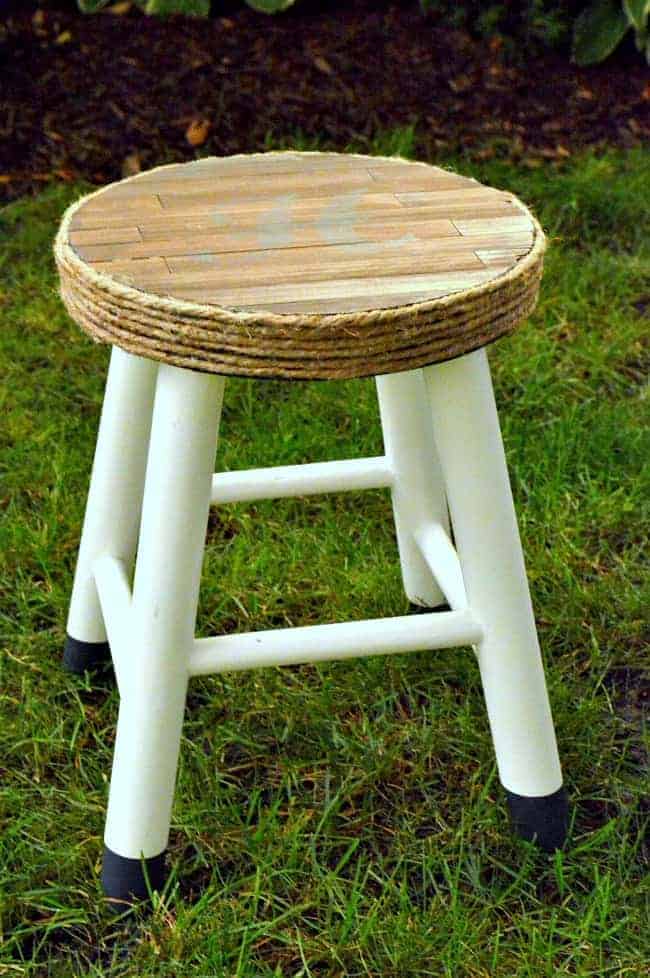
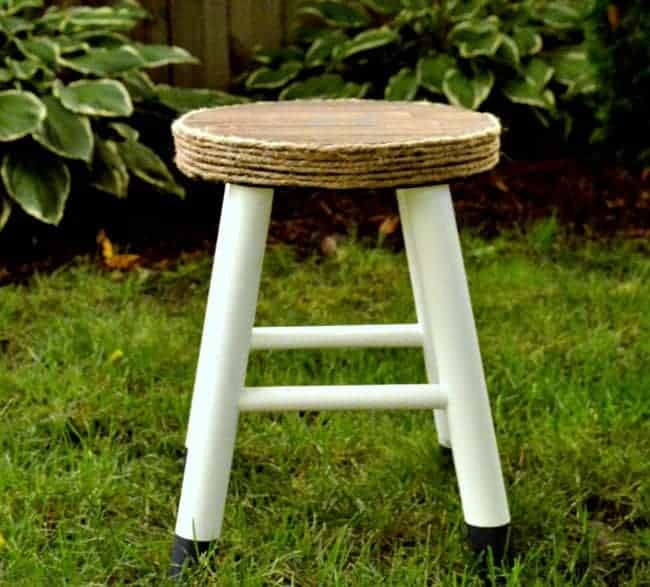
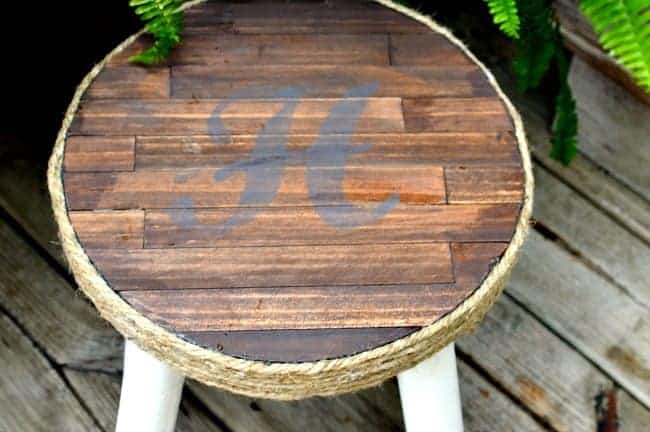 I wasn’t planning on it, but I think it has a nautical look. I love it though…such a fun project.
Have you ever gotten sidetracked while doing one project to start another? It’s been happening to me a lot lately. Now that I’ve had my fun, I’ll have to lock myself in the guest bedroom until it’s done. 😉
Kristi I just love the makeover you gave this stool – very creative!
Thanks so much Marie!
K.
G’day! Wow, what a transformation!
Thanks Bill!
K.
Love your stool makeover. I think adding the roping was a great idea. Sometimes, mistakes are great.
Bev
Thanks Bev. Happy mistakes are great.:) Appreciate you stopping by today.
K.
G’Day and what a beautiful “new” stool you have! I LOVE the mix of textures & colors! Stumbled for others to find!
That is so clever and adorable! I love wrapping with jute twine too. Pinning! (Saw your post over at the weekend retreat party 🙂 )
Thanks so much Andrea! I have a new appreciation for jute twine. 😉 I appreciate your visit (and pinning)!
K.
Great little makeover – I love your stool! Thanks for linking to the Weekend Retreat Link Party!
Shannon
http://www.akadesign.ca
Thank you Shannon and thanks for featuring my planked wall. Love your Weekend Retreat Link Party.
K.
Ah yes, the dreaded sidetrack curse. I know it well. 🙂
I really like how your little stool makeover turned out. So clever using the push pins to elevate the legs so they could dry. You’re one smart cookie and always have neat little tips.
I’ve been “picking up” paint sticks when I’m at the big orange home improvement store. I was going to add some mosaic tile to an old cabinet top, but after seeing your night stand makeover a while back, I was sold on that idea. Who knew the lowly paint stick could be so versatile?
So glad you like my stool makeover Shirlee! It is amazing what you can do with paint sticks…and it doesn’t hurt that you can get them for free. 😉 Would love to see what you do with your cabinet.
Thanks so much for stopping by today! It’s always so nice to hear from you.
K.
Wow I love how you brought this stool to a whole new level. I like the stained wood stick on top and the jute cording around. A really great looking stool. Yes I also get side tracked so often, it’s why I never complete anything!
Thanks for all the stool love Cathy. If I could do projects like this every day I would be happy.
I really try not to get side tracked but it obviously isn’t working. 😉 I appreciate your visit and comment.
K.
Cute stool Kristi! I saw your bathroom on “A Stroll through Life”. Congrats!
Thanks so much MJ!
K.
What a great idea…love the stool makeover…and also love the fact that you used a tack on the bottom of the legs to get that perfect “dip”…..and yes, I must say I get sidetracked often!!!…
Thanks so much Shirley. This was the first time I dipped anything…I may have to do it again!
Glad to know that I’m not the only one that gets sidetracked. 😉
K.