DIY Wood Slice Christmas Banner
This post may contain affiliate links, please see our policy for details.
How to make a DIY wood slice Christmas banner the easy way to add a festive touch to your holiday decor.
Christmas is almost here! We’re less than 2 weeks away already and I still have a ton of things to do.
Before we start the celebrations though, I have a few more holiday posts to share.
Today I have another craft I’d like to show you, a DIY Christmas banner with birch wood slices.
I started this project last December but, with the kitchen remodel in full swing, I never got past cutting the slices of birch and adding the eye hooks.
When I found them in the bottom of one of my Christmas boxes a few weeks ago, I decided to finish what I started.
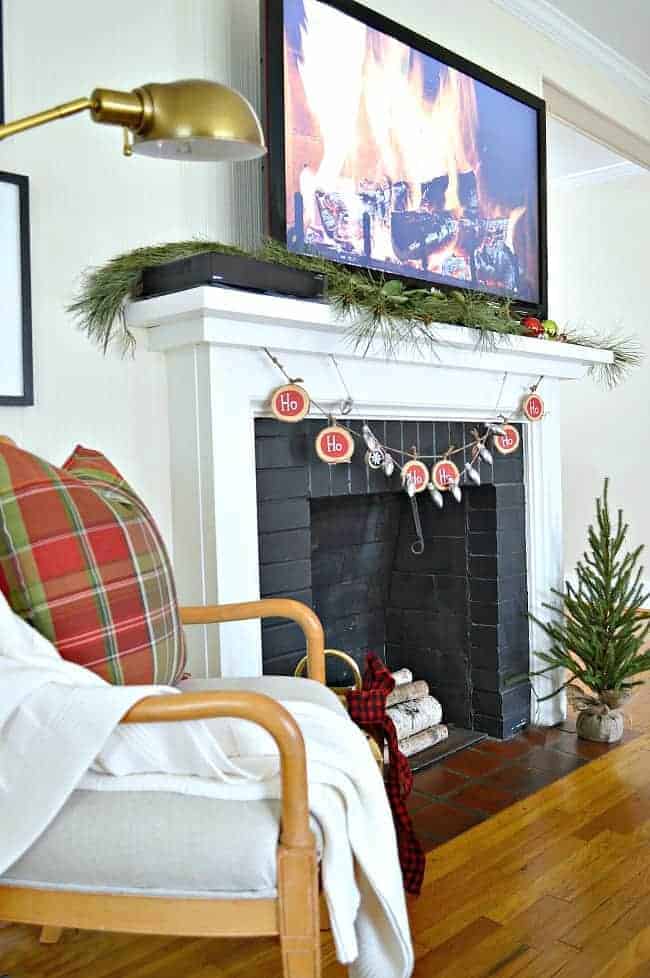
If you follow me for a while then you know that I won’t do a craft unless it’s quick and easy (and inexpensive) and this one checks every one of those boxes. I know that, technically it took me a year to do, but I swear it was a quick craft.
Supplies to make a wood slice banner
- birch slices (I used 2 different sizes)
- chalkboard paint (I had mine tinted red)
- small paint brush
- chalkboard pen
- eye hooks
- twine
You can find birch slices in craft stores, but I had a couple of birch logs in the garage, so I cut them up using a miter saw.
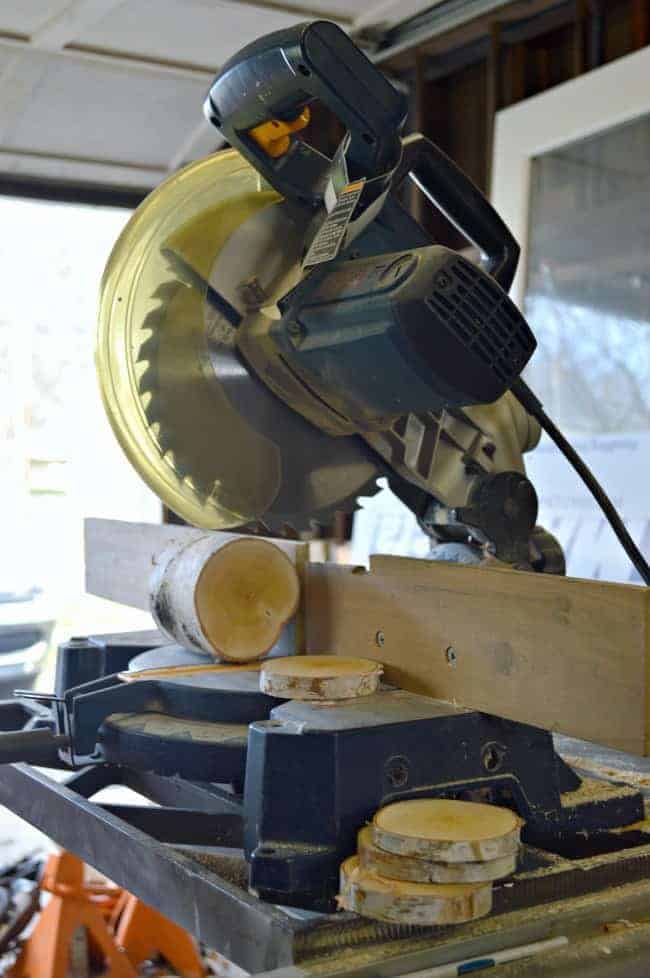
I ended up with 2 different sizes, so I decided to use both for my banner.
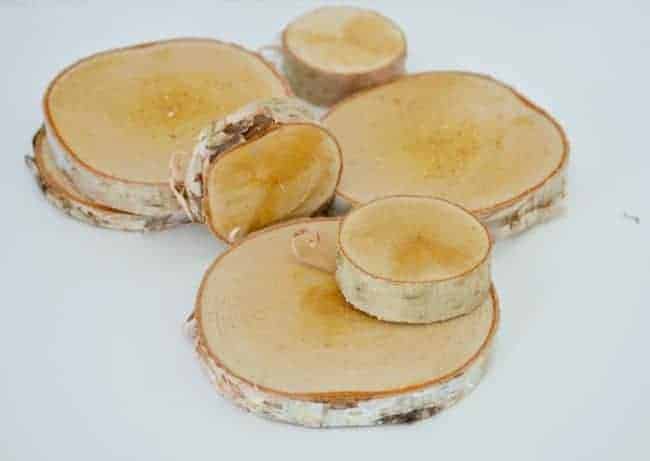
I didn’t want to drill a hole through the wood to hang it, so I just added an eye hook.
Because birch is such a hard wood, I couldn’t get the eye hook to go in easily, so I started a hole by gently tapping in a push pin.
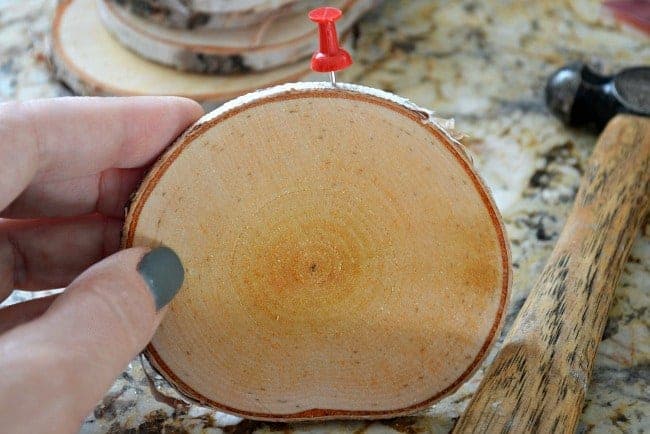
Once I had a hole, the eye hook screwed right in.
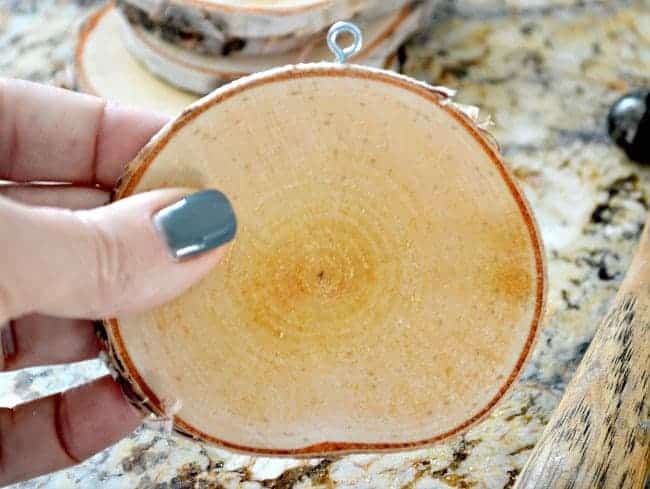
After the eye hooks were in, I was ready to paint.
I knew that I wanted to use red chalk paint, so I had a quart tinted at the paint store.
There was a bit of black chalkboard paint leftover from my vintage mirror to kitchen chalkboard project, so I used that for the smaller wood rounds.
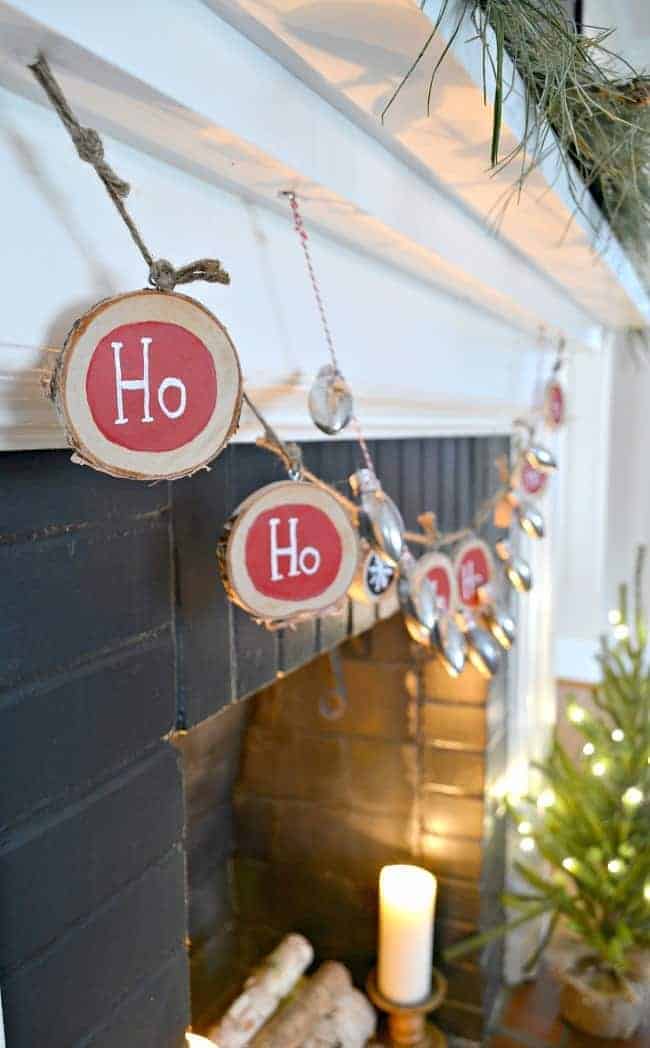
I used the red chalkpaint on the large wood slices and black on the small ones. Once they dried, I used a chalkboard pen to add my “HO HO HO’s” and snowflakes.
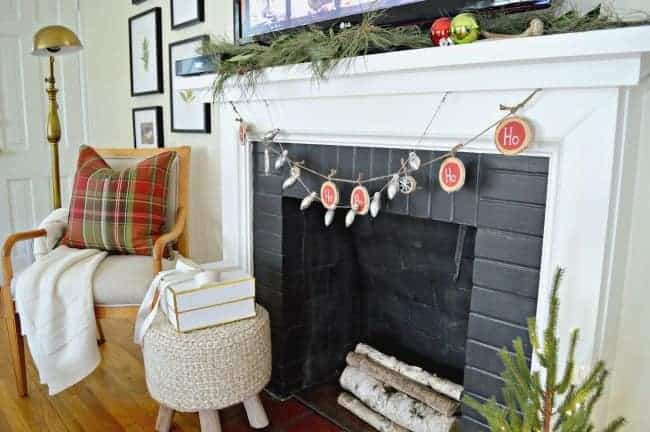
A bit of twine through the eye hooks and it was ready to hang on our fireplace with the lightbulb banner that I made last year (from our burned out Christmas tree bulbs).
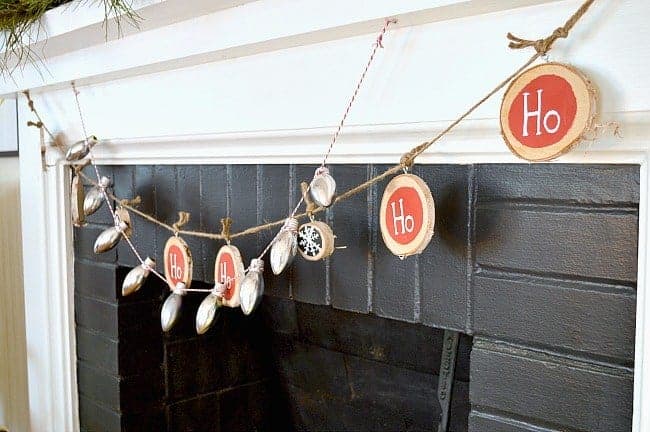
I was able to get a few good shots of our (always) dark living this past weekend, while the sun was out, so I’ll share the rest next time.
Are you all decorated and ready for the holidays?
