DIY House Numbers
This post may contain affiliate links, please see our policy for details.
Hey there! After our exhausting move to North Carolina last weekend, I’m so excited to share with you that I’m joining in with some talented bloggers today for a DIY challenge called Create and Share. It was created by Stephanie of Casa Watkins and it’s a monthly challenge that gives a group of bloggers a DIY project that has the same theme or item.
For this month’s challenge, 30 bloggers were given a choice of three products from Walnut Hollow, a pallet tray, a medium basswood round and a large round clock, and we were asked to give them a new look.
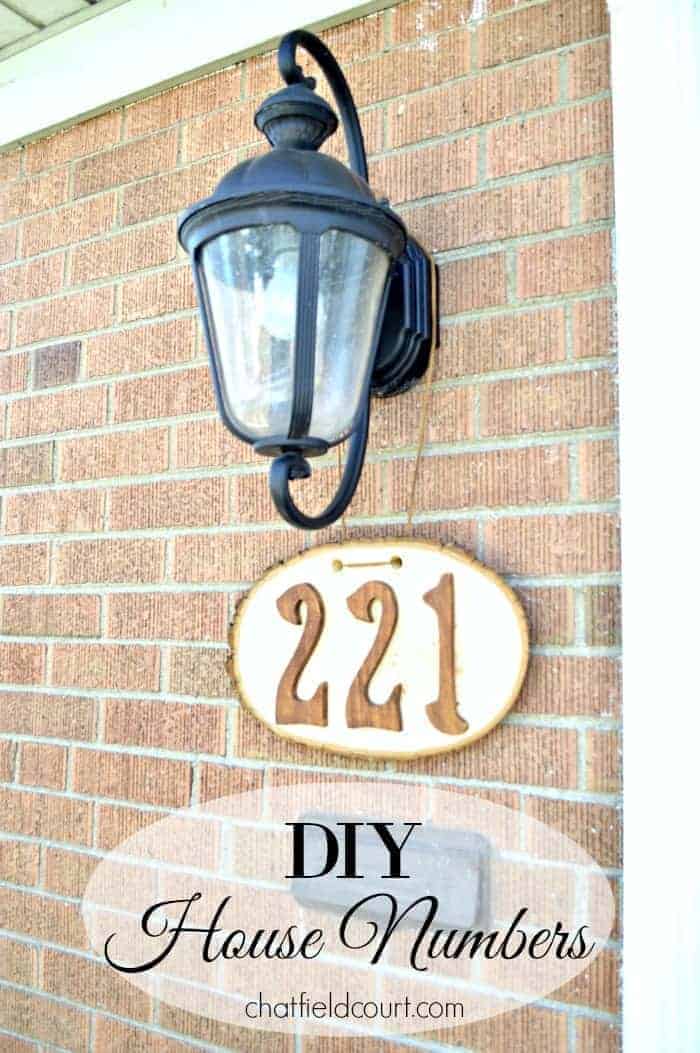
I chose to go with the medium basswood round with the perfect project in mind, DIY house numbers. When we moved into our house 3 years ago, there were no house numbers anywhere to tell new visitors where we lived. After getting too many random strangers knocking on our door looking for a certain address, I finally ordered a house number plaque. Once the holes were drilled into the brick and the plaque was hung, we realized we should have put it under the porch light so that you could see it at night. The mister wasn’t thrilled about putting more holes in the brick, so the plaque stayed put. I’ve wanted house numbers under our front porch light ever since and I knew that the wood round would be the perfect starting point.
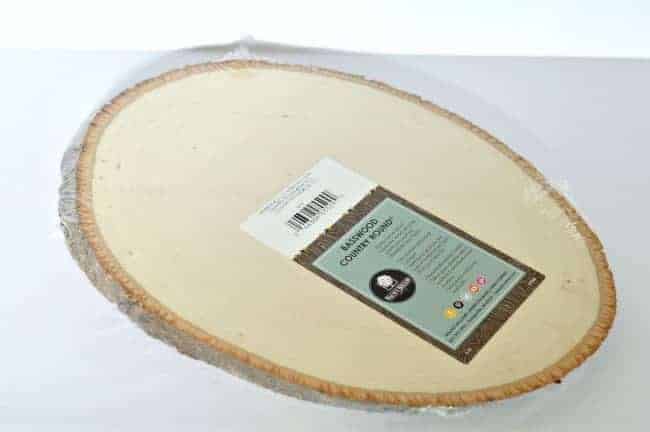
I’m glad I went with it because it turned out to be a quick and easy project with just a few supplies, and who doesn’t love quick and easy?
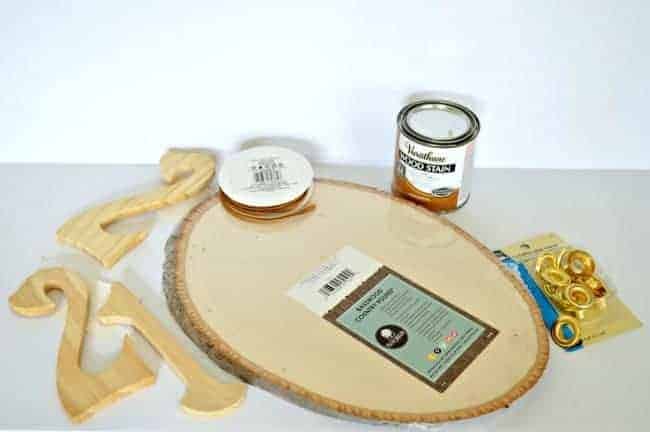
Supplies to make DIY house numbers:
Affiliate links used. Please see my Privacy Policy for more info.
- medium wood round
- wooden house numbers
- Provincial wood stain
- wood glue
- grommets
- faux leather cord
- drill
- spray polyurethane
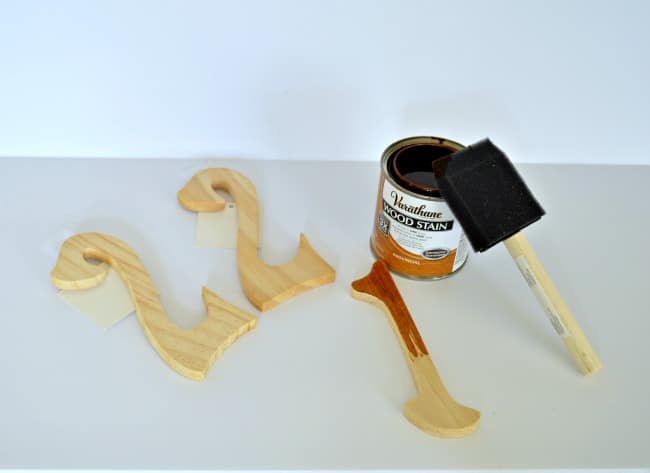
I was going to stencil the numbers on the wood round but found some wooden numbers and decided to go with stain instead of paint. I just brushed the stain on the top and sides using a foam brush and wiped it off with an old rag.
Next, I took my wood round out to the garage and drilled two holes, for the faux leather cord, so I could hang it. I made sure to make the holes big enough to fit a grommet, which was purely decorative and only added to the front holes.
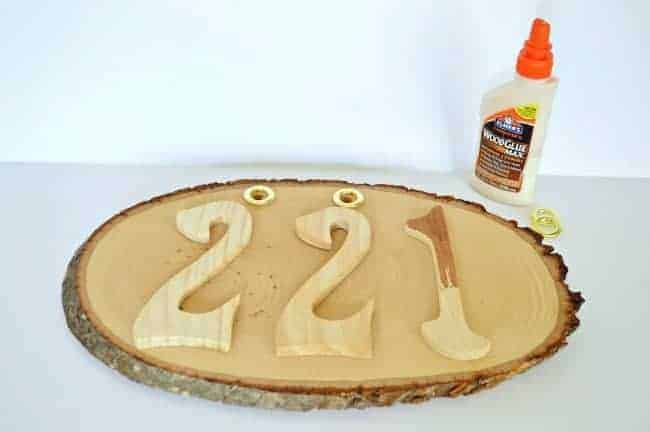
When the numbers were dry, I used wood glue to attach them to the wood round. I also glued a grommet into each hole and tied my faux leather cord.
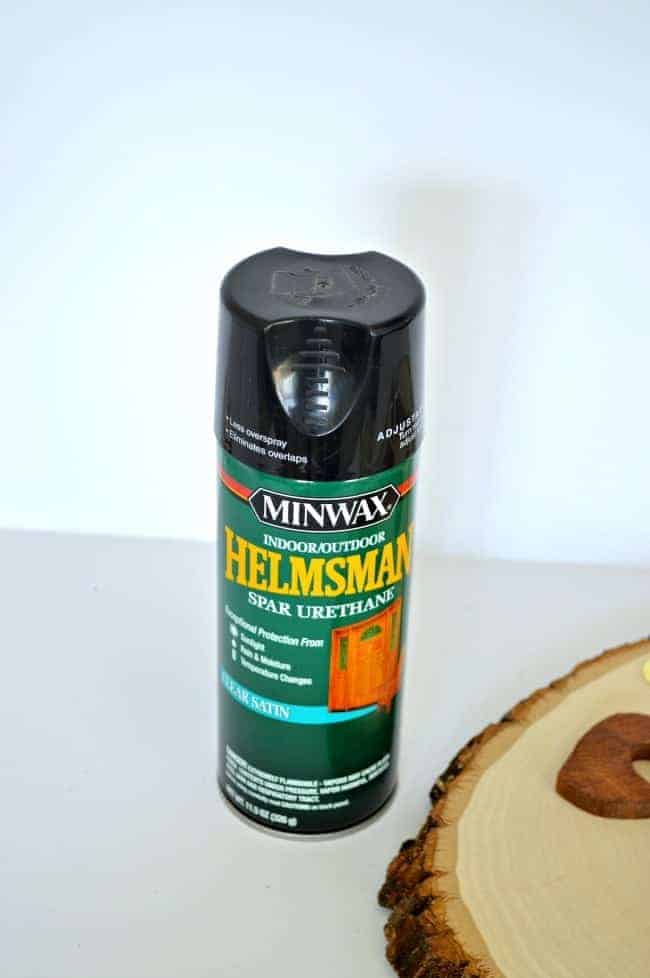
To protect my newly constructed house numbers from the elements, I gave the front and back 2 coats of spray polyurethane.
Once fully dry, it was ready to hang under the front porch light, where it could be seen day and night.
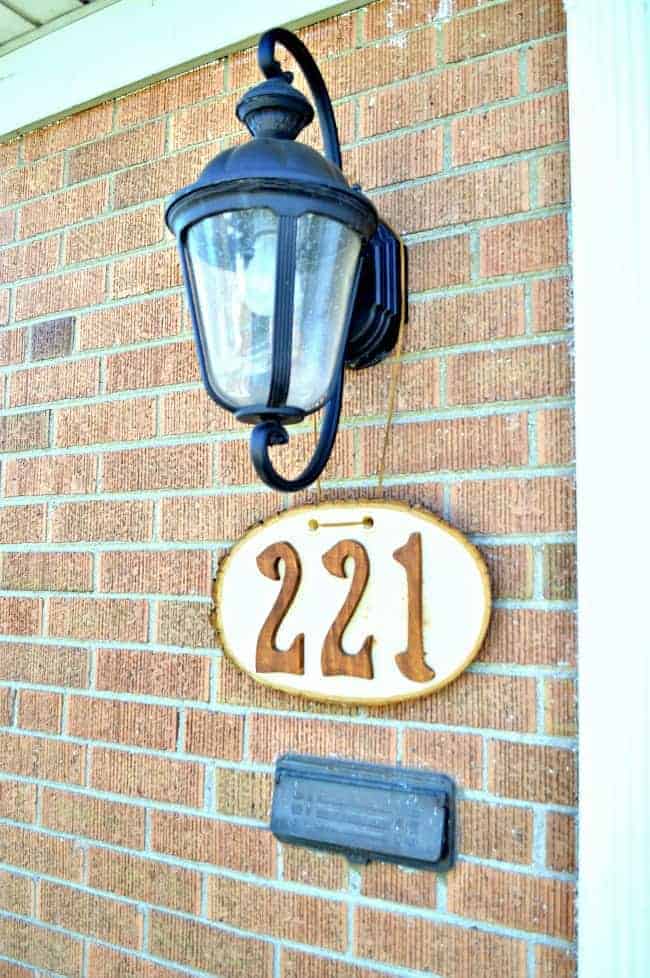
It probably would be a good idea to screw the sign to the house to prevent it from blowing around in the wind, but I never got to it before we packed up to move to North Carolina.
I love it…just wish I would have done it sooner.
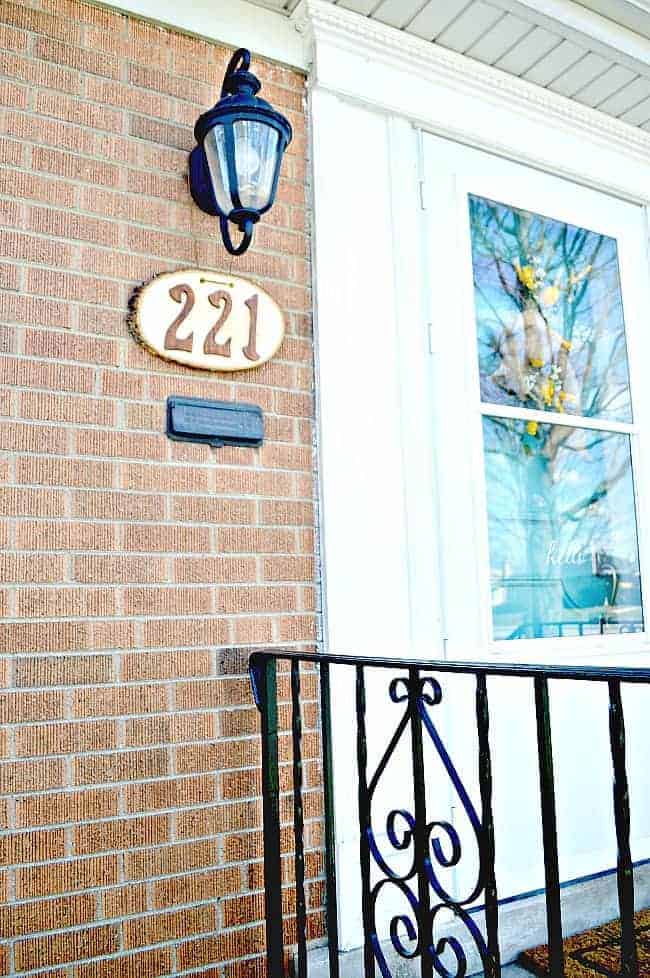
Thanks so much for stopping by.
Check out some other fun projects I’ve shared.
