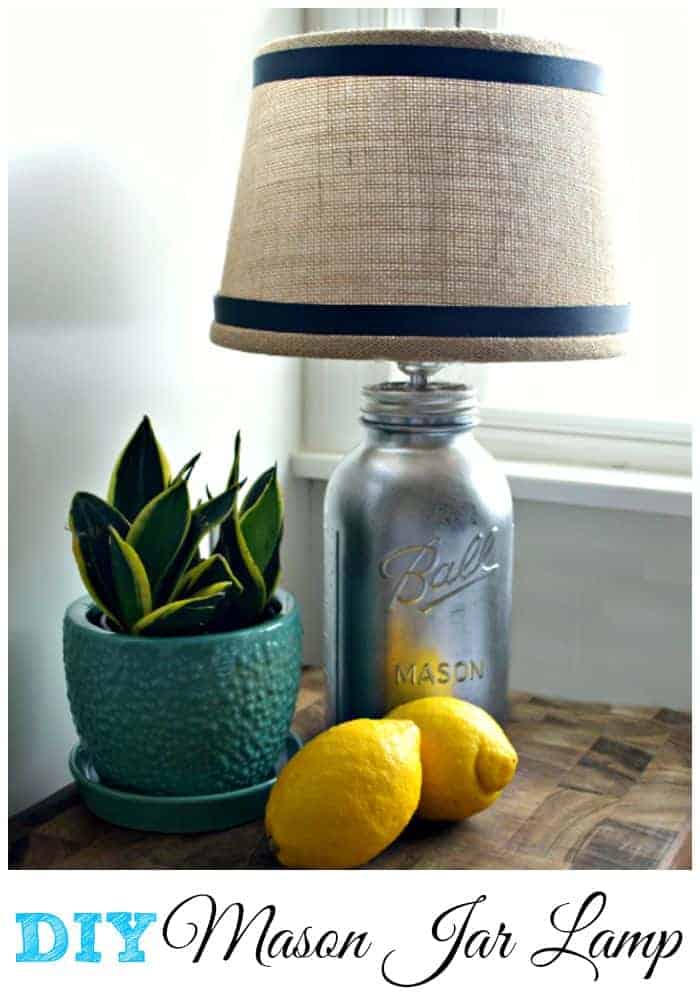
Creating a DIY Mason jar lamp for the kitchen with a $2 mason jar find, a lamp kit and spray paint.
As you may, or may not know, we are in the middle of a kitchen remodel. One of my big dilemmas has been lighting. Not only have I been struggling to find a ceiling light fixture for the center of the room, but I've also been trying to find the perfect little lamp for the counter.
I searched high and low for the perfect small lamp but couldn't find what I wanted. One trip to the thrift store gave me my answer. I found this large ½ gallon Mason jar for $1.99, and I knew it would make the perfect DIY lamp.
I wasn't sure what I was going to do with the jar when I started this project. It would be cool to fill it up with something pretty, or I could paint it...but, because I had so much fun turning an old window into a mirror a while back, I decided to use mirror effect spray paint again to turn it into a mercury glass lamp.
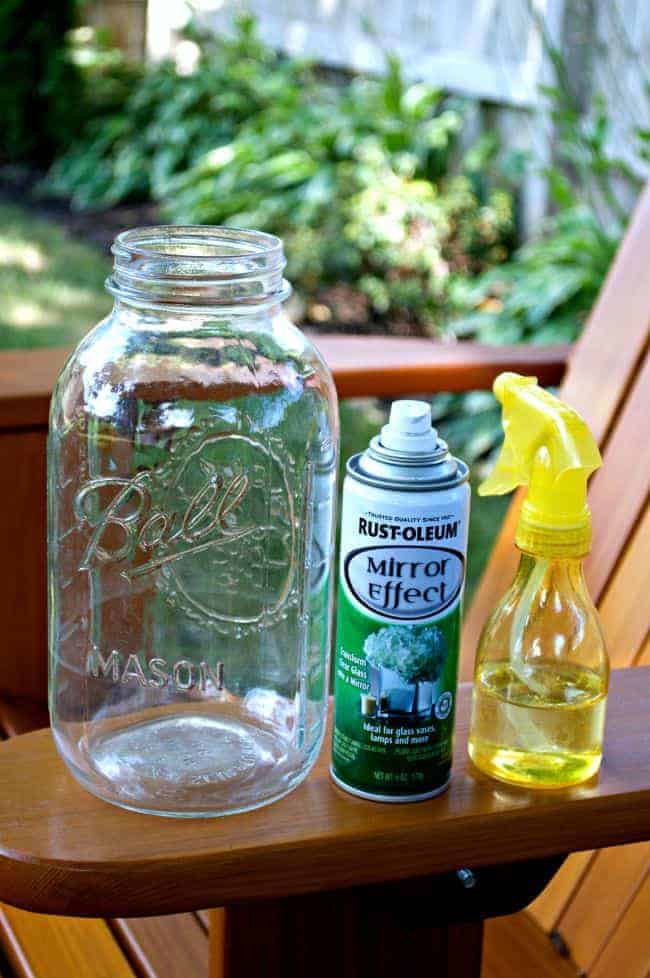
Supplies for DIY Mason jar lamp
This post may contain affiliate links which won’t change your price but will share some commission.
- ½ gallon Mason jar
- mirror effect spray paint
- vinegar/water mixture in a squirt bottle
- clear enamel spray paint
- lamp lighting kit
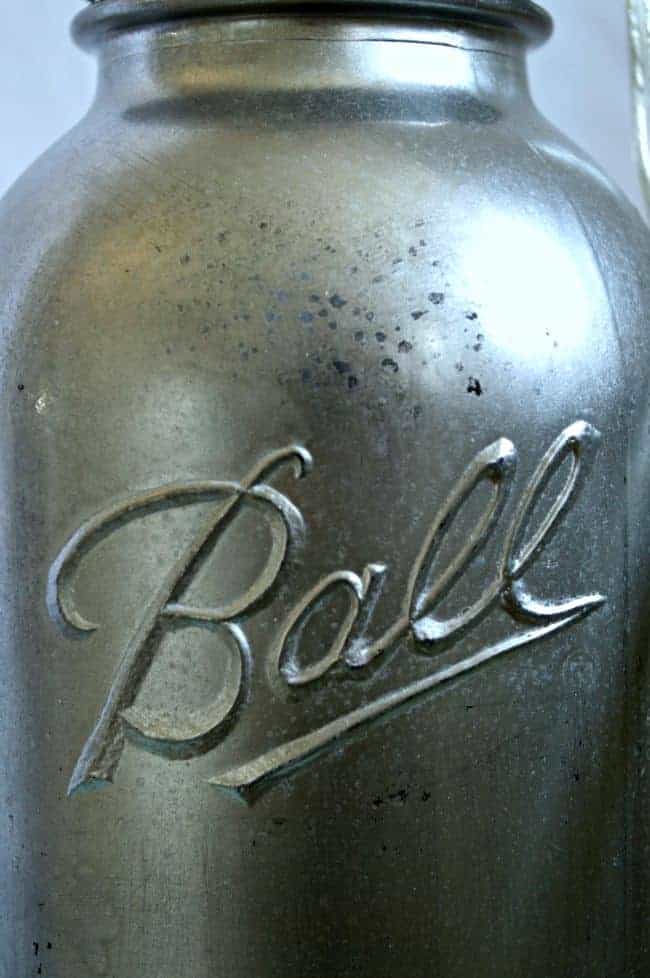
First I worked on creating the mercury glass look by giving the jar a thorough wash and dry.Then I sprayed the first coat of mirror effect spray. I immediately followed that with a light spritzing of a mixture of 1 part vinegar to 1 part water all over the outside of the jar (you want the water to bead up and not run down the sides).
I set the jar on cardboard to dry a few minutes and then took a wet but well-wrung out paper towel and lightly blotted the beaded water up.
This is where you get the antique, mercury glass look. It happens because the water mixture prevents the spray from adhering to the glass. I had to spray, spritz and blot 3 times before I was satisfied with the coverage. It's a really quick process but you need to be sure the jar is dry before adding more coats.
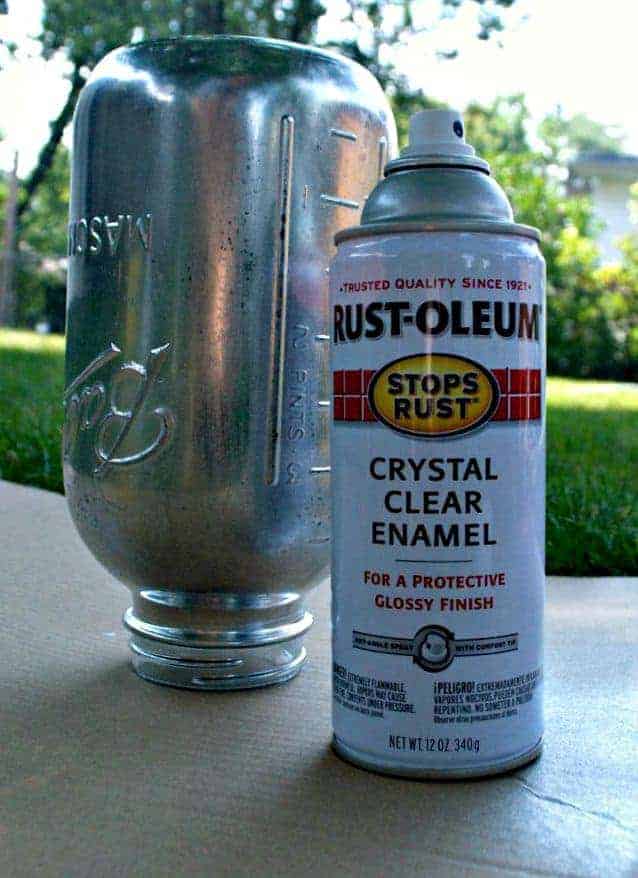
After I was sure the jar was completely dry, I sprayed a coat of clear enamel to protect the finish.
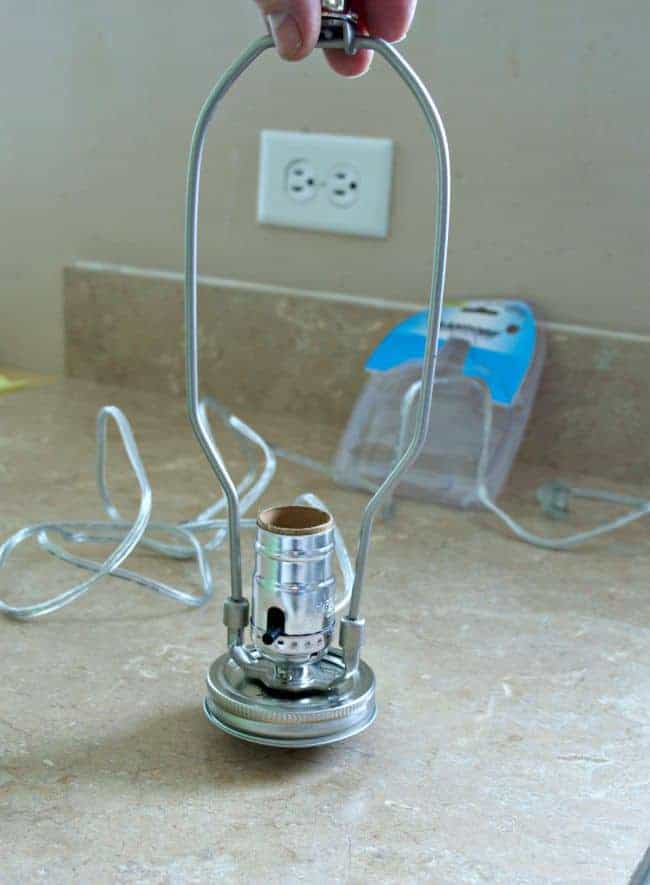
With my jar finished, it was time to add my lamp kit. I've posted the steps to working with a lamp kit before so, to keep this post from going too long, I won't go through the step by step again.
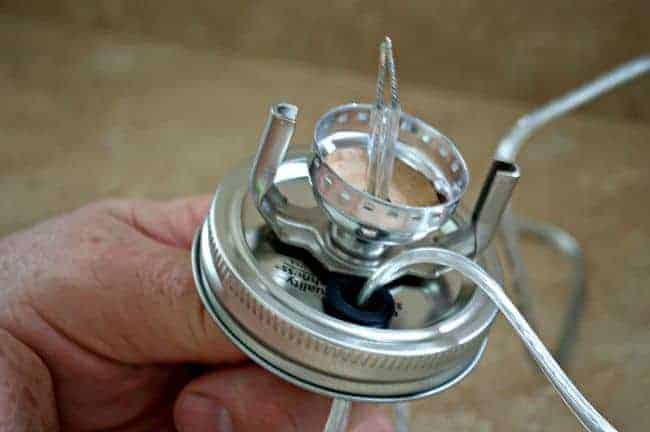
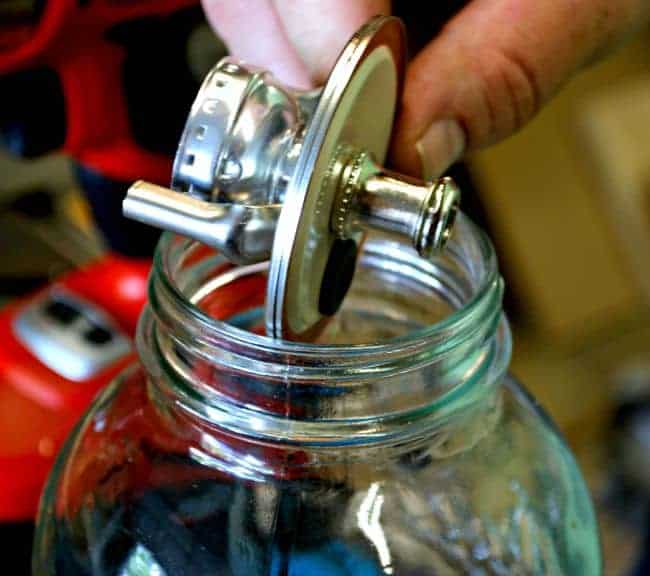
We used a regular Mason jar lid, with two lid inserts for extra stability, and quickly wired it all up. I thought about drilling a hole in the jar to bring the cord through but I didn't want to do that.
Instead we drilled a second hole in the lid, added a rubber grommet and brought the wire back out (as shown in the picture above).
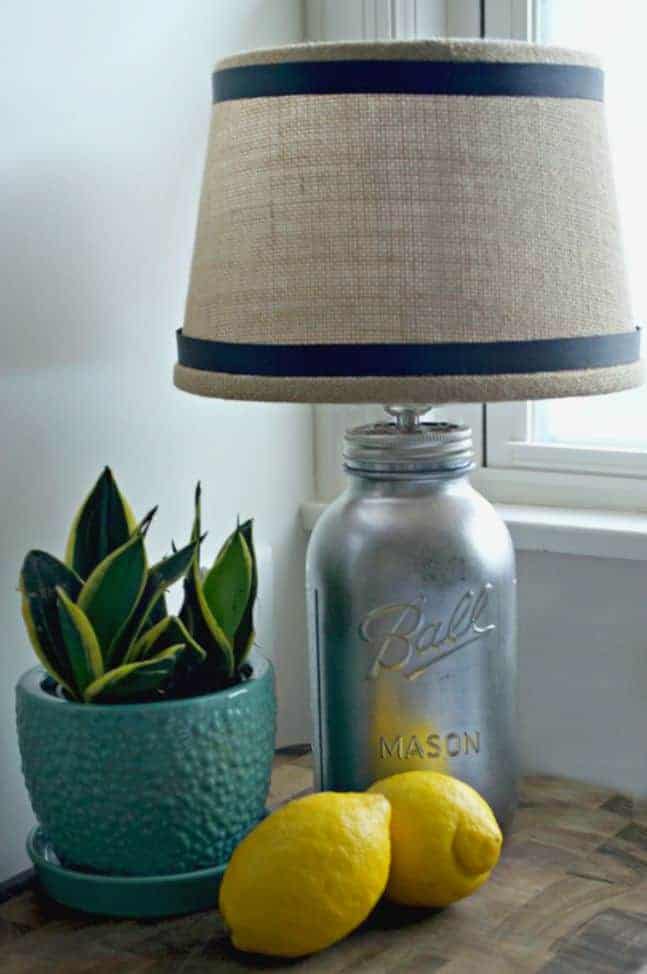
That's it, 5 minutes and the lamp was ready for a shade. I was going to make a burlap shade but I found a really inexpensive one at World Market. Not only did I get a discount (yay!), but I also saved myself some time. I did add some black ribbon that I had in my stash to style it up a bit. I'm not sure if it will stay, but I liked it better than the plain burlap.
I love how my Mason jar lamp turned out and it looks great in my newly remodeled kitchen.
Have you ever turned a Mason jar into something useful, or something pretty?
Check out my other DIY lamp posts...
How to Make a DIY Hanging Lamp from Thrifty Finds
Easy and Inexpensive Lamp Makeover
Kim says
I love how that turned out, Kristi. Great idea.
Kristi says
Thanks so much Kim!
onemoretimeevents says
Love the idea of using a mason jar for your kitchen ...which I can't wait to see. I know how that can be since I went through it myself years ago... You will diffently be missed at A Dose of DIY along with all your great projects...hoping once your kitchen is done you will be back and join in again!
Kristi says
Thanks so much Tammy for the sweet comment. I've loved working with all of you talented ladies and I can't wait to see what you all share next. Thanks for making this a great experience!
jillflory says
Kristi, I love this look! I've wanted to do some faux mercury finish items for a long time but I've never bought the stuff and just got at it! I really must - maybe for a Christmas display I'll get it done!
Kristi says
Thanks Jill. You definitely should give it a try. It's so much fun working with this finish and now I want to spray everything in sight! 😉
Kim says
Love it, Kristi! It's a true original!! 🙂
Kristi says
Awww, thanks Kim, I appreciate it.
Rhonda says
Super cute idea! Turned out really pretty!
Kristi says
Thanks Rhonda. I'm really loving how it turned out! I appreciate you stopping by.
MaryJean says
How cute! I like the black band on the burlap. I think it definitely needed that.
Kristi says
Thanks so much MJ for the vote for the black ribbon. I agree that the shade really needed something.
Thanks for stopping in today, it's great to hear from you!
dkhalcomb2 says
Perfect idea for a kitchen lamp. You have such great ideas. Debbie
Kristi says
Awww, thanks Debbie! You always leave me the nicest comments. Hope you have a great week!
Shirlee says
That large mason jar makes the perfect base for a lamp. I need a small lamp in my kitchen and this is perfect. I've made lamps before so not sure why I've been looking for a lamp to redo when I could make my own. Thank you for the inspiration!
On a side note, my hubs has been encouraging me to start a blog documenting my diy projects around the house and craft projects etc. So about a month ago we tossed around blog names and nothing sounded right until A Dose of DIY popped into my head. I didn't even realize there is a blog hop called that. Anyways, I have yet to post anything, but hope to get organized soon.
Kristi says
So glad that my mason jar lamp inspired you to make your own. 🙂
Wow, that's so great that you are starting a blog, and I love the name. 😉 I came up with the name for the hop so I guess that means great minds think alike. 😉 I would just recommend that you secure a url as soon as you settle on a name so you don't lose it. I wish you the best of luck, and I hope you let me know when you are up and running.
It's always great to hear from you Shirlee. Take care.
lelaburris says
This looks so great! I love that metallic paint. Unexpected but very classy. I'd love to invite you to share some of your posts at my Inspiration Thursday link party this week. I hope to see you there!
-Lela @ http://www.inthenewhouse.com
Kristi says
Thanks so much and I appreciate the invite to share at your party.
Suzan says
What a great idea - looks so lovely sitting there !!!
Kristi says
Thanks Suzan! I can't wait to see where it lands once the kitchen is done.
Carole West, Garden Up Green says
This lamp is great and it's easy to make. Never thought about using the Rust oleum spray as a indoor finish. Great tips and it turned out fantastic.
Kristi says
Thanks so much Carole. It was so easy to make and the spray is fun to use. I'm now searching for something else to transform. 😉
Thanks for stopping in.
Ellen Kincaid says
Hey Kristi, love your lamp, it is gorgeous and genius, especially that everything can be reversed for a redo if wanted. You need something else to redo and transform, how about a cute vase to put by the lamp or a clutter basket on the counter,, you can paint to your hearts content. Thanks for your sharing ideas. Love it.
Kristi says
Awww, thanks so much for the sweet comment Ellen and I appreciate the suggestions on new painting projects, especially the vase idea! 😉
Thanks for stopping in and checking out my lamp project.
Nancy says
Looks great, Kristi. I like the addition of the black ribbon on the shade. I like Mason jars, but have to admit that so far all I've used them for (beyond storing food) is as vases for cut flowers. Not very imaginative, I'm afraid. xo
Kristi says
Thanks Nancy, that's so kind of you.I just love that mason jars can be used for so many different things.
So glad you stopped in today. 🙂
[email protected] Charm says
LUV this super cute lamp and I would to have you share it at my Show and Share party.
Blessings,
Linda
Kristi says
Awww, thanks so much Linda. I will be sure to come over and share it.
Sherry says
Where does the wire come out of the jar. Really cute
Kristi says
Thanks Sherry. If you look at the 5th picture in the post, you’ll see the wire go through the lid and then we drilled another hole so it comes back out. I didn’t want to drill a hole in the jar but you could do that (carefully). 🙂 Hope that answers your question.
Sandra says
Where does the plug come out of the lamp? Did you have to drill a hole in the mason jar? Or, should I just click on your link about lamp kits? lol
Kristi says
If you look at the 5th picture in the post, you'll see the wire go through the lid and then we drilled another hole so it comes back out. I didn't want to drill a hole in the jar but you could do that (carefully). 🙂 Hope that answers your question.
clearissap says
This is a gorgeous project. Question, did you have to drill a hole in the jar for the electrical cord? Again, really pretty jar lamp.
Kristi says
Thanks so much! You could drill a hole in the jar but I didn't want to do that. Instead we put an extra hole in the lid to bring the cord out. If you look at the 5th picture in the post, you will be able to see it. Hope this answers your question. Thanks a lot for stopping in. 🙂
clearissap says
Thanks so much. I will take a closer look and try to figure it out. I love your project. 🙂
Kristi says
Thanks! Hope you have a great weekend. 🙂
If this was a project you wanted to do, they do sell light kits that have the wire come out the side of the socket. I couldn't find one in my home improvement store, so I just used a regular one and improvised.
Eula Walters says
Love your mason jar lamp. I've used them for many things, including lamps, but haven't used your antique mirror technique. Anxious to give it a try.
My only suggestion for your thorough tutorial is to let the readers know the size of the jar you are using. This would make a difference as to the size shade to use as well as the final appearance of the lamp. Mason jars (canning jars) come in all sizes. The jar will be marked with either the size (pt. Qt. Half gallon) or oz it will hold...pint = 16oz, quart = 32oz, and half gallon = 64 oz. I am guessing that yours is a half gallon. You learn these things after watching your mother 'put up' 100's of jars each Summer to feed a family of 10 thru the Winter 🙂
I look forward to cruising your blog.in
Kristi says
Thanks Eula, using the mirror effect spray was a fun way to transform my jar. Wow, 10 kids...your mom must have put up a ton of jars. 😉
Oh, and if you were curious, my jar is quart size. I hope you had fun cruising the blog and that you come back to see our new projects.
Gwen Marshall says
That was adorable lamp! I love old looking things, and would put it in my living room {farmer, me} Love the shade . I am not very crafty, so having a hard time figuring out how to make the lamp! Thanks Gwen
Kristi says
Thanks Gwen! It really was an easy project and I think that even a beginner could easily make it. I hope you'll give it a try.
I appreciate you stopping by and checking out my project. 🙂
Deb @ Frugal Little Bungalow says
Now this was just ingenious! 🙂
Kristi says
Thanks Deb, I appreciate it!
Ashley says
Is this th 1/2 gallon mason jar?
Kristi says
Yes, it is the 1/2 gallon jar. 🙂
debbiedoos says
WOW! Kristi, that turned out awesome. Thanks for sharing on our page. I have never used that mirror spray paint, but now I want to.
Kristi says
Thanks so much Debbie! It's one of my favorite projects. I love what you ladies are doing...great page! 🙂
Sadie Seasongoods says
You slayed it!! I'd love it if you'd link up to Talk of the Town- every Tuesday evening at 8 pm EDT! http://www.sadieseasongoods.com/talk-town-link-party-15/
Kristi says
Thanks so much, it was such a fun project to do. 🙂
Maria Brittis says
This is a great idea and love the shimmery look of the mason jar.
Maria
Kristi says
Thanks so much, Maria! I love how it turned out. 🙂
Gloria says
Do you have to use the Mirror Finish or could you use and color and dapple it?
Kristi says
I've never tried paint. It won't look the same but it's certainly worth a try. 🙂
Ginny says
Hi Kristi! I love this idea! Any thoughts on what would work best to make the mason jar a cobalt blue color? I haven’t used spray paint before (total novice). 🙂 Thanks for any suggestions that you can provide!