How to Make a DIY Hanging Light
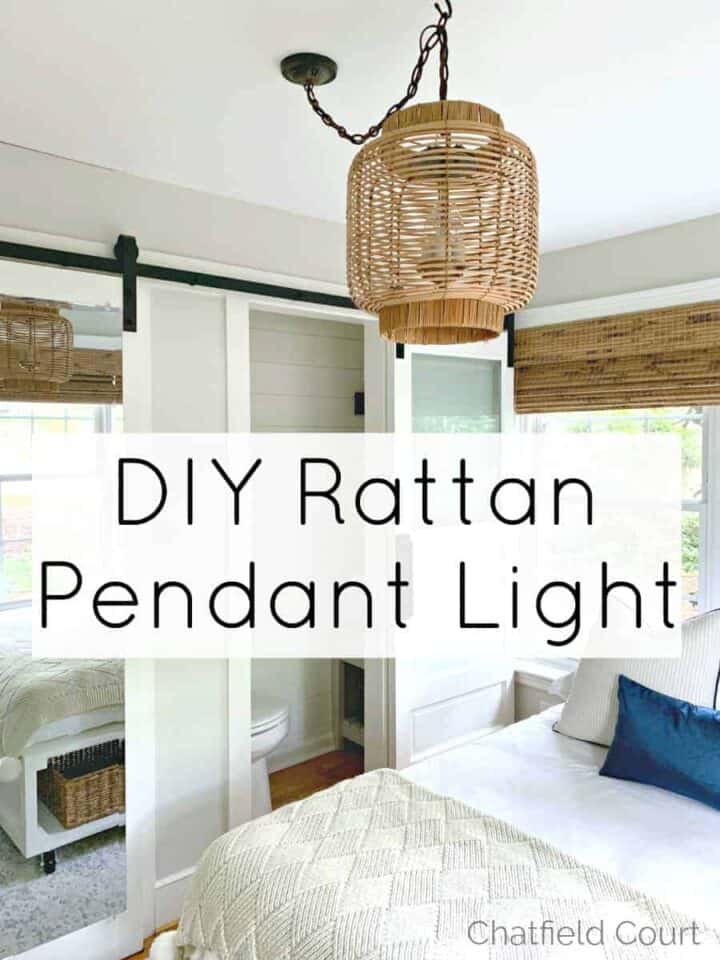
How to make a DIY hanging light from a clearance rack rattan lantern and a $10 thrifted light fixture.
Our guest bedroom seems to be a never ending project.
I recently finished painting the walls and making a DIY nightstand from an old stool, but the off-center ceiling light still needed a fix.
That’s where my handy husband stepped in with his DIY hanging lamp.

I’m so excited to be sharing the blog today with my righthand man, my husband Roger.
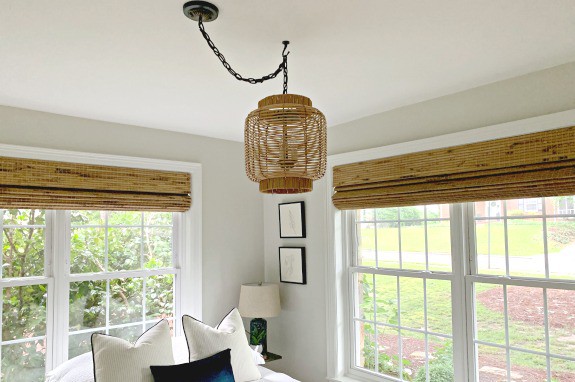
So, without further ado…my husband, Roger, and his DIY hanging pendant light in our guest bedroom.
Hello there! I’m sure I won’t be able to word this quite as well as my wife would, but here’s goes nothing.
Ever since we added the powder room and closet in the guest bedroom, my eagle-eyed wife has been wanting to fix the off-center light fixture.
It’s not a big deal to me but I knew that she wouldn’t rest until it was fixed.
After giving it some thought, I found an easy, and inexpensive solution…a DIY pendant light.
How do you make a hanging light?
It’s not as hard as you might think if you have the right parts and pieces.
Plus you get a light that is uniquely your own.

Pulling together the parts to make a new hanging lamp
Kristi found a rattan lantern that had a glass candle holder in it on clearance during one of her shopping trips.
She loved the warm texture of it, and I liked the price, so I thought we could try to make our new pendant light with it.
What we needed was a light fixture, so I started searching and found someone local selling an old hallway light for $10.
I knew that I could make it work.

Supplies
Find a complete list of supplies and step-by-step instructions in the How-To card at the end of the post.
- rattan lantern
- old light fixture
- extension cord
- u-bolt
- light fixture canopy kit
- fender washers
- wire nuts
- tape measure
- adjustable wrench
- drill
- step bit
Making a homemade swag light
The first thing I did was to take the light that I found apart.
It was in pretty good condition but I only needed the part with the wires and lightbulbs. The rest went into my stash.
I’m sure I can find a use for some of the other pieces.

Speaking of my stash, I had some chain and mounting pieces laying around from other light projects from years past, so I grabbed them to see if I could use them.
After a bit of problem solving, I came up with an easy way to attach the light to the basket.
I used a mounting bracket and a u-bolt to attach the chain to the light fixture and the chain to swag the light in the center of the room, since the original light isn’t centered.

So, I used the u-bolt with some fender washers to attach to the mounting bar.
This went on top of the cross bars for the candle holder in the basket. (I actually turned the lantern over so the bottom was now the top of the light).

Next, I attached the old hallway light from the under side to the u-bolt mounting bar.

My “new” light assembly is complete.
Now I need to hang it and hook up the electric.
Hanging the “new” pendant light
***The first step in any electrical project is to turn off the power from the main breaker box. If you aren’t comfortable working with electricity, please hire a licensed professional.
We did have to purchase a swag kit hook, extension cord and a canopy to cover the hole in the ceiling where the old light hung.
The swag hook was to hold the chain/wire for powering the light. I was hoping there would be a beam in the ceiling for the swag hook, but no such luck.
We ended up using the toggle bolt.

The first thing I did, before I did any drilling, was to measure and find the center point in the room.
Sure enough my wife was right, the old light was way off-center.
I hate it when she’s right.
With the center point marked, I drilled a 3/4″ hole in the ceiling with a step bit, popped the toggle through and presto…instant hook.

We have plaster ceilings, and they are really thick, but luckily the toggle bolt just made it.

Next, I attached another mounting bracket (from my stash) to the new canopy so I could attach it to the old light box in the ceiling.

Now I was ready to hang the new pendant light.
I took the chain that was attached to the light and hung it on the hook at a good height for the room.
Then I swagged it over to the old light box.
I had extra chain so I took 2 pairs of pliers and bent the links to remove the pieces that I didn’t need.
Once I had the right length, I attached it to the canopy and used the pliers to carefully bend the link back in shape.
Next, I took the extension cord that I purchased, cut each end of the cord off and used one end to wire the “new” lamp.
Then I snaked it loosely through the chain to the canopy and hooked the other end up to the wires in the old ceiling light box.
One thing to keep in mind when using chain to hold a light is to make sure the wire is loose in the chain.
You want the chain holding the weight of the light, not the wire.
I attached the canopy to the light box and turned the power back on.

That’s it!
A totally unique DIY pendant light for a guest bedroom.
Maybe it will distract my wife from the crown molding that we still need to install.
I hope this inspires you to find a use for thrifty pieces and other miscellaneous parts just laying around the house.

Thanks Honey, for making and installing my “new” hanging lamp. I really love how it looks, and I love that it’s centered.
P.S. I still haven’t forgotten about the crown molding. 😉
We have more DIY lighting posts…
How to Make a DIY Hanging Light
A DIY hanging lamp from a $10 thrifty find and a rattan lantern. Such an easy project to do with an extension cord and a swag lighting kit.
Materials
- rattan lantern
- thrifted hanging light
- brown 12' extension cord
- u-bolt (1/4-20 thread)
- 4, 1/4-20 wire nuts
- light fixture canopy kit
- fender washers
Tools
- screwdriver
- adjustable wrench
- wire strippers/cutters
- drill
- 3/4" step bit
- pliers
Instructions
- Very Important! Before you start any work on the ceiling light, turn the power off to the fixture.
- First we took apart the thrifted hanging light so we could use some of the parts, namely the part of the fixture with the 3 lightbulbs
- Make a bracket to hold the lamp together. First, slip the u-bolt through the end of chain
- Now put 2, 1/4-20 nuts on each side of the u-bolt
- Place 2 fender washers on each side of the u-bolt
- Put the remaining 2, 1/4-20 nuts on the u-bolt to hold the fender washers on
- Now take the mounting bracket and slip it between the fender washers in the middle of the u-bolt
- Tighten the nuts with your fingers on the u-bolt to clamp the bracket in the center
- Use a wrench to finish tightening the nuts so the bracket can not move
- The mounting bracket goes on top of the rattan lantern and the canopy of the new light goes on the bottom, or the inside, of the lantern (this holds the lantern in place).
- With the lamp complete, it's time to hang it
- First, measure to find the center point in room. (You may need to drill a hole and use a toggle anchor if there isn't a beam to hold the light up).
- Attach the swag hook to the ceiling in the spot that you want the light to hang.
- Hang the lamp using the chain from the hook in the ceiling, at the height that you want it.
- Attach the new lamp canopy to the mounting bracket
- Swag the chain over to where the new canopy will attach to the original light box in the ceiling.
- If the chain is too long, shorten it by using 2 pair of pliers and twisting. Remove extra chain and attach twisted link to the new canopy. Twist chain back into shape
- Cut ends off extension cord and feed the wire, loosely, through the chain over to the new canopy.
- Cut and strip wires and attach to the correct wires in the ceiling light box and the new light fixture. ***make sure the power is off to the ceiling box!
- Install the canopy in the ceiling, over the old light box, and you are done!
Notes
***It's very important to turn the power off to the light box from the main breaker box. If you don't feel comfortable working around electricity, hire a licensed professional!
Recommended Products
As an Amazon Associate and member of other affiliate programs, I earn from qualifying purchases.