Guest Bedroom Makeover Update
This post may contain affiliate links, please see our policy for details.
A guest bedroom makeover update and easy decorating ideas for a small space.
I bet you thought I’d never finish this room. Actually, I thought I’d never finish this room and, although I can’t call it done, it’s getting there.
This is a sponsored post written by me on behalf of Select Blinds. All opinions are 100% my own.
We’ve always referred to this small space, in the front of the cottage, as the blue bedroom. Blue, not only because of the paint color, but also because it was a sad little room (with so many issues).
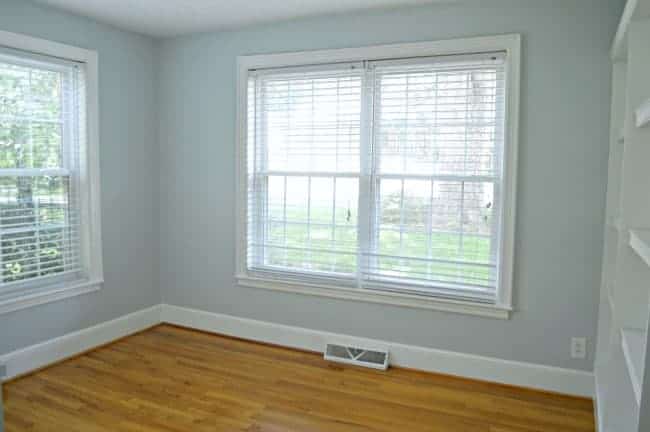
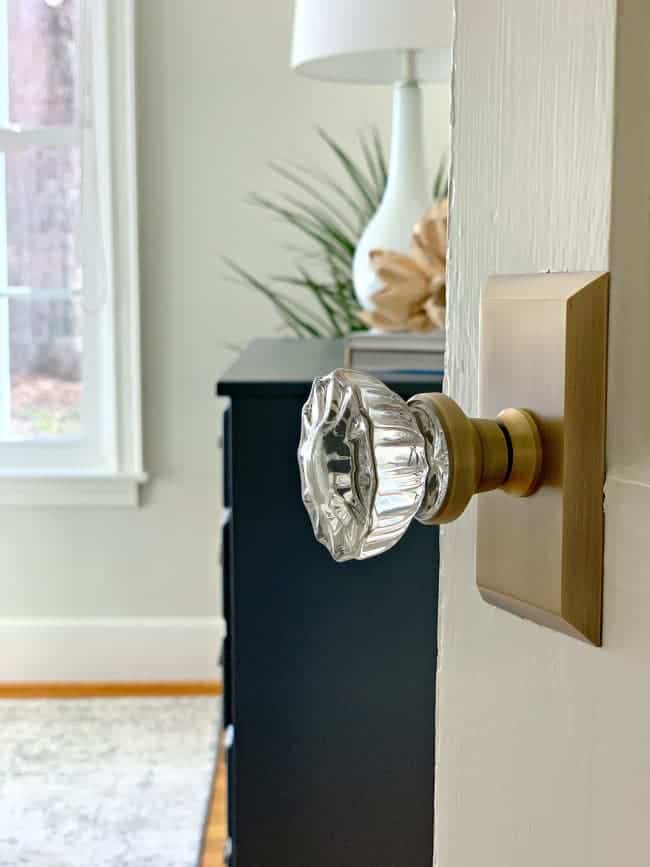
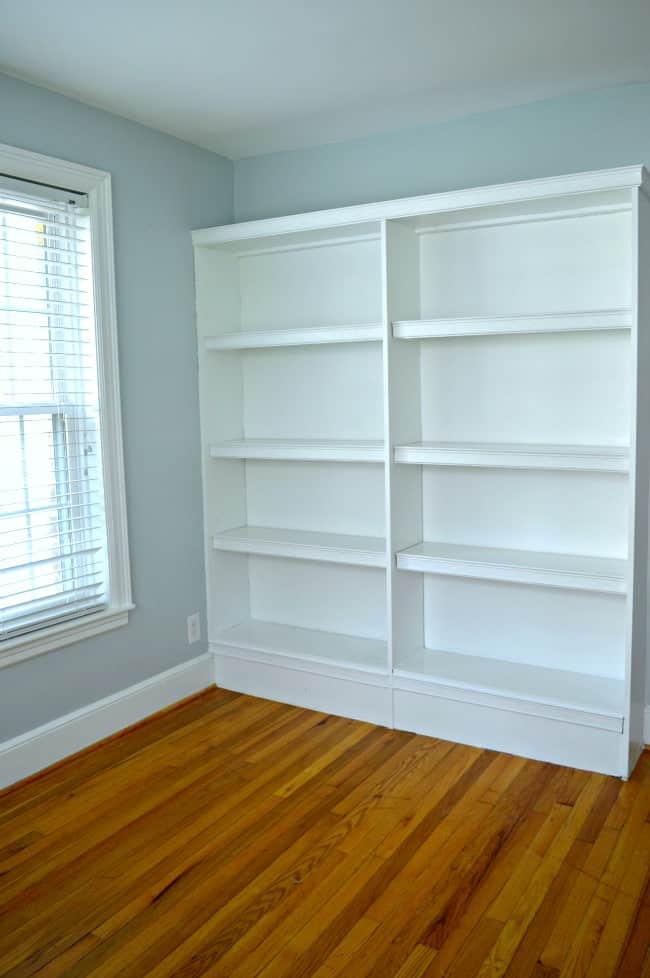
When we moved in, this space had a poorly built bookcase on one wall, the ceiling light fixture is (way) off-center, the walls haven’t been painted in years, the blinds were dirty and broken, the door knob was hanging on by a thread and the door and woodwork were all chewed up from a previous homeowner’s dog (we think).
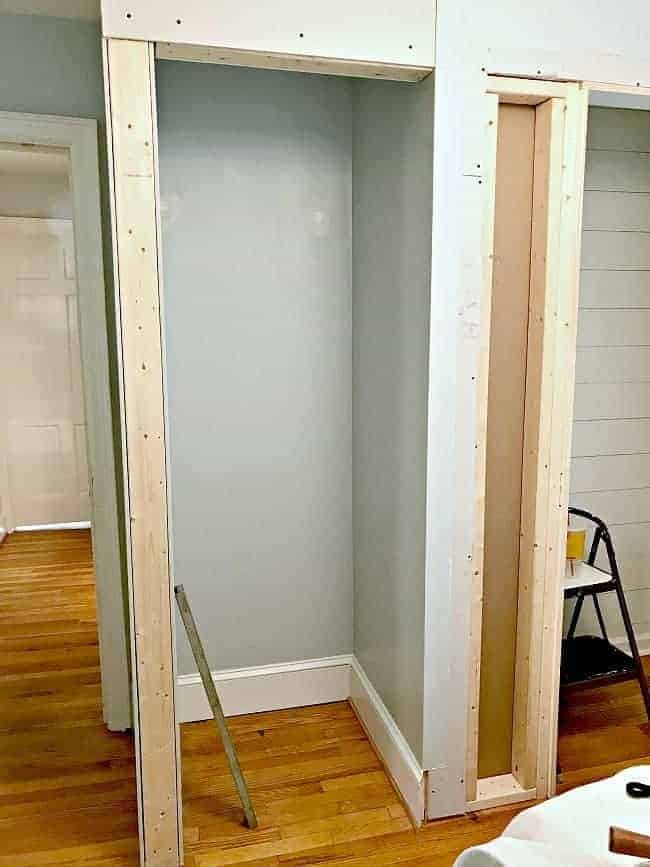
We needed to address all of those issues, but the first big project we tackled in here was the powder room that we built in the closet.
Yes, we turned a little closet into a tiny, little powder room. It just has a toilet and a sink but when you only have one small bathroom, getting a second toilet is almost like winning the lottery.
Almost. 😉
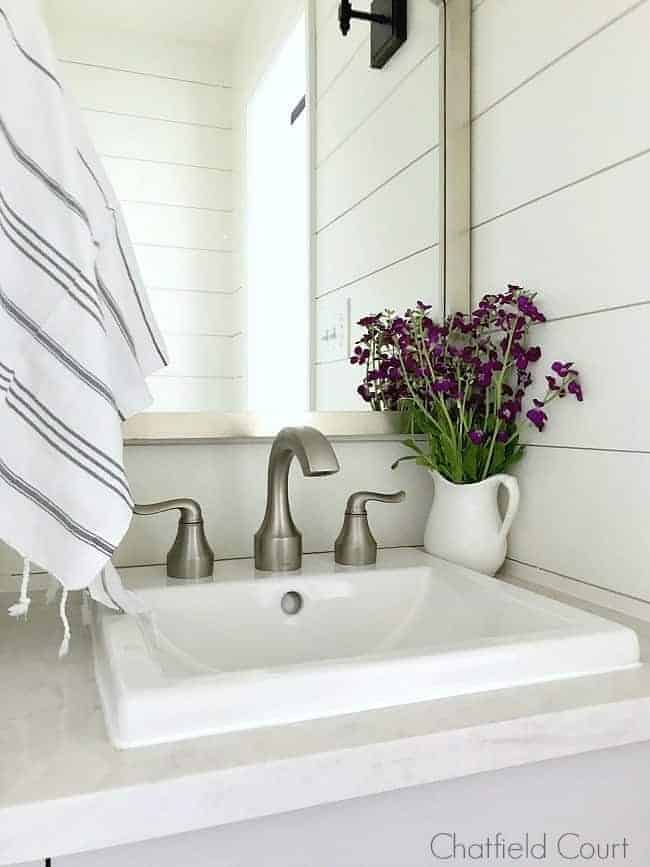
We love this space and it was definitely worth the time and effort it took to build it.
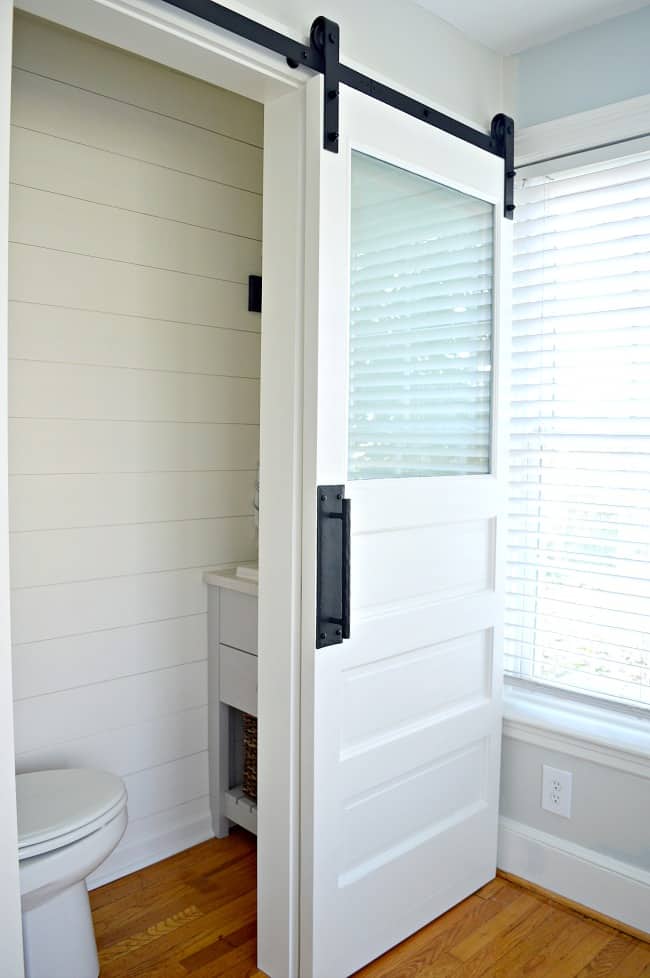
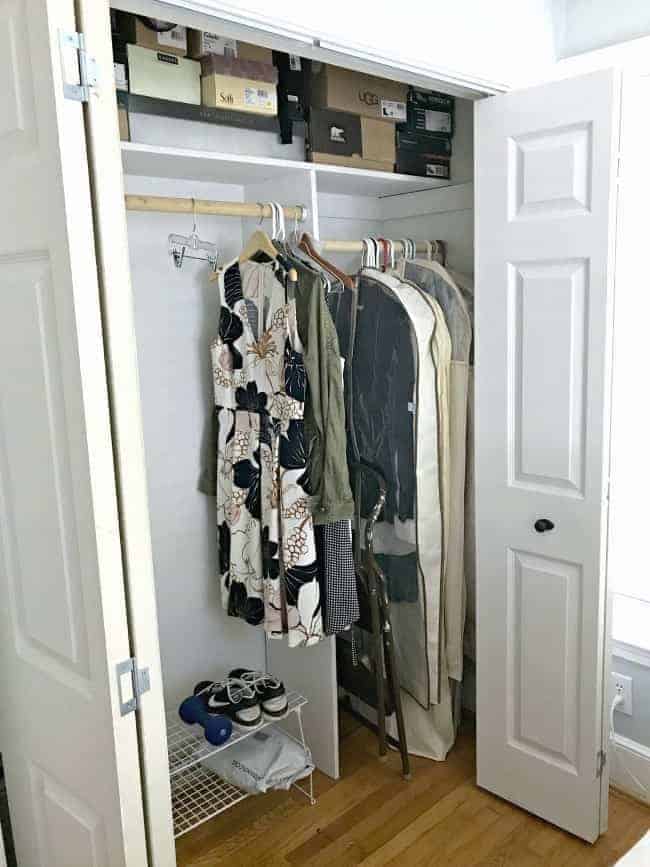
Because we took away the only closet in the bedroom (when we built the powder room), we had to build a new one. It’s tiny but there’s plenty of storage space for my husband’s clothes and it has a pretty little surprise inside.
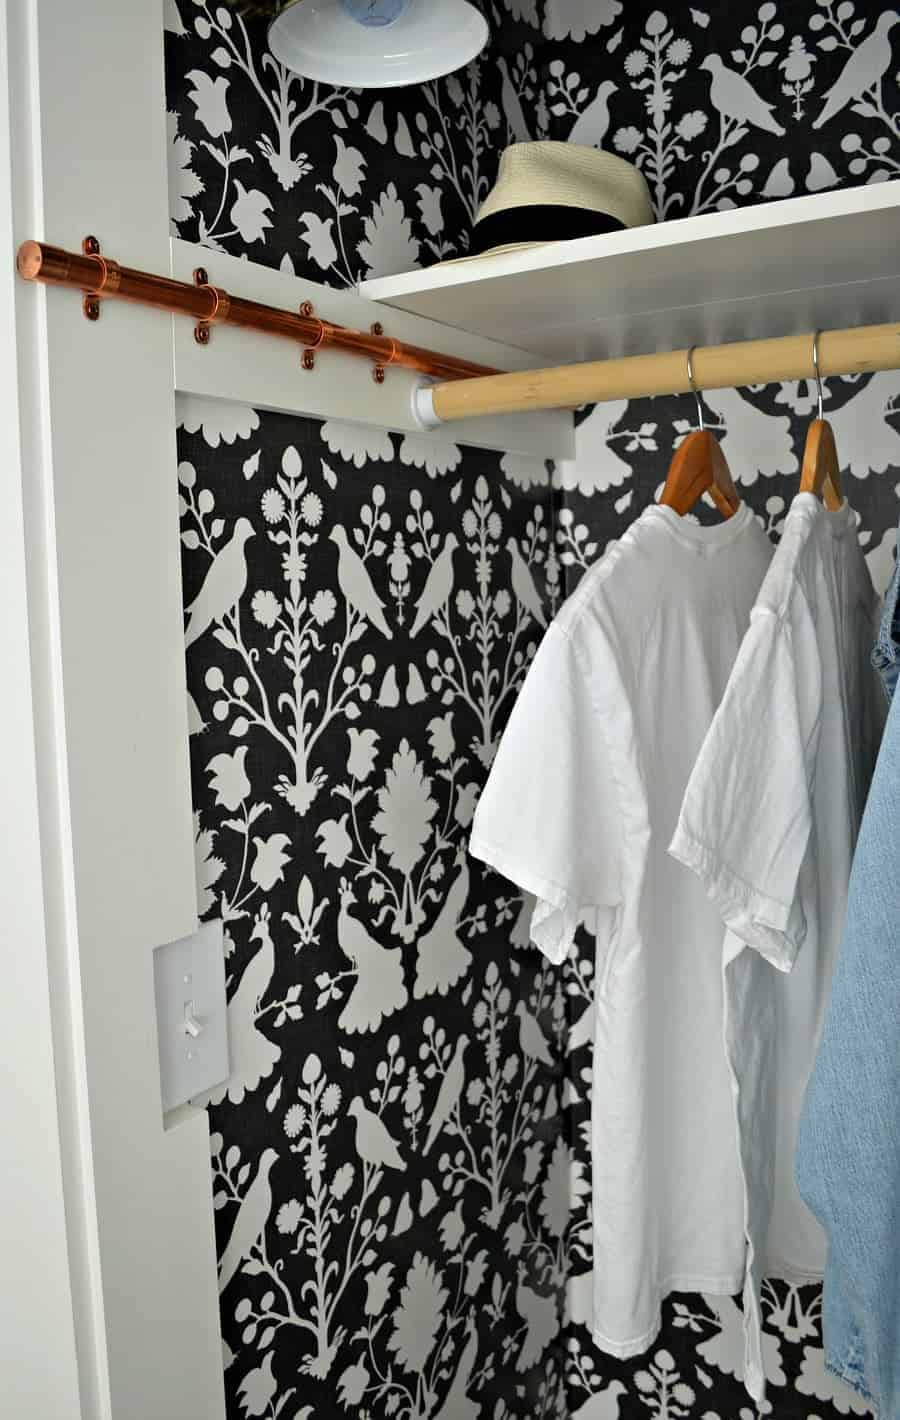
I love sliding the door open and seeing the pretty wallpaper that we hung. I was so nervous about using wallpaper but it was the right decision for this space.
Something totally unexpected.
Another unexpected bonus is the DIY copper sliding clothes rod that I built. So easy, yet so handy. I use it almost every day to hang my clothes.
Once we finished the powder room and closet, the makeover came to a halt. We got busy working on Minnie and didn’t really give much thought to the guest bedroom.
By the end of August (2018), I had gotten tired of seeing the mess in the bedroom, and the big hole in the wall (more on that later). I decided that I was going to do whatever I could to finish up the room.
The first thing I needed to address was the elephant in the room. Err…the hole in the wall.
Before we moved in I decided that the ugly, badly built bookcase had to go. I removed most of it and asked the hubs to remove the last board that was giving me trouble.
“Be careful” were my parting words before I went into the kitchen. I just remember hearing a loud crash.
The hubs tried to kick the board loose and it went right through the plaster wall. The board came loose but now we had a big gaping hole in the plaster to fix.
The hole sat there, untouched, for two years before it was finally fixed. I also had to fix the wall where the bookcase stood. There were holes and thick pieces of wood putty all over the walls and floor.
It really was a mess and it took me quite a while to fix all the damage.
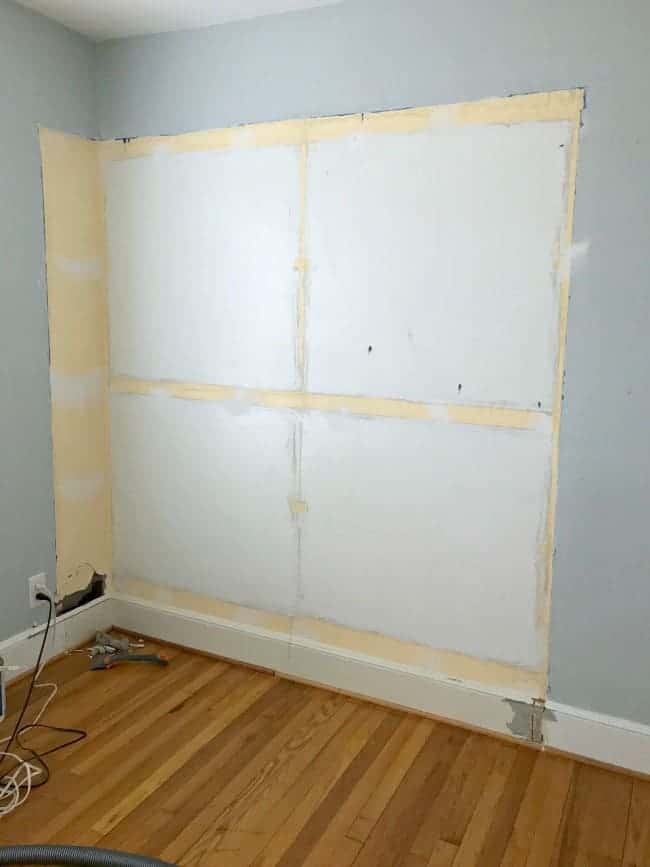
Anyway…once I got the wall all patched up and sanded, I was able to finally throw some new paint up. I went with a light gray (see source list at the bottom of the post).
I also gave all of the trim, windows and door a fresh coat white paint.
Just painting the walls made a huge difference in this space. I knew that the light blue was bad but the new paint really brightened things up.
After the painting was done, it was time to address the faux wood blinds. They’ve seen better days so it was time for them to go.
We’ve replaced most of the blinds in the whole house with woven shades so that’s what we went with in here.
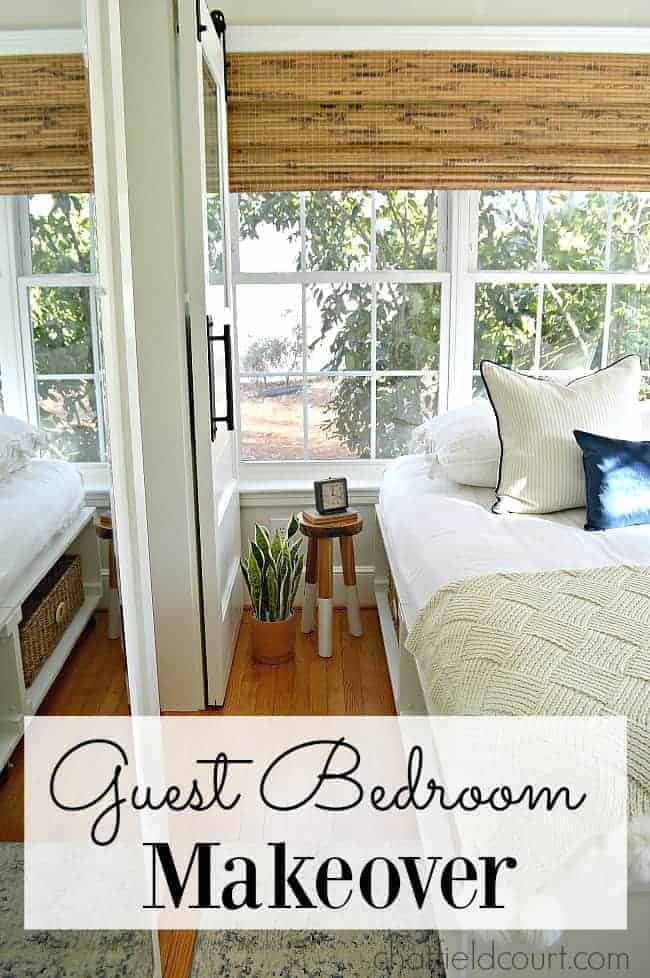
I worked with Select Blinds for this project and picked out the perfect shades for our new and improved space. Like my other shades they have a blackout lining and continuous loop cord so they are easy to lower and raise (key when you have a big window).
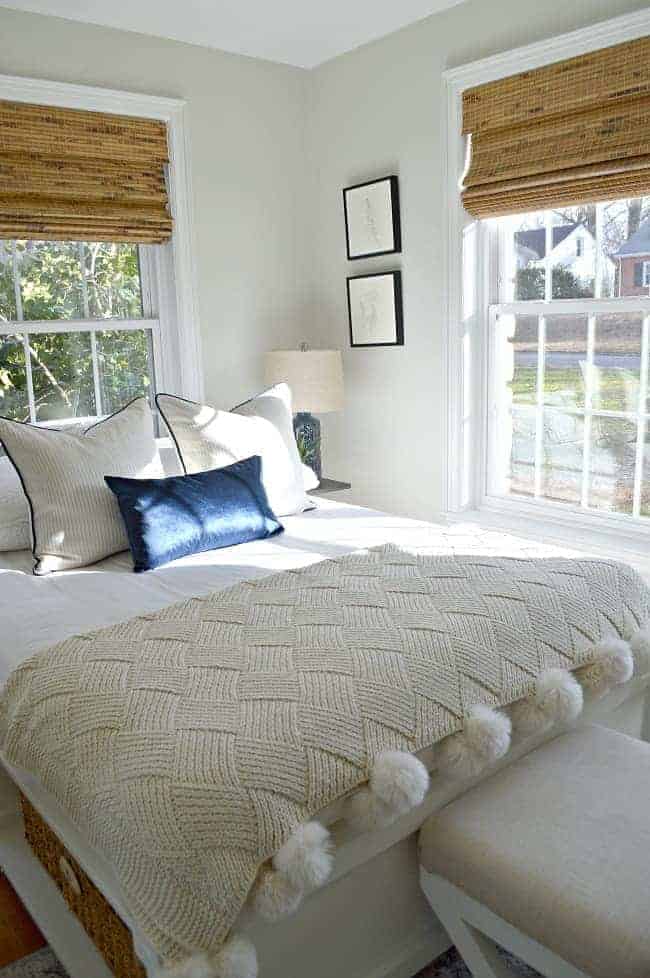
I can’t tell you how much I love them! They add warmth, texture and some much-needed style to this small bedroom. Plus, they were really easy to install.
With the walls and windows complete, I started to rethink the purpose of the room. Originally, I was going to use it as my studio, a place for me to do projects and take pictures.
I even moved all of the furniture around (and sold the bed that we had in here). After moving the furniture around though, I decided to use the other guest bedroom as my studio and this one as the guest bedroom.
It really made more sense because the powder room in this space would be easily accessible for our guests.
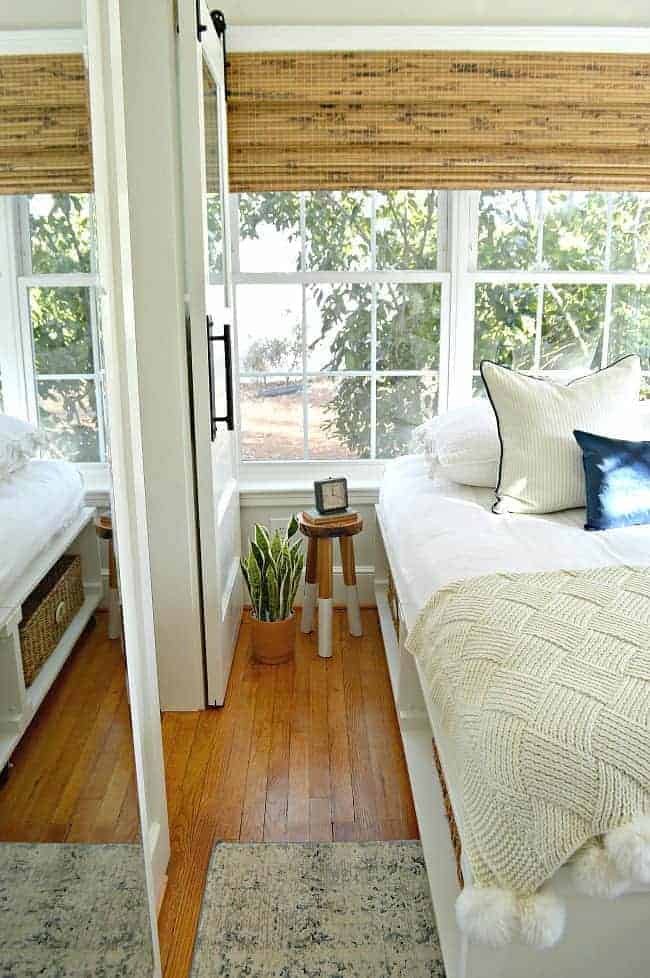
Happy with my decision, I shuffled the furniture around for the last time. Our DIY platform bed made the move, and we added a pretty new rug.
The “blue” guest bedroom was now officially the “new” guest bedroom, and my studio would be in the “castle” bedroom. It’s the perfect arrangement.
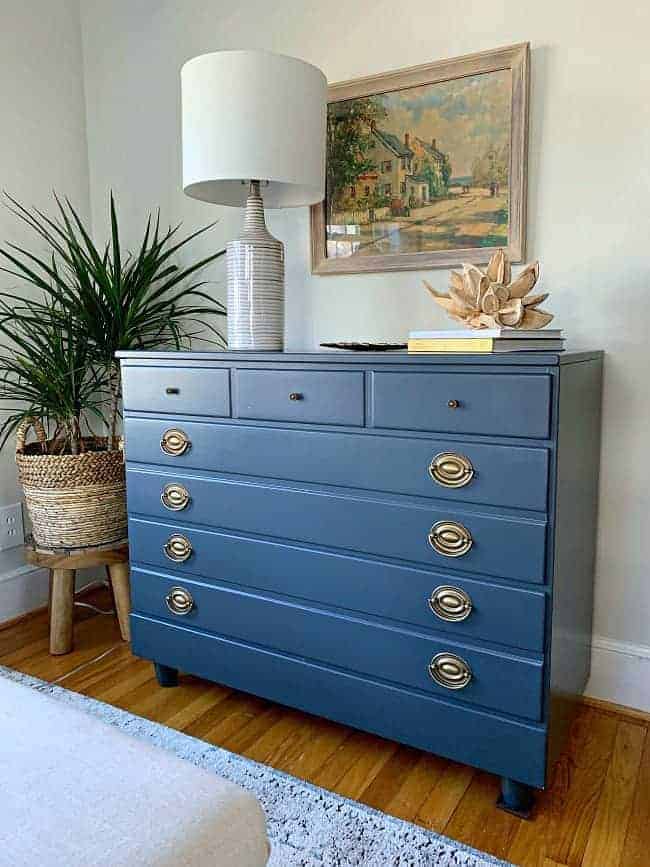
The hub’s uses the guest room as his dressing room so the dresser needed to stay. The paint was in rough shape, from construction on the powder room, so a new color was in order.
This $5 Goodwill find got 4 feet and new hardware a couple of years ago, so all it needed was a fresh coat of paint. Navy blue was the perfect choice. I love the rich color with the aged brass of the vintage hardware. All I need to do is find that perfect lamp.
I’ve been searching for awhile but can’t find the perfect one so this will have to do until I find “the one”.
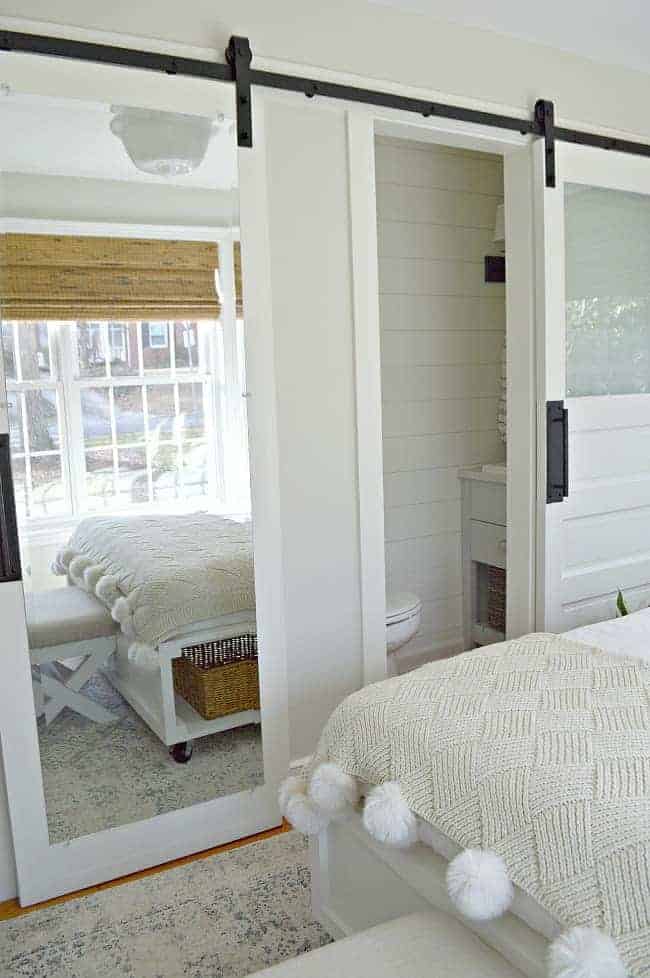
The powder room and closet doors…
I’ve gotten a lot of questions about the powder room and closet doors opening and closing so I thought I’d try to explain.
We can’t open the closet door all the way when the bathroom door is closed but the bathroom door is usually left open (unless someone is in there).
We installed a “stop” on the bathroom door, so it can only close so far (enough to shut in the bathroom doorway), and a “stop” on the closet door, so it doesn’t go any further than the outer edge of the bathroom doorway.
That allows us more than enough room to get in the closet.
It has really worked out well and we haven’t had any issues.
Hopefully this helps explain the workings of the new doors.
What’s next for this guest bedroom makeover…
We still have a few projects to do in this space before we can call it done. We need to address the off-center ceiling light fixture and install the crown molding. I’m not sure when those projects will get done but they are at the top of the list. Hopefully it won’t be 2 more years.
My studio is the next room on the list – after the light and crown molding. I’m still working on a plan but I have most of the furniture and some decor already worked out. I can’t wait to share it with you. I’m going to enjoy my new guest bedroom for a few minutes though, before I start the studio.
Guest Bedroom Sources:
- wall color – Benjamin Moore Horizon, Regal Select, Eggshell
- dresser color – Benjamin Moore Hale Navy, Advance, Satin
- trim – Benjamin Moore White Dove, Advance, Satin
- wood stool with white legs – Serena and Lily
- area rug – HomeGoods
- bedside lamp and dresser lamp – HomeGoods
- pompom throw – Macy’s
- woven shades – Select Blinds
- b&w artwork – Minted
- glass door knob – Nostalgic Warehouse
- closet wallpaper – Spoonflower (post on how we hung it, here )
- barn door track – Amazon
- barn door handles – Etsy
