How to Install Vinyl Flooring
This post may contain affiliate links, please see our policy for details.
Tips on how to install vinyl flooring on plywood in an RV, or in any room of your home using LifeProof Flooring.
Over the last few months we’ve had to make a lot of design decisions during our RV renovation.
One of the biggest ones, so far, has been the flooring.
We went back and forth trying to decide if we should just paint the floor and call it done or install vinyl plank flooring.
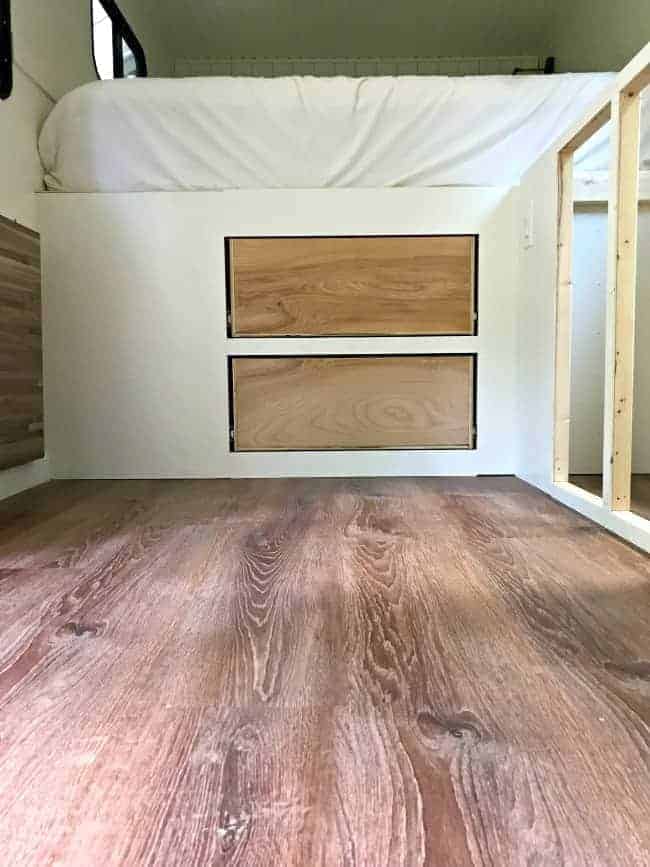
Once we started researching though, it didn’t take us long to decide that vinyl flooring was the right decision for our project.
This project was another first for us. We did install a laminate plank floor in our Georgia home years ago, but we’ve never had, or installed, a vinyl plank floor.
This is for our RV though, and the biggest concern when doing anything in an RV is weight.
How much weight you add to a camper is always a huge concern. In short…weight is not your friend when it comes to an RV.
Yes, we could have just painted the floors and not added any weight but we went with the next best thing…vinyl floor planks.
I would have never guessed that I would go for vinyl planks but they turned out to be the perfect choice for us.
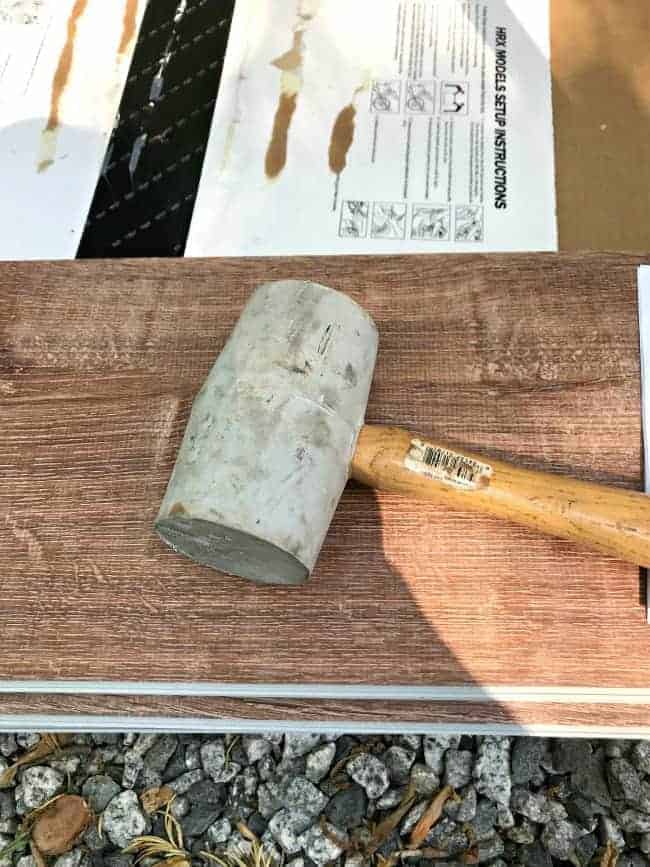
They are lightweight, good looking, easy to care for and easy to install. All you need is your flooring, a mallet and a knife or saw to cut your planks.
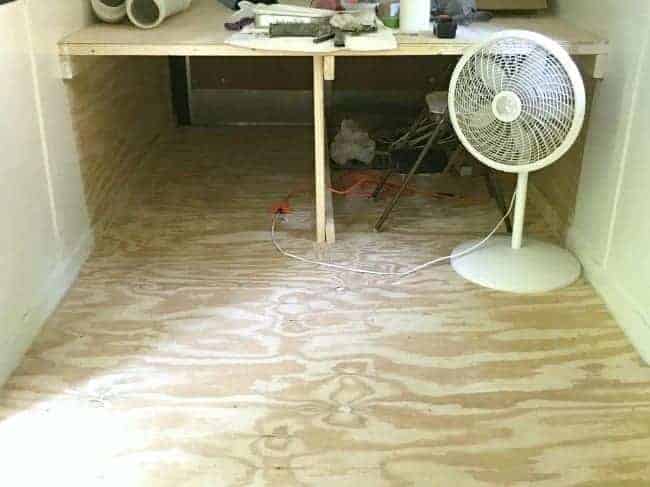
There’s no underlayment needed for the kind of flooring we chose, so that was an added bonus. We were able to install the planks right on top of our clean plywood floors.
What kind of vinyl flooring were we looking for?
- It had to be durable and lightweight.
- It had to be waterproof, which meant that it couldn’t have any wood in it. Why no wood? Well, if there is a leak and water seeps down into the flooring, the wood would swell. That is no bueno.
- Of course, my biggest concern was looks. It had to look like wood (or as close as possible).
The flooring we ended up picking out and installing ticked all of our boxes…LifeProof vinyl plank flooring.
Choosing a color was tough one though, but I eventually settled on a warm oak color.
I wanted to warm up the white ceiling and walls but I didn’t want anything that was too busy in our 112 square foot space.
Actually, we only covered about 70 square feet, choosing to paint the wood floor under the king size bed. It’s just a storage area anyway, and would get beat up with tools and camping equipment.
Spending money on new flooring for that area didn’t make sense.
A little disclaimer here. Well, maybe a big disclaimer.
We found out, after we installed our vinyl flooring, that the manufacturer does not recommend it for an RV. The reason is because of temperature fluctuations (particularly cold temps) and the expansion and contraction of the planks.
It’s one of those cases of not reading the directions thoroughly before you install. OOPs!
We talked to a salesman at the home improvement store who sold the flooring and he never mentioned a problem putting it in an RV so we figured we were good.
Still, it was our mistake not to read the instructions thoroughly.
We think that we’ll be ok because it’s such a small area that we covered, but you never know. I’ll keep you posted.
Ok, we found our flooring now let’s get the skinny on installing it
Tools needed to install luxury vinyl plank flooring on plywood:
- Life Proof Vinyl Plank Flooring
- rubber mallet
- hammer
- tape measure
- straight edge
- utility knife (we used a table saw to cut our planks)
Installing the vinyl flooring was pretty easy but we did have to do some prep work before we could lay the first plank.
The prep is actually the most important part of this project, which means you need to work out all of your measurements and seam placements first.
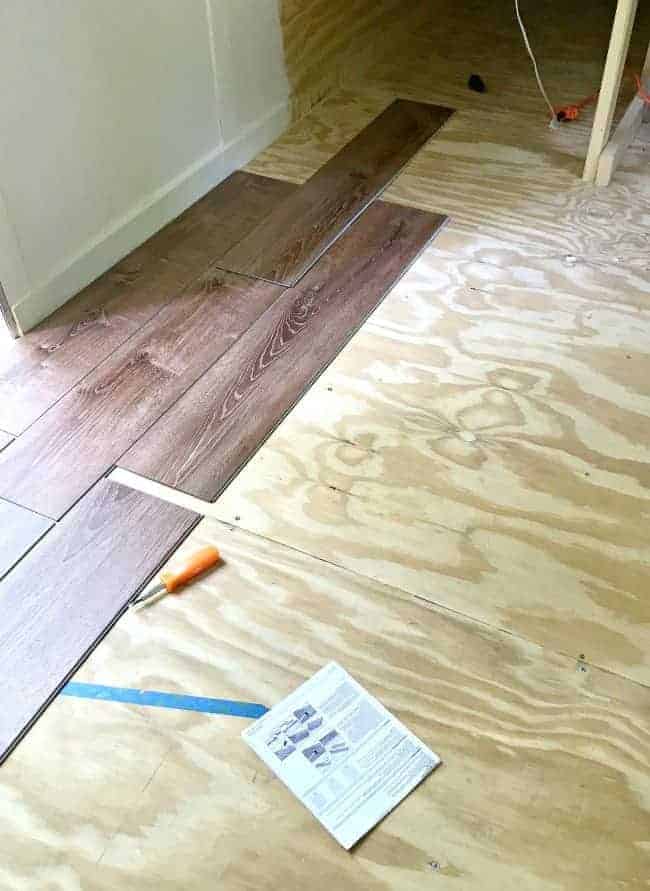
The first thing you need to measure your room and figure out which corner you will start laying your planks.
We also laid out a few planks and moved them around to check our long seam placement.
You want to be sure that you know where the long seams will be so that it all looks symmetrical when it’s done.
If you just lay a long plank without knowing your seam placement, it’s possible that you may end up with a narrow row of planks when you get to the other side of the room.
Not a good look.
This is why you need to plan ahead.
After you measure it all out, you may end up needing to cut the width of the planks on both sides of your room so the placement looks symmetrical.
We didn’t have to worry about one side being off in our RV because the cabinets and bathroom will hide most of the flooring.
You won’t really see it if it’s off.
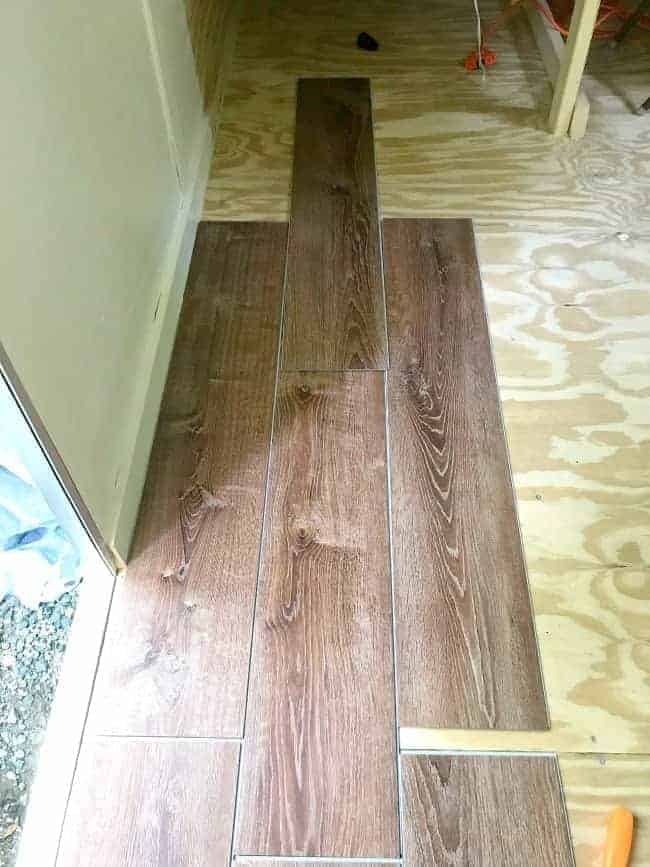
Once you figure out the width and the long seams, you need to figure out the short side seams.
You want to make sure that the last piece of the first row doesn’t have a seam less than 6 inches from the end.
The reason why is because, if the seam is too close to the end, the planks may not snap together correctly.
If it seems like you are going to end up with a seam close to the end, you may need to trim the first piece in that row to offset that short seam.
The first row is the toughest but once you get that set, you can continue installing the rest of the floor.
You just want to make sure that your short seams are staggered, and no two short seams should be within 6 inches of each other.
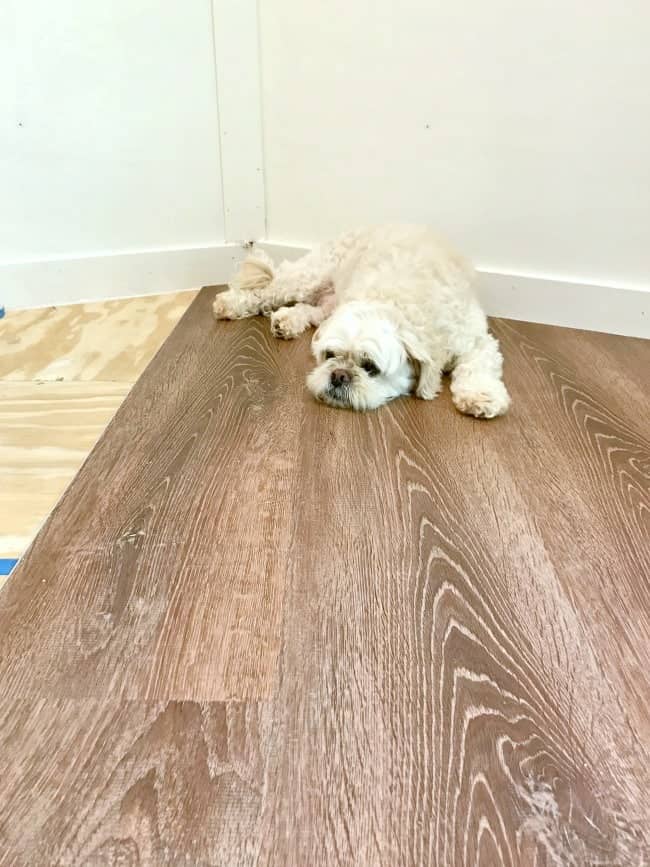
The vinyl planks we picked out had a tongue and groove construction.
To interlock them we just had to put the tongue from one plank into the groove of another plank and snap them together.
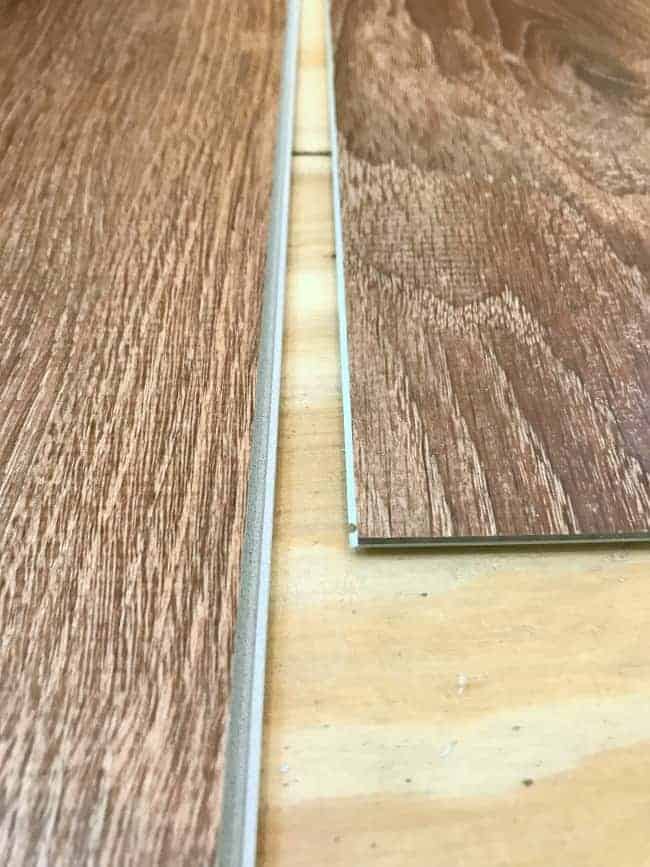
After you snap the planks together, you may have a slight gap.
We used a scrap piece of flooring and a hammer to gently tap the planks together.
We also used a rubber mallet on the seams to make sure they were snug and in place.
Just remember to use a piece of wood or scrap piece of floor when you use a hammer or mallet. We never used those tools directly on our floor.
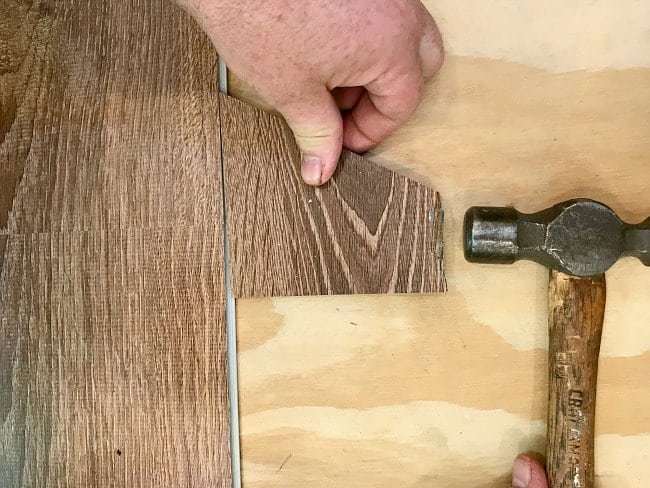
As we got to each end, we left a 1/4 inch gap for expansion, as per the instructions.
The prep work was behind us and we were on a roll installing the floor.
Unfortunately, about half way through, we were halted by a box of damaged planks.
We ended up waiting two weeks for a new box to arrive before we could finish our floor.
Not what you want to see when you’re trying to schedule your projects.
The moral of this story? Check all of your vinyl planks as soon as you get it, and before you start installing it.
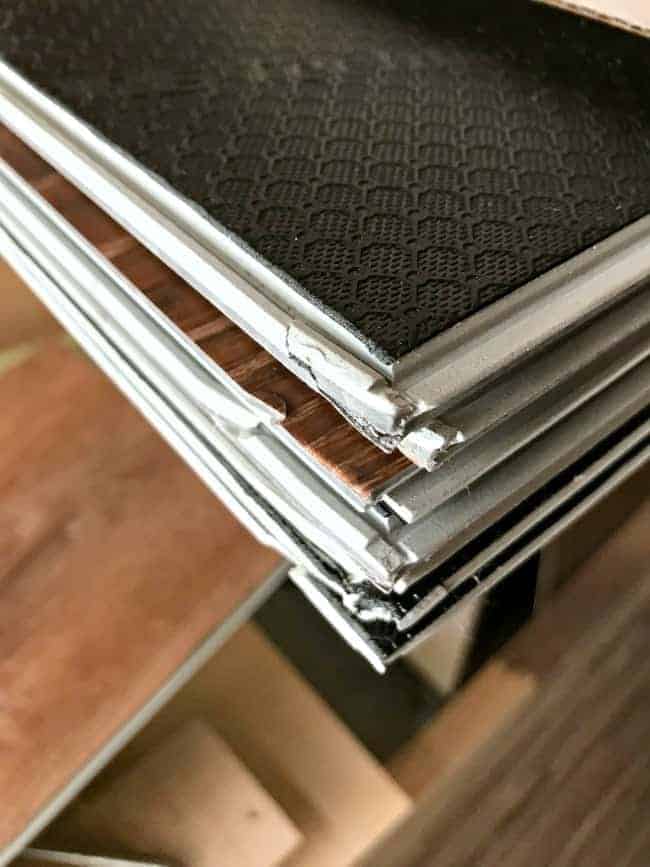
Once our new planks arrived, we could continue the installation.
To finish off the floor, I ordered a couple pieces of quarter round in the same color as the floor.
Although I would love to see it completely done, we haven’t installed ours yet.
We’re still in the middle of building our cabinets so the molding will be one of the last things we do.
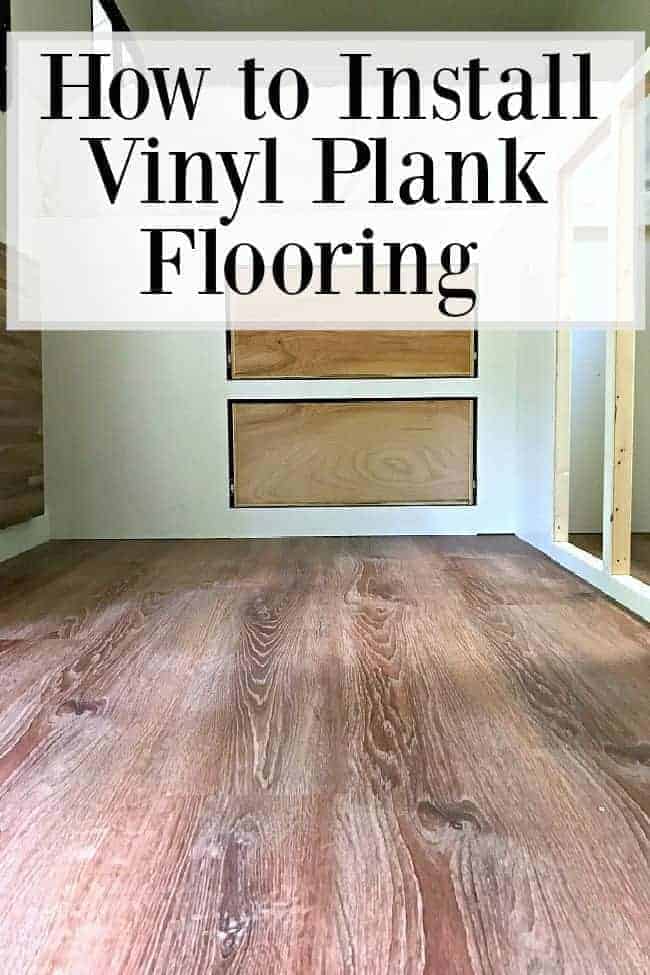
That’s it. Our new vinyl plank floor is done and I really love how it looks.
I picked a floor that has grooves in it, as opposed to a flat surface, just to give it a little dimension and more of a realistic look.
It looks great and it’s so easy to clean. All I need to do is sweep it with a broom.
I think it’s the perfect choice for our new cargo trailer conversion.

Hello I have so enjoyed reading this blog and dreaming good helpful tips two questions one are you still happy with your covered wagon brand cargo trailer as I am in Georgia and have you found any problems with the vinyl flooring and temperature change thanks keep up the good work
Hi Bee! Yes, we are still very happy with our Covered Wagon cargo trailer. We haven’t had any issues with it. We are also happy with the vinyl plank flooring. It has held up very well with temperature change. We were a bit nervous after we put it in but we’ve been through 2 winters since we installed them and they have held up beautifully. So easy to clean, too! Thanks!
Hi Kristi,
I love your choice and the colour is great! I installed vinyl flooring to our entire downstairs communal area 3 years ago and have been so thrilled with it. It is so hard-wearing, easy to care for, and really looks great. I used to have large white porcelain tiles but the planks are so much better in every way. I think you’ll be amazed at how good they are.
Thanks for sharing your RV reno. As I’m nearing the end of my house reno, I’m suddenly all skilled up with nowhere to go! Have been considering getting a caravan to restore, so your blog posts are very inspiring.
Cheers, Elisabeth.
Thanks so much Liz! It’s great to hear from you. I’ve been wondering how your kitchen reno was coming along.
After all you’ve done in your home, you could definitely restore a caravan. It’s been a blast doing ours. I don’t know what I’ll do when we’re done.
Thanks for stopping by.
Cheers!
I love it! Can you tell us what the name of this flooring is. I need to redo my sunroom. Like the fact that this one is waterproof. And LOVE the texture and color!
Thanks so much! We are loving it too. 🙂
The flooring that we went with is from LifeProof (we got ours at Home Depot). I loved the texture and colors that they offered.
Hope that helps. Let me know if you have any other questions.
Christi
We turned our porch into a three season room and were ready to go with vinyl planks but was told that the temp in the room couldn’t go below 55. We weren’t planning on heating it in the winter – so the project is at a standstill until we can find the proper flooring. What brand of vinyl planks did you use and is the trailer subjected to temp changes?
Well that looks great! I think that was a smart choice! Bummer about the damaged boxes! I too am one who expects thing to be “right” and I wouldn’t have check either. All’s well that ends well. Minnie is beautiful!
Thanks so much Deborah! We are loving our new floor.
We should have checked all of the boxes but were just so busy that we didn’t get to it. That was our mistake but it was a big bummer that we had to wait to finish the floor. It’s all done now so that’s all that matters. 🙂
Thanks for following along.
Kristi, I love the floor. I was thinking of doing something like that in my kitchen, but my hardwood floors in the rest of the house meet up with the kitchen doorways in two places and being an older home with old style hardwood I was afraid the transition would look odd. What are your views on this? I think a wood or faux wood floor would look great against my white cabinets, but I’m not sure about how it would look against the original wood floors. Maybe I could buy a box and place a few pieces out at the threshold of each doorway to see how it would look. If it doesn’t look good I could take it back. I’m really torn. That’s why I haven’t replaced the floor in the kitchen yet.
After seeing your post I like the idea of a wood floor even more. Just not sure about how it will look.
Thanks so much MJ. I think that a product like this would look great in your kitchen. There’s so many different colors and styles now that you may be able to find something close in color to your original floor. The selection is pretty amazing.
I think that buying a box and trying a few pieces next to your wood flooring is a great idea. I’m sure you could find something that you love.
Looks pretty, once you get everything else in it to make it cozy for your home away from home you will be so glad you put it in. I know you are working hard but it will be such a cute snuggly place for you two to travel in and enjoy.
Thanks so much Marlene! We love it and we’re so glad that we chose this over painting the plywood. So many projects yet to do but it’s looking more like a home away from home and less like an empty metal box. 😉
Thanks for following along!
Looks great. I just had vinyl flooring put into my master bath. They did not do as good of a job as you two did. Love the look of wood it gives. They sure have come a long way in vinyl flooring haven’t they?
The oak is perfect for your little home away. Great choice and great job.
Thanks so much Debbie! I agree, vinyl has come a long way.
So glad to hear that you used vinyl too. I’m sure it looks great in your master bath.
Looks a lot like Pergo flooring. I like it–will make your camper more homey. The best part is you clean it with a broom.
Looks like Finn likes it too. LOL
It really does warm up the space. It’s so much better than the plywood floor that was there.