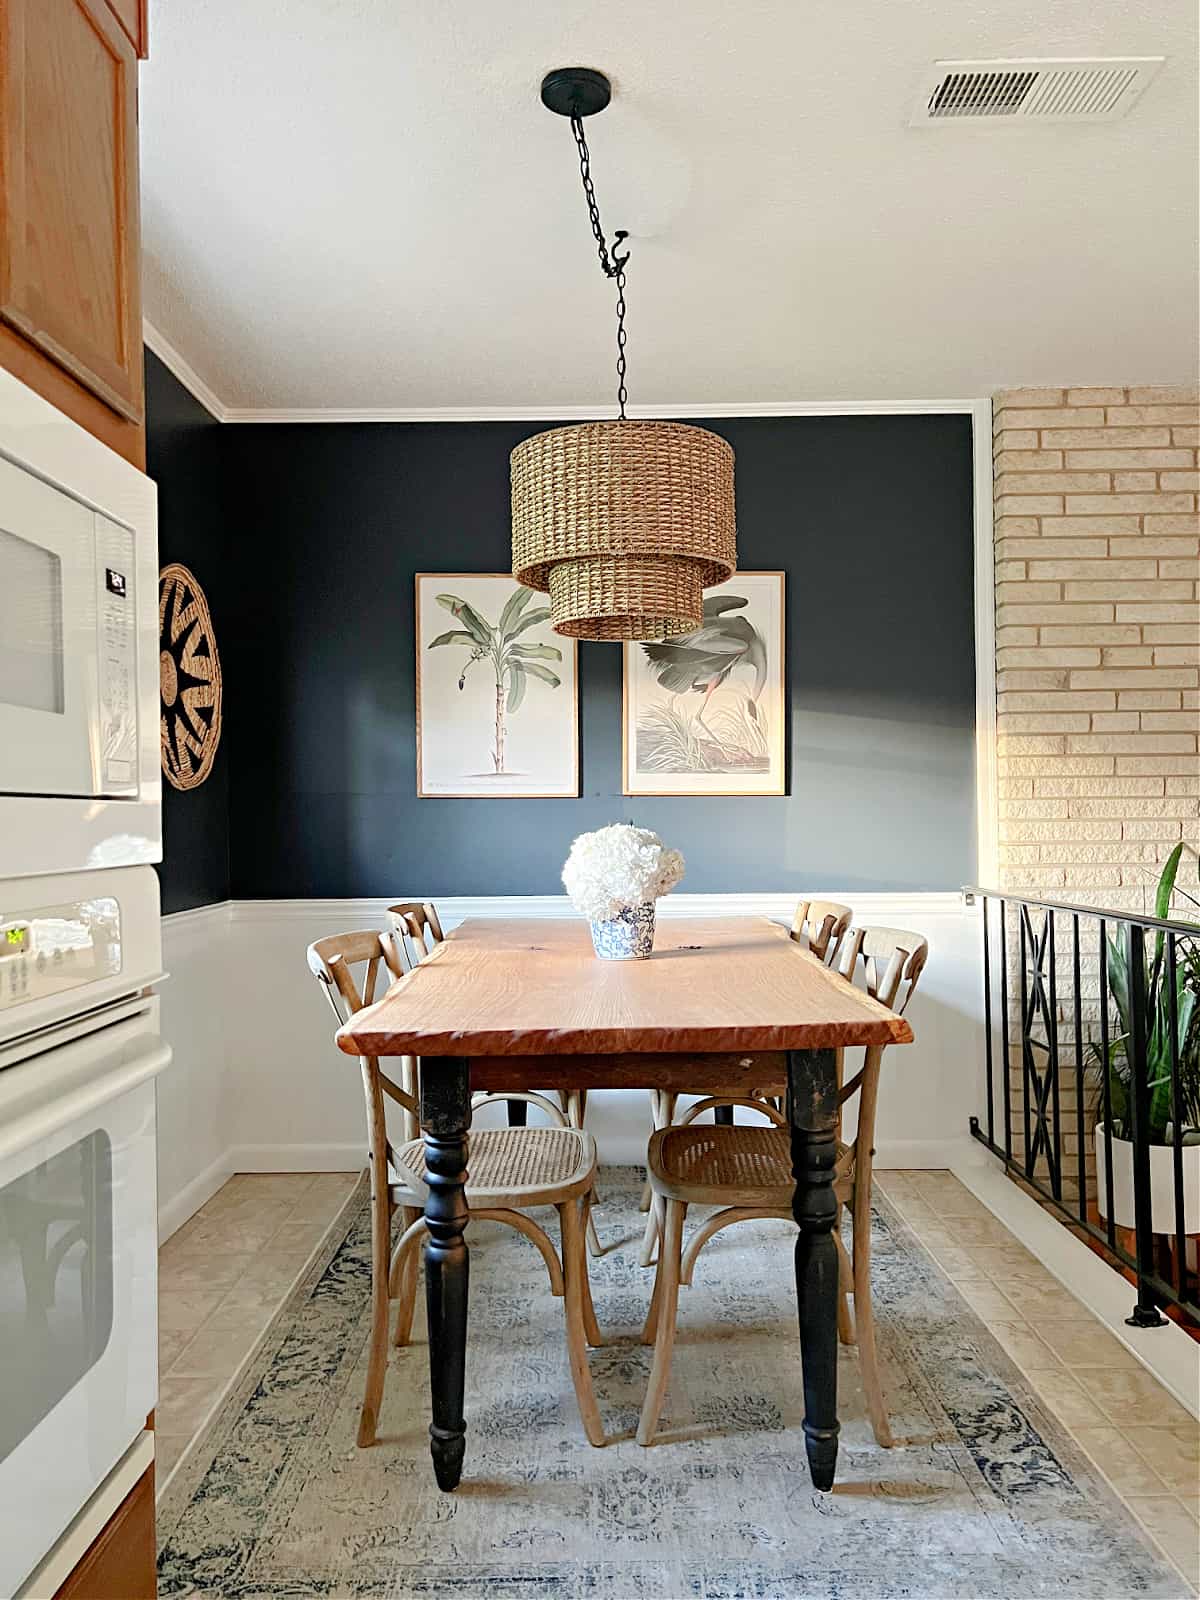
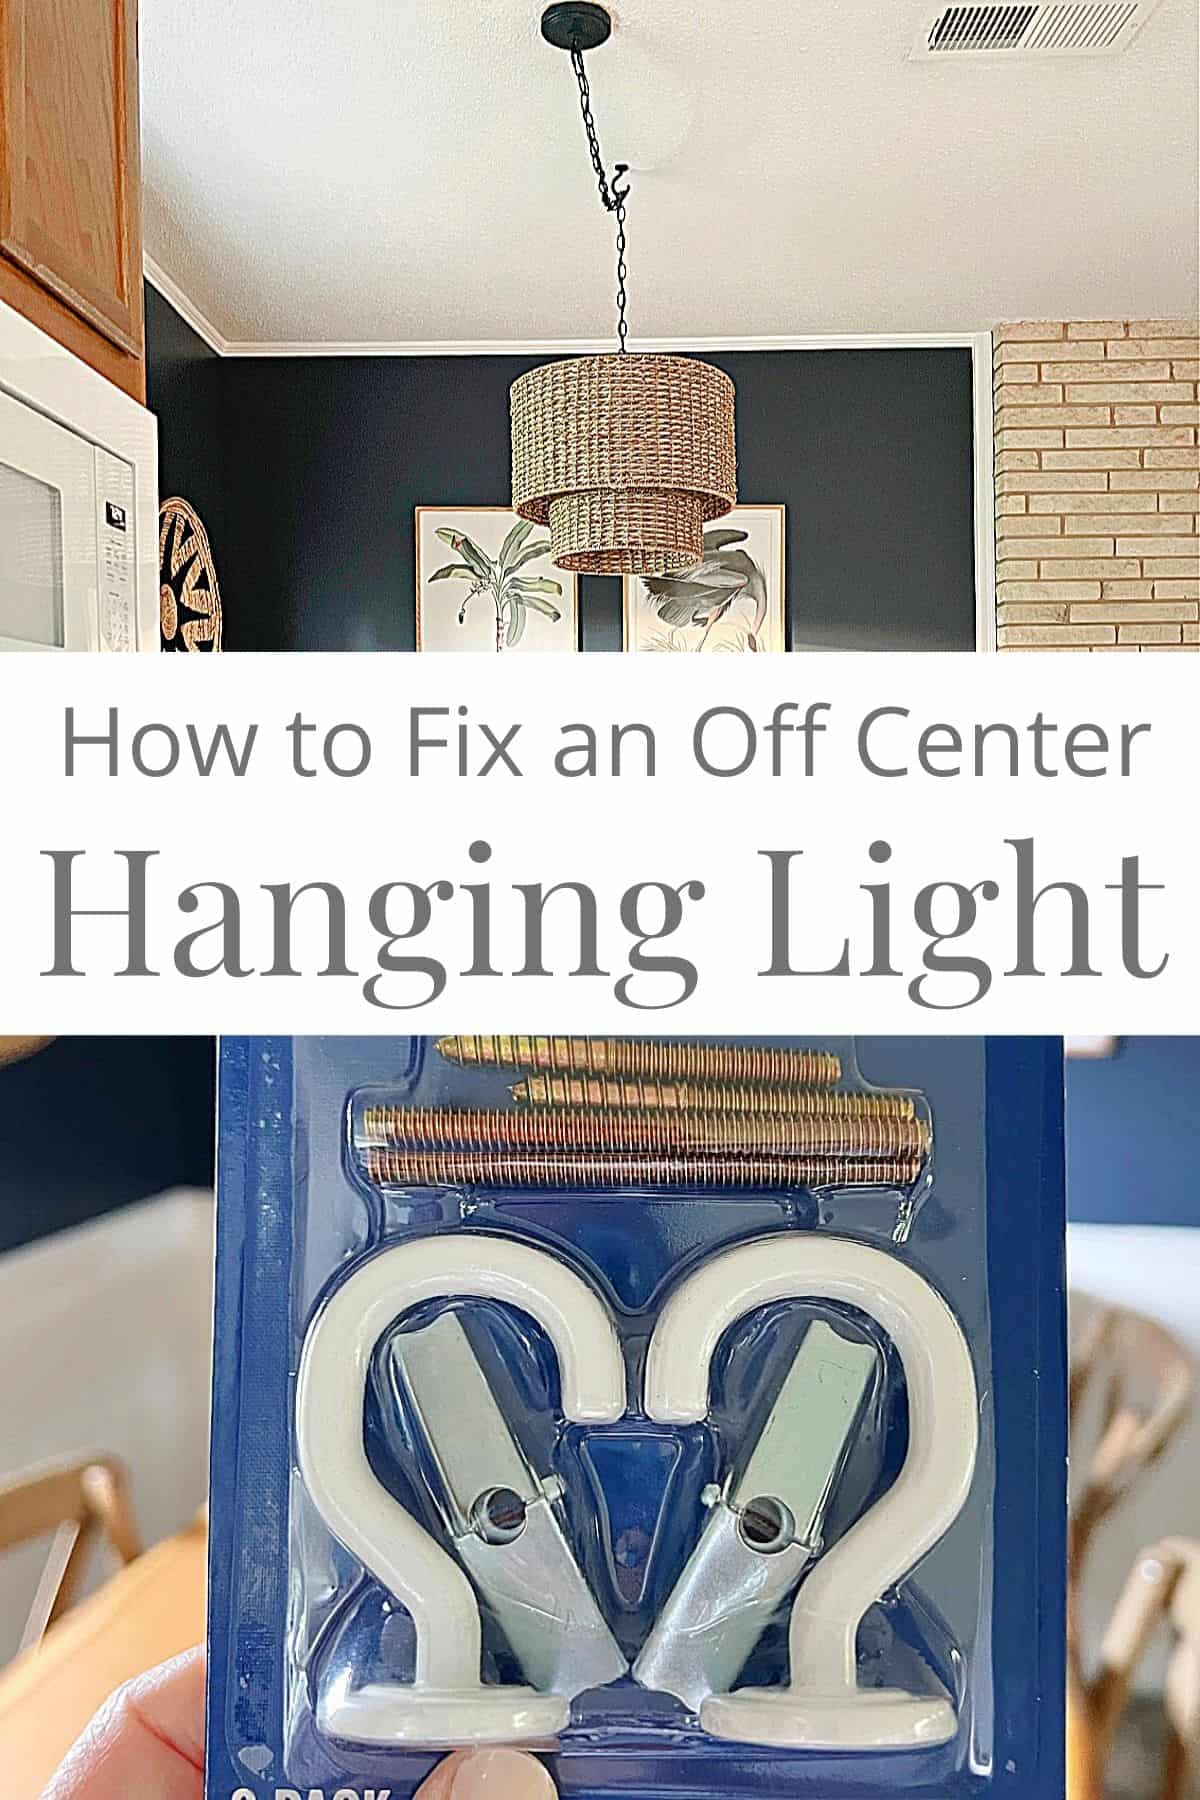
An Easy Fix for an Off Center Ceiling Light
This post may contain affiliate links, please see our policy for details.
How to easily fix an off center ceiling light fixture for under $6, without running wires or calling an electrician.
How many times have you moved into a new house or rental and wondered why a hanging ceiling light was so far off center?
It’s happened to us more times than I care to admit and it’s always a headache.
Actually we dealt with this very problem in our last house and ended up making a DIY hanging light fixture when we moved the light to the center of the room.
Even though Roger is an electrician and very experienced, it’s still a huge pain to reroute wires, cut a new hole and fix the existing hole in your ceiling.
Instead of going through the expense and mess of moving a hanging ceiling light, I’ve found an easy solution and it costs less than $6.
Not only that but you can fix it yourself in under 15 minutes.
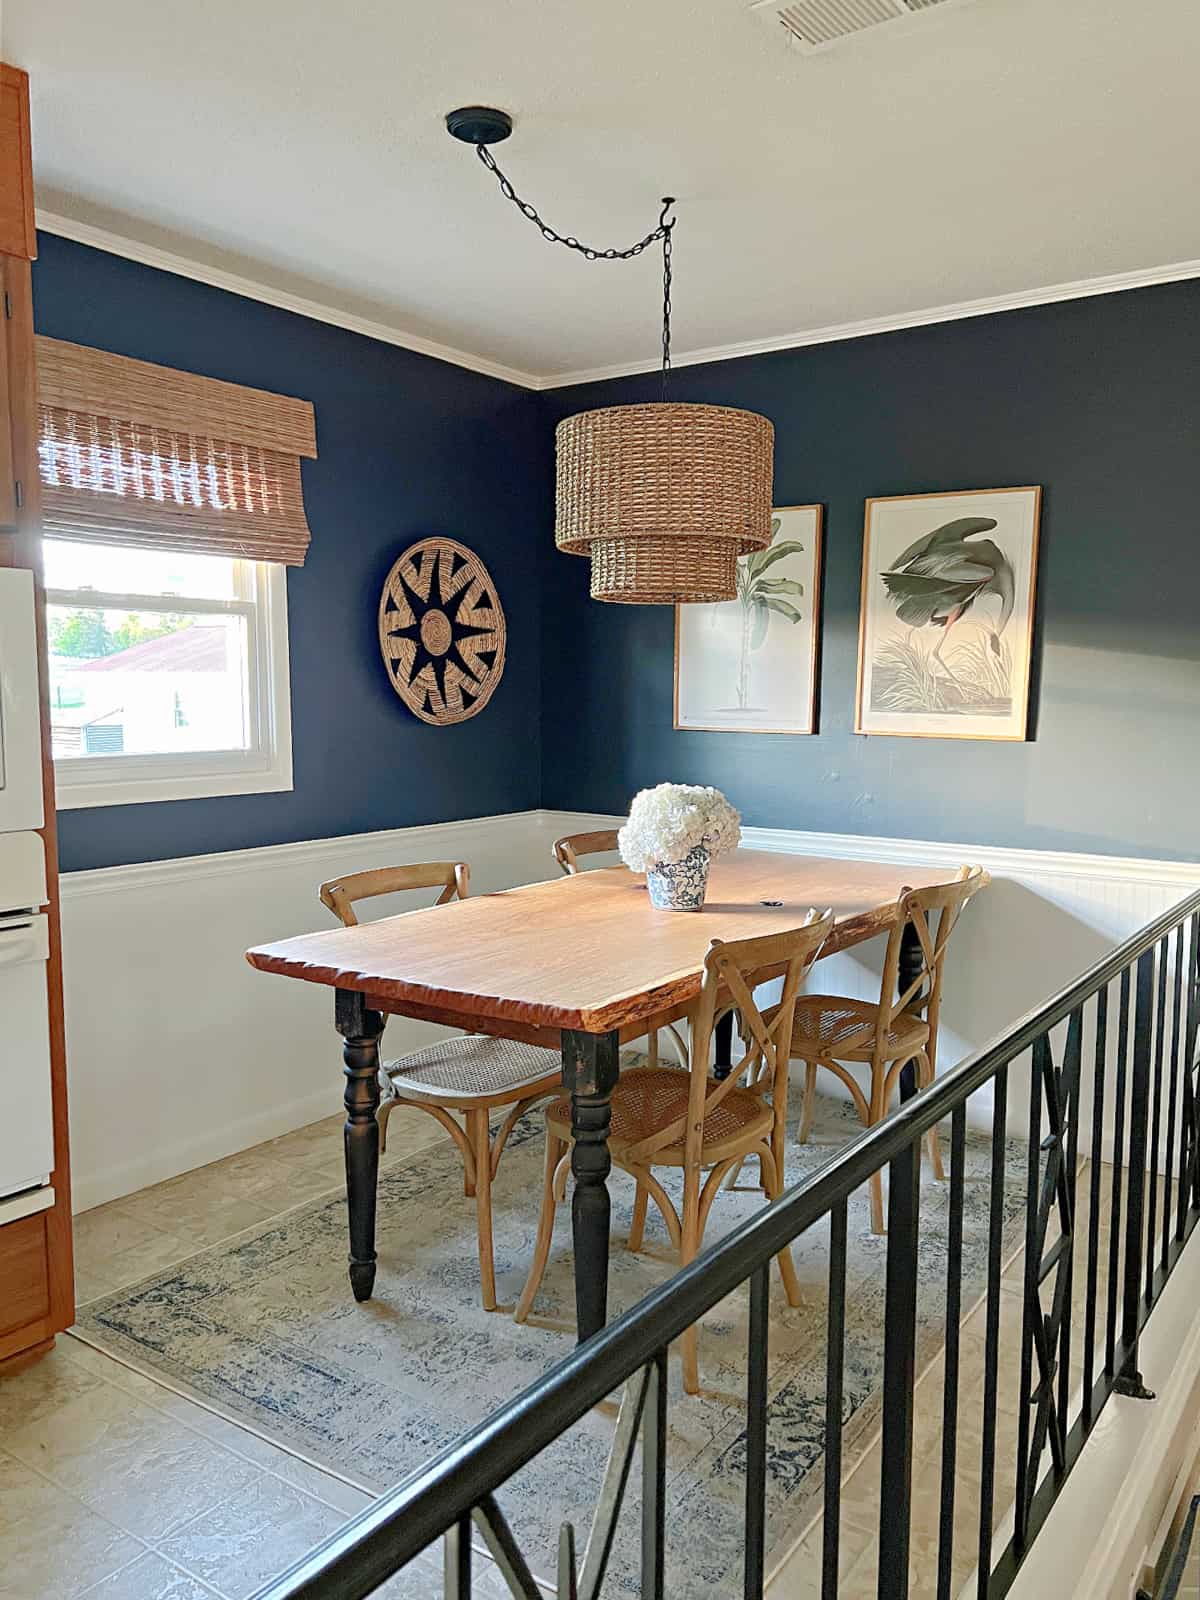
Off Center Ceiling Light Solution
So what is this magical fix?
It’s a simple swag hook kit. Really it’s just a big hook with a long screw attached, or a toggle bolt, and you can find it in any home improvement store.
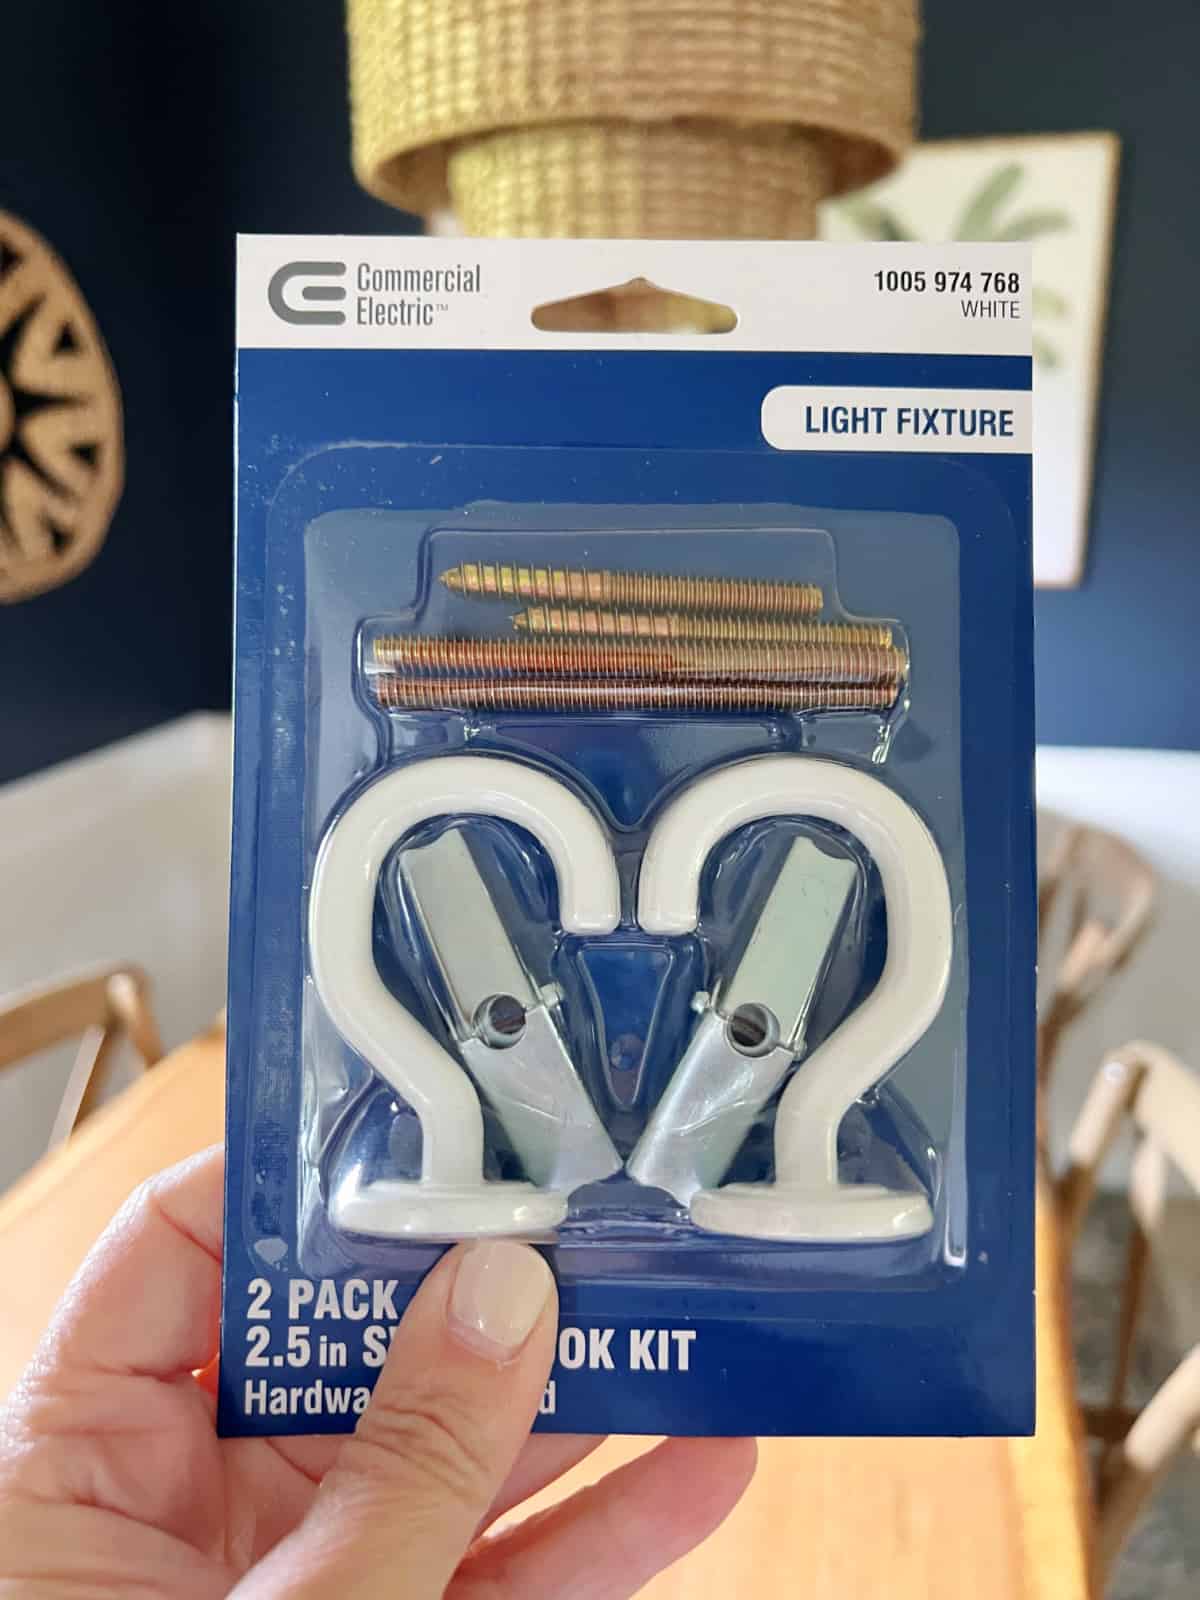
Supplies for Centering a Ceiling Light
How Swag a Ceiling Light Fixture
In our case, in this house, we are dealing with a dining room light fixture.
We can’t figure out why it’s off center but we can certainly fix it.
We do have plans to redo our old popcorn ceilings someday but until that happens, this is the perfect solution.
Find the Center of the Room
The first thing you want to do is to find the center of the room, which is very simple to do with a tape measure.
Just measure the width and length of the space and divide each number by 2.
Our dining nook is roughly 8×8 so I measured out 4 feet from one wall and marked the ceiling with a pencil.
Then I measured out 4 feet from adjoining wall and marked that with the pencil.
That is your center.
Installing the Swag Hook
Now that you have your center it’s time to drill a hole for the hook.
So ideally you want to find a beam so that your hook goes into that, especially for a heavier light fixture.
That’s not always possible though, so if you don’t hit a beam when you pre-drill the hole, you can use the toggle bolt anchors that come in the swag hook kit.
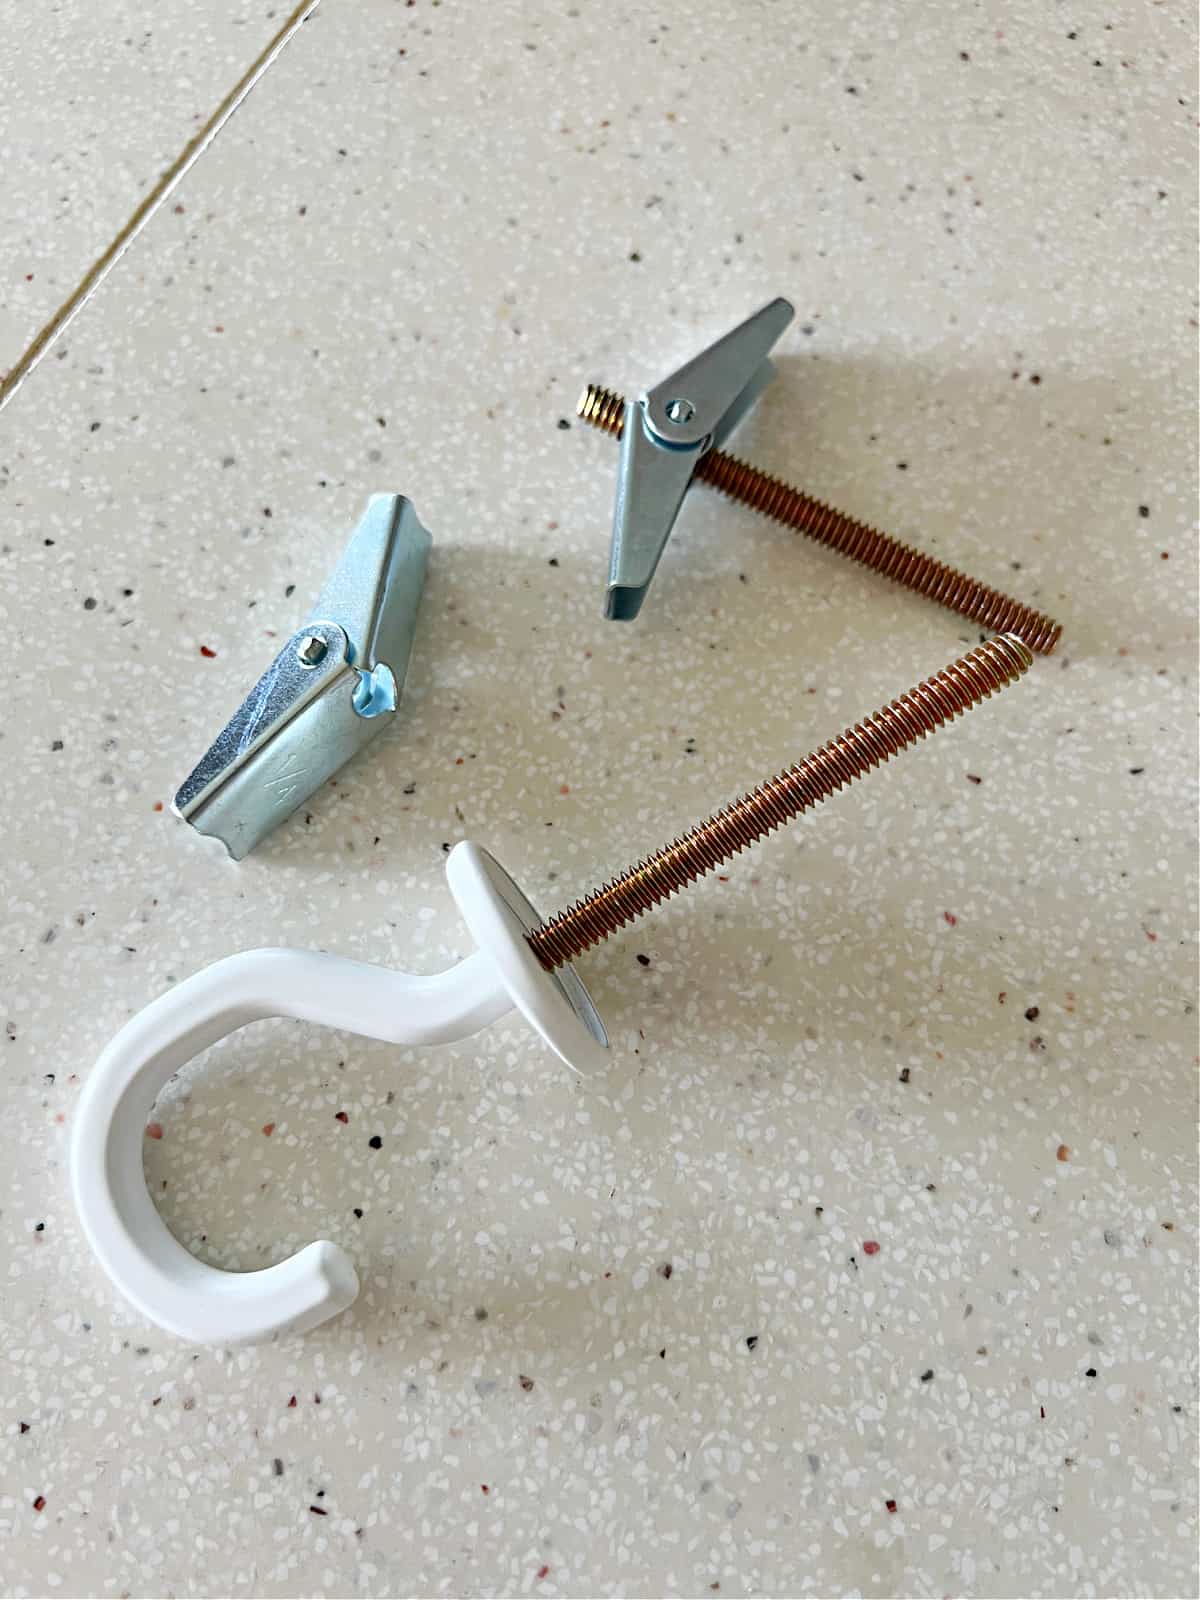
To install the toggle bolt you need to drill a hole that is just big enough to fit the toggle through.
Follow the directions on the swag hook kit and be sure to consider the weight of the light you are hanging.
To pre-drill a hole for the swag hook without the toggle bolt, just grab a drill bit that’s a little bit smaller in diameter than the screw attached to the hook.
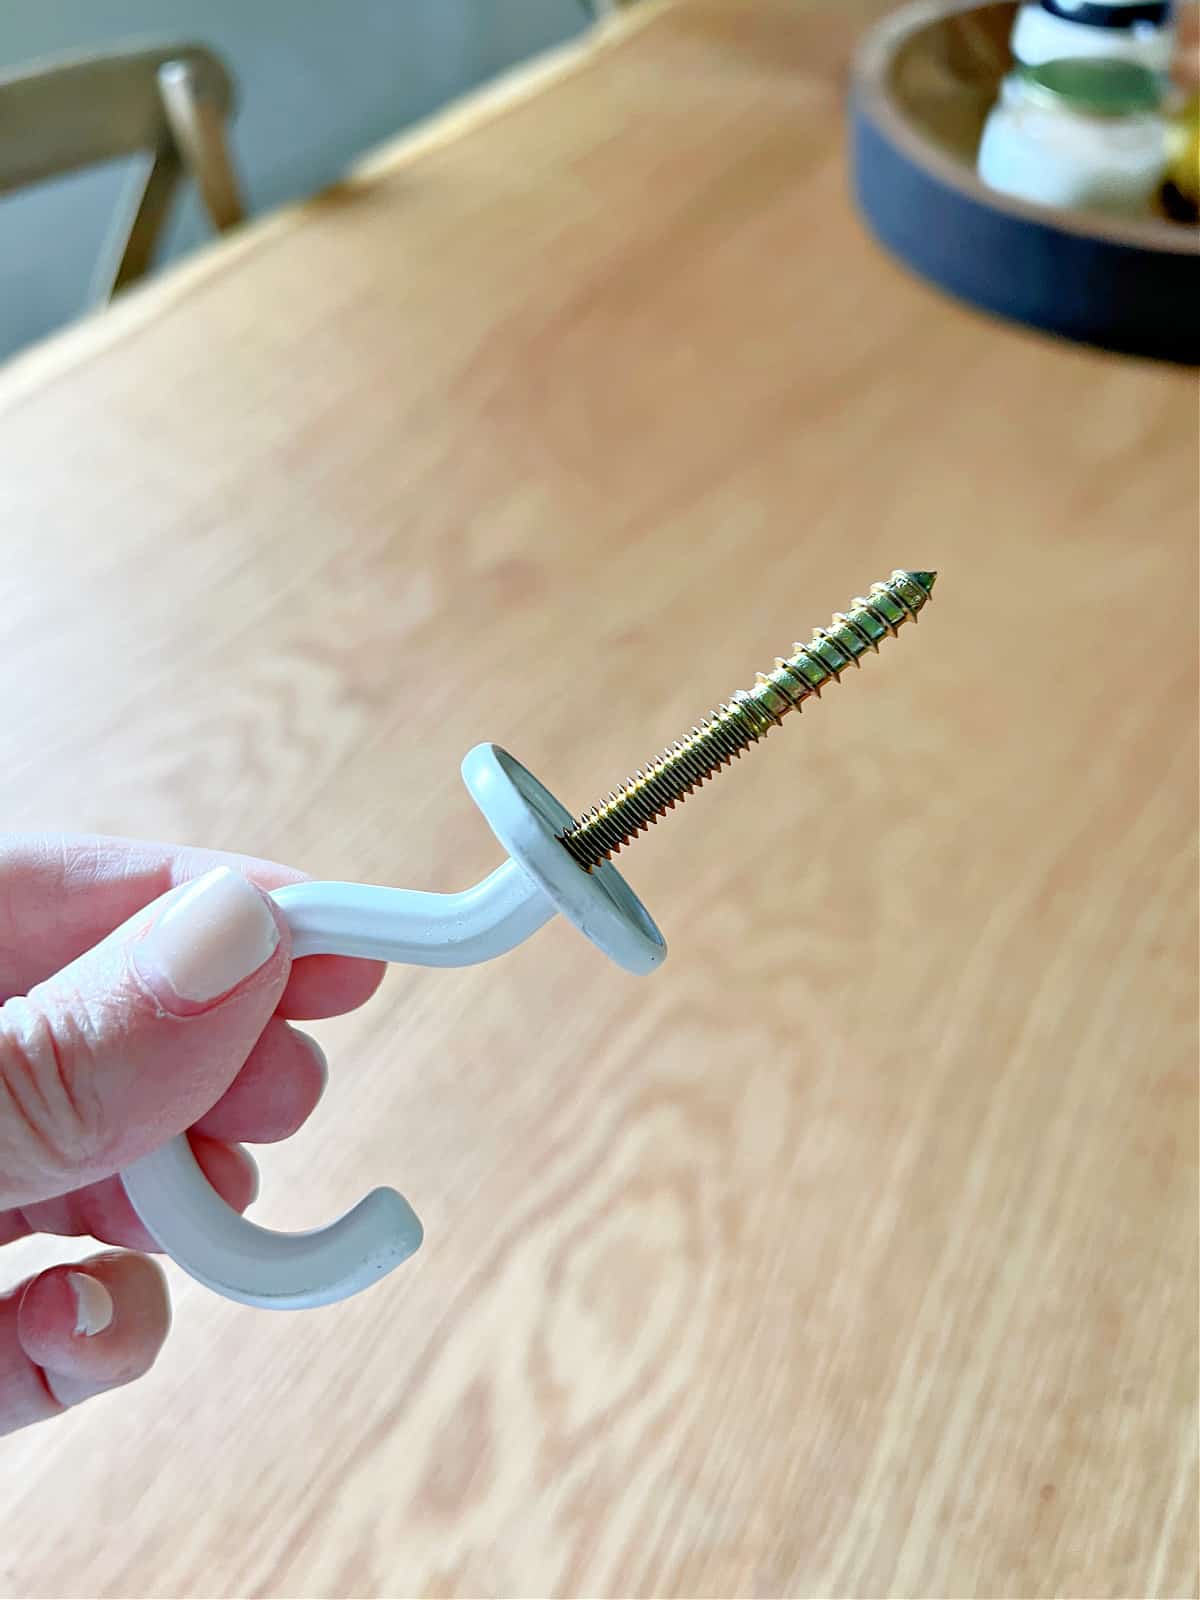
Fortunately for us the beam Gods were working in our favor and we hit a beam when we pre-drilled our hole.
After you drill the hole it’s time to install the hook.
I was only able to find a white hook in the store, and my light fixture chain and cord are dark, so I grabbed the spray paint and quickly painted it.
So easy, and you can make it any color you want.

Once it dried I was able to screw it into the pre-drilled hole.
So, if you hit a beam when you drilled the hole for the hook then you may find it difficult to screw the hook all the way into the wood.
One trick I’ve learned is to use a screwdriver to screw it in the rest of the way. It makes the job so. much. easier.
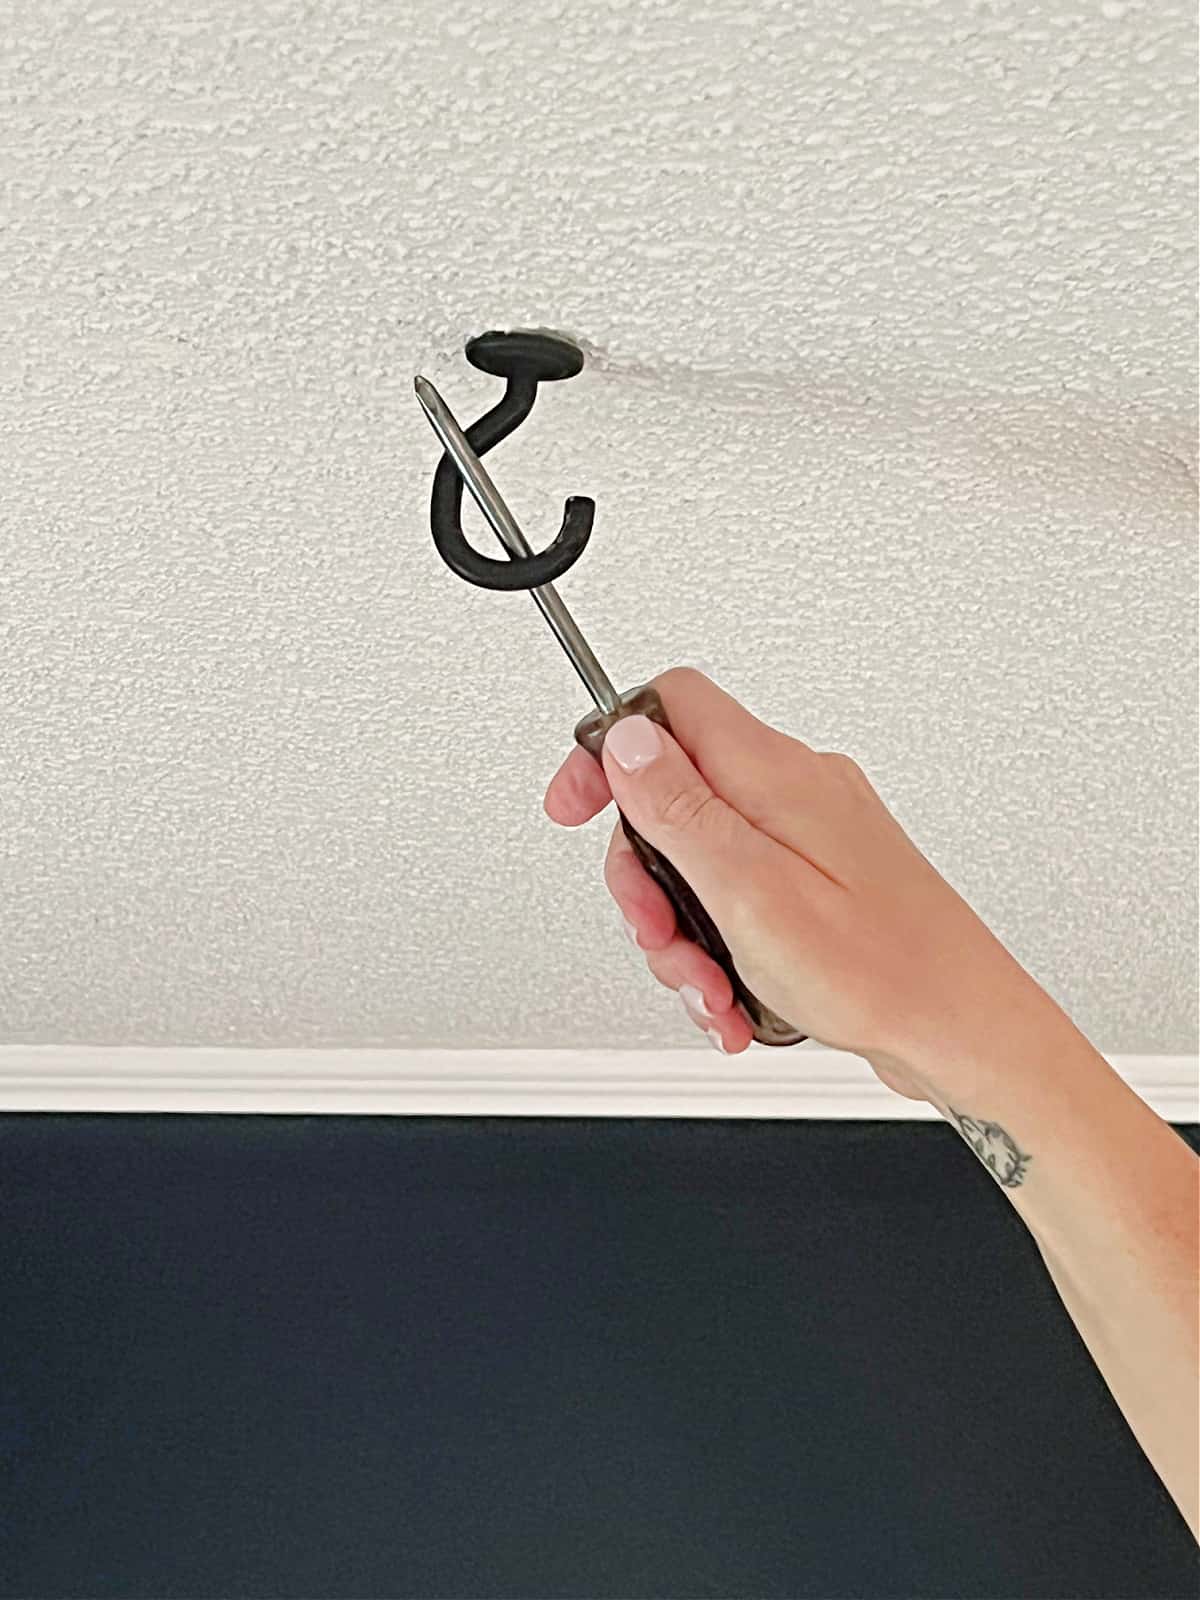
Oh, and if you painted your hook like I did, you way want to wrap a piece of fabric or a paper towel around the screwdriver so it doesn’t mess up your paint job.
Look at me giving away all of my secrets!
Hanging the Light Fixture
After the hook is in and secure, it’s time to hang your light. In our case it’s this textured hanging light.
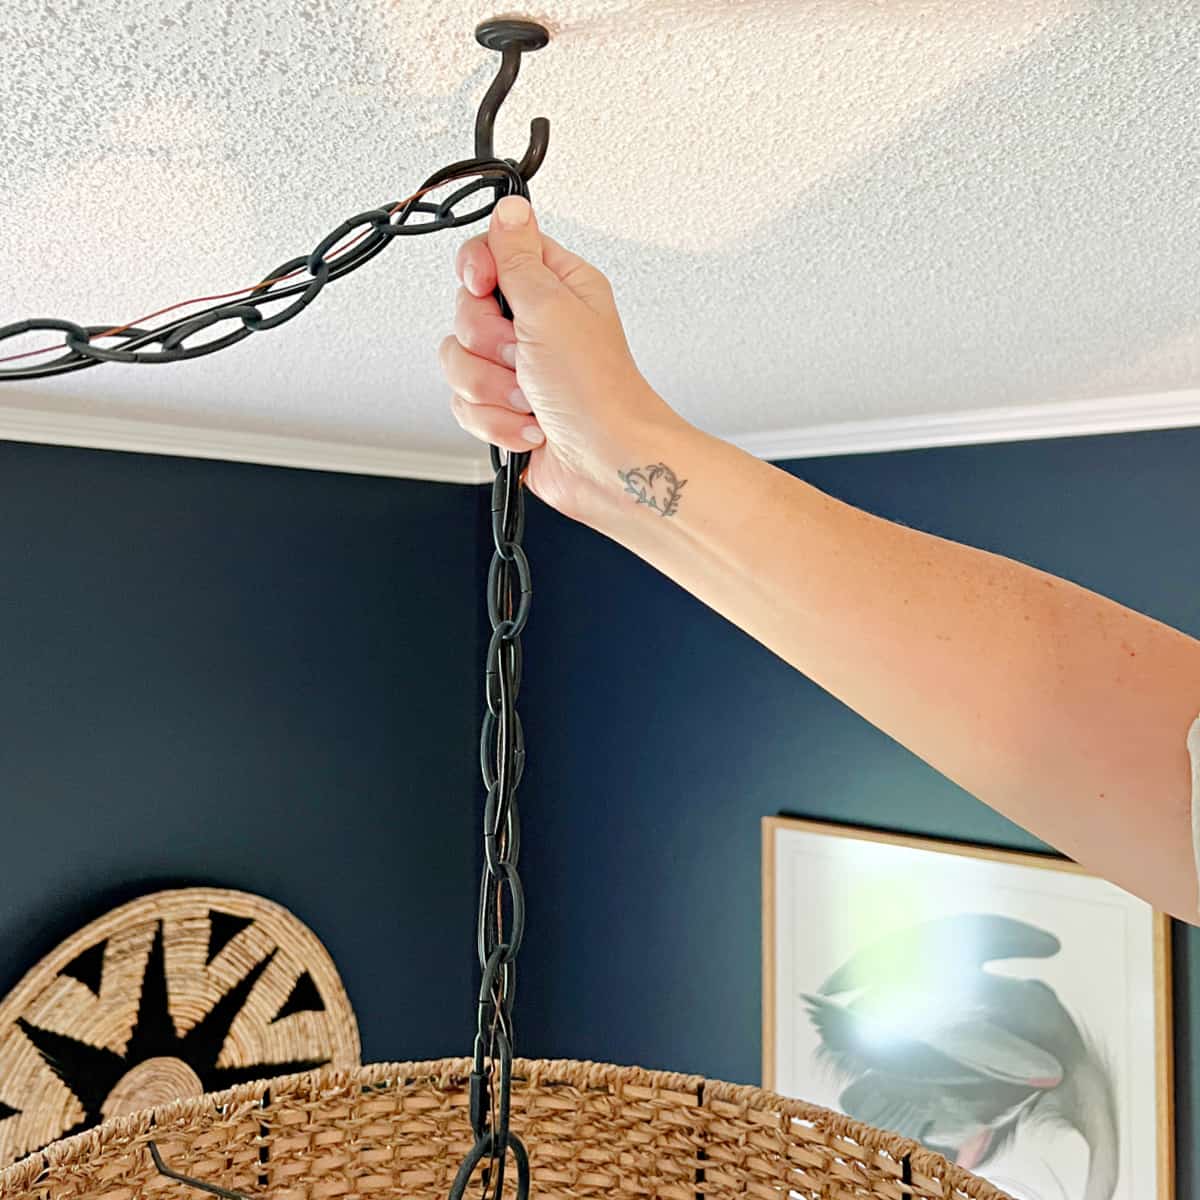
See, it’s so easy to do!
Now you have a light fixture that is centered in your room the way it should be.
