DIY Dried Orange Slice Ornaments
This post may contain affiliate links, please see our policy for details.
How to make dried orange slice ornaments with star anise for your Christmas tree.
‘Tis the season and I’m kicking it off by making these easy dried orange slice ornaments for one of our Christmas trees.
I usually try to make an ornament each year, like my living ornaments and the easy mercury glass ornaments that I made a few years ago, but I think these may be my favorite ones yet.
I try to switch things up with my Christmas decorations every year to keep things interesting.
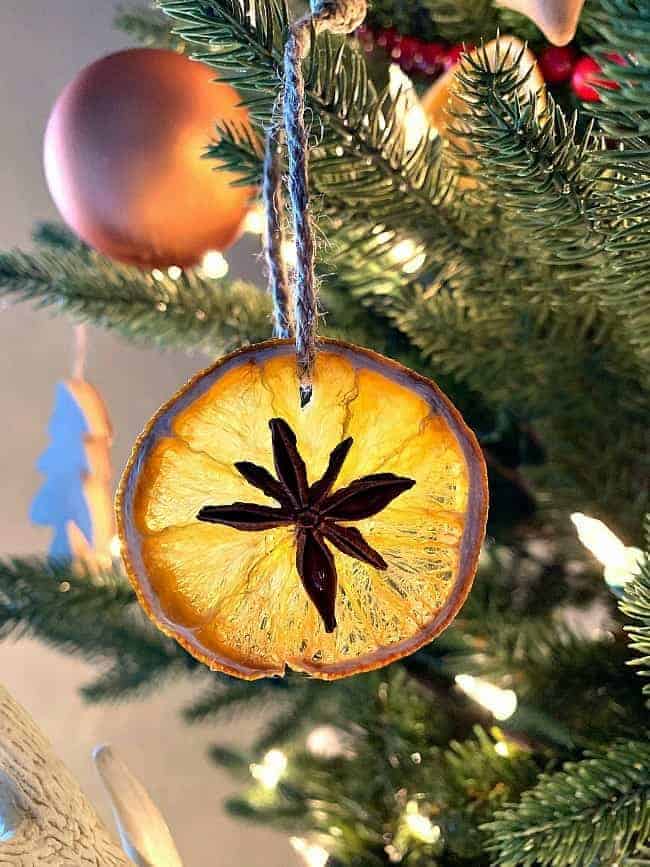
This year though, I decided to go in a completely different direction.
I went with a very simple, nature-inspired theme for the tree in the dining room.
Pinecones, raw cotton and dried orange slice ornaments that I made myself.
New ornaments were not allowed on the tree this year. Actually, I tried to stick to only using what I had for all of my holiday decorating this year.
Of course, I did have to buy a bag of oranges but it gave me so many pretty ornaments that it was well worth the $5 I spent.

So let’s start drying some orange slices.
It was my first time but it really is so simple to do.
Dried Orange Slices
- oranges (I used navel and a few blood oranges)
- knife
- cookie cooling rack
- cookie sheet
How to Dry Orange Slices
To dry your orange slices you need to turn your oven on 200 degrees (don’t be tempted to turn the oven up to speed up the process).
You can use a dehydrator but I don’t have one so it was the oven for me.
Next, slice your oranges about 1/4″ thick. You don’t want them too thick because they’ll take a lot longer to dry.
Once your oranges are sliced, arrange them so they are laying flat on your cooling rack, that’s been placed in your cookie sheet.
You want to use the cooling rack to dry your oranges because it allows the heat to dry the top and bottom of the slices evenly.
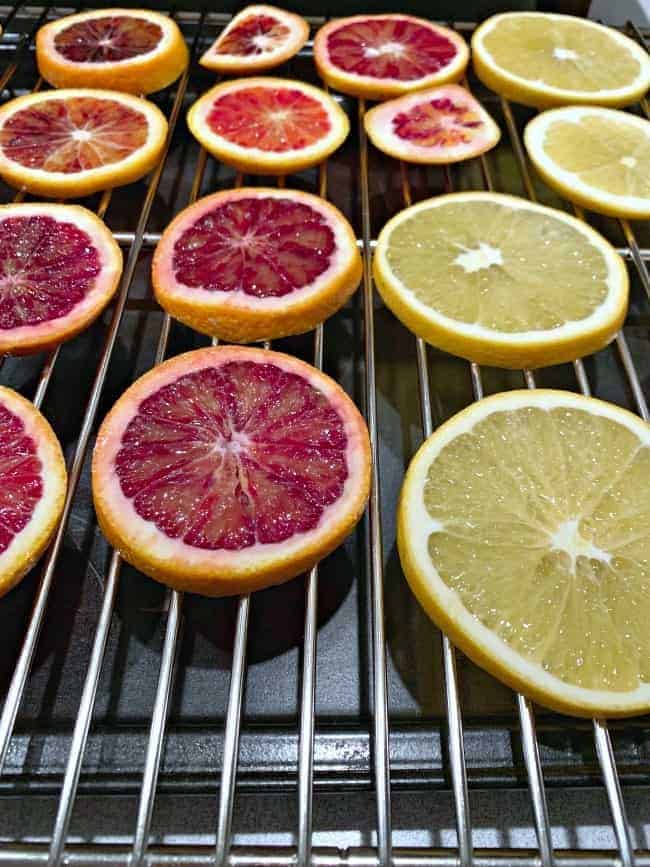
When you’ve filled up the cooling rack, place the cookie sheet in the oven for 4 hours, flipping once after 2 hours.
After they’re done remove them from the oven and let cool. Look at how the colors are enhanced after drying.
So pretty!
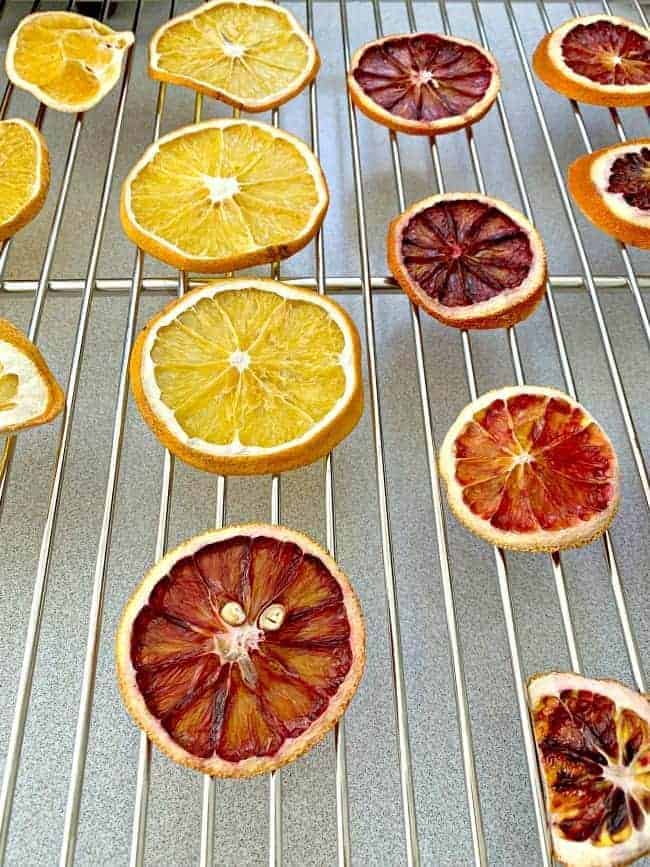
Once they’re cool, you can make your ornaments.
Dried Orange Slice Ornaments with Star Anise
- dried orange slices
- star anise
- hot glue gun
- large sewing needle
- jute twine
The ornaments themselves are just as easy to make as the dried oranges slices.
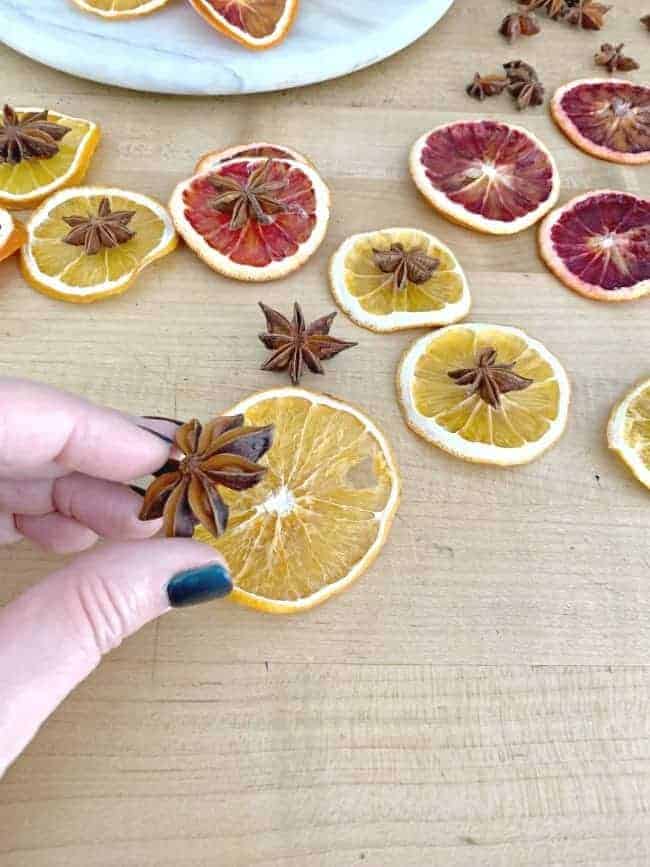
You can start to string them up right away but I had some star anise on hand that I wanted to use on a few slices.
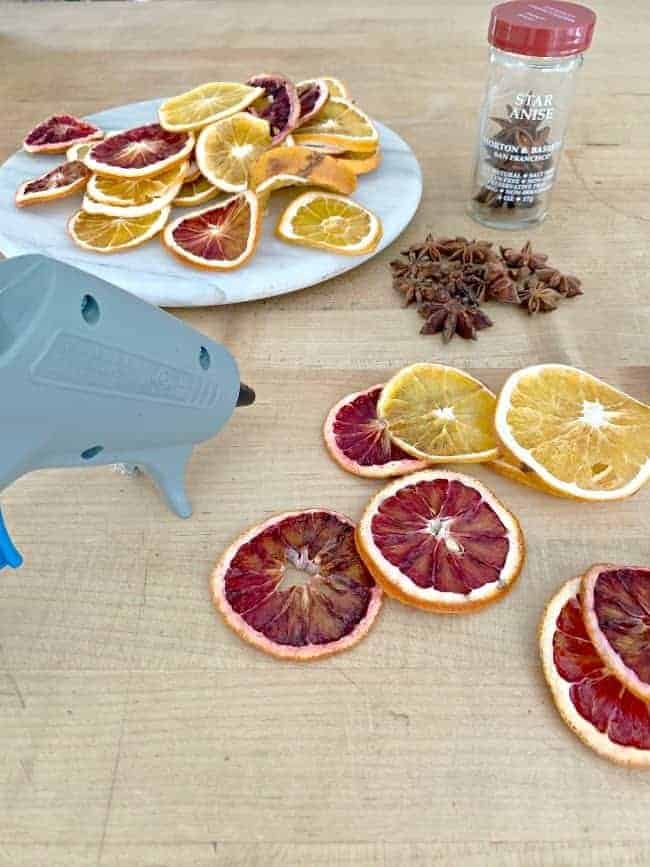
I just added a dab of hot glue in the center of a slice and placed the star anise on the glue.
I love how the fragrant anise mixes with the orange scent. So yummy.
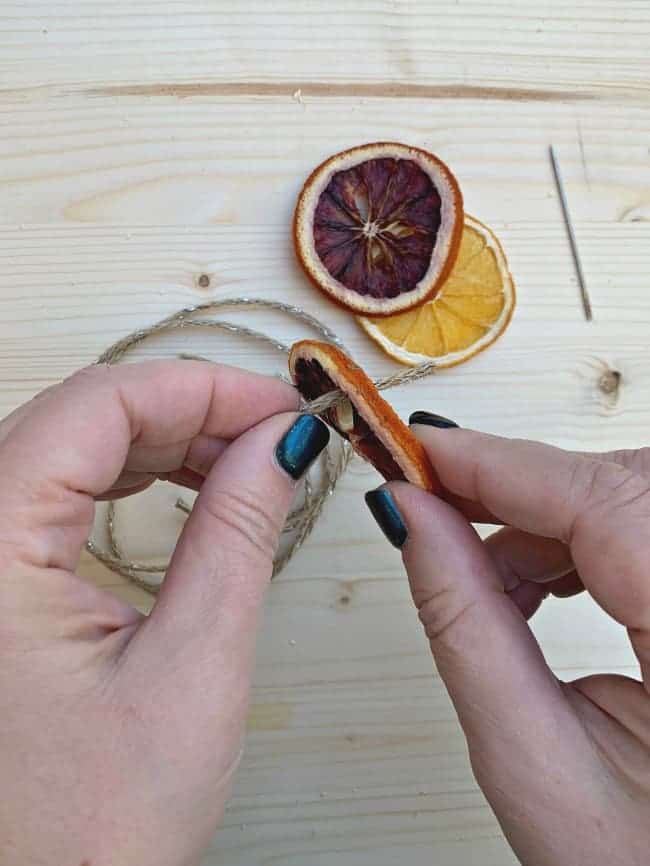
Next I strung a piece of jute twine through each slice.
Some of the slices had a ready-made hole so I was able to just slip the ribbon through and tie it in a knot.
For the slices that didn’t have a hole, I just stuck a large sewing needle into the slice, by the peel, and wiggled it a little to get a hole large enough for my jute twine.
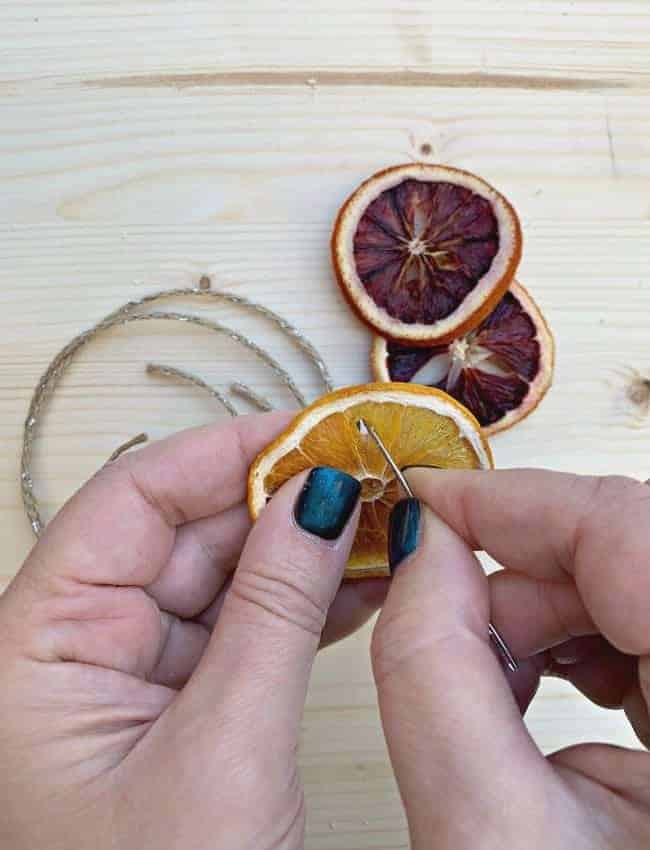
Really, there’s no wrong way to do this.
Once I strung up all of my orange slices, I hung them on our tree.
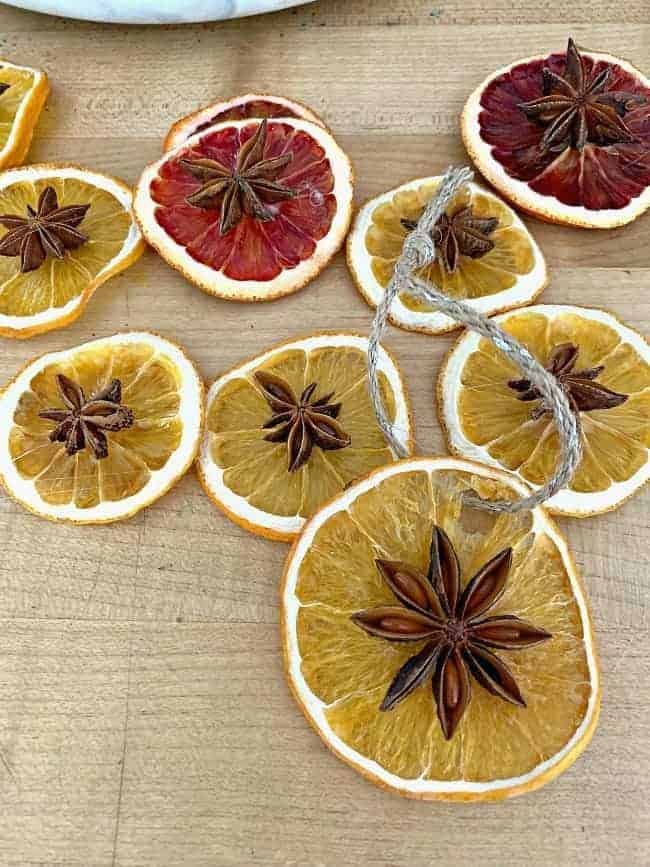
I love how they all look on our tree!
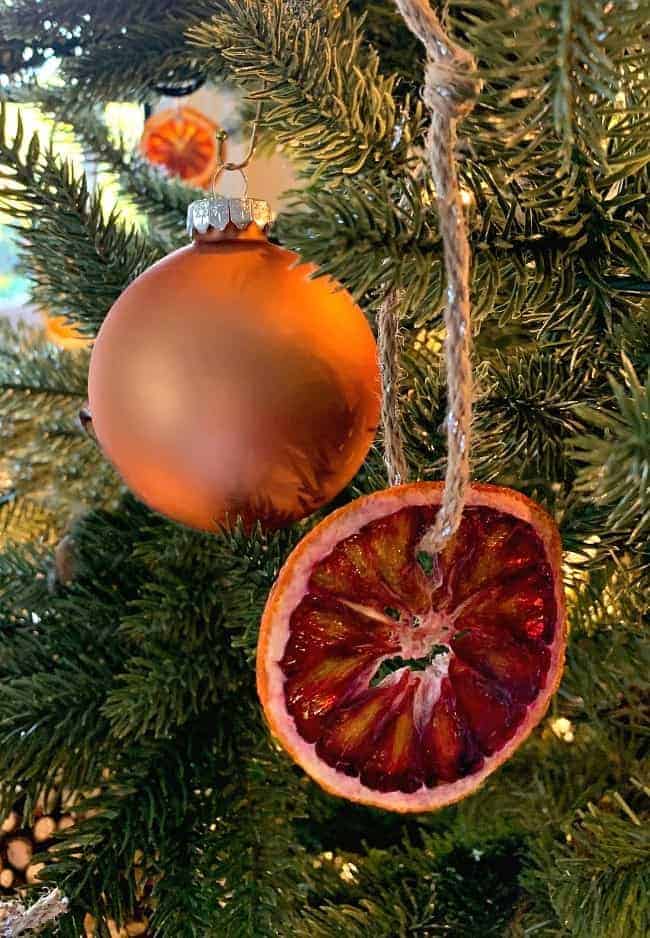
And because I love them so much, I went ahead and made another decoration for our simple nature-inspired tree.
I can’t wait to share it with you, along with a full view of the tree itself.
Happy Holidays, friends!
Check out more dried orange slice Christmas decor…
DIY Dried Orange Slice Ornaments

How to create your own DIY dried orange slice ornaments with star anise for your Christmas tree. So beautiful and such an easy and fun Christmas craft to do.
Materials
- oranges: navel and blood orange
- star anise
- jute twine
Tools
- knife
- cooling rack
- cookie sheet
- hot glue gun
- large sewing needle
- scissors
Instructions
- Turn oven on bake at 200 degrees
- Use knife to slice oranges 1/4" thick
- Arrange slices on cooling rack, that's been placed on the cookie sheet
- Place cookie sheet in oven
- Bake for 2 hours
- Flip slices
- Bake 2 more hours
- Remove from oven and let cool
- To make ornaments
- Add a dab of hot glue to Star Anise and place in center of dried orange slice
- Cut short lengths of jute twine
- Use sewing needle to create a hole in the orange slice for the jute twine
- Pull twine through dried orange slice
- Tie knot in twine
- Hang on your Christmas tree


I think that’s a lovely idea and biodegradable. Our overconsumption is ruining the planet. There is no planet B! So, “well done” to you!
Sharing link on my Christmas blog. Look out for it Dec 25.
Cath
Thanks so much! I love the idea of making Christmas decorations that can feed our wildlife friends. Thanks for stopping by, and for sharing my garland! 🙂
Love a nature inspired tree decoration, and oranges with star anise is perfect. Never knew how to dry orange slices without a dehydrator, but with your share I’m am going to give it a try.
Thanks, Patricia
That’s great Patricia! I’m so glad you are going to give them a try. They were really very simple to make. I’d love to hear how they turned out. Thanks so much for stopping by.
These are so pretty and look great on your tree, i pinned them so i can make me some, thanks.
Thanks so much Marlene! I’d love to hear if you make some. 🙂
Oh…and I bet your house smelled delicious in the process!!
It did, and still does smell delicious. Happy Thanksgiving!!!
So Pretty !!!!
Thanks so much, Marthaia! 🙂
I love these Kristi! How easy to make and looks like a million. If you had a real tree it would be a lovely sent mixed with orange and anise. Have a great Thanksgiving in your camper.
Thanks so much Debbie! These would be great with a real tree. I bet the scent would be amazing. Wishing you a Happy Thanksgiving! Enjoy the time with your family!
Great idea. I love the oranges with the star anise. You are so clever and I love the idea of a nature inspired tree.
Thanks so much Pat! The dried oranges were the inspiration for my nature tree this year. I’m loving it! Happy Thanksgiving to you!
Hey Kristi! Where do u come up with this stuff!? U are so gifted! I’m not familiar with the Star Anise? Do u get in the spice aisle @ grocery store or craft store? I always try to have ornaments my kids and I can make together, this would be perfect! Thanks so much for idea. Happy Thanksgiving! Hope u & urs have a great one.
You are so sweet, thanks so much Cindy! This would be a great craft to do with the kids. It’s so easy and fun. Oh, and you can get star anise right at the grocery store, in the spice aisle. Happy Thanksgiving!!!